Espresso-soaked ladyfingers, coffee ice cream, and a mascarpone whipped layer turn this tiramisu ice cream layer cake into a clean-slicing dessert with real tiramisu character. The contrast is what makes it work: a soft, chilled cookie layer underneath, a dense coffee center, and a billowy top that tastes like the best part of the classic dessert without needing an oven.
The trick is handling each layer at the right temperature. The ladyfingers only need a quick dip, not a soak, or they turn mushy before the cake even freezes. The coffee ice cream should be softened enough to spread, but not melted, so it holds its shape and freezes back into a proper layer instead of a loose slush. Mascarpone brings the tiramisu richness here, while the whipped cream keeps the top light enough to slice neatly after a long freeze.
Below, I’ve included the one detail that keeps the layers distinct, plus a few smart swaps and troubleshooting notes for the most common tiramisu ice cream cake problems.
The espresso dip was fast enough that the ladyfingers stayed intact, and the mascarpone topping sliced clean after an overnight freeze. It tasted like tiramisu in ice cream cake form.
Like this tiramisu ice cream layer cake? Save it for the nights when you want espresso, mascarpone, and cocoa in one frozen dessert.
The Part That Keeps the Layers from Slumping Together
The biggest mistake with a tiramisu ice cream cake is treating every layer like it needs the same treatment. It doesn’t. The ladyfingers need a fast espresso dip, the ice cream needs to be spreadable but still cold, and the mascarpone topping needs enough structure to sit on top without melting into the cookie layer below. If you rush any one of those, the cake settles into a soft, muddy stack instead of a clean layer cake.
Frozen desserts like this depend on contrast. The first ladyfinger layer softens just enough in the freezer to slice well, but it still needs a little body left in it. The second layer of dipped cookies acts like a bridge between the ice cream and the whipped mascarpone, which is why the cake feels balanced instead of icy or dense.
- Quick-dipping the ladyfingers — Ten seconds is too long here. A swift dip in cooled espresso gives you flavor without turning the cookies to paste.
- Softened coffee ice cream — It should yield to a spatula, not melt into a puddle. If it gets too soft, freeze the pan for 15 minutes before adding the next layer.
- Mascarpone — This is the ingredient that gives the top layer its tiramisu-like richness. Cream cheese works in a pinch, but it tastes tangier and less luxurious.
- Fine cocoa powder — Dust it right before serving so it stays dark and dry instead of dissolving into the whipped topping.
What Each Ingredient Is Actually Doing in This Ice Cream Cake
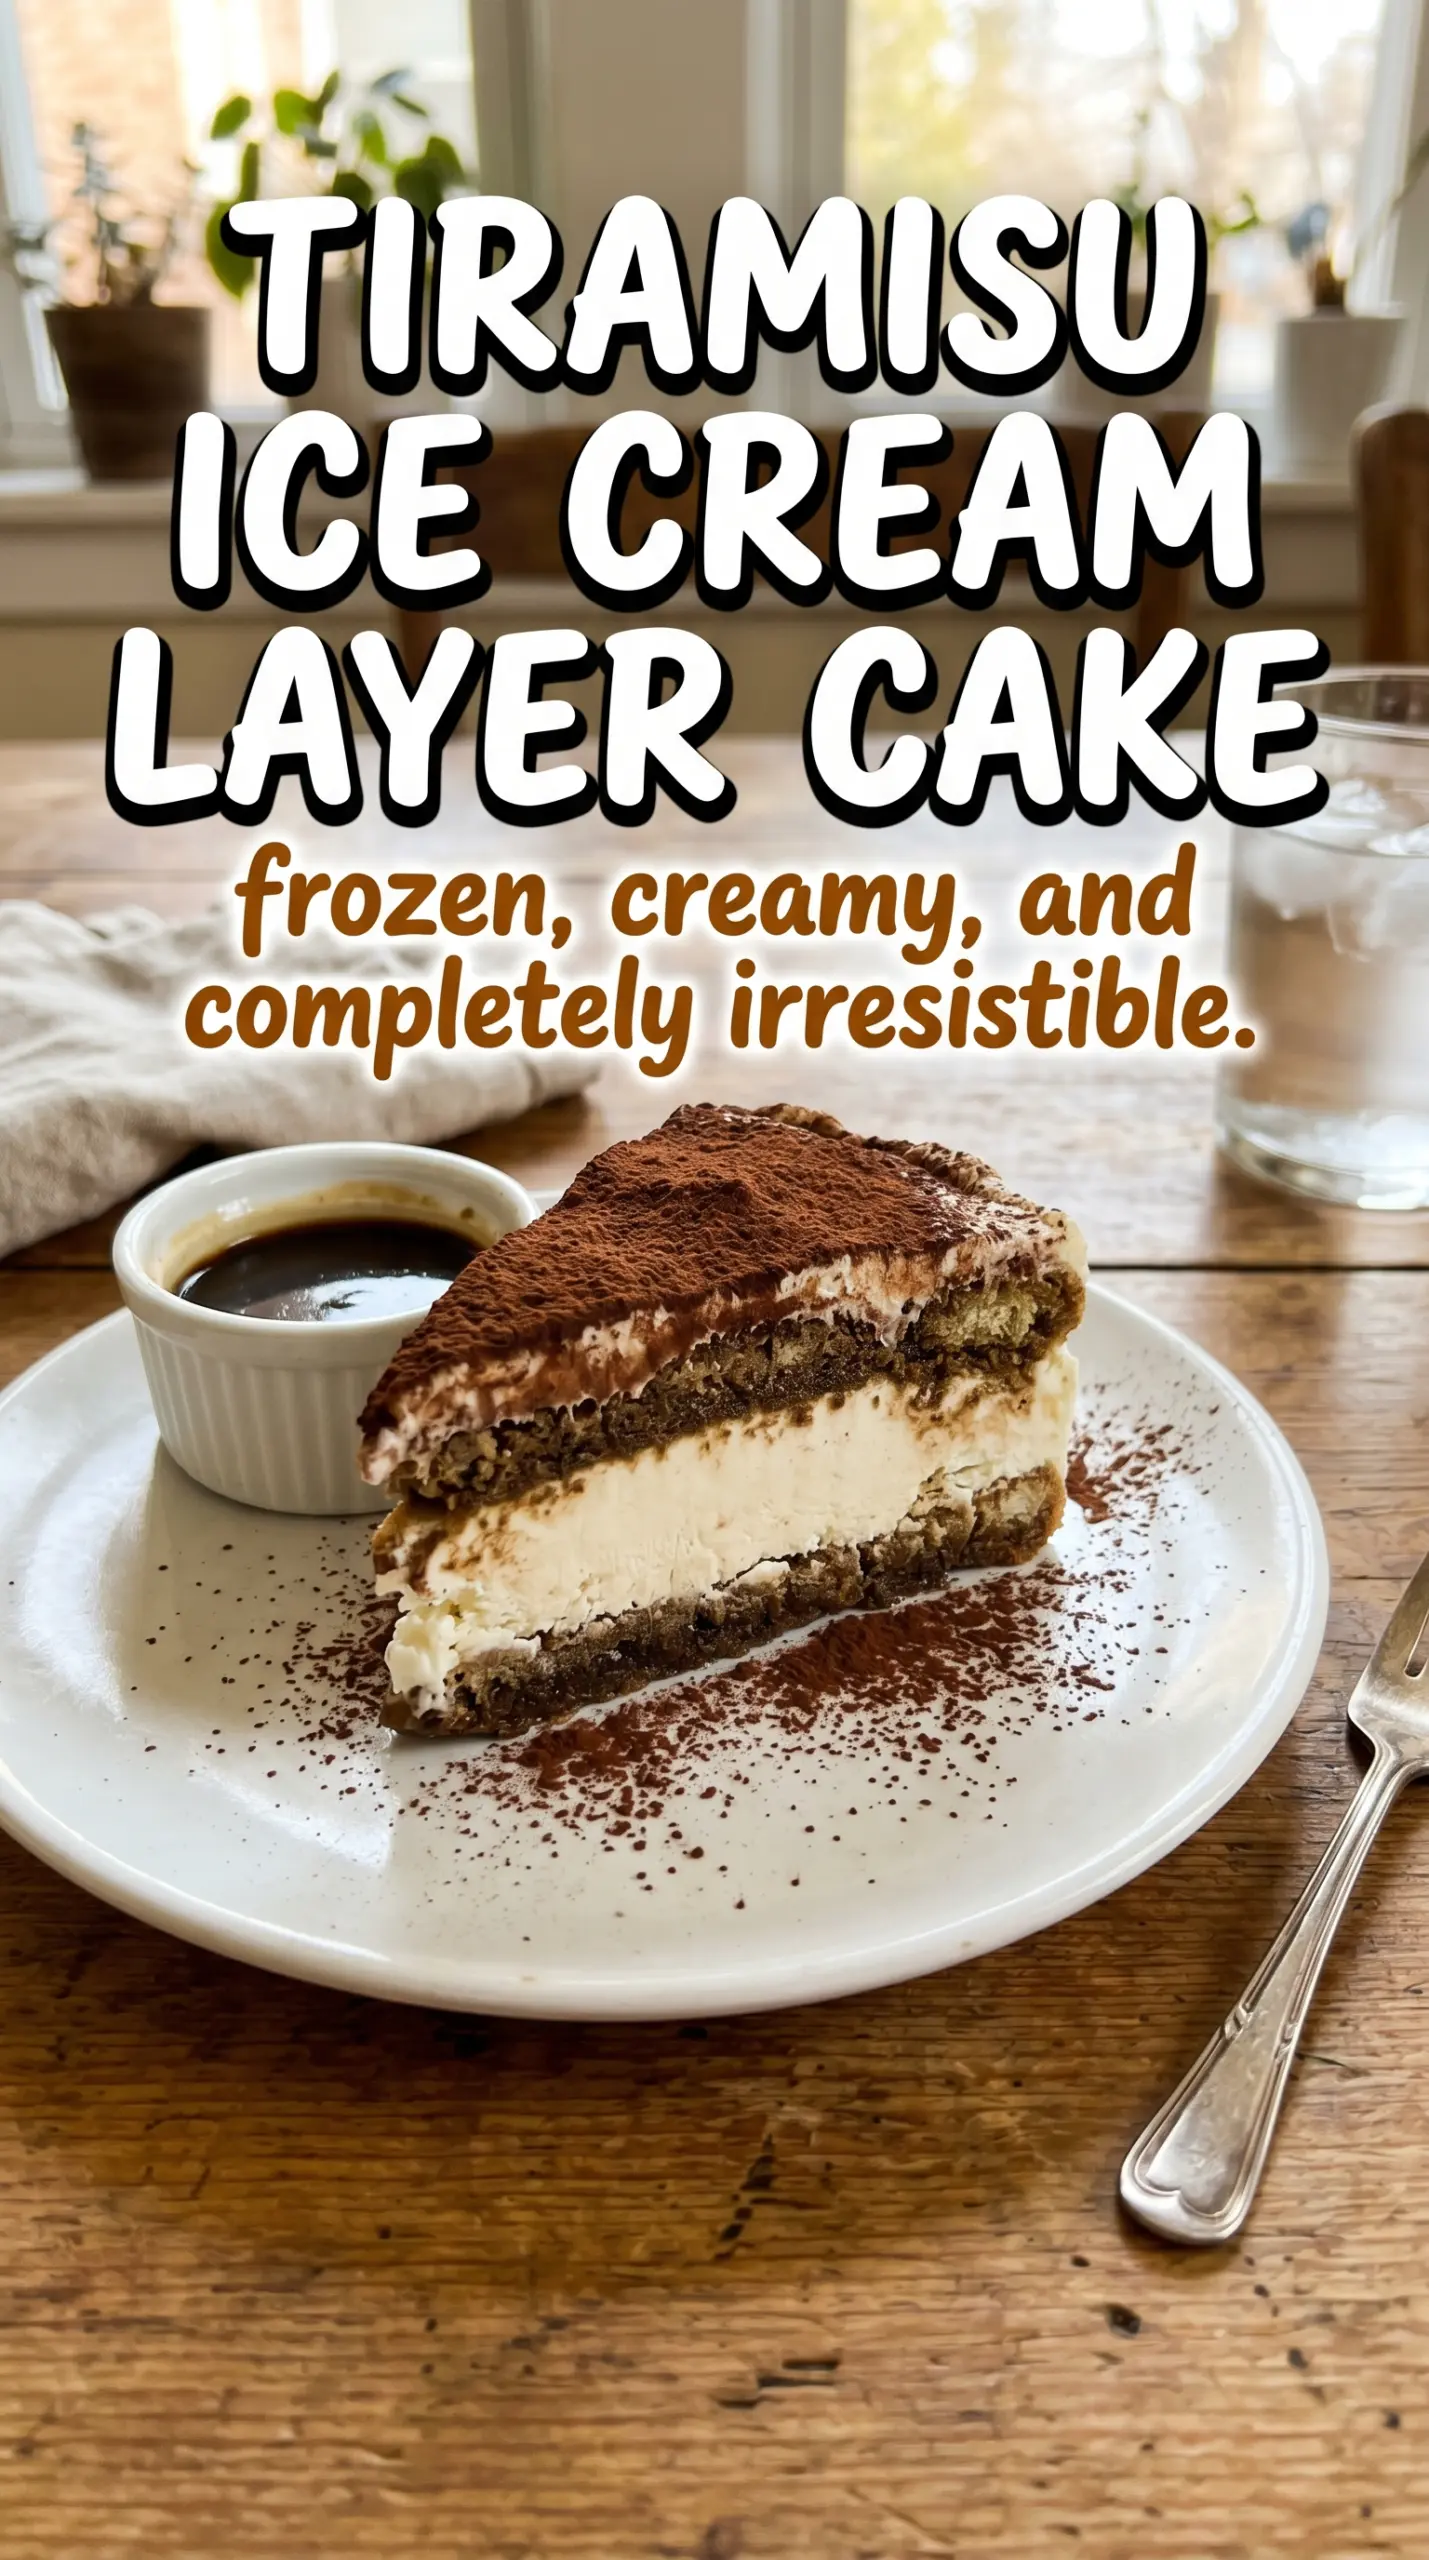
- Crust or base layer (cookies, brownies, or cake) — This provides structure and texture contrast. A sturdy base keeps the whole cake from crumbling when served.
- Ice cream (the main event) — Choose quality ice cream or frozen yogurt. Soft-serve or premium ice cream works better than hard-packed store brands.
- Cake layer (optional but recommended) — A thin cake layer adds substance and keeps the cake from being all frozen texture. Make it thin so it doesn’t overpower the ice cream.
- Sauce or syrup layer (fudge, caramel, or fruit) — This adds flavor depth and prevents the cake from tasting one-dimensional. Freeze between layers so sauces stay distinct.
- Toppings (chocolate chips, cookies, candy, or nuts) — These add texture and visual appeal. Mix-ins stay crispy longer if frozen separately first.
- Frosting or whipped cream (optional topping) — This adds richness to the outside. Keep it simple or it overwhelms the cake.
- Freezing time (the patience that pays off) — Each layer needs time to set so they stay distinct when sliced. Rushing this step means layers muddy together.
- Storage and serving technique (thaw 5 minutes before slicing) — A brief thaw makes slicing clean and easy. Serve slices immediately for best texture.
Building the Cake So the Slices Come Out Clean
Layer One: Espresso and Ladyfingers
Mix the cooled espresso with the coffee liqueur if you’re using it, then dip each ladyfinger quickly and lay it into the pan in a single layer. The cookies should look moistened, not saturated; if they bend or break when you lift them, they’ve sat in the liquid too long. Line them up tightly so the base has enough structure to support the ice cream layer that comes next.
The Coffee Ice Cream Middle
Spoon the softened coffee ice cream over the first layer of ladyfingers and spread it into the corners in an even thickness. Work fast here, because the warm spatula pressure can drag the cookies around if the ice cream gets too loose. Freeze this layer until it’s firm to the touch; if it still smears when you add the next layer, the whole cake will slide.
The Mascarpone Topping
Beat the mascarpone, heavy cream, powdered sugar, and vanilla just until stiff peaks form. Stop as soon as the mixture holds shape, because overwhipping mascarpone can make it grainy and heavy. Spread it over the second layer of dipped ladyfingers in wide sweeps, then freeze until the center is solid and the edges feel fully set.
The Cocoa Finish
Dust the top generously with cocoa powder through a fine sieve right before serving. If you do it too early, the cocoa absorbs moisture from the cream and loses that dry, velvety look. Let the cake sit for a few minutes at room temperature before slicing so the knife passes through the layers cleanly instead of cracking the top.
How to Adapt This for Different Coffee Drinkers and Diets
Skip the Liqueur, Keep the Depth
Leave out the coffee liqueur and use only espresso if you want a family-friendly version. The cake still tastes deeply coffee-forward, just a little cleaner and less boozy. If you want to replace some of that roundness, add an extra teaspoon of powdered sugar to the mascarpone layer.
Gluten-Free Version with Crisp Edges
Use gluten-free ladyfingers if you can find them. The texture is usually a touch more delicate, so dip them even faster than standard savoiardi and freeze the first layer until fully firm before adding the ice cream. That extra chill keeps the slices tidy.
Swap the Coffee Ice Cream Flavor
If you can’t find coffee ice cream, use vanilla or dulce de leche ice cream and add 1 to 2 teaspoons instant espresso powder to the mascarpone topping. You’ll lose some of the deep coffee center, but the dessert still reads as tiramisu because the espresso, cocoa, and mascarpone carry the flavor.
Storage and Reheating
- Refrigerator: This cake should stay frozen, not refrigerated. If it sits in the fridge, the layers soften fast and lose their shape.
- Freezer: Wrap the pan tightly and freeze for up to 1 week for best texture. After that, the ladyfingers can start to turn a little dry around the edges.
- Reheating: There’s no reheating here. For serving, let the cake stand at room temperature for 10 to 15 minutes so the knife glides through the layers instead of shattering the top.
Questions I Get Asked About This Recipe
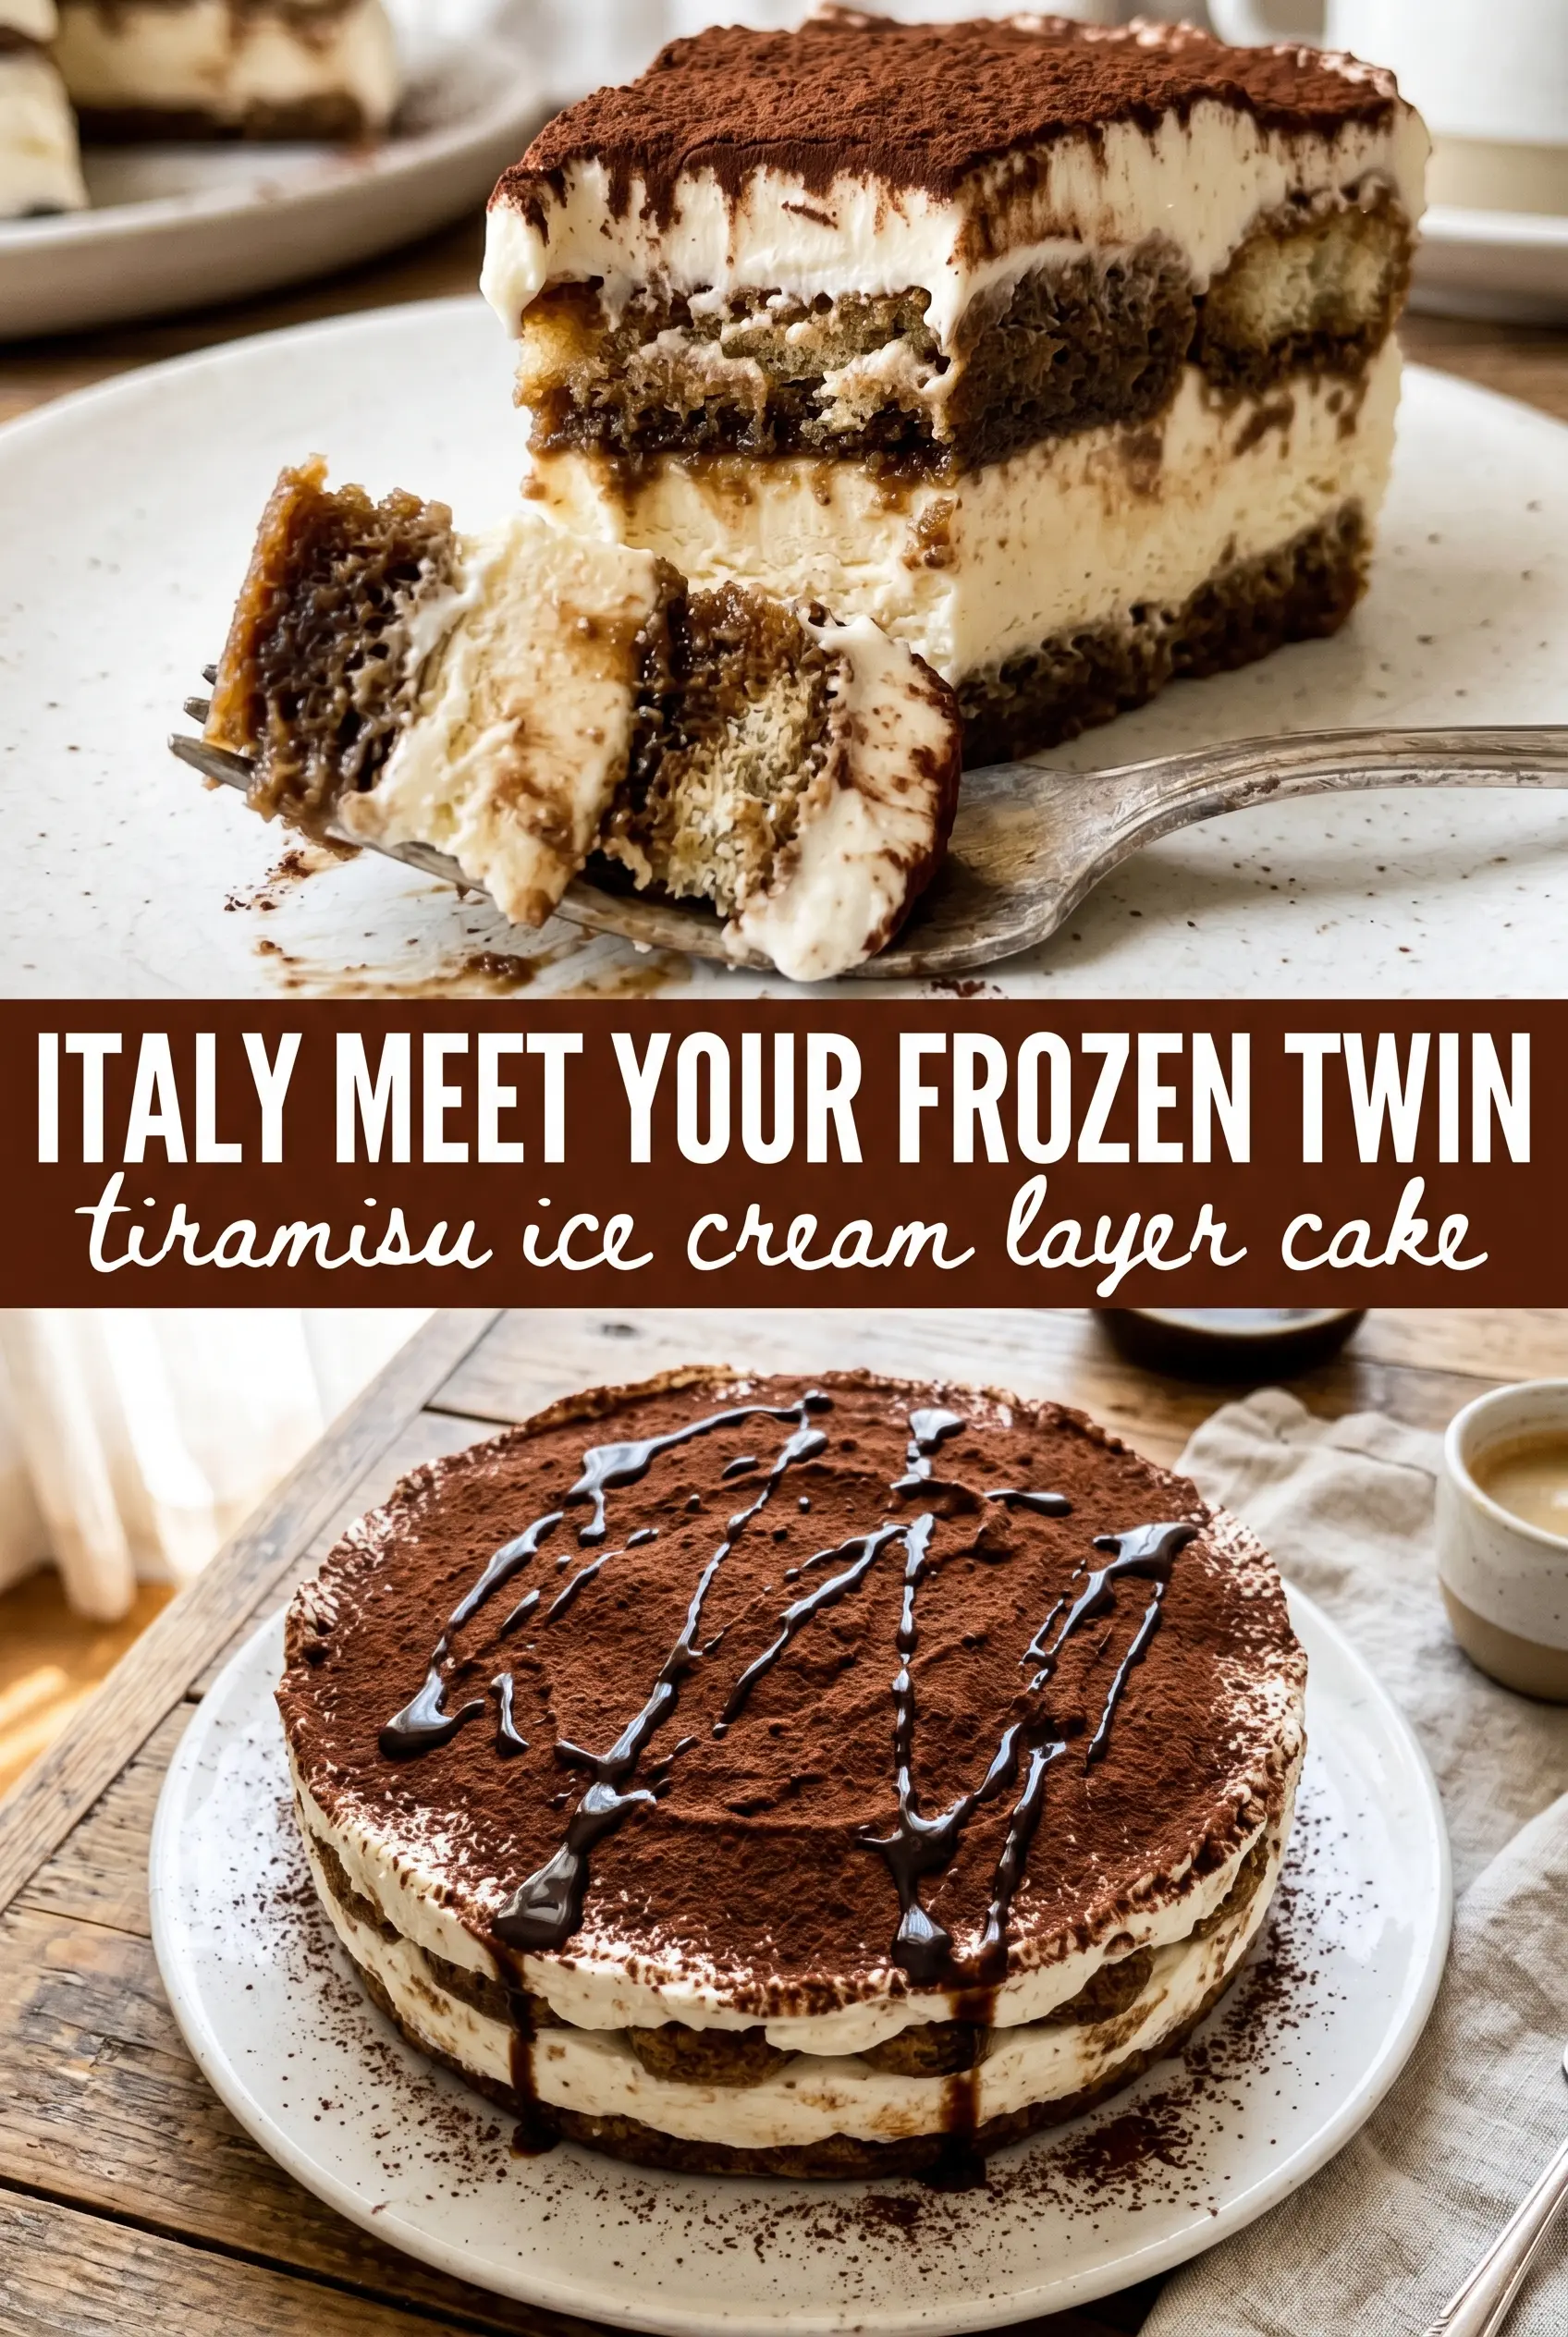
Tiramisu Ice Cream Layer Cake
Ingredients
Equipment
Method
- Mix the cooled espresso with the coffee liqueur, if using. Quickly dip each ladyfinger and arrange them in a single layer in a 9x13 pan, then keep the layer even and compact.
- Spread the softened coffee ice cream over the ladyfinger layer in an even coat. Freeze for 2 hours until firm enough to hold the next layer.
- Dip more ladyfingers in the espresso mixture and arrange a second layer over the frozen ice cream. Press lightly to fill gaps so the layers bake-looking and cohesive.
- Beat the mascarpone, heavy cream, powdered sugar, and vanilla until stiff peaks form. Mix only until thick so the whipped texture stays airy and spreadable.
- Spread the mascarpone whipped mixture over the second ladyfinger layer. Freeze at least 6 hours or overnight until completely firm.
- Dust the top generously with unsweetened cocoa powder through a fine sieve just before serving. Slice with a warm blade for cleaner edges and an even cocoa coat.


