Soft oatmeal cookies and cold vanilla bean ice cream belong together in the same bite. The cookies stay chewy even after freezing, with molasses, cinnamon, and oats giving them the same warm, bakery-style taste you expect from a cream pie cookie, while the ice cream adds that clean vanilla finish that keeps each sandwich from feeling heavy.
The trick is baking the cookies just until they’re set at the edges and still tender in the center. If you push them too far, they turn crisp once frozen. The other detail that matters is letting them cool completely before you add the ice cream, because even a little residual warmth will melt the filling before you get the sandwiches wrapped and back in the freezer.
Below, I’ve laid out the cookie texture to aim for, the one ingredient that gives these their classic flavor, and the easiest way to keep the sandwiches neat enough to serve without losing that soft, nostalgic bite.
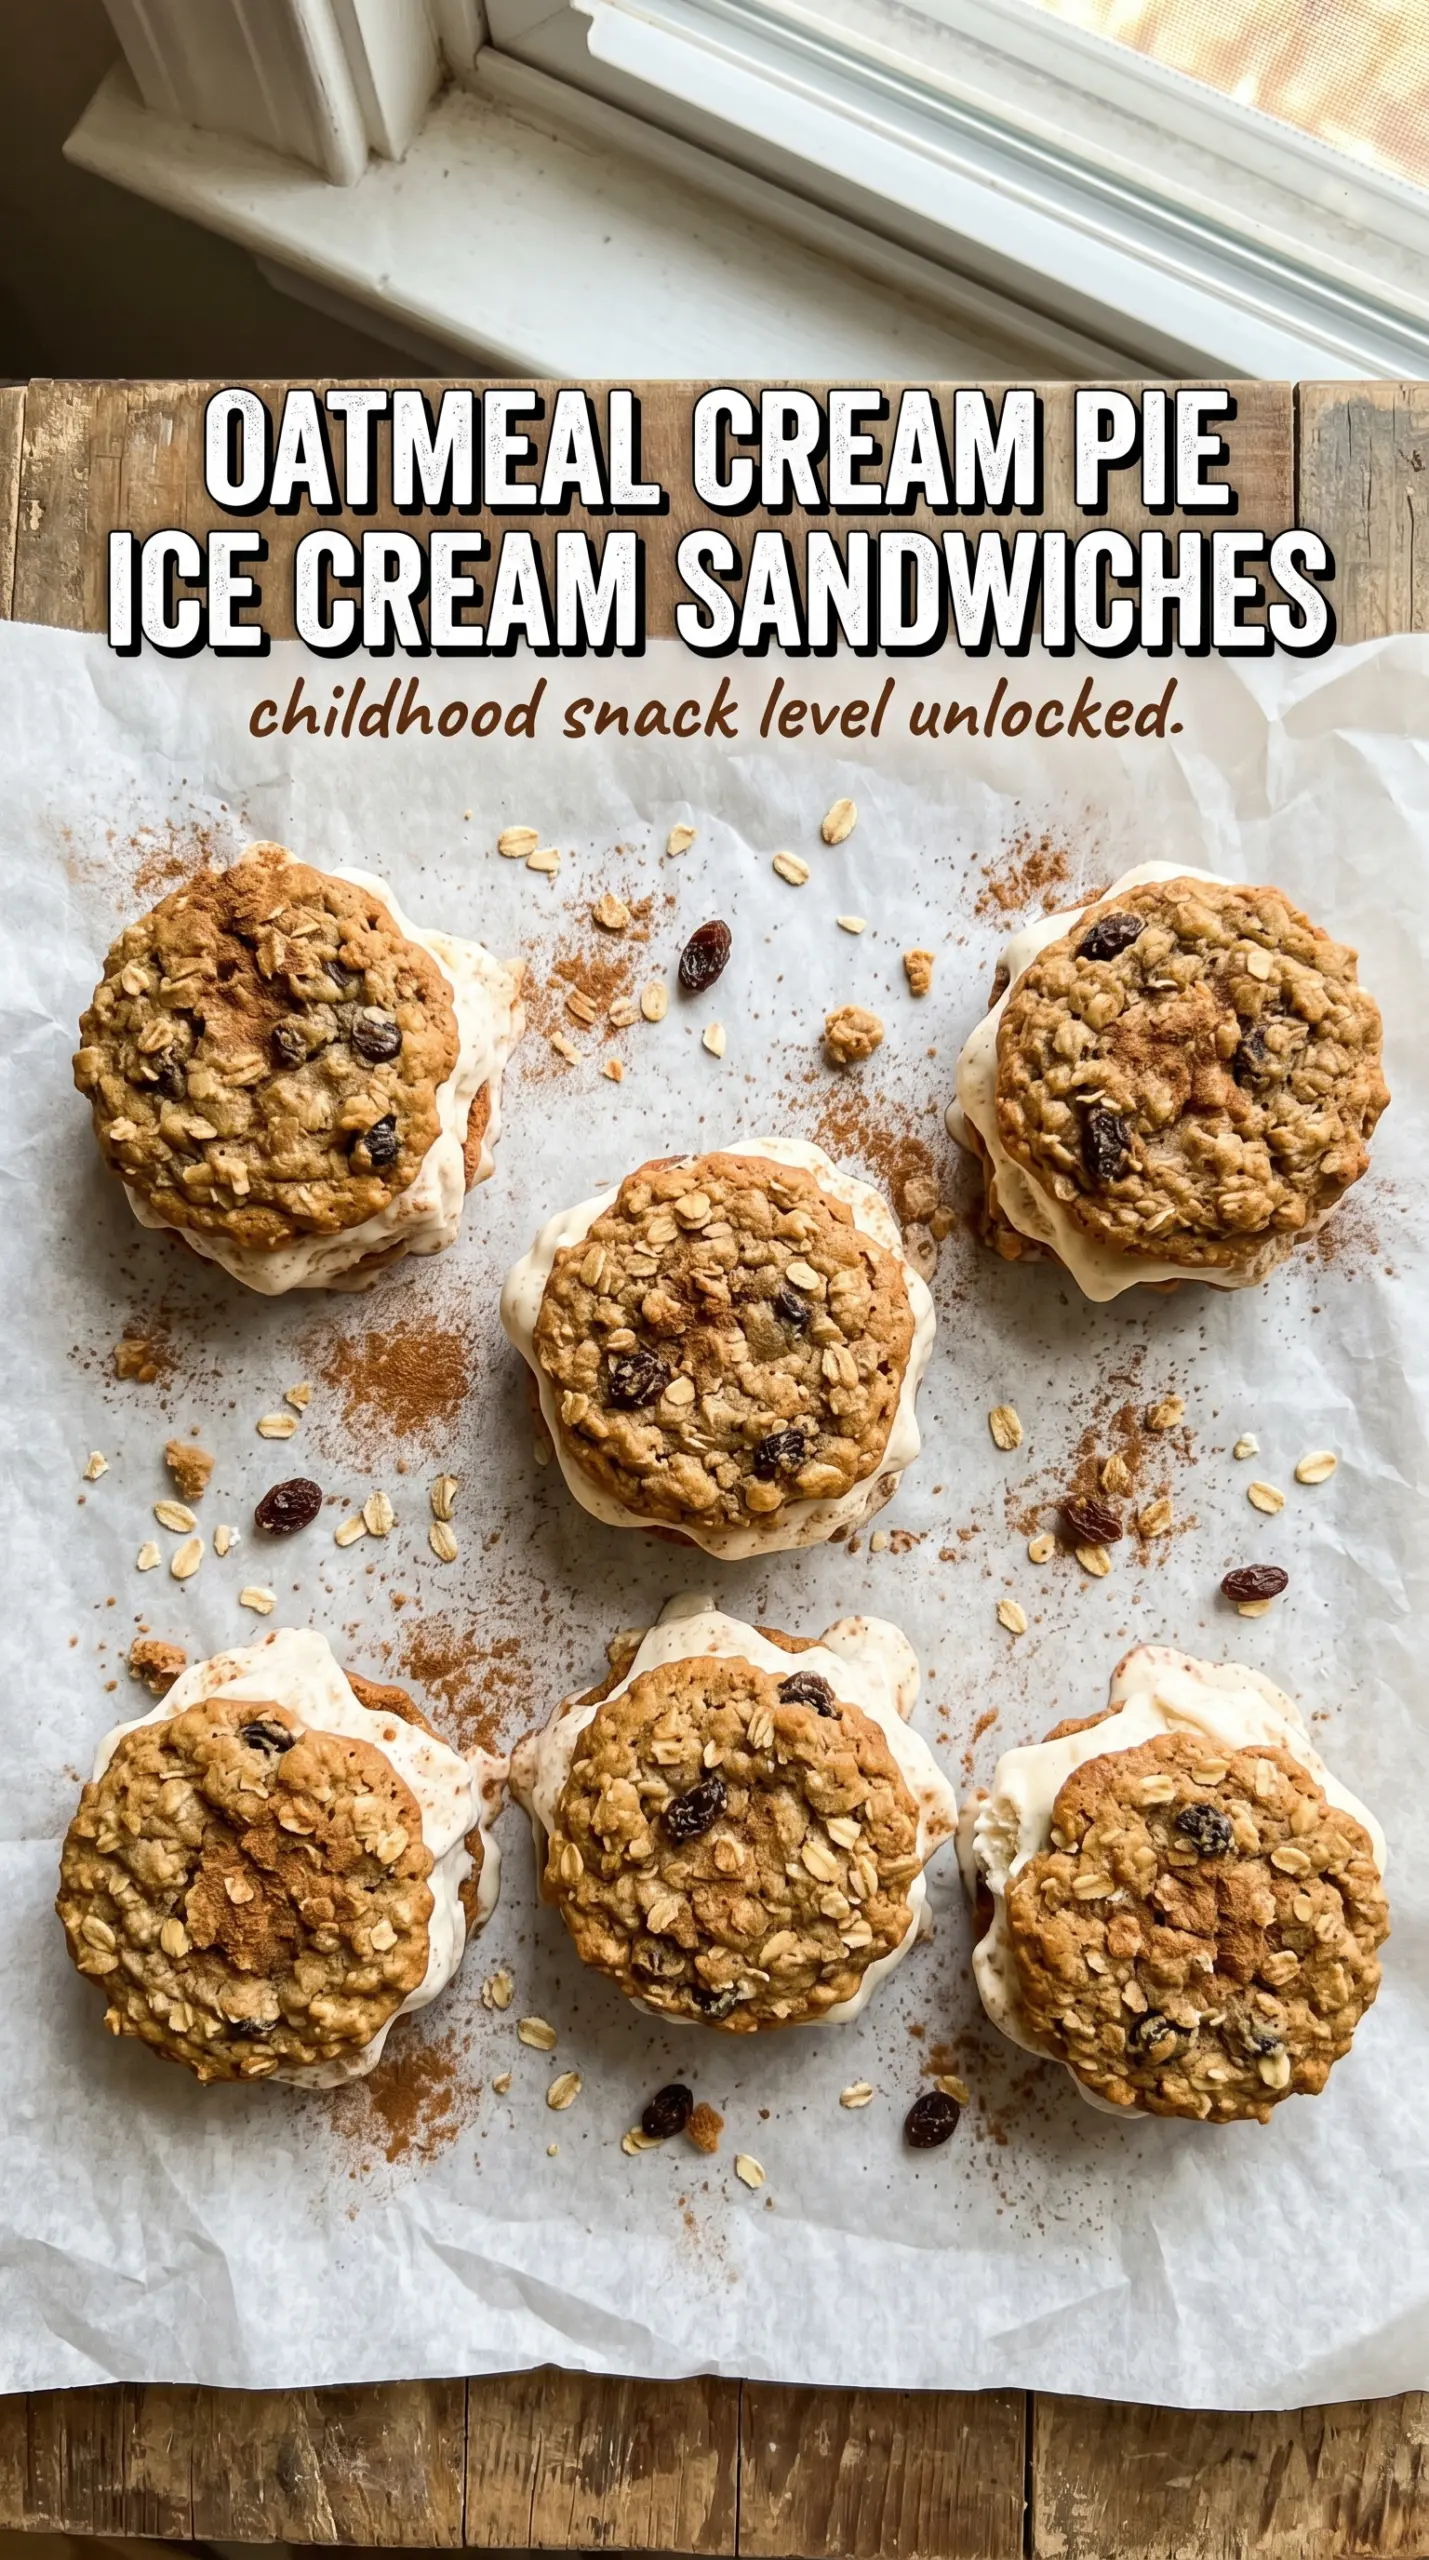
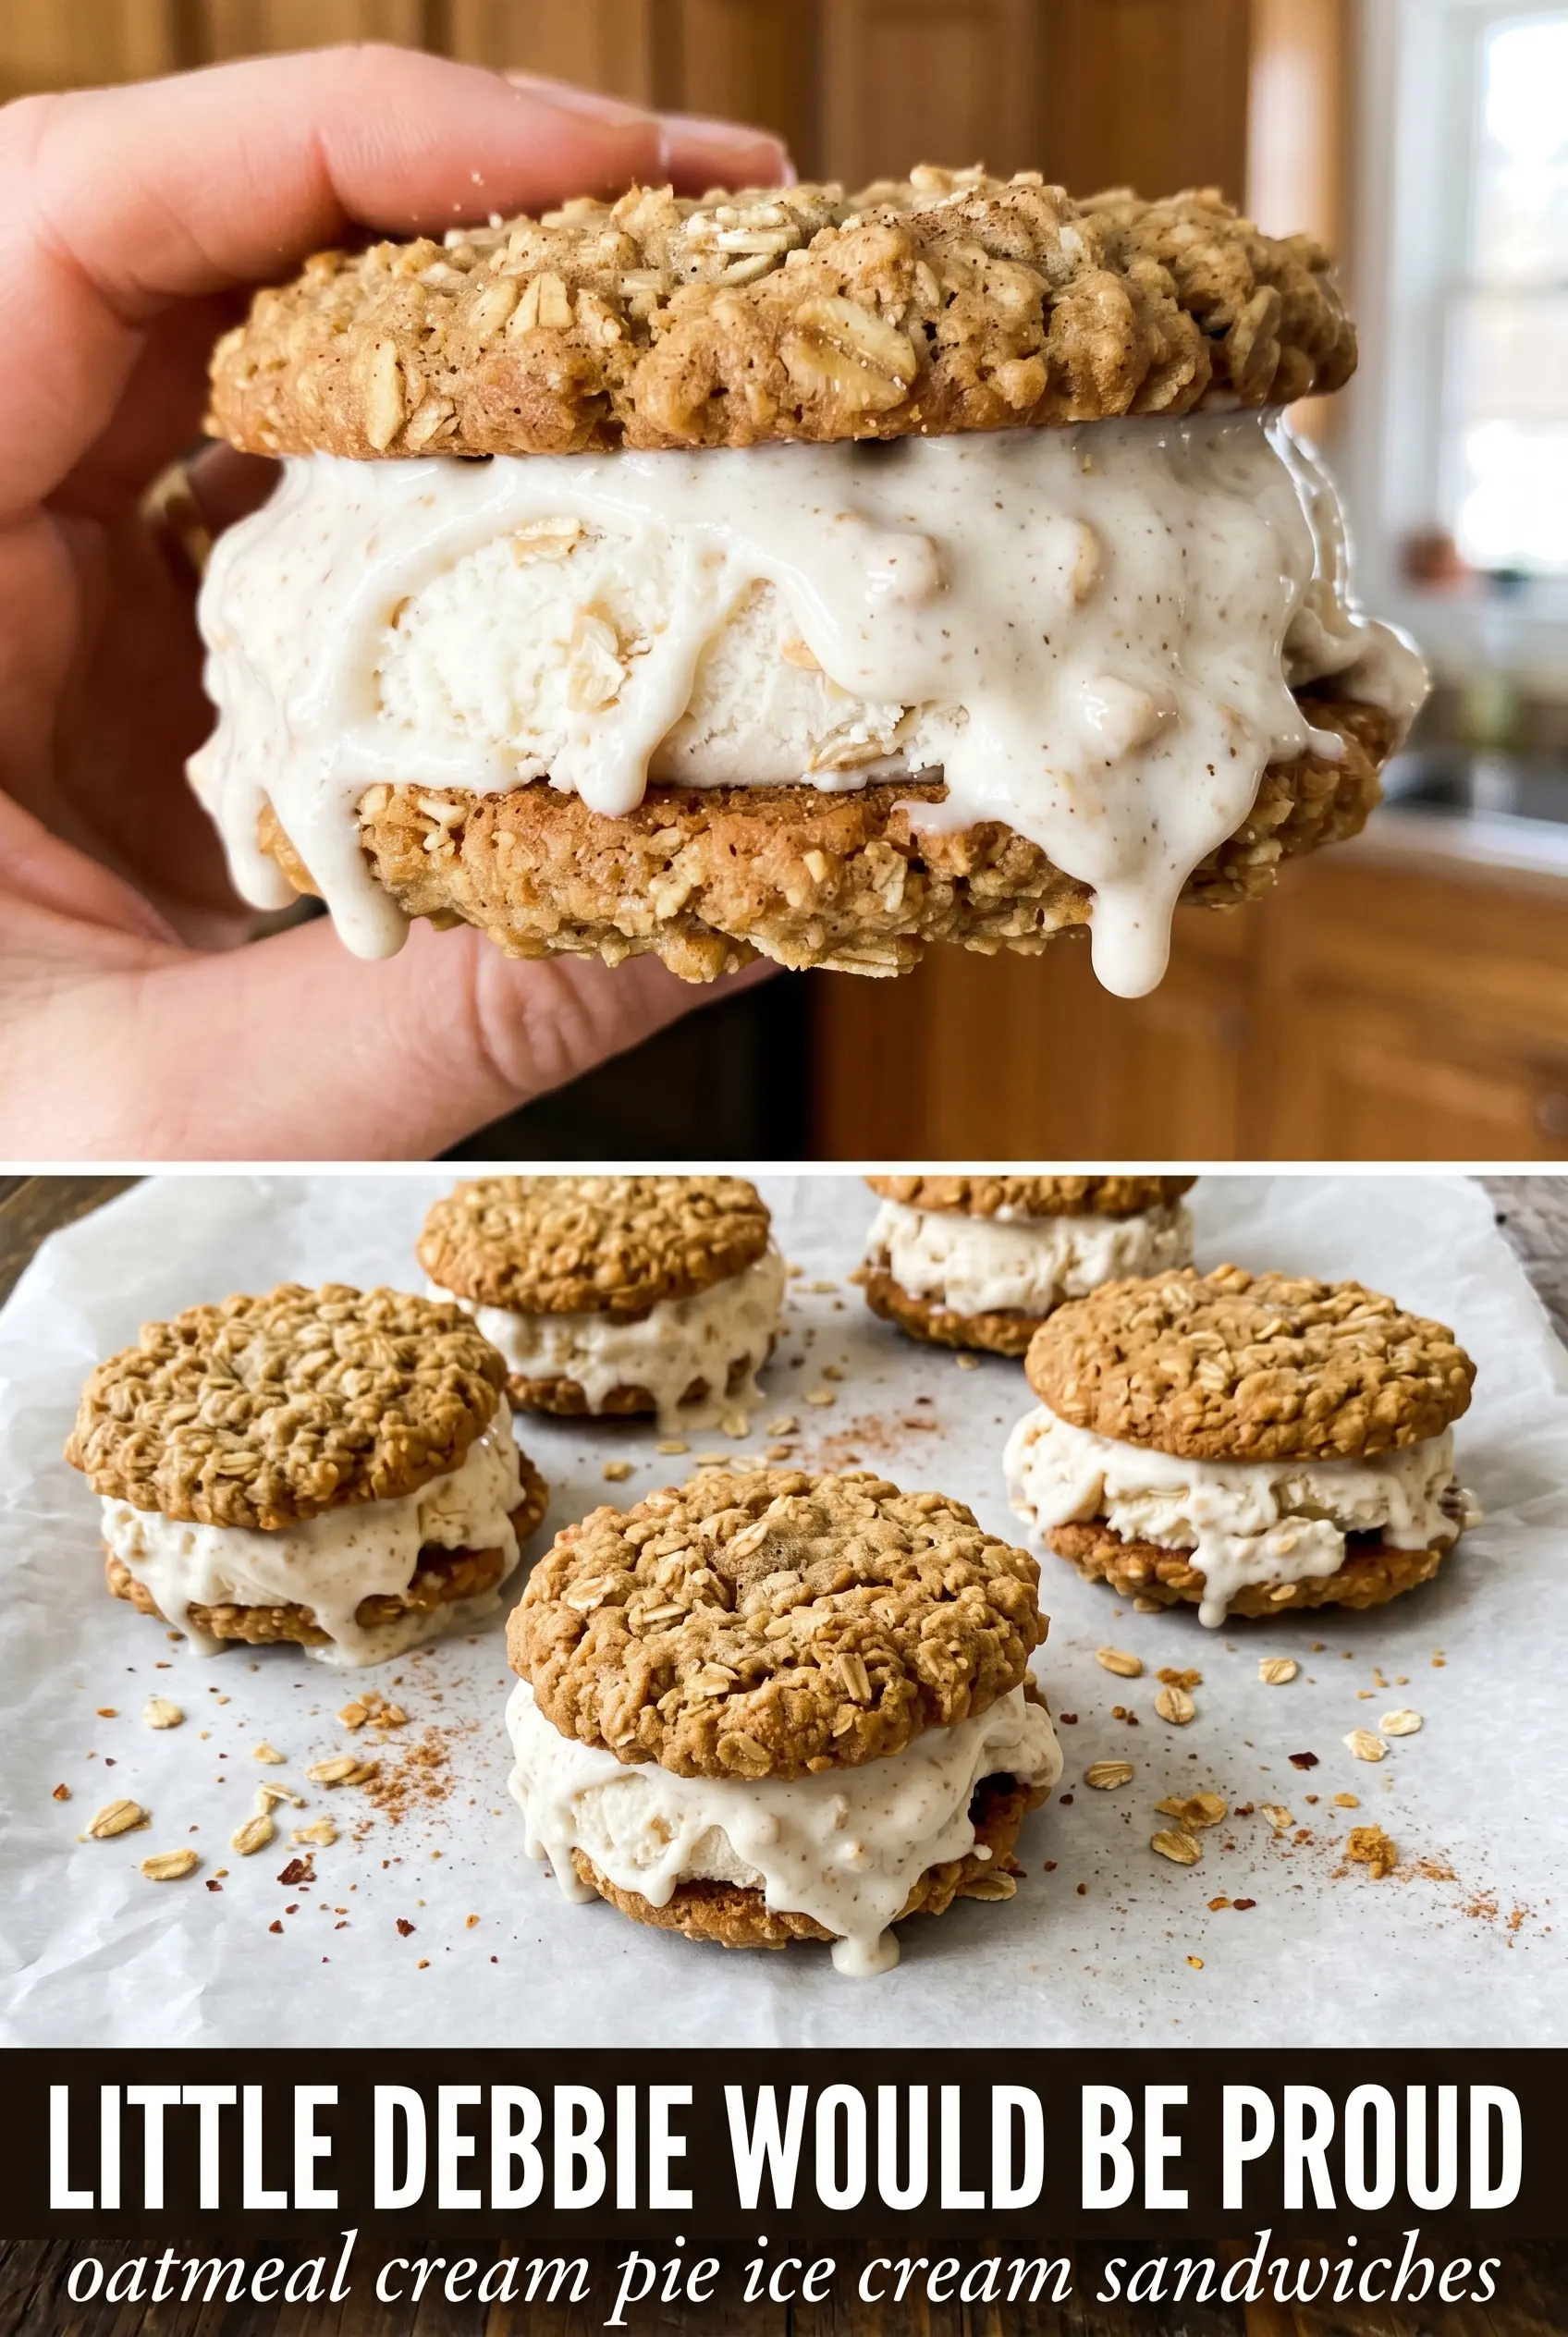
The cookies stayed soft after freezing and the vanilla ice cream pressed out to the edges just like a bakery sandwich. I made them the night before and they sliced cleanly after an hour in the freezer.
Like this homemade oatmeal cream pie ice cream sandwich? Save it to Pinterest for the days when you want chewy cookies, vanilla bean ice cream, and a frozen dessert that tastes straight from the lunchbox aisle.
The Part That Keeps These Cookies Soft After Freezing
The mistake with ice cream sandwiches is baking the cookies like you would for eating out of hand. That gives you a cookie that’s fine on day one and rock-hard after an hour in the freezer. Here, you want the edges just set and the centers still soft enough to finish setting as they cool on the pan. That’s what keeps the finished sandwich chewy instead of brittle.
Molasses does more than add flavor. It holds moisture and gives the cookies that deep, old-school oatmeal cream pie character. Quick oats matter too because they blend into the dough and stay tender; old-fashioned oats can work, but the texture gets looser and a little rougher. If you want the sandwiches to hold together cleanly, let the cookies cool all the way before adding the ice cream. Even a warm cookie will start slipping on contact.
What Each Ingredient Is Doing in the Cookie-and-Ice-Cream Build
- Molasses — This is the ingredient that gives the cookies their classic oatmeal cream pie depth. You only need a tablespoon, but it adds color, moisture, and that faintly sticky chew that keeps the cookies from tasting like plain oatmeal rounds.
- Brown sugar — Use packed brown sugar here. It brings softness and a caramel note that supports the cinnamon and cloves. Granulated sugar alone will make the cookies crisper than you want for a frozen sandwich.
- Quick-cooking oats — These give the dough structure without making it bulky. If all you have are old-fashioned oats, pulse them a few times in a food processor so the cookies still bake into a tight, sandwich-friendly shape.
- Vanilla bean ice cream — This is where the filling gets its clean, creamy contrast. A good vanilla matters because there isn’t much else in the center to hide behind. Softening it just enough to scoop makes assembly easier, but don’t let it melt or the sandwiches will smear instead of stack.
- Cloves and cinnamon — They don’t make the cookies taste spiced in a pumpkin-dessert way; they just nudge the flavor toward the familiar oatmeal cream pie profile. The cloves are especially important in small amount, so don’t skip them unless you want a flatter cookie.
Building the Sandwiches So They Freeze Cleanly
Mix the Dough Until It’s Just Combined
Start by whisking the dry ingredients together so the spices and leavening are evenly distributed. Cream the butter with both sugars until the mixture looks light and fluffy, then add the eggs, molasses, and vanilla. Once the flour goes in, stop mixing as soon as you no longer see dry streaks, then fold in the oats. Overmixing here makes the cookies dense and tough instead of soft and chewy.
Press the Dough Flat Before Baking
Scoop the dough into large rounds, about 3 tablespoons each, then press them down before they go in the oven. These cookies don’t spread into neat discs on their own, and a flat shape gives you a better sandwich later. Bake until the edges are set and the centers still look slightly underdone. They’ll finish as they cool, and that’s exactly what you want.
Assemble with Ice Cream That’s Soft, Not Melted
Let the cookies cool completely, then scoop vanilla bean ice cream between two cookies and press gently until the filling reaches the edges. If the ice cream is too hard, it tears the cookies; if it’s too soft, it squishes out and makes a mess. Work fast, and if the kitchen is warm, assemble a few sandwiches at a time and keep the rest of the ice cream in the freezer between rounds.
Freeze Until the Centers Set
Give the finished sandwiches at least an hour in the freezer before serving. That short freeze firms the ice cream enough to slice cleanly through the sandwich without cracking the cookies. If you want them extra neat, wrap each one in parchment or wax paper once frozen so they don’t stick together.
How to Change the Filling, the Cookies, or the Finish Without Losing the Point
Make It Dairy-Free
Use a dairy-free vanilla ice cream and plant-based butter in the cookies. The cookies still bake up soft, though the flavor loses a little of the classic buttery richness, so the vanilla filling matters even more. Pick a full-fat dairy-free ice cream or the sandwiches will freeze icy instead of creamy.
Swap in Old-Fashioned Oats
Old-fashioned oats give a thicker, more textured cookie with a rustic chew. If you use them straight from the bag, expect a looser bite and a less uniform sandwich edge. For a closer match to the original texture, pulse them a few times so they break down slightly before adding them to the dough.
Make Smaller Sandwiches for Easier Serving
Use 1 1/2 tablespoons of dough per cookie instead of the larger scoop and shorten the bake time by a couple of minutes. The result is a neater, more snackable sandwich with a thinner cookie-to-ice-cream ratio. These are a good move for parties because they freeze faster and are easier to hand out.
Storage and Reheating
- Refrigerator: Not the best option. The cookies soften too much and the ice cream turns sloppy, so keep these in the freezer instead.
- Freezer: Store wrapped individually for up to 2 weeks. After that, the cookies can pick up freezer flavor and lose some of their soft chew.
- Reheating: No reheating needed. Let a sandwich sit at room temperature for 3 to 5 minutes before eating so the cookie softens just enough and the ice cream isn’t rock-hard.
Questions I Get Asked About This Recipe
Oatmeal Cream Pie Ice Cream Sandwiches
Ingredients
Equipment
Method
- Preheat oven to 375F. Whisk all-purpose flour, baking soda, cinnamon, cloves, and salt until evenly combined.
- Beat unsalted butter, granulated sugar, and brown sugar until fluffy. Beat in eggs, then mix in molasses and vanilla extract until smooth.
- Stir the flour mixture into the butter mixture until a thick dough forms. Fold in quick-cooking oats so the texture stays rustic.
- Scoop dough into large rounds using about 3 tablespoons each, then press flat on a sheet pan. Bake at 375F for 10-12 minutes until the edges look set and the centers still feel slightly soft.
- Cool the cookies completely on the pan or a rack. Let them cool fully so they stay soft but hold together when sandwiched.
- Place vanilla bean ice cream between two oatmeal cookies. Use softened ice cream so it spreads without cracking the cookies.
- Press the cookies together until the ice cream reaches the edges. Keep pressure even so each sandwich looks uniform.
- Freeze the sandwiches at least 1 hour. Serve while still chilled so the cookies stay chewy and the ice cream stays firm.


