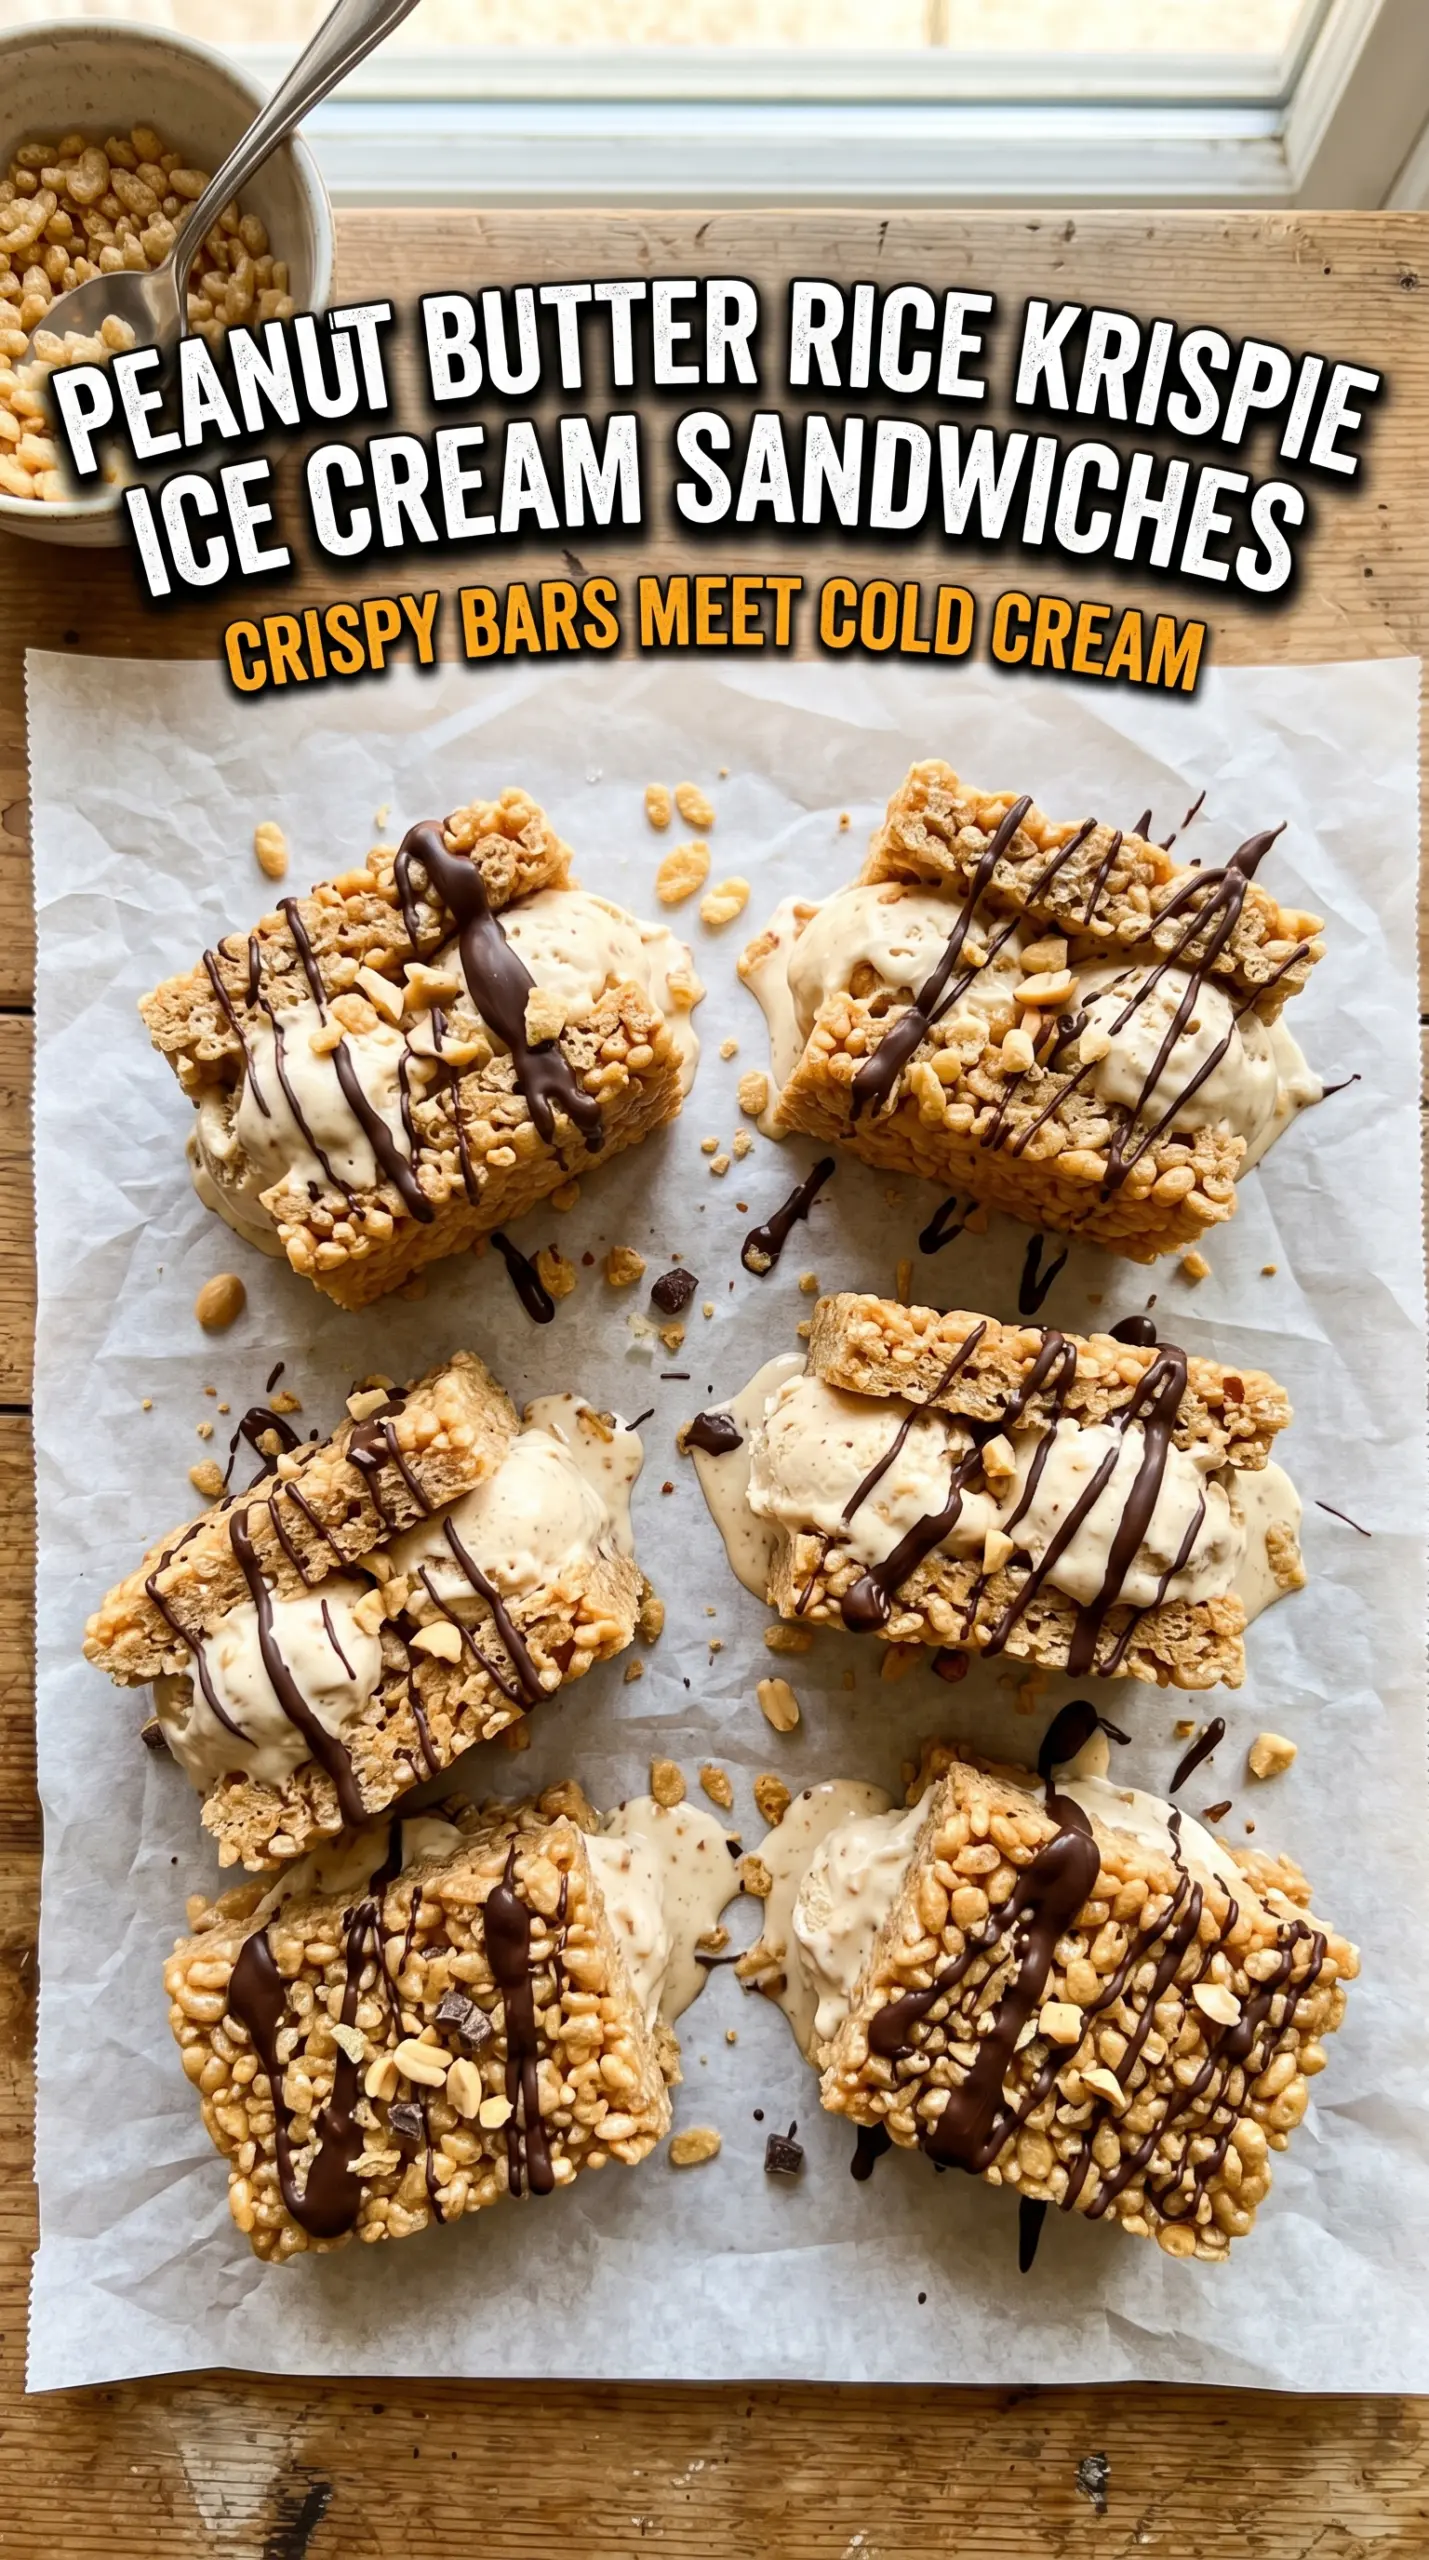
Thick, chewy-crunchy peanut butter Rice Krispie slabs make these ice cream sandwiches stand out from the usual cookie version. The cereal layer stays sturdy enough to hold its shape, but once it’s chilled and paired with soft chocolate ice cream, it turns into that perfect mix of sticky, crisp, cold, and creamy that disappears fast from the freezer.
The trick is in the peanut butter marshmallow base. It adds enough richness to make the cereal bars taste like dessert on their own, and it helps the slabs freeze into clean, sliceable rectangles instead of crumbling when you try to assemble them. The ice cream should be softened just enough to spread without tearing the bars, then the whole tray needs a solid freeze so the sandwiches set into neat, handheld squares.
Below you’ll find the little details that keep the slabs from getting too hard, plus the best way to cut and build them so the ice cream stays put. The chocolate drizzle on top isn’t just decoration either — it adds a crisp finish that makes each bite taste complete.
The peanut butter in the cereal layer made these taste like a cross between a classic treat and an ice cream sandwich, and the slabs cut cleanly after freezing. My kids kept sneaking them from the tray.
Save these peanut butter Rice Krispie ice cream sandwiches for the days when you want a crunchy frozen treat with a chocolate drizzle finish.
The Marshmallow Base Needs More Than Just Stirring
With a treat like this, the biggest mistake is treating the cereal layer like a simple bar. If the marshmallow mixture is too hot when the cereal goes in, the Rice Krispies get tough and dense instead of light and chewy. If you leave the mixture in the pot for too long before pressing it into the pan, it starts to set and you’ll end up with craggy edges and weak corners.
The texture you want is a slab that holds together when cold but still gives a little when you bite through it. That comes from melting the butter and peanut butter first, then adding the marshmallows only until they’re fully smooth. The cereal should be coated evenly, but not smashed. Press it into the pan with enough firmness to level it out, not enough force to compress every airy pocket out of the mixture.
- Creamy peanut butter — This is what gives the slabs their peanut butter flavor and helps the marshmallow mixture stay smooth. Natural peanut butter can work, but the texture is looser and the bars can set a little more crumbly.
- Mini marshmallows — Mini marshmallows melt faster and more evenly than large ones, which matters here because you want a smooth binder before the cereal goes in. Fresh marshmallows give the best stretch and chew.
- Rice Krispies cereal — The classic crisp cereal keeps the layers light. A store-brand rice cereal works fine, but stale cereal will make the bars taste flat and less crisp, so use a fresh box if you can.
- Chocolate or vanilla ice cream — Either one works, but chocolate gives the deepest contrast against the peanut butter slab. Soften it just enough to spread; if it’s too melted, it will squeeze out the sides when you sandwich the bars.
What Each Ingredient Is Actually Doing in This Ice Cream Sandwich
- Cookie or bread base (the structural holder) — This needs to be sturdy enough to hold ice cream without crumbling, but tender enough to bite through. Freshness matters.
- Ice cream or frozen yogurt (the filling) — This should be slightly soft so it adheres to the cookies without melting off. Temperature matters here.
- Texture of the cookies (crispy vs. soft) — Crispy cookies stay crunchy; soft cookies meld with the ice cream. Choose based on the texture experience you want.
- Coating (optional chocolate, sprinkles, or nuts) — This adds visual appeal and texture. Dip in melted chocolate while ice cream is still cold so it sets immediately.
- Sandwich technique (speed matters) — Assemble sandwiches quickly so the ice cream doesn’t melt. Work in batches and keep ice cream scoops in the freezer.
- Freezing before serving (the set-up) — Let assembled sandwiches freeze for 30 minutes so they hold together when eaten. This also prevents ice cream from squishing out.
- Flavor pairing (cookies and ice cream together) — The cookie flavor should complement the ice cream, not compete. Think chocolate with vanilla or peanut butter with chocolate.
- Storage in the freezer (wrapped well) — Wrap individually so they don’t absorb freezer odors. They last 2-3 weeks when wrapped tightly.
Building the Sandwiches Before the Ice Cream Wins
Melting the Butter and Peanut Butter
Set the butter in a large pot over medium heat and let it melt fully before stirring in the peanut butter. The mixture should turn glossy and smooth, with no streaks left behind. If the heat is too high, the peanut butter can separate and the marshmallows will cook unevenly once they go in.
Turning Marshmallows Into a Smooth Binder
Add the mini marshmallows and stir until they’re fully melted and the mixture looks thick, shiny, and stretchy. Pull the pot off the heat as soon as the last marshmallow disappears. If you keep cooking past that point, the base starts to stiffen and the finished slabs get hard instead of chewy.
Coating the Cereal Without Crushing It
Stir in the Rice Krispies and salt until every piece is coated. Work fast, but don’t pound the mixture around the pot. You want the cereal to stay airy and distinct, because compressed cereal bars freeze into a heavy bite and are harder to slice cleanly later.
Pressing, Chilling, and Cutting Cleanly
Press the mixture into a parchment-lined 9×13 pan in an even layer about 3/4 inch thick. Use another sheet of parchment or lightly greased hands to keep the mix from sticking to you, then cool it completely before freezing. After 30 minutes in the freezer, cut the slab into 24 rectangles with a sharp knife or bench scraper; if you cut too early, the edges drag and the bars lose their neat shape.
Filling and Freezing the Finished Sandwiches
Spread softened ice cream between two rectangles, using enough to make a generous center without letting it spill out the sides. Drizzle the tops with melted chocolate, then freeze the sandwiches for at least 1 to 2 hours so the filling firms up and the slabs lock together. If you serve them too soon, the ice cream slides and the cereal layer softens at the seam.
How to Adjust These Frozen Sandwiches for Different Freezers and Diets
Dairy-Free Version
Use plant-based butter, dairy-free chocolate, and a non-dairy ice cream that softens well, like coconut or oat milk ice cream. The bars still set nicely, but the finished sandwiches will taste a little less rich and a little more coconut-forward if you choose that style of ice cream.
Chocolate, Vanilla, or Peanut Butter Ice Cream Filling
Chocolate makes the boldest sandwich, vanilla gives you the cleanest peanut butter flavor, and peanut butter ice cream pushes the whole dessert into full-on peanut butter cup territory. Any of them work as long as the ice cream is softened just enough to spread without melting into the cereal layer.
Extra-Crunchy Edges
For a crisper bite, press the cereal layer a little thinner and freeze the cut rectangles before assembling. The result is a firmer shell with more snap at the edges, though the sandwich won’t have quite as much of that chewy center.
Storage and Reheating
- Refrigerator: Not the best option. They soften too fast in the fridge and lose the clean frozen bite that makes them work.
- Freezer: Store wrapped individually or layered with parchment for up to 2 weeks. After that, the cereal layer starts to pick up freezer flavor and the ice cream can get icy.
- Reheating: No reheating needed. Let them sit at room temperature for 2 to 3 minutes before eating so the cereal layer gives slightly instead of cracking.
Answers to the Questions Worth Asking
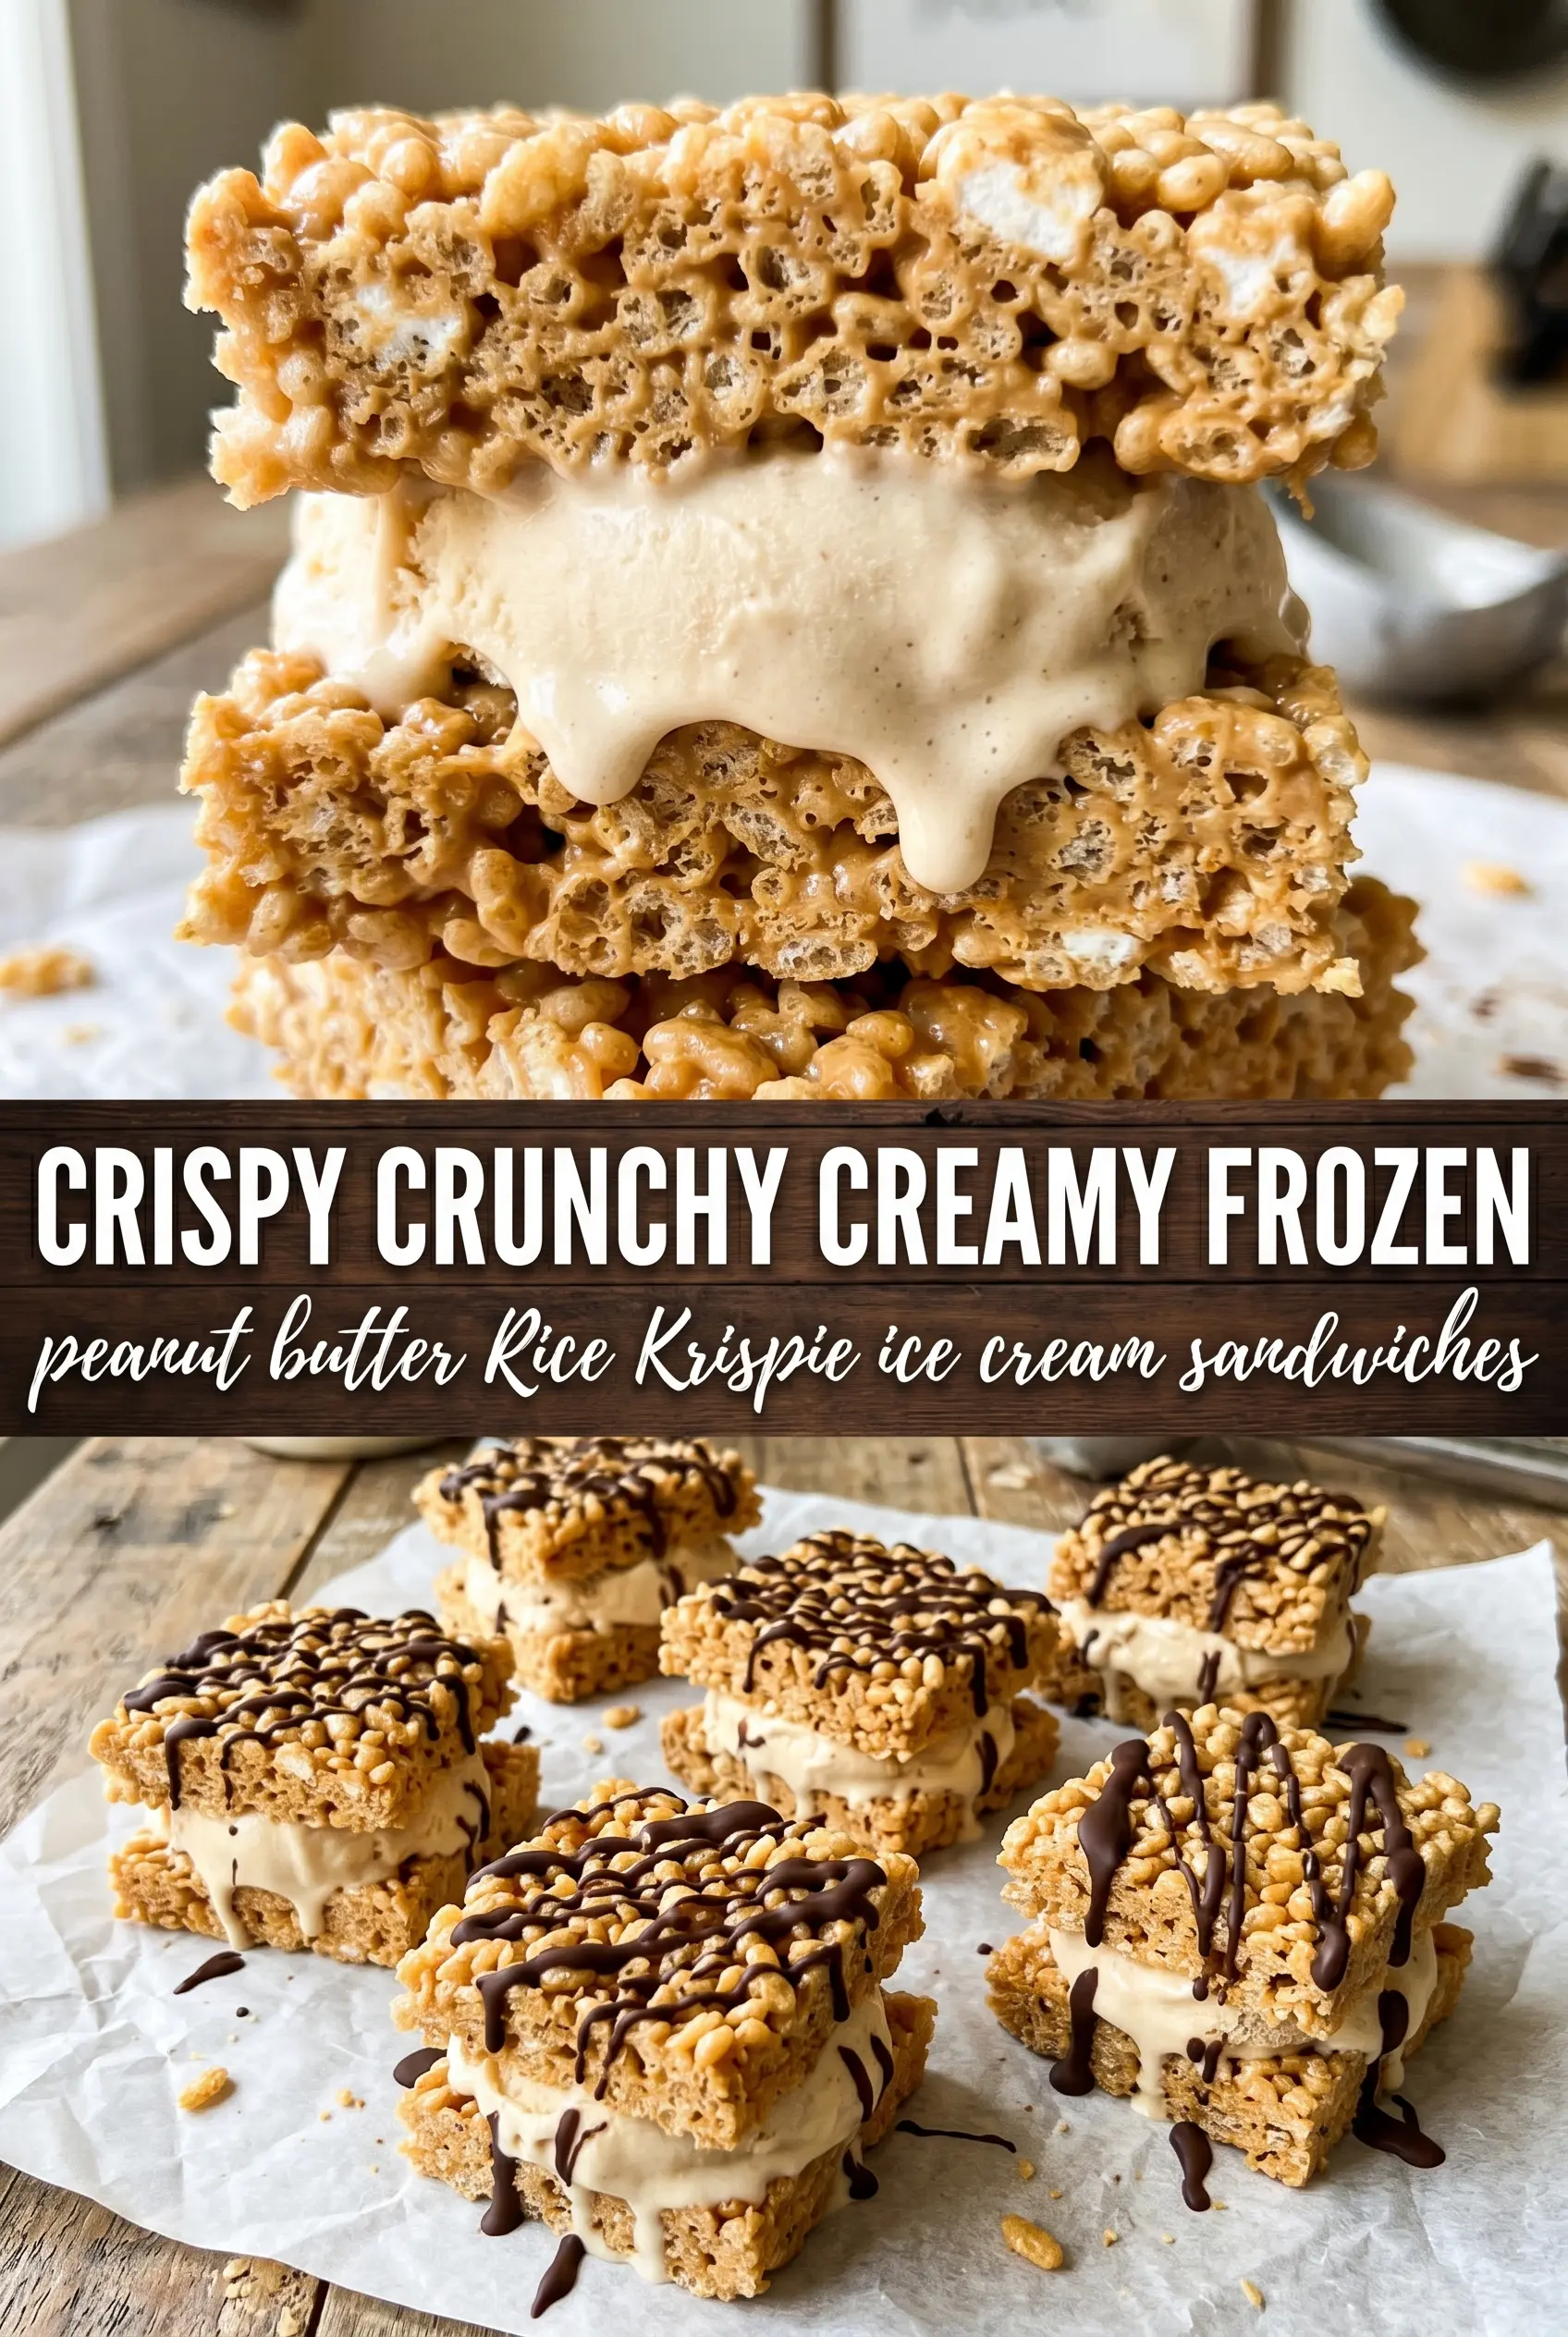
Peanut Butter Rice Krispie Ice Cream Sandwiches
Ingredients
Equipment
Method
- Melt the unsalted butter in a large pot over medium heat, then stir in the creamy peanut butter until smooth, glossy, and fully combined.
- Add the mini marshmallows and stir until completely melted, about 1–3 minutes; remove from heat as soon as the mixture turns smooth and cohesive.
- Stir in the Rice Krispies cereal and salt until every flake is evenly coated and the mixture looks sticky and uniform.
- Press the mixture into a parchment-lined 9x13 pan in an even 3/4-inch layer, then cool completely at room temperature.
- Freeze for 30 minutes until firm enough to slice, then cut into 24 equal rectangles.
- Sandwich a generous slab of chocolate or vanilla ice cream between two Rice Krispie rectangles, aligning edges so the cereal fully wraps the ice cream.
- Drizzle with melted Chocolate drizzle for topping, then freeze at least 1–2 hours before serving until the centers are solid.


