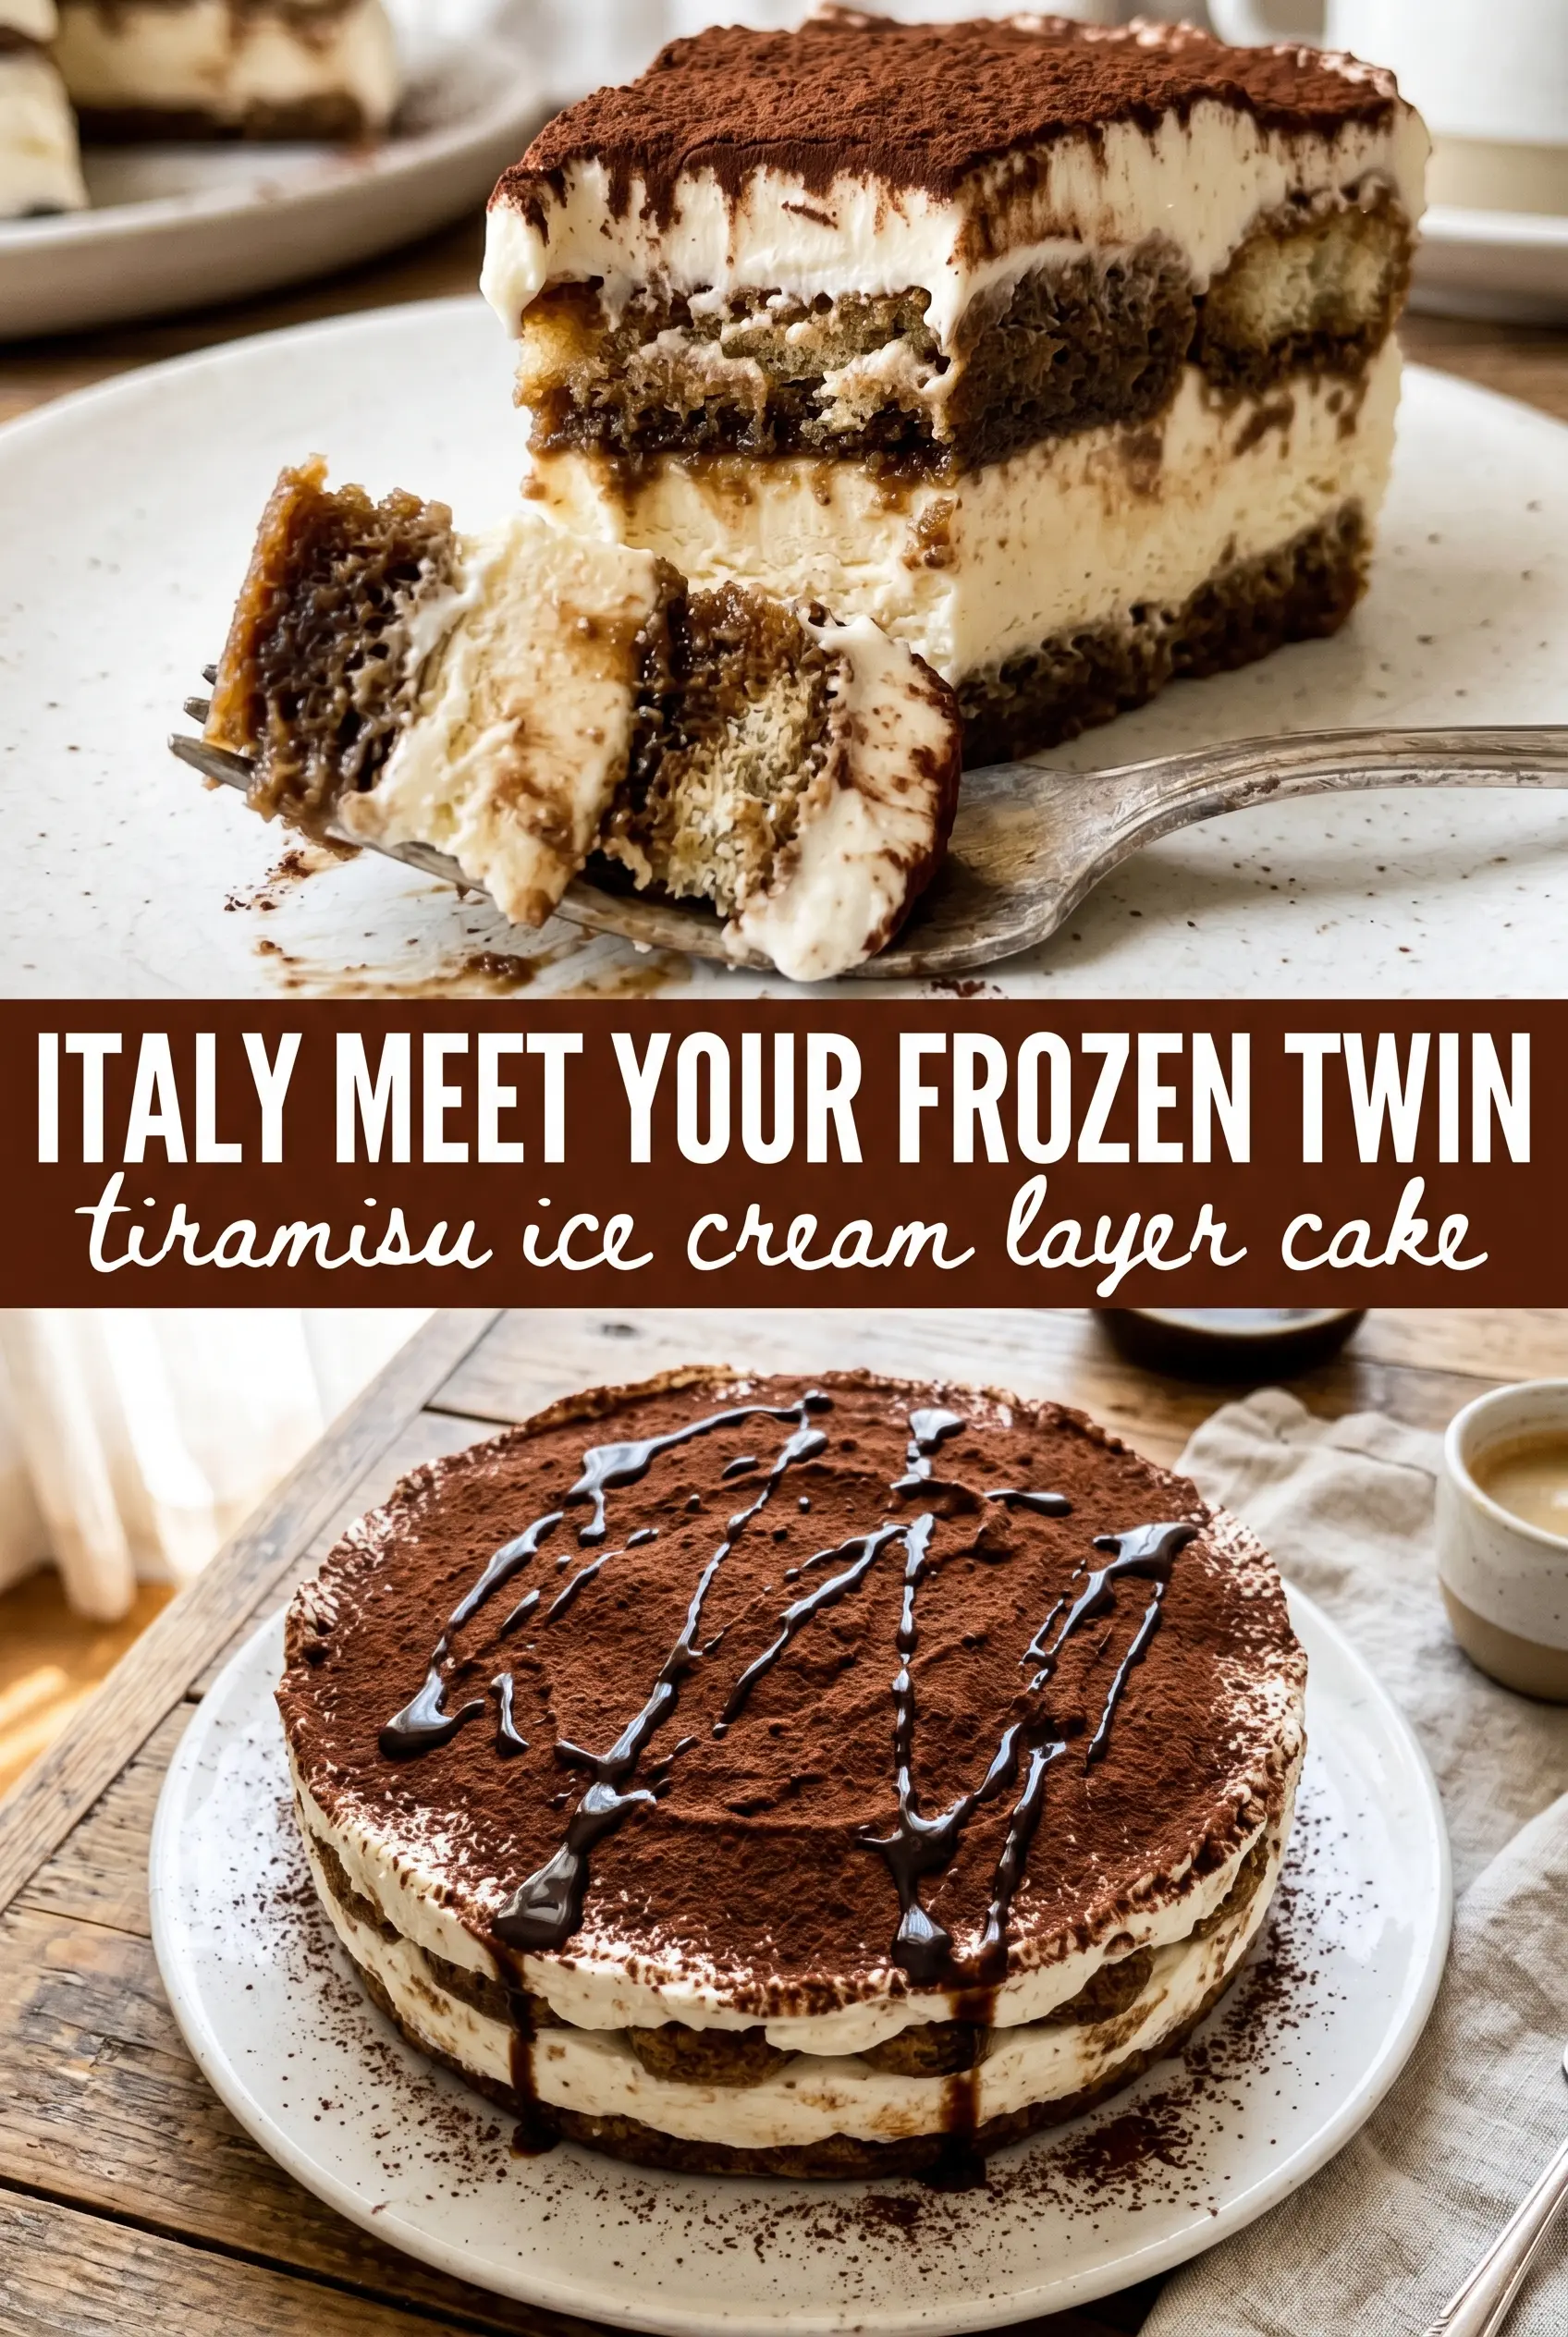
Ingredients
Equipment
Method
Dip and layer the ladyfingers
- Mix the cooled espresso with the coffee liqueur, if using. Quickly dip each ladyfinger and arrange them in a single layer in a 9x13 pan, then keep the layer even and compact.
Freeze the first ice cream layer
- Spread the softened coffee ice cream over the ladyfinger layer in an even coat. Freeze for 2 hours until firm enough to hold the next layer.
Add the second ladyfinger layer
- Dip more ladyfingers in the espresso mixture and arrange a second layer over the frozen ice cream. Press lightly to fill gaps so the layers bake-looking and cohesive.
Whip the mascarpone topping
- Beat the mascarpone, heavy cream, powdered sugar, and vanilla until stiff peaks form. Mix only until thick so the whipped texture stays airy and spreadable.
Freeze until set
- Spread the mascarpone whipped mixture over the second ladyfinger layer. Freeze at least 6 hours or overnight until completely firm.
Finish and serve
- Dust the top generously with unsweetened cocoa powder through a fine sieve just before serving. Slice with a warm blade for cleaner edges and an even cocoa coat.
Notes
Pro tip: dip the ladyfingers quickly—too long makes them break and turn gummy. Store the assembled cake covered in the freezer for up to 2 weeks; thawing fully isn’t recommended because it loses the sliceable frozen texture. Freeze yes—freeze before serving for best structure. Dietary swap: use lactose-free mascarpone and lactose-free heavy cream for a lactose-free version (the whipping time may vary slightly).