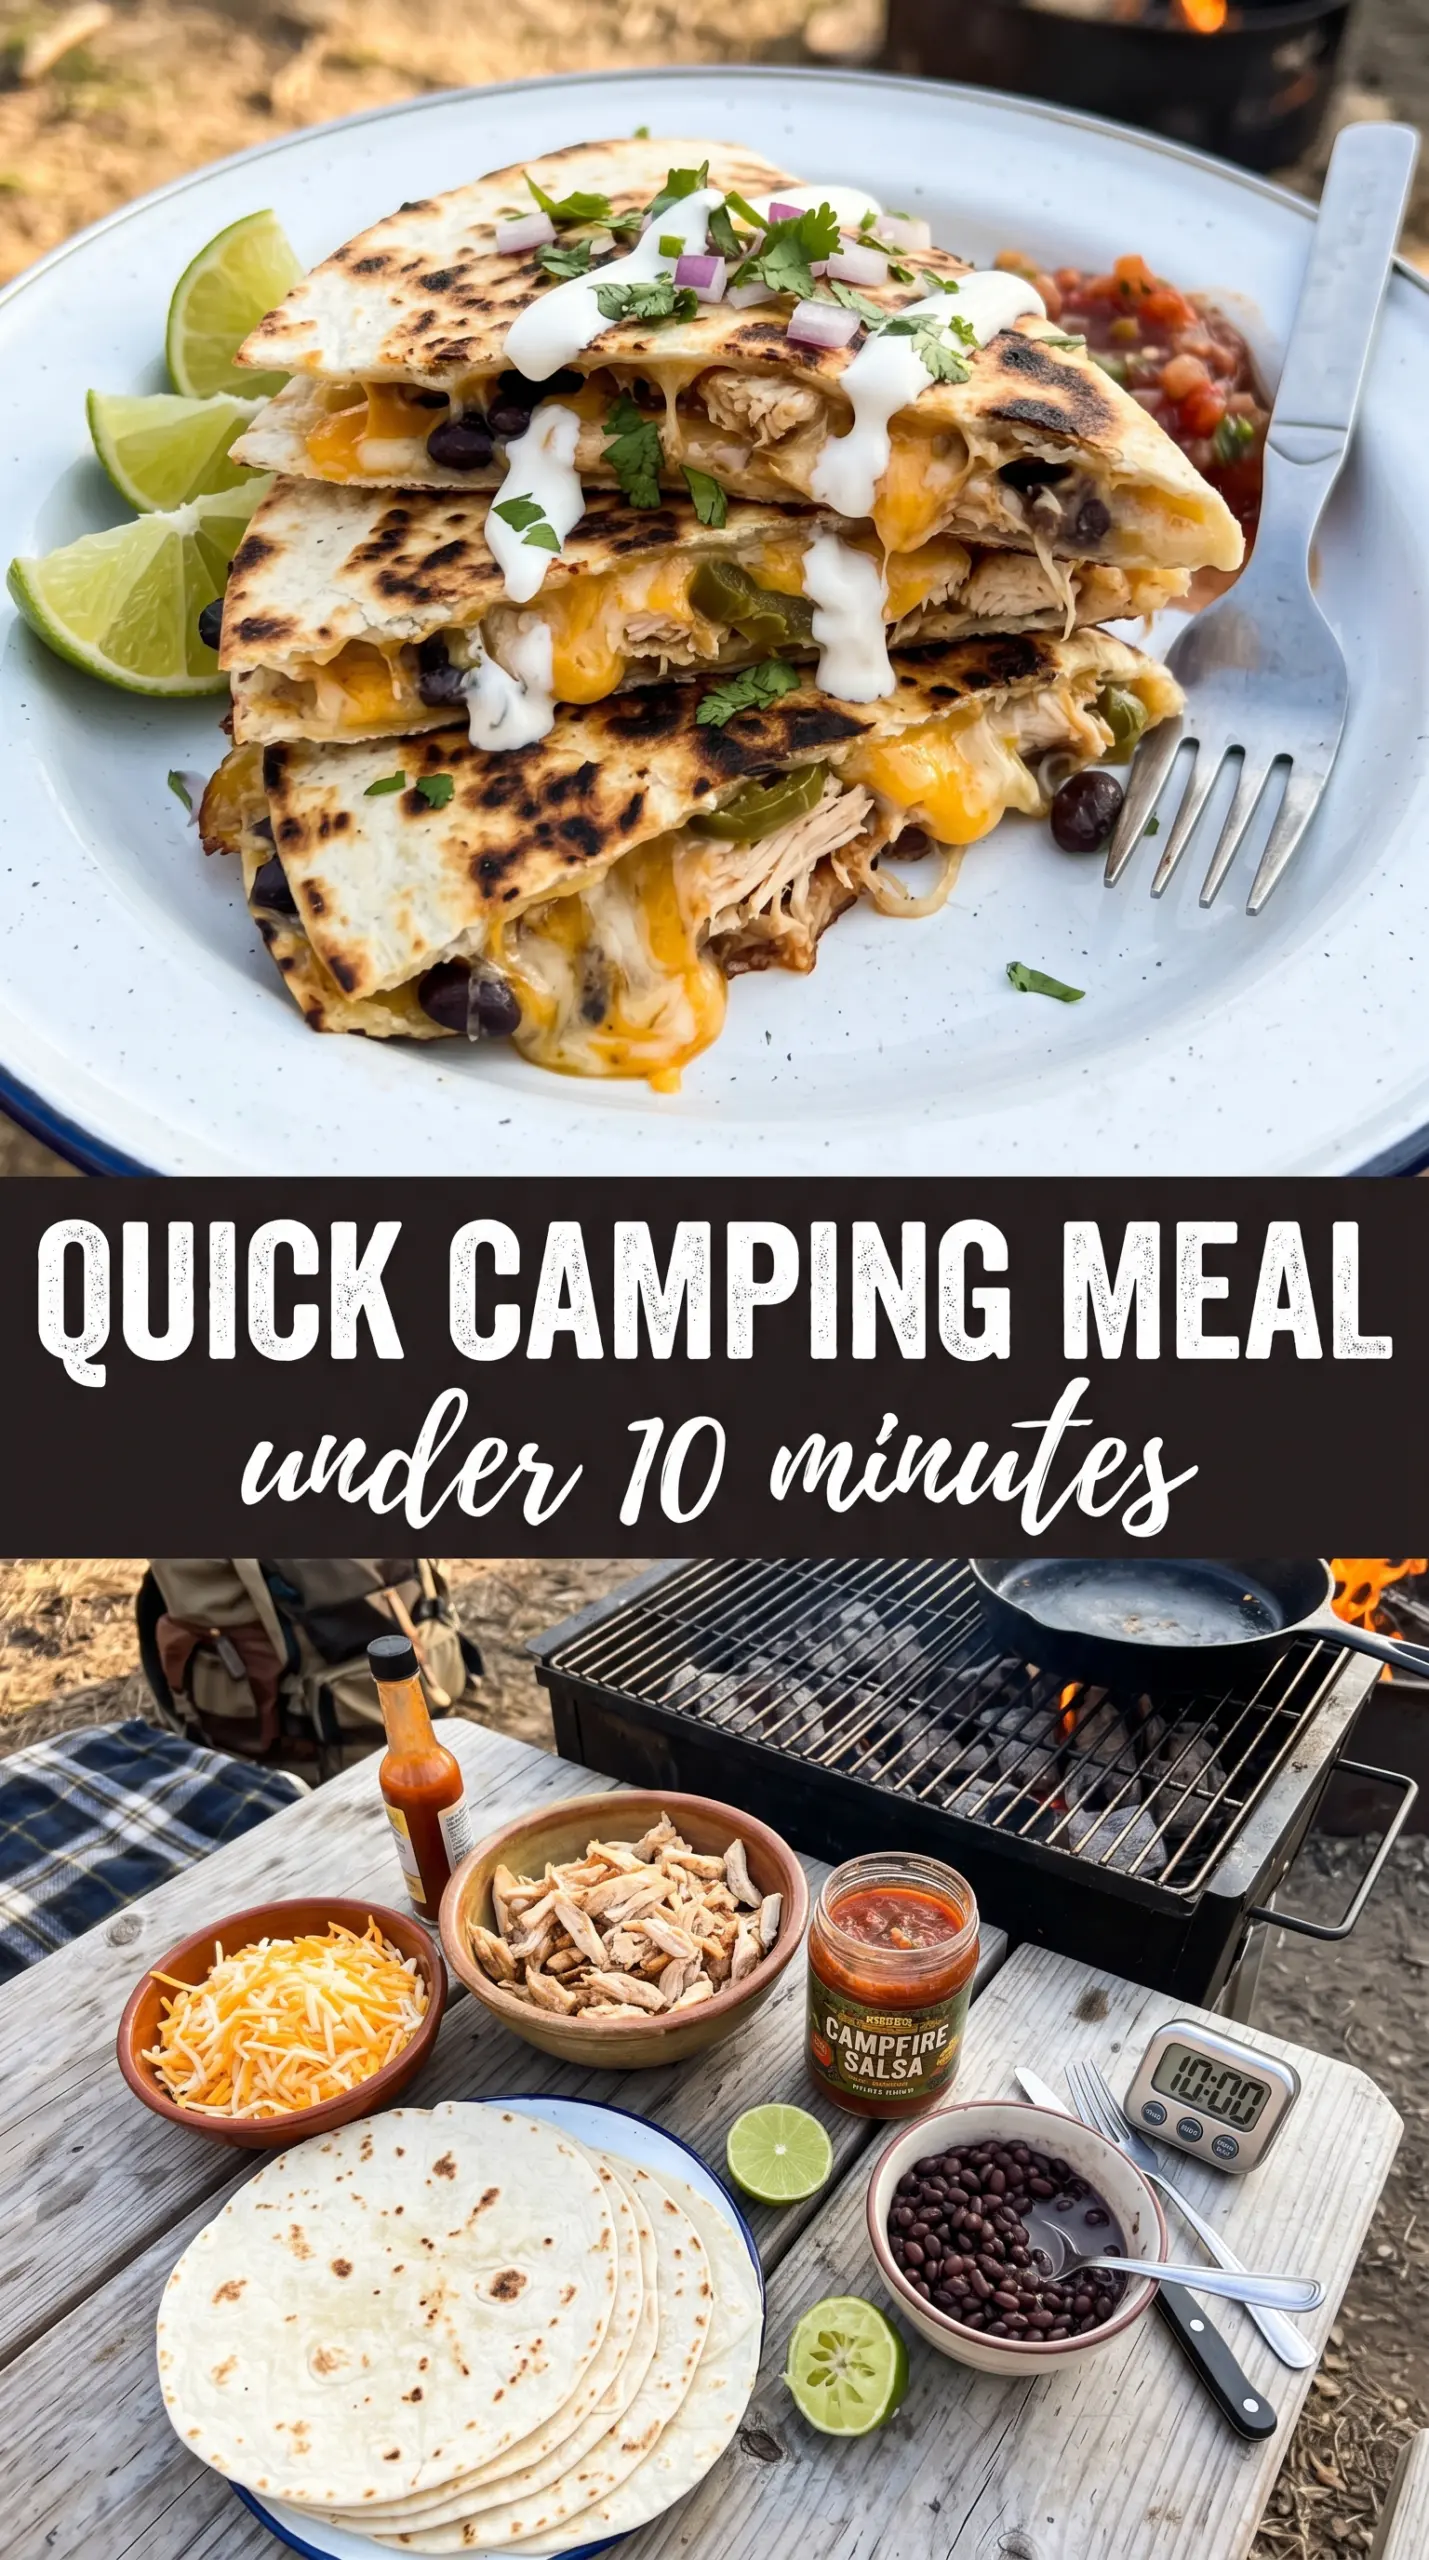
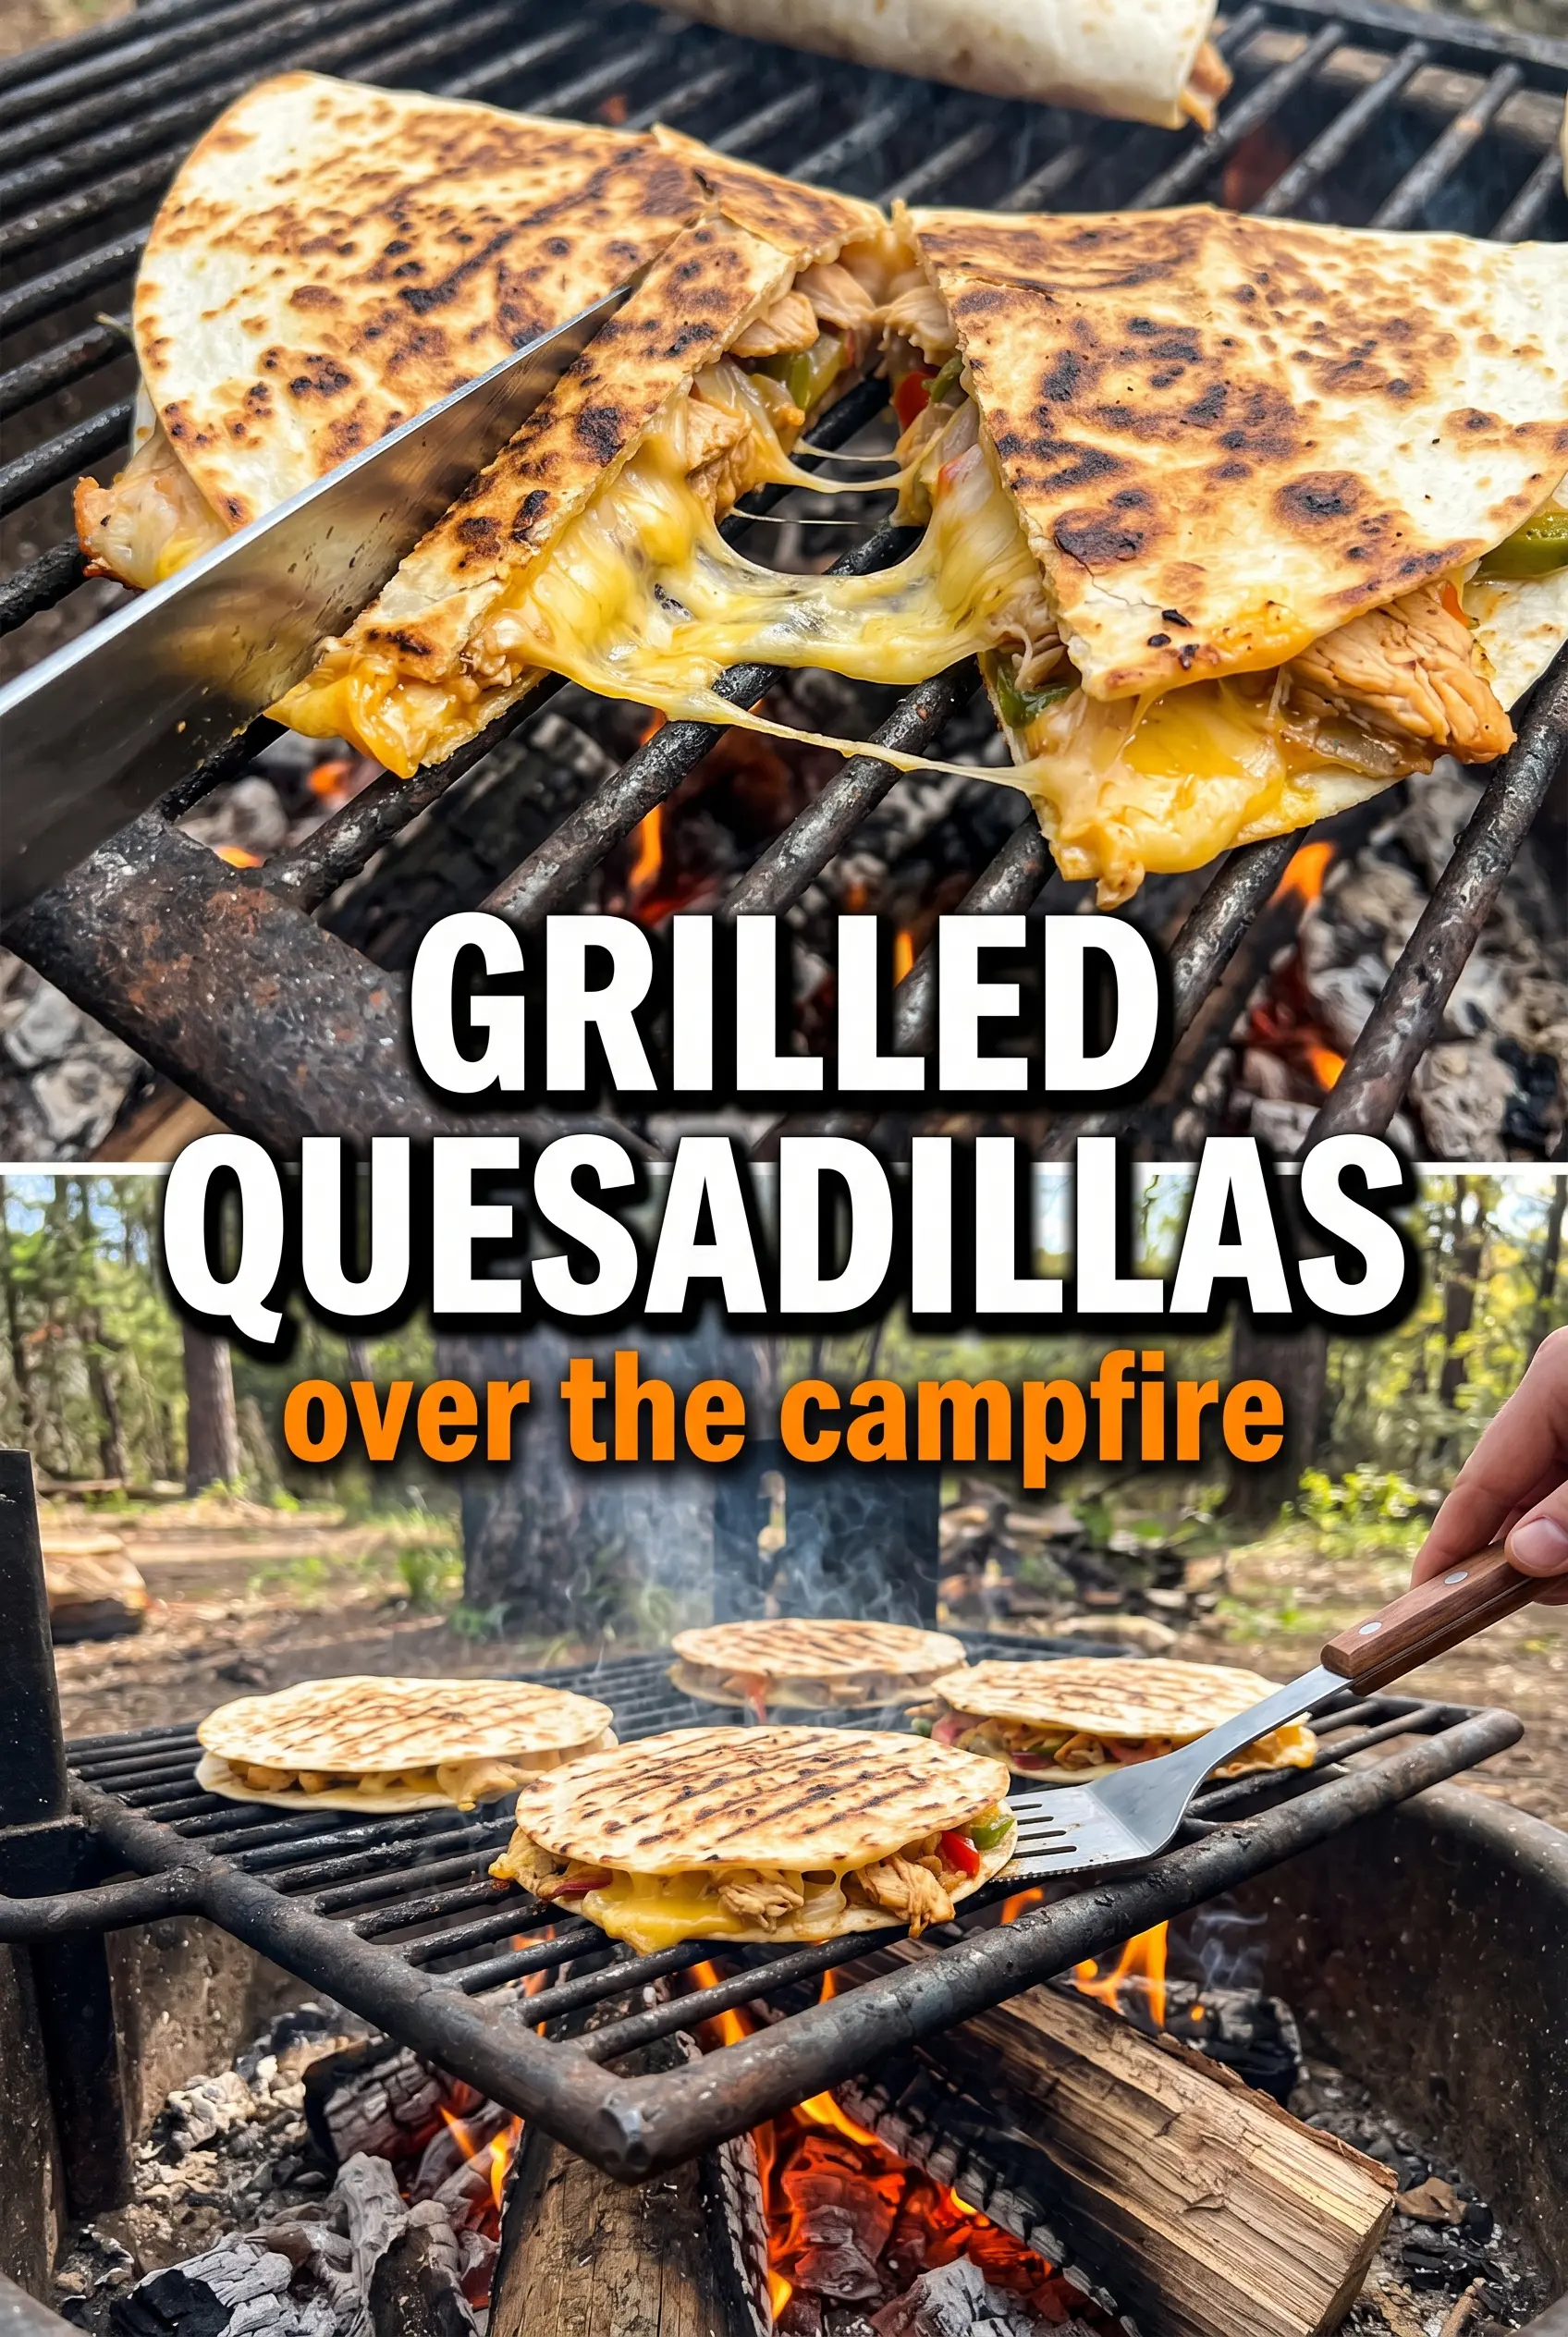
Grilled campfire quesadillas hit the table with crisp, blistered tortillas and a center that stays molten long enough for everyone to grab a wedge before the cheese sets up. The best ones have those dark grill marks on the outside, a little smoke on the tortillas, and filling that holds together instead of spilling out the second you cut them.
This version keeps the method simple, which matters when you’re cooking over fire. The tortillas get brushed with a little butter or oil so they brown instead of drying out, and the filling is layered in a way that melts fast without turning the quesadilla greasy. Using pre-cooked chicken means you’re only heating it through, not trying to cook raw meat over uneven heat.
Below, I’ll walk through the part that makes the biggest difference: how hot the cooking surface should be before the tortillas go on, plus a few practical swaps if you’re making these with what you packed for camp.
The tortillas got perfectly crisp over the fire, and the cheese melted all the way through without everything sliding out when I cut them. My husband kept sneaking wedges straight off the board.
Love these grilled campfire quesadillas? Save them for your next camping dinner when you want something cheesy, smoky, and fast over the fire.
The Part Most People Get Wrong on Campfire Quesadillas
The biggest mistake with campfire quesadillas is rushing the heat. If the skillet or grate isn’t hot enough, the tortilla dries out before it browns and the cheese never gets fully melted. If it’s too hot, the outside scorches while the filling stays cool in the middle. You want steady medium heat and enough contact time for the tortilla to crisp while the cheese softens underneath.
Another common failure is overfilling. These need room for the cheese to act like glue. A modest layer of filling melts into a clean slice; a piled-high tortilla turns slippery, leaks onto the fire, and makes a mess on the turn.
What Each Ingredient Is Doing in the Fire
- Flour tortillas — Large flour tortillas hold up best over heat and give you the flexible, crisp-edged shell you want. Smaller tortillas work, but they’re harder to fill and flip without spilling. If yours are stiff from the package, warm them for a few seconds first so they don’t crack when folded.
- Mexican cheese blend — This is the engine of the recipe. The mix usually includes cheeses that melt smoothly without turning oily, which is what helps the quesadilla stay cohesive. Pre-shredded is fine here, though freshly shredded will melt a little faster and cleaner.
- Cooked shredded chicken — Pre-cooked chicken keeps the timing tight and the filling juicy. Rotisserie chicken, leftover grilled chicken, or any plain seasoned chicken all work. Chop or shred it small so it heats evenly and doesn’t push the tortillas apart.
- Bell pepper, onion, jalapeño — These add sweetness, bite, and a little heat, but they should be cut small so they soften before the tortilla burns. If you want a gentler quesadilla, leave the jalapeño out or use just a few slices. Raw onion should be diced fine; big chunks stay sharp and can make the quesadilla feel undercooked.
- Butter or oil — This is what gives you the browned exterior. Butter tastes richer, but oil is a little more forgiving over open fire because it handles heat better. Brush on a thin layer; too much fat just makes the tortilla greasy.
Building the Quesadilla So It Melts Before It Burns
Heating the Surface First
Set a cast iron skillet over the campfire or on a grill grate and give it time to heat through. If you add the tortilla too soon, it absorbs fat and turns limp instead of crisping. The surface should sizzle the instant the tortilla lands on it, but not smoke hard enough to blacken the outside before the cheese softens.
Layering the Filling
Start with one tortilla, then add cheese, chicken, peppers, onions, and jalapeños in a fairly even layer. Keep the filling away from the very edge so it doesn’t ooze out and burn onto the pan. Top with the second tortilla and press gently with a spatula so the layers settle together without squeezing everything out.
Flipping at the Right Moment
Cook for 3 to 4 minutes, then lift one edge and check for deep golden spots before you turn it. If the bottom is pale, wait another minute; if it’s nearly black, your heat is too high. Flip once, cook the second side until the cheese is fully melted, and use a wide spatula so the whole quesadilla stays intact.
Cutting and Serving
Pull the quesadilla off the heat and let it sit for a minute before cutting. That short pause keeps the cheese from rushing out the second the knife goes through. Slice into wedges and serve with salsa, sour cream, and guacamole while the edges are still crisp and the center is hot.
How to Change These Up Without Losing the Melt
Make Them Vegetarian With Black Beans
Swap the chicken for drained, rinsed black beans and keep the peppers and onions. The beans add heft and a creamy bite, but they don’t bind the filling the way chicken does, so keep the layer thin and use a little extra cheese to hold everything together.
Make Them Dairy-Free With a Melting Alternative
Use a dairy-free shredded cheese that’s labeled for melting, then cook a little lower and slower than you would with regular cheese. Some alternatives soften without fully flowing, so give them an extra minute under the heat and don’t overload the tortilla.
Turn Up the Heat Without Making It Hard to Eat
Add more jalapeño, or swap in a few slices of pickled jalapeño for sharper heat and a little tang. Fresh peppers give a cleaner bite, while pickled peppers bring salt and acidity that cut through the cheese. Either way, keep the amount modest unless you want the filling to overpower the chicken.
Storage and Reheating
- Refrigerator: Store cooled quesadillas in an airtight container for up to 3 days. The tortillas soften a bit, but the flavor holds up well.
- Freezer: These freeze reasonably well if you wrap individual wedges tightly and freeze them flat. The texture is best if you reheat from frozen without thawing first.
- Reheating: Reheat in a dry skillet over medium-low heat until the tortilla crisps again and the center warms through. The common mistake is microwaving them, which makes the tortilla rubbery and the filling unevenly hot.
Questions I Get Asked About This Recipe
Grilled Campfire Quesadillas
Ingredients
Equipment
Method
- Heat a cast iron skillet or place a grill grate over the campfire until hot enough to sizzle lightly when touched with tortilla edges.
- Arrange all fillings—cheese, shredded chicken, diced bell pepper, diced onion, and sliced jalapeño—within reach so assembling stays fast.
- Place one tortilla on the hot cooking surface and quickly add a layer of cheese, then chicken, peppers, onions, and jalapeños.
- Top with a second tortilla and press down gently to help the layers stick together and melt into one layer.
- Cook for 3-4 minutes per side until the tortillas are golden with visible grill marks and the cheese has fully melted.
- Remove from heat, cut into wedges, and serve immediately with salsa, sour cream, and guacamole.


