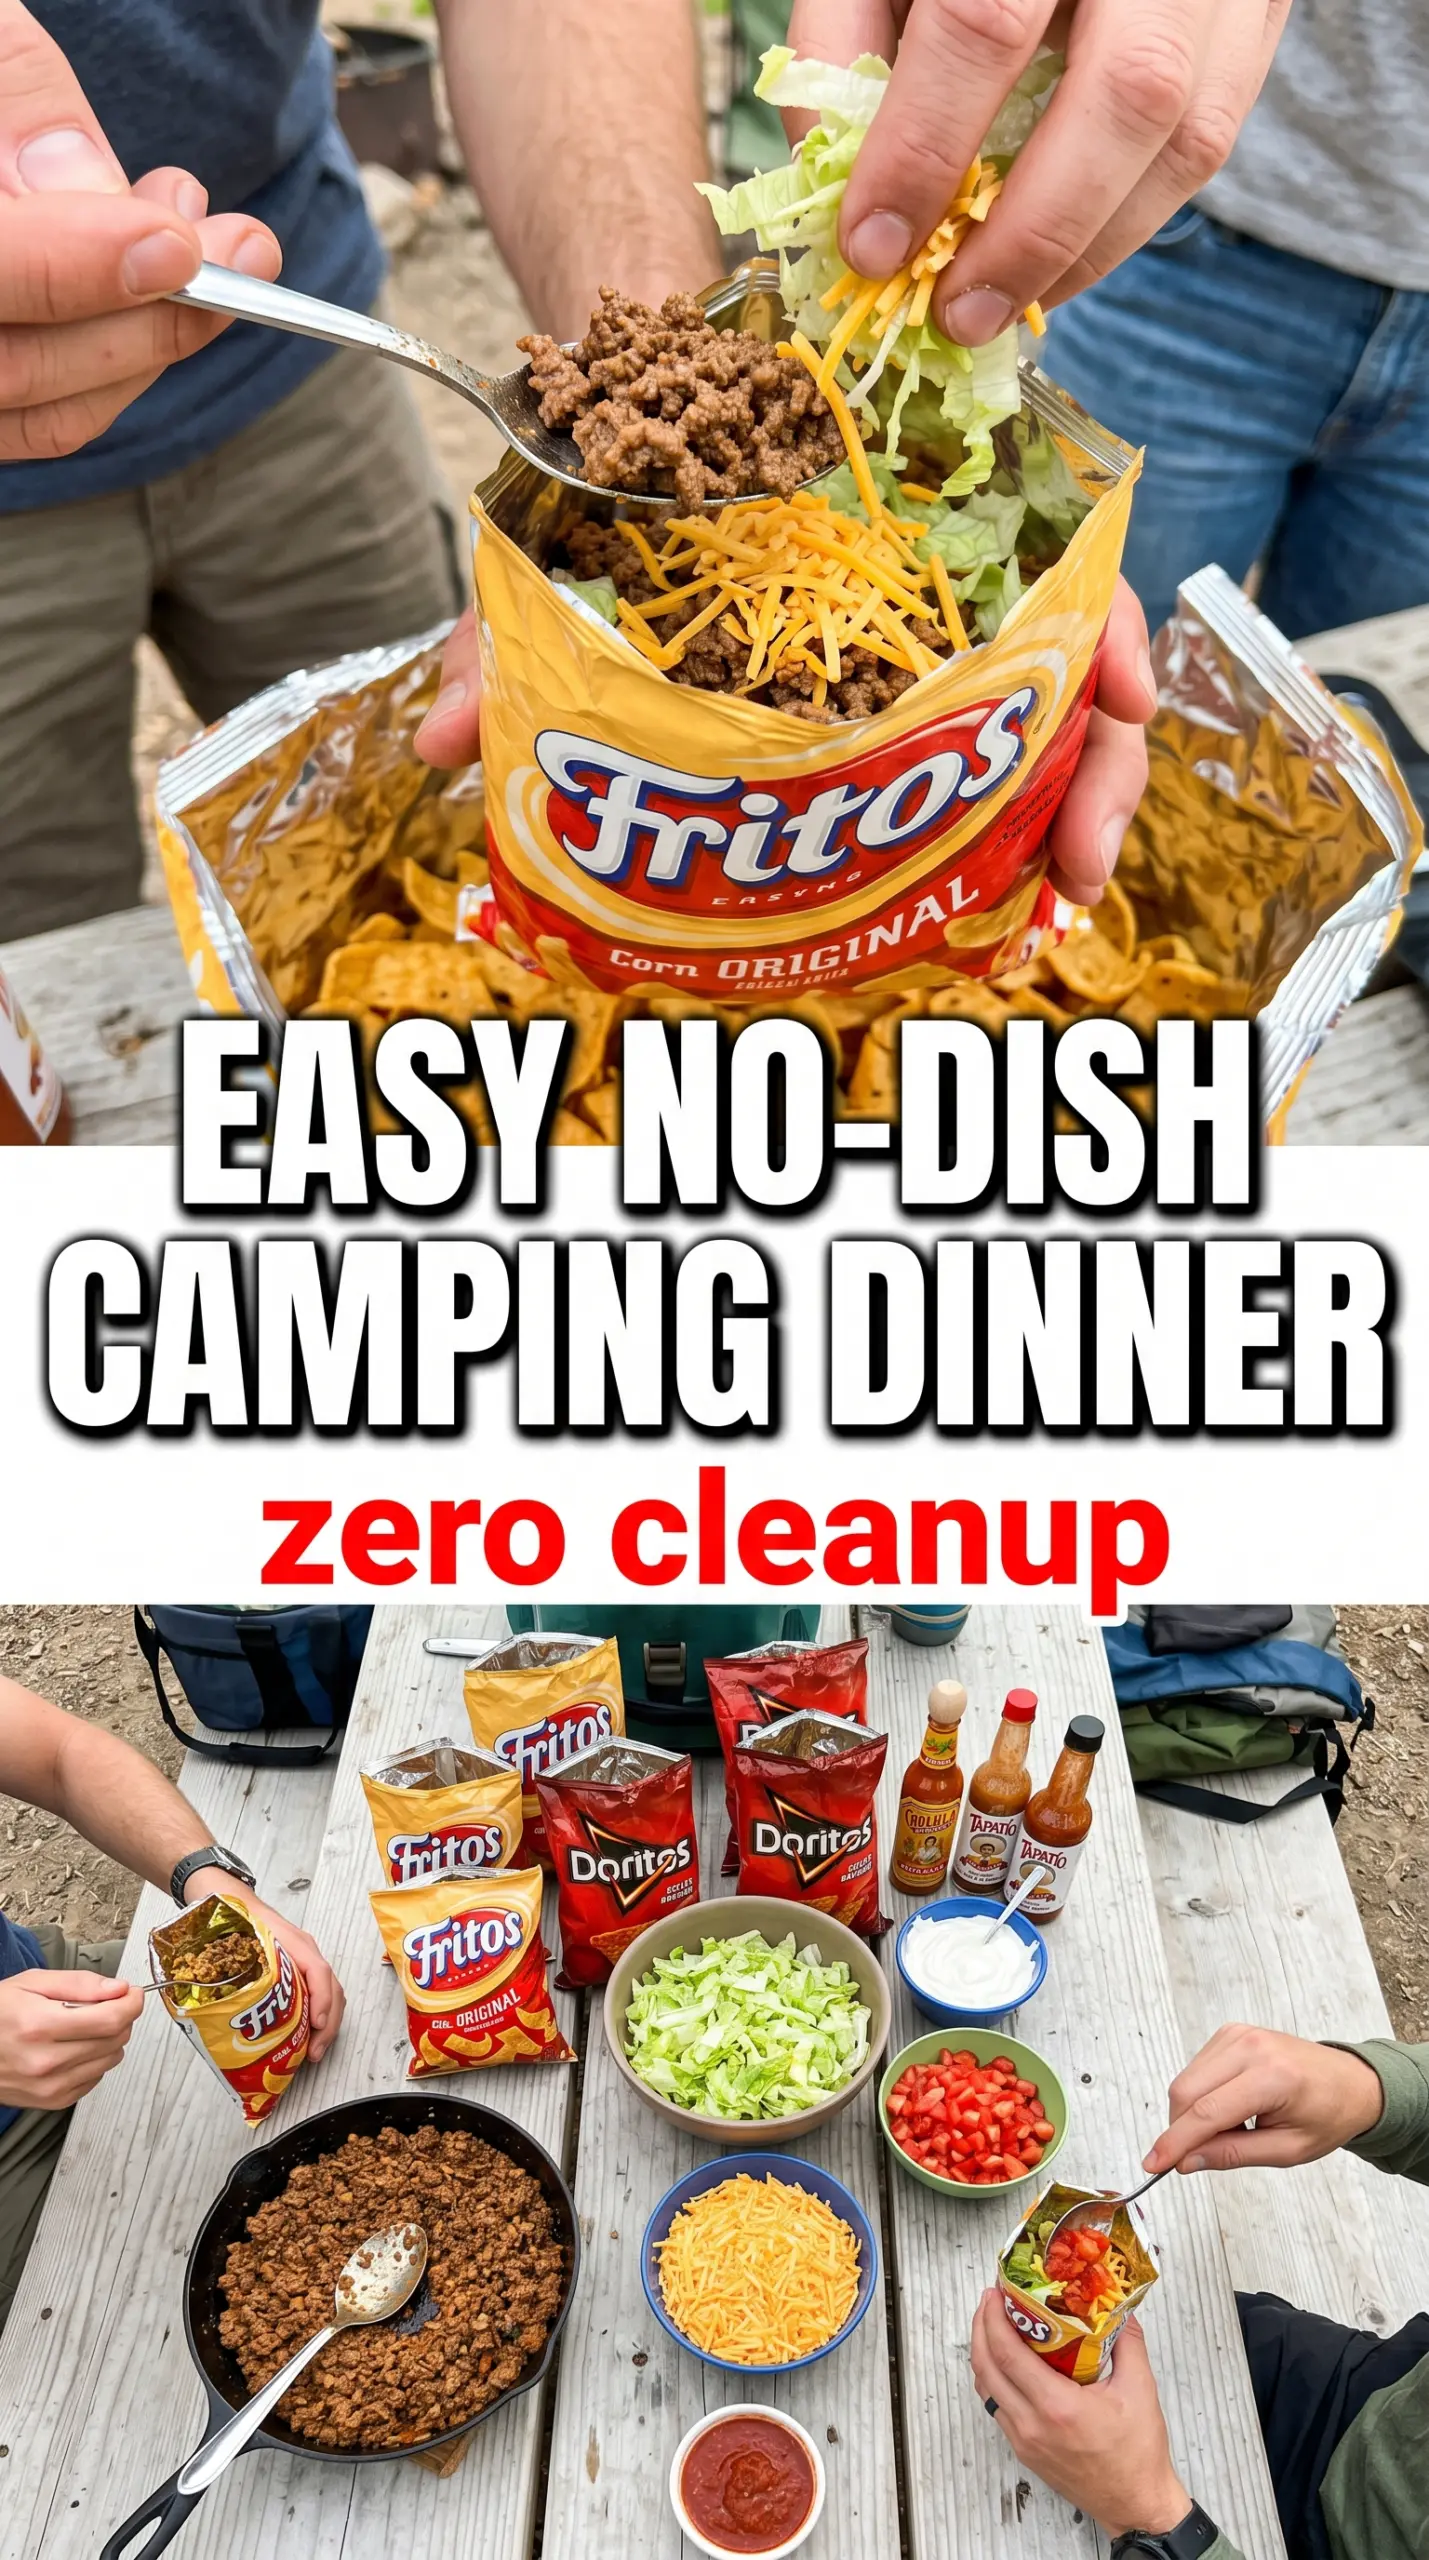
Crunchy chips, seasoned beef, cool lettuce, and all the classic taco toppings turn into a hands-on meal that tastes like a party and eats like lunch got smarter. Taco salad in a bag has that fun walking taco feel, but the layered ingredients stay crisp right up until the fork goes in. It’s the kind of meal that disappears fast because nobody has to wait for a bowl, and there’s no sad, soggy bottom hiding under the toppings.
The trick is simple: keep the hot filling and the cold toppings separate until the very last minute. The beef needs to be fully cooked and well seasoned so it carries the whole bag, and the chips need to be sturdy enough to hold up once you crack them open. I like using smaller individual bags because they make serving easy and keep every portion neatly portioned without extra cleanup.
Below, I’ve laid out the little details that keep the chips crunchy, the meat flavorful, and the toppings balanced. There’s also a few easy swaps if you’re feeding a crowd, packing this for camping, or working with what’s already in the cooler.
The bags held up better than I expected, and the taco meat stayed juicy without making the chips soft. We set everything out buffet-style and the kids thought it was the best camping lunch ever.
Taco salad in a bag is the easiest way to keep every bite crunchy, loaded, and ready to grab.
Save this walking taco idea to Pinterest for camping lunches and easy no-bowl dinners.
Why the Chips Stay Crunchy Instead of Turning into a Mess
The biggest mistake with taco salad in a bag is piling in hot, wet ingredients too early. Once the chips soften, the whole thing loses the point. This works because the bag acts like a built-in serving bowl, but only if you treat the chips like the base they are and the toppings like a last-minute finish.
The other thing that matters is the beef mixture. It needs to be seasoned enough to stand on its own, since the chips and toppings are all bringing texture, not extra salt or spice. If the meat is bland, the whole bag tastes flat. If it’s greasy, the chips get heavy fast, so drain off excess fat before you start layering.
- Individual chip bags — Small bags of Doritos or Fritos are sturdy, portable, and portioned already. The bigger the bag, the more room there is for uneven layers and soft spots.
- Ground beef — Use a good taco seasoning blend and cook it until no pink remains. Drain it well so the chips stay crisp.
- Shredded lettuce — Add it after the meat has gone in so the heat doesn’t wilt it before serving.
- Sour cream and salsa — These belong on top, not tucked deep inside the bag. If they go in too early, they start softening the chips underneath.
What Each Layer Is Doing in the Bag
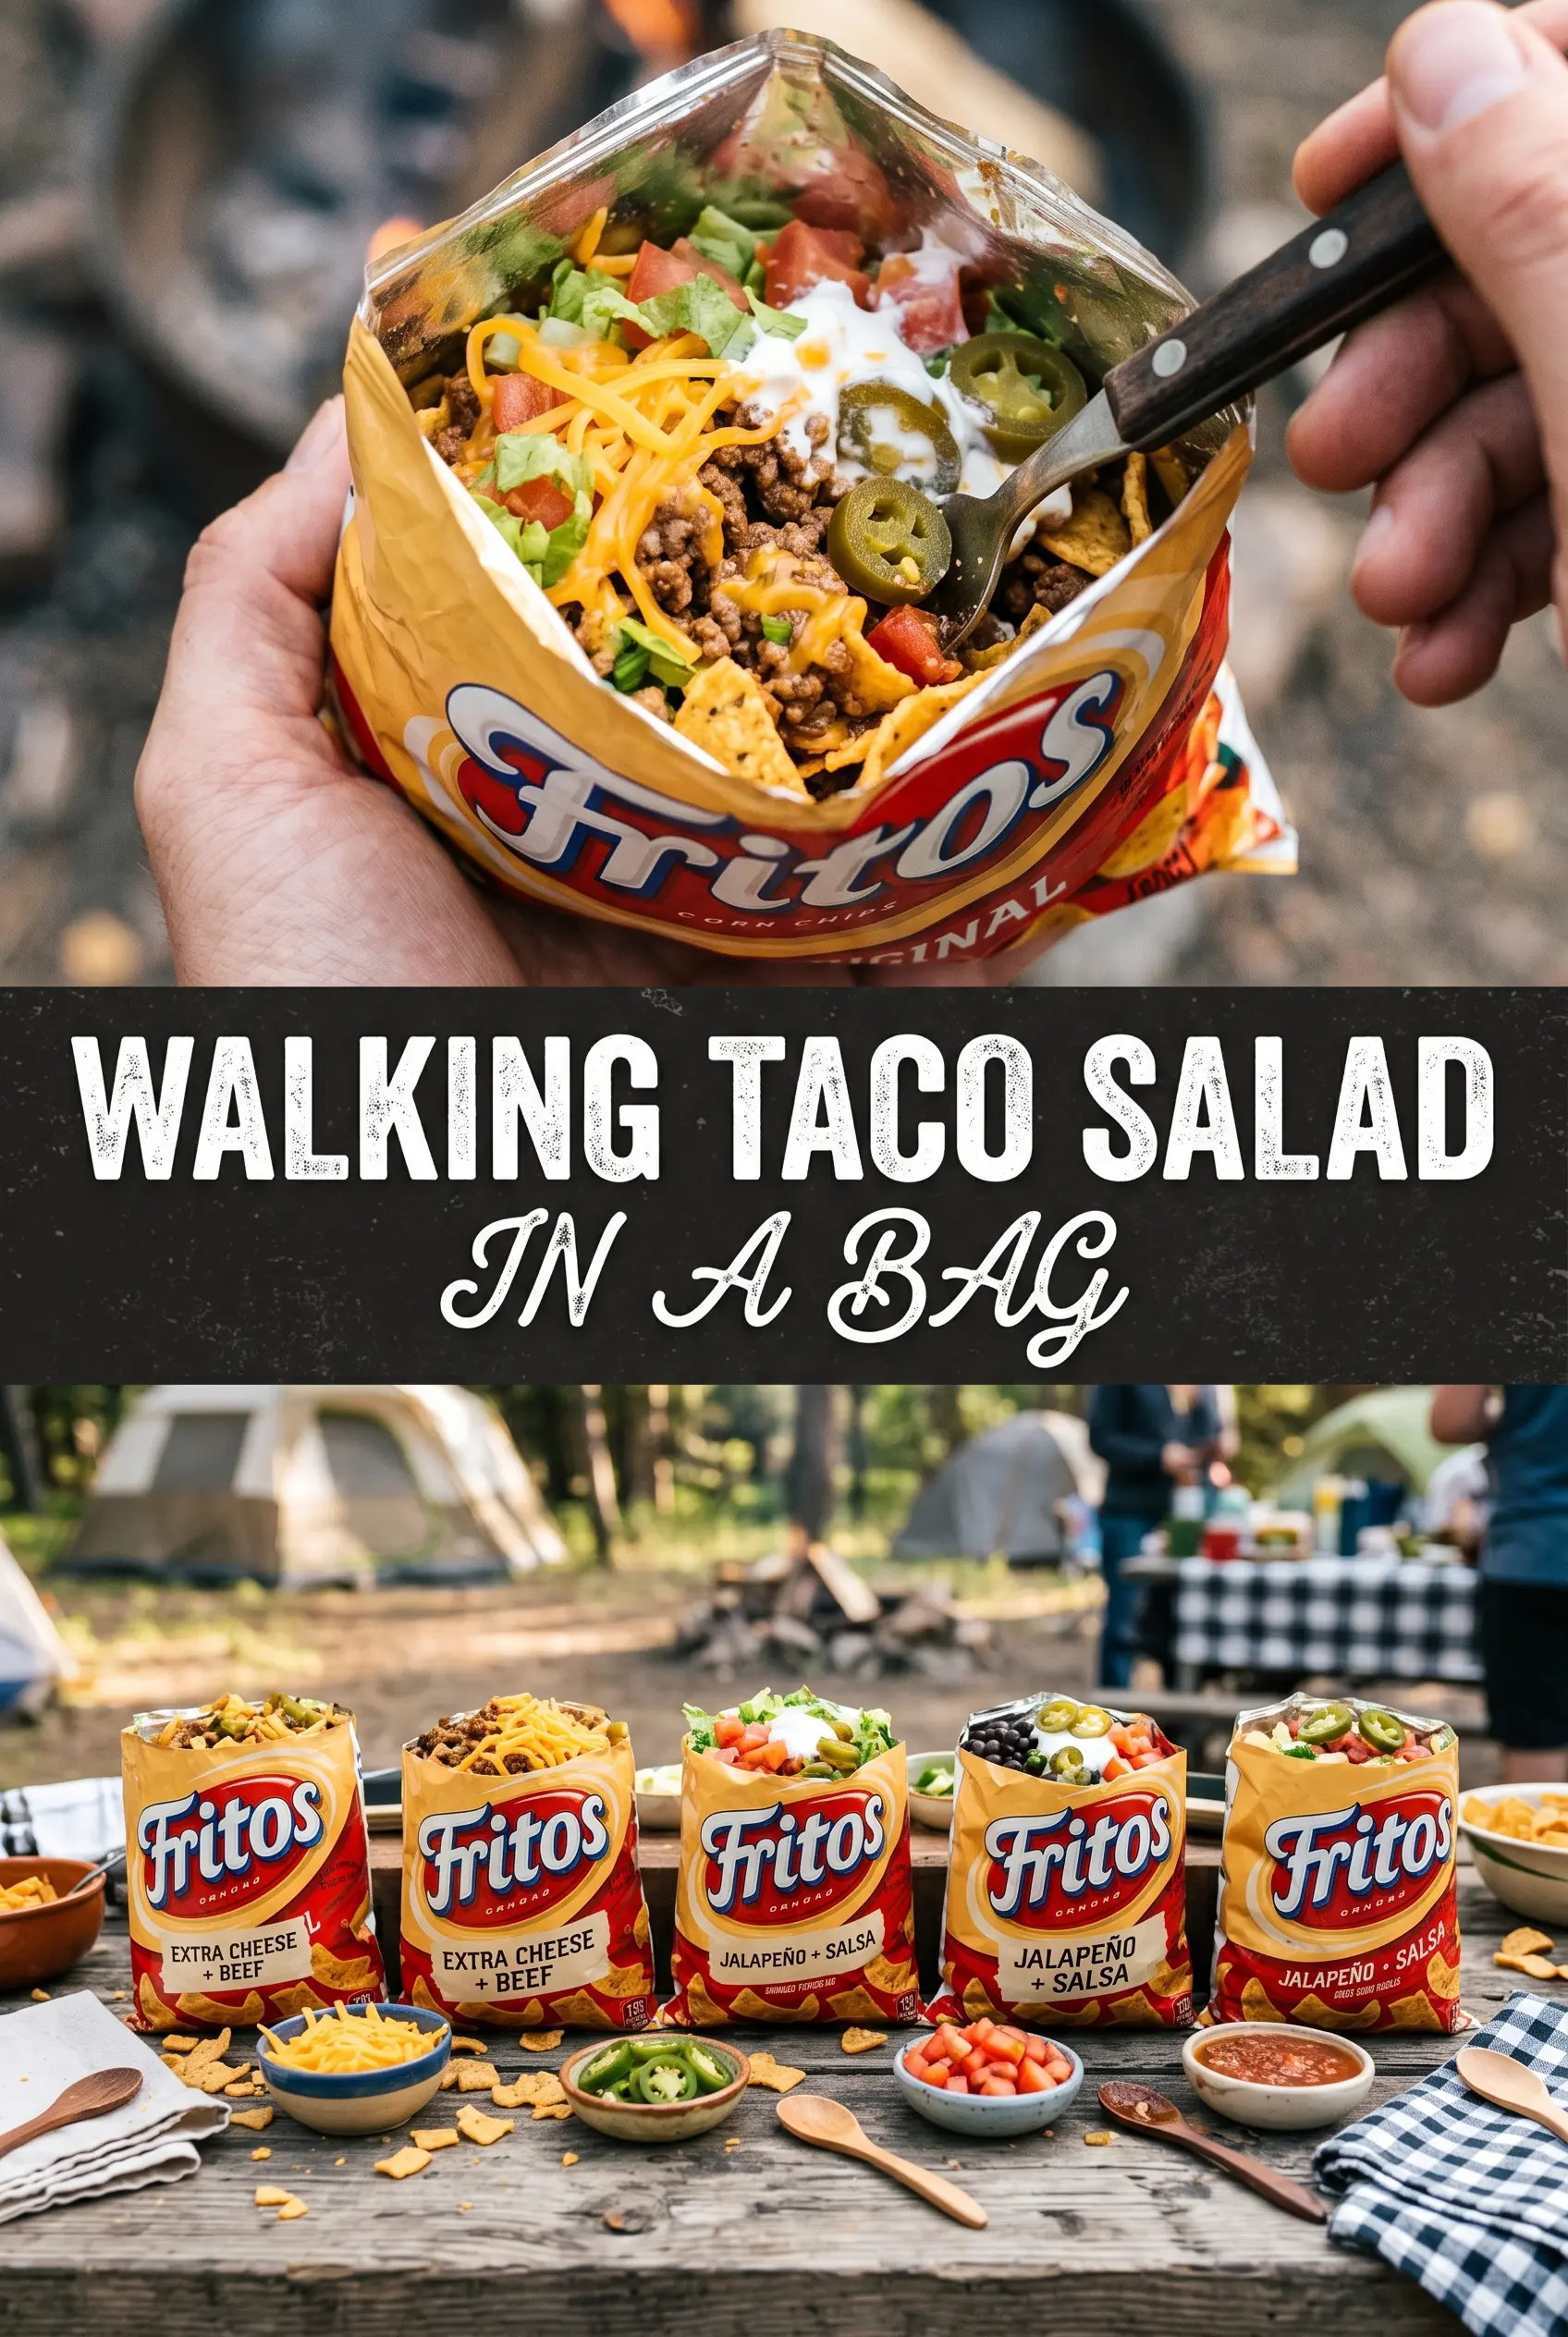
The chip choice changes the whole bite. Doritos bring a stronger seasoning and a little more salt, which makes the bag taste complete even before the toppings hit. Fritos lean more corn-forward and sturdy, so they hold up nicely if you’re walking around or serving this outside. Either one works; the best choice is the one you want to keep eating after the first handful.
The toppings each earn their place. Cheese softens slightly against the warm meat and acts like a bridge between hot and cold. Tomatoes and olives add brightness and a little bite, while sour cream and salsa finish the bag with creaminess and acid. If you want to stretch the recipe, a little extra lettuce is the safest way to add volume without making the bag soggy.
- Seasoned ground beef — This is the anchor. You want it warm, savory, and not watery.
- Shredded cheese — Pre-shredded is fine here, though freshly shredded melts a little better against the meat.
- Tomatoes — Dice them small so they distribute through the chips instead of slipping to the bottom.
- Sour cream and salsa — Thin enough to spoon, thick enough to sit on top without running everywhere.
Layering the Bag Without Crushing the Chips
Opening the Bag Cleanly
Cut the bag along the top or slightly down one side so you can get a fork inside without tearing the whole thing open. If the opening is too small, the toppings just smear across the rim and make a mess. If you’re serving a crowd, line the bags up first and open them all before you start layering.
Adding the Hot Filling
Spoon the seasoned beef in first while it’s still warm, but not dripping. A couple of heaping spoonfuls is enough for each bag. If the meat is too wet, it will sink straight into the chips and soften the bottom layer before anyone eats it.
Finishing with the Cold Toppings
Top with lettuce, cheese, tomatoes, then finish with sour cream, salsa, and olives. Keep the toppings loose instead of pressing them down. The whole point is to keep everything crisp and separate until the first forkful, so let the bag stay a little chaotic on top.
How to Adapt Taco Salad in a Bag for Different Eaters
Make It with Ground Turkey
Ground turkey works well if you season it generously and cook off all the moisture. It’s a little leaner than beef, so a splash of water with the taco seasoning helps keep it from tasting dry.
Dairy-Free Bagged Taco Salad
Skip the cheese and sour cream and use extra salsa plus diced avocado if you want a creamy finish. You lose some richness, but the bag still eats cleanly and stays bright.
Camping-Friendly Make-Ahead Prep
Cook the beef and chop the toppings at home, then pack everything in separate containers or zip bags. Assemble only when you’re ready to eat so the chips stay crisp and the cooler stays organized.
Storage and Reheating
- Refrigerator: Store the taco meat and toppings separately for up to 3 days. Assembled bags don’t hold well and the chips will soften fast.
- Freezer: The seasoned beef freezes well for up to 2 months. Freeze it flat in a sealed bag or container, then thaw before reheating.
- Reheating: Warm the beef in a skillet or microwave until hot, stirring once so it heats evenly. Don’t reheat it with the toppings already added or the lettuce and sour cream will break down.
Answers to the Questions Worth Asking
Taco Salad In A Bag
Ingredients
Equipment
Method
- Cook the ground beef in a skillet over campfire until browned, stirring occasionally, about 10 minutes total, then season with taco seasoning to coat.
- Open each chip bag by cutting along the top or side, keeping the bag upright so it can be layered.
- Add a layer of cooked taco meat into each bag, distributing it evenly across all 6 bags.
- Add shredded lettuce over the taco meat, pressing lightly so the next layers fit.
- Sprinkle shredded cheese over the lettuce so it begins to fall into the layers.
- Add diced tomatoes on top of the cheese in each bag.
- Top each bag with sour cream, then add salsa.
- Finish each bag with sliced black olives, then have a fork ready to eat.
- Eat directly from the bag with a fork, digging through the layers as you go.


