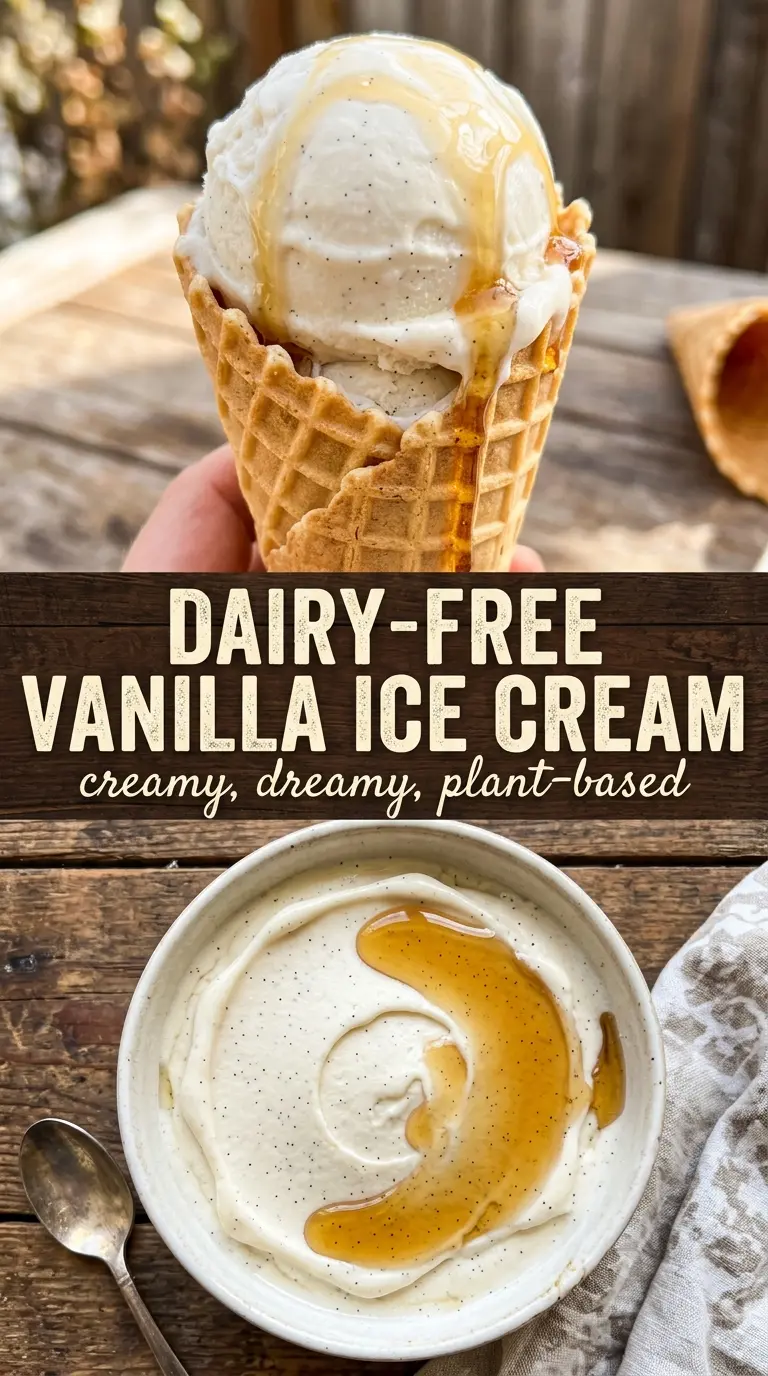
Silky vegan vanilla ice cream should taste rich enough that nobody starts asking what’s missing. The coconut milk gives this version a lush, custard-like body, while the vanilla stays clean and front-and-center instead of getting buried under a heavy coconut flavor. Churned properly, it freezes into a scoop that holds its shape but still melts on the tongue the way good ice cream should.
The trick here is treating the coconut cream like a base that needs gentle cooking, not a mixture that needs to boil. A little starch gives the custard enough structure to stay creamy after freezing, and the maple syrup keeps the texture softer than a straight sugar build would. Chilling the base all the way through matters just as much as the churn itself; warm ice cream base turns icy in the machine, no matter how good the ingredients are.
Below you’ll find the specific cues that tell you the base is ready, plus the small ingredient choices that keep this ice cream smooth instead of greasy or hard. I’ve also added a few variations for different sweeteners and a straightforward way to store it without ending up with a brick in the freezer.
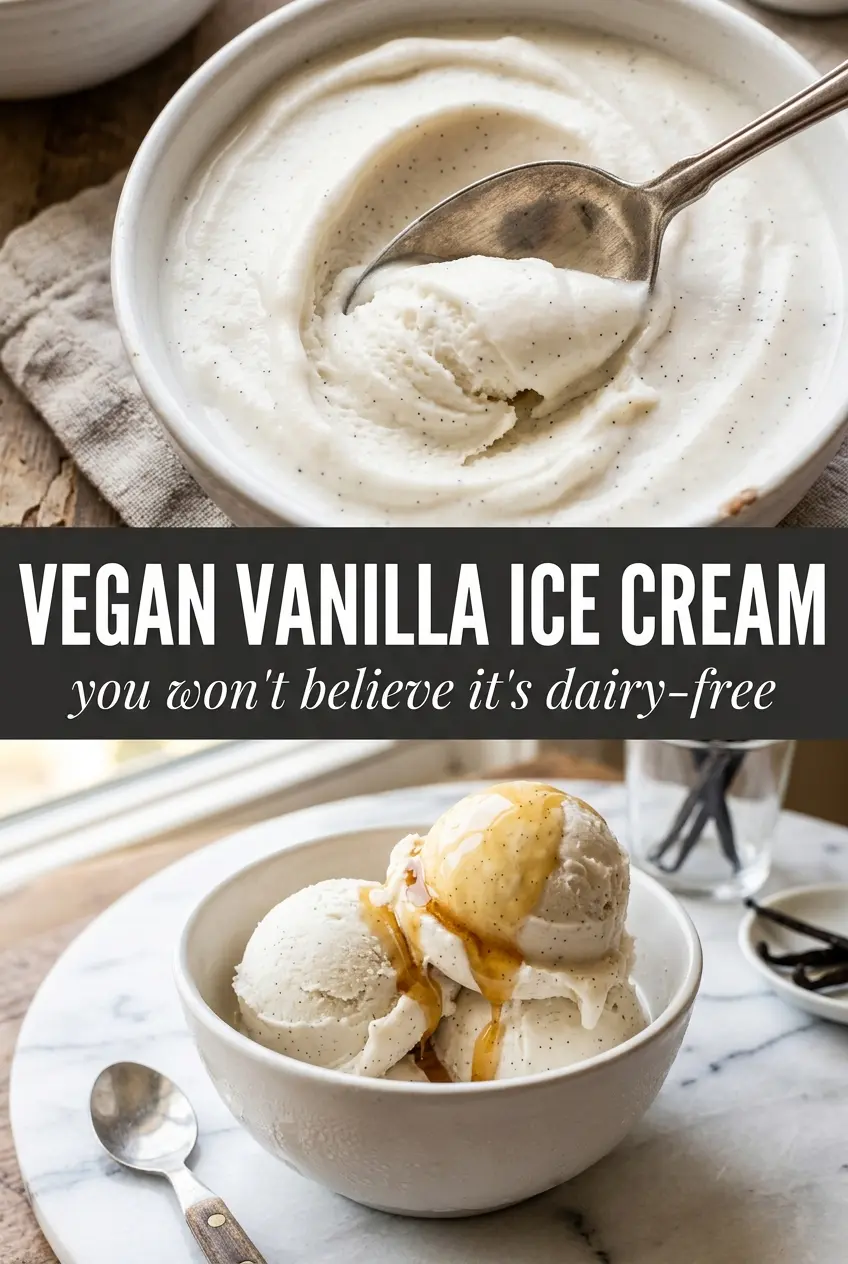
The coconut milk base thickened up exactly where you said it would, and after the chill time the ice cream churned into the creamiest vegan vanilla I’ve made. No icy texture at all.
Love this silky coconut milk vanilla ice cream? Save it to Pinterest for the nights when you want a dairy-free dessert that still scoops like the real thing.
The Part Most Vegan Ice Cream Gets Wrong: The Base Is Too Thin
The mistake that leads to icy vegan ice cream is treating the coconut milk like a ready-made custard. It still needs a little heat and a little starch to build body before it ever hits the machine. If you skip that step, the churn can only make it colder, not creamier.
Full-fat coconut milk matters here because you need fat for scoopable texture. Light coconut milk gives you a thinner base that freezes harder and melts in a puddly way. The starch doesn’t make this taste starchy; it gives the mixture enough structure to stay smooth after freezing, which is especially important in dairy-free ice cream where there’s no egg yolk to do that job.
- Full-fat coconut milk — This is the backbone of the recipe. Chill the cans overnight so the cream separates cleanly from the water; that thick top layer is what gives you body and richness.
- Maple syrup or agave — Both sweeten and help keep the ice cream softer straight from the freezer. Maple adds a subtle depth, while agave stays a little more neutral.
- Arrowroot or cornstarch — This is the thickener that keeps the final texture creamy instead of icy. Cornstarch is the easier pantry swap, and arrowroot works too, but don’t boil either one hard or the base can turn gummy.
- Coconut oil — A small amount helps the ice cream feel smoother on the tongue and improves scoopability after freezing. Don’t add extra; too much can make the texture waxy.
- Pure vanilla extract — Use a good one here because vanilla is the whole point of the dessert. If you have vanilla bean paste, it’s a strong swap and gives you those little flecks and a deeper vanilla aroma.
What Each Ingredient Is Actually Doing in This Frozen Treat
- Base ingredient (cream, yogurt, or fruit) — This determines the texture and richness. Cream makes it scoopable; yogurt makes it tangy; fruit makes it refreshing.
- Sweetener (sugar or honey) — This prevents the mixture from freezing rock-solid and creates a smooth texture. Too much and it won’t freeze; too little and it’s icy.
- Egg yolks (if using custard method) — These create richness and a silky texture. Tempering is important so they don’t scramble.
- Thickener (cornstarch, gelatin, or egg) — This prevents ice crystals from forming and keeps the texture smooth instead of grainy.
- Flavoring (vanilla, chocolate, fruit, or spices) — Use quality flavorings because they’re essential to the taste. Dilute-tasting ice cream comes from cheap extract.
- Stabilizers (gum, gelatin, or dairy) — These keep the ice cream from becoming icy during storage. They prevent large ice crystals from forming.
- Mix-ins (nuts, chunks, or swirls) — These add texture and interest. Freeze-stable chocolate works better than regular chocolate, which gets hard.
- Proper chilling and churning (the technique) — This incorporates air and prevents ice crystals. An ice cream maker makes a huge difference in texture.
How to Cook the Custard Base Without Turning It Grainy
Separating the Coconut Cream
Scoop the thick cream from the top of the chilled cans and leave the water behind. You want the dense part only, because that’s where the fat lives and that’s what gives the ice cream its body. If the can didn’t separate cleanly, chill it longer; trying to use the watery bottom will thin the base and make the churn less successful.
Heating Until It Lightly Thickens
Whisk the coconut cream, sweetener, vanilla, starch, salt, and coconut oil together in a saucepan, then heat over medium while whisking constantly. The base should move from loose and milky to slightly glossy and just a bit thicker, enough to coat a spoon lightly. Don’t let it come to a hard boil, especially once the starch goes in, or the texture can turn pasty instead of smooth.
Cooling Before the Churn
Pour the base into a bowl and cool it completely before refrigerating it for at least 4 hours. Cold base churns finer and faster, and that matters because the ice cream maker can only trap so much air before the mixture starts freezing on contact. If the base still feels warm, wait longer; rushing this stage is how you end up with coarse, icy ice cream.
Churning and Final Freezing
Churn according to your machine’s instructions until the texture looks like soft serve and pulls cleanly from the paddle. Transfer it to a freezer-safe container and freeze until scoopable. If it goes in too warm or too liquid, it freezes into a dense block, so that short rest in the churn matters more than people think.
How to Adapt This Dairy-Free Ice Cream for Different Freezers and Sweeteners
Use agave for a softer scoop
Agave keeps the base a little softer in the freezer, which helps if your ice cream tends to freeze hard. The flavor stays cleaner and lighter than maple, so the vanilla comes through more sharply.
Make it maple-forward
Use maple syrup if you want a warmer, deeper note behind the vanilla. It makes the ice cream taste a little more like custard, but it also darkens the flavor, so it’s better when you want a richer dessert rather than a completely neutral vanilla.
Make it without cornstarch
Arrowroot can stand in for cornstarch at the same amount, and it keeps the base glossy and smooth. It’s a good gluten-free pantry swap, but don’t overheat it or it can get a little slippery instead of creamy.
Storage and Reheating
- Refrigerator: The churned base shouldn’t sit in the fridge after freezing, but the cooked base keeps for up to 3 days before churning. Cover it tightly so it doesn’t pick up fridge flavors.
- Freezer: Frozen ice cream keeps well for about 2 weeks. After that, the texture starts to get drier around the edges, even in a sealed container.
- Reheating: Let it sit at room temperature for 5 to 10 minutes before scooping. If you try to force it straight from the freezer, you’ll chip at it and compact the texture instead of getting clean scoops.
Questions I Get Asked About This Recipe
Vegan Vanilla Ice Cream
Ingredients
Equipment
Method
- Scoop the solid coconut cream from the top of the refrigerated cans of full-fat coconut milk and leave the coconut water behind for another use. You should see a thick ivory layer that holds together when lifted.
- Combine coconut cream, maple syrup or agave, pure vanilla extract, arrowroot or cornstarch, salt, and coconut oil in a saucepan. Whisk until smooth and no cornstarch lumps remain.
- Heat over medium heat and whisk constantly until the mixture thickens slightly, about 5 minutes. The base should look more custard-like and coat the back of a spoon.
- Cool the mixture completely to room temperature, then refrigerate at least 4 hours. Cover and chill until very cold and visibly thicker.
- Churn the chilled coconut vanilla base in an ice cream maker according to the manufacturer’s instructions. The texture should turn creamy and aerated as it thickens.
- Freeze churned ice cream until scoopable. It should hold its shape while still feeling soft and smooth when scooped.


