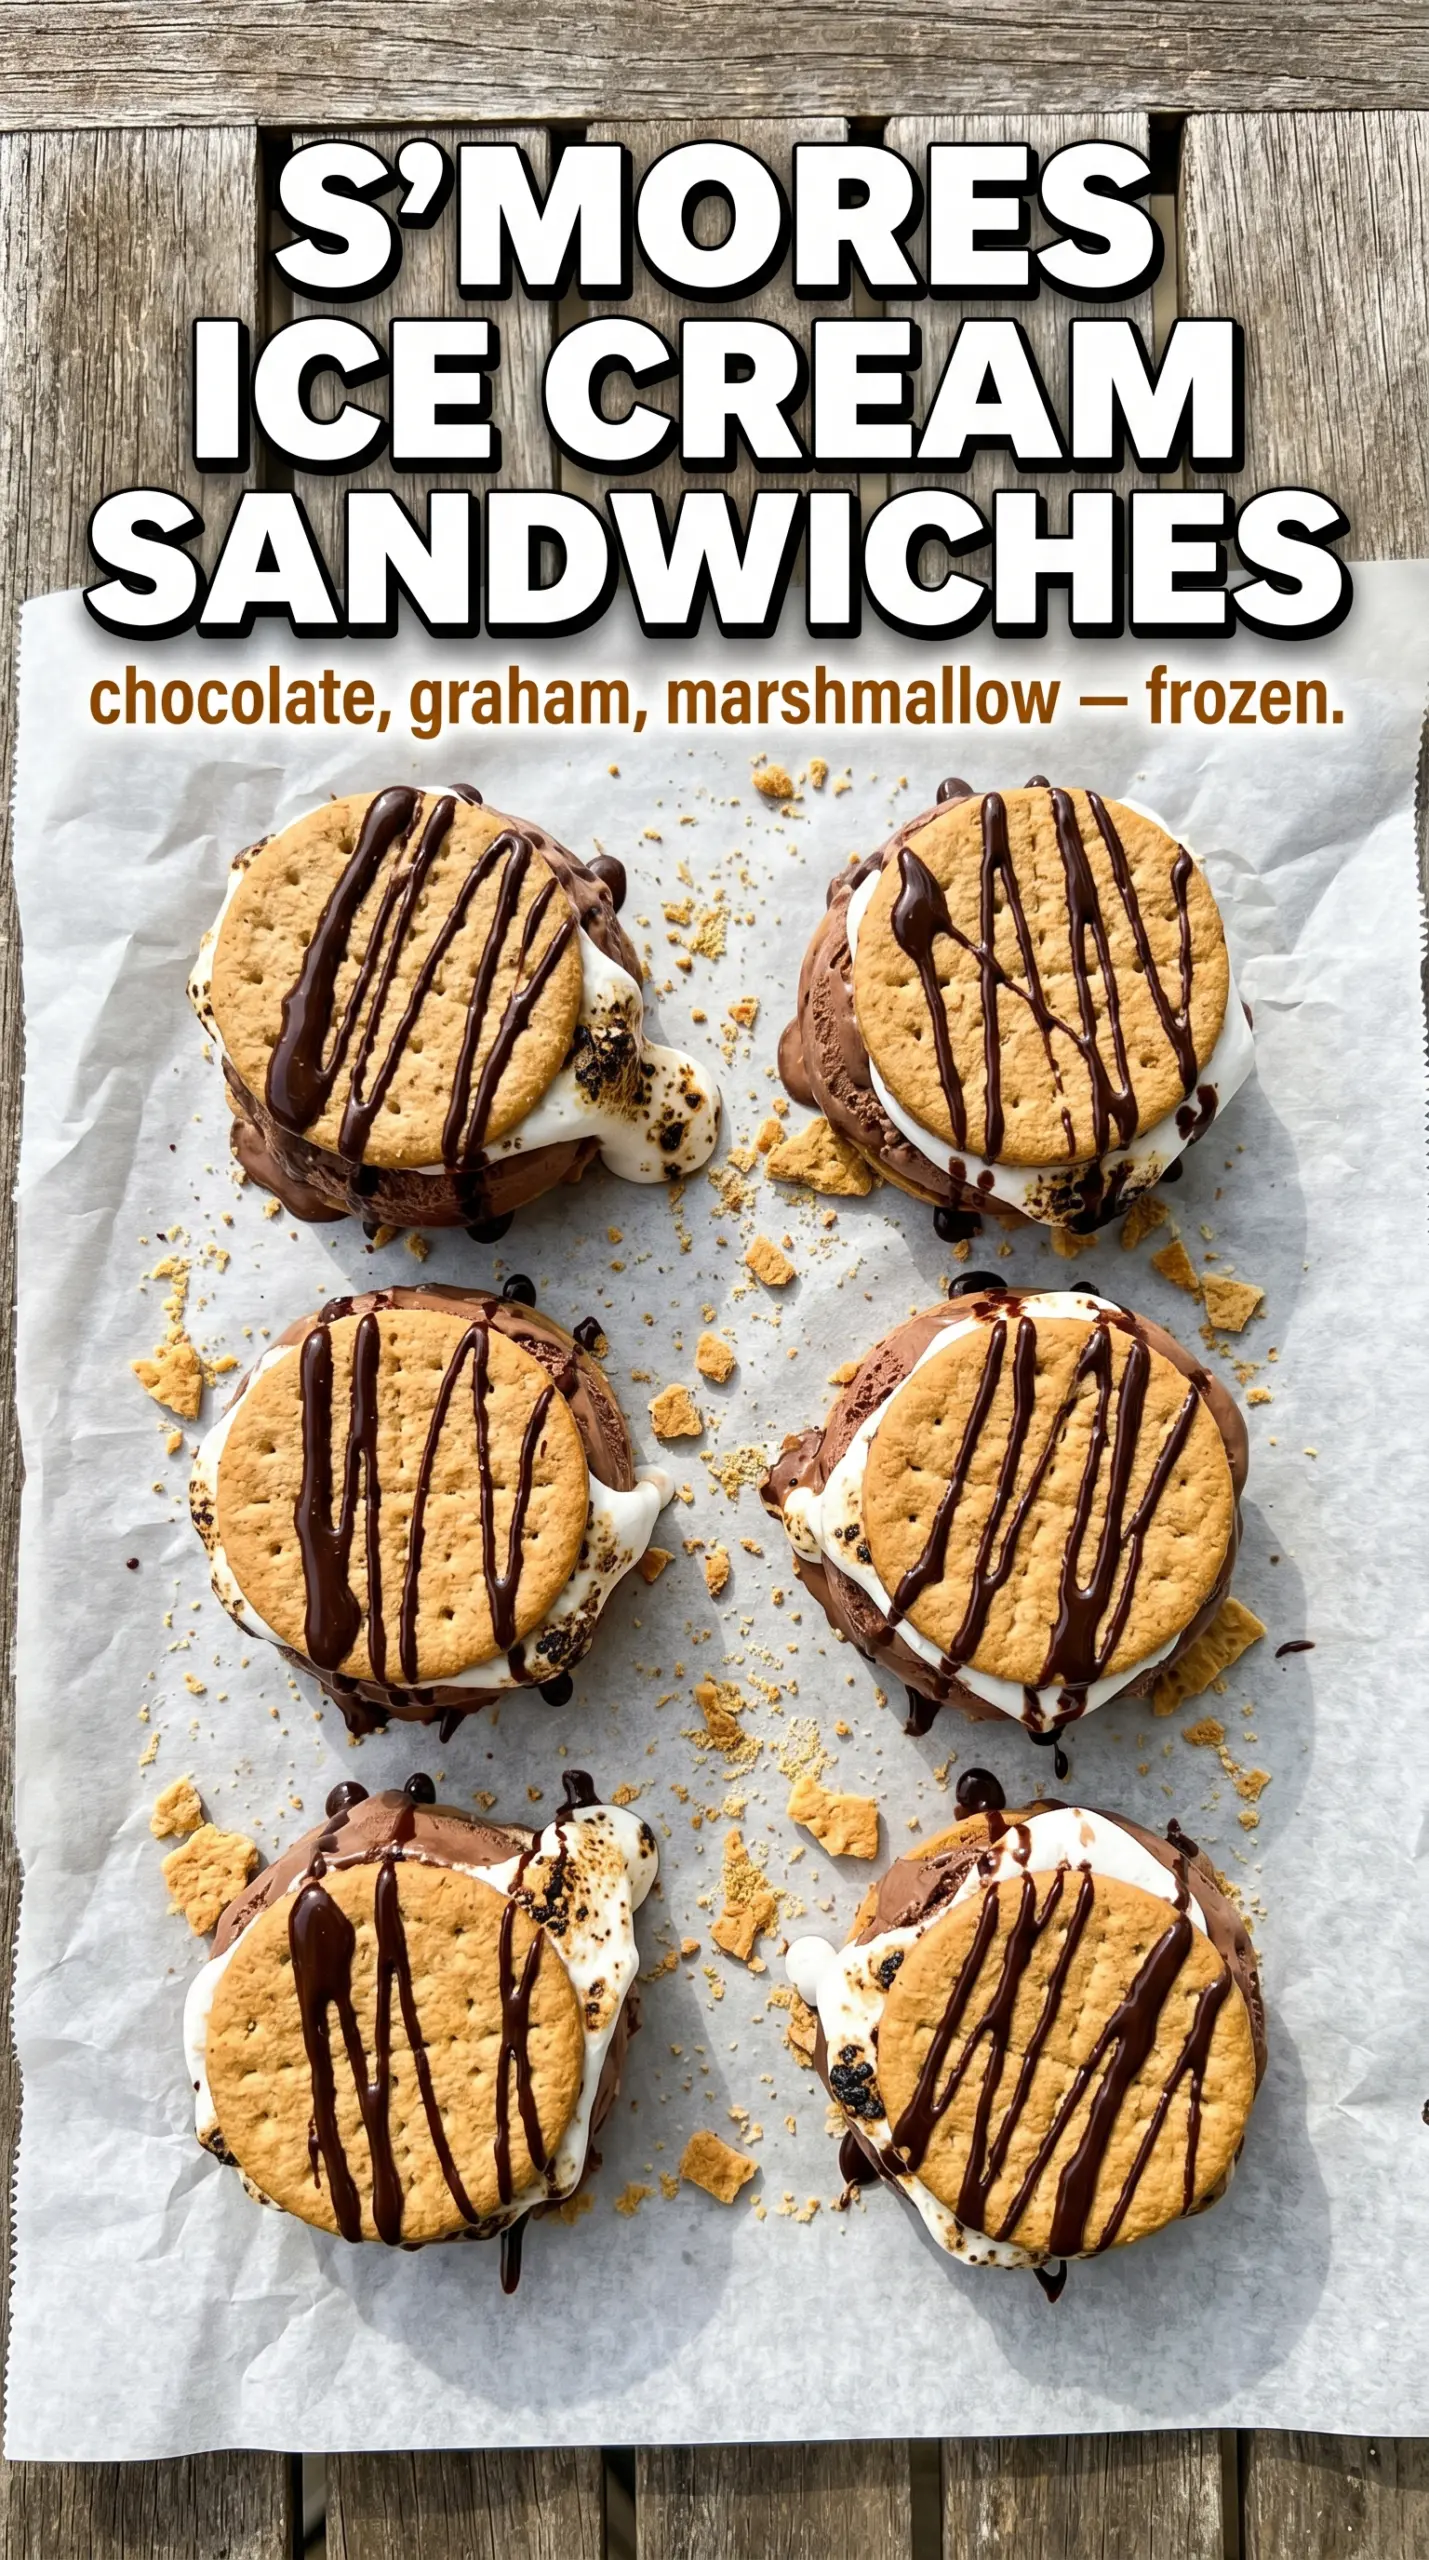
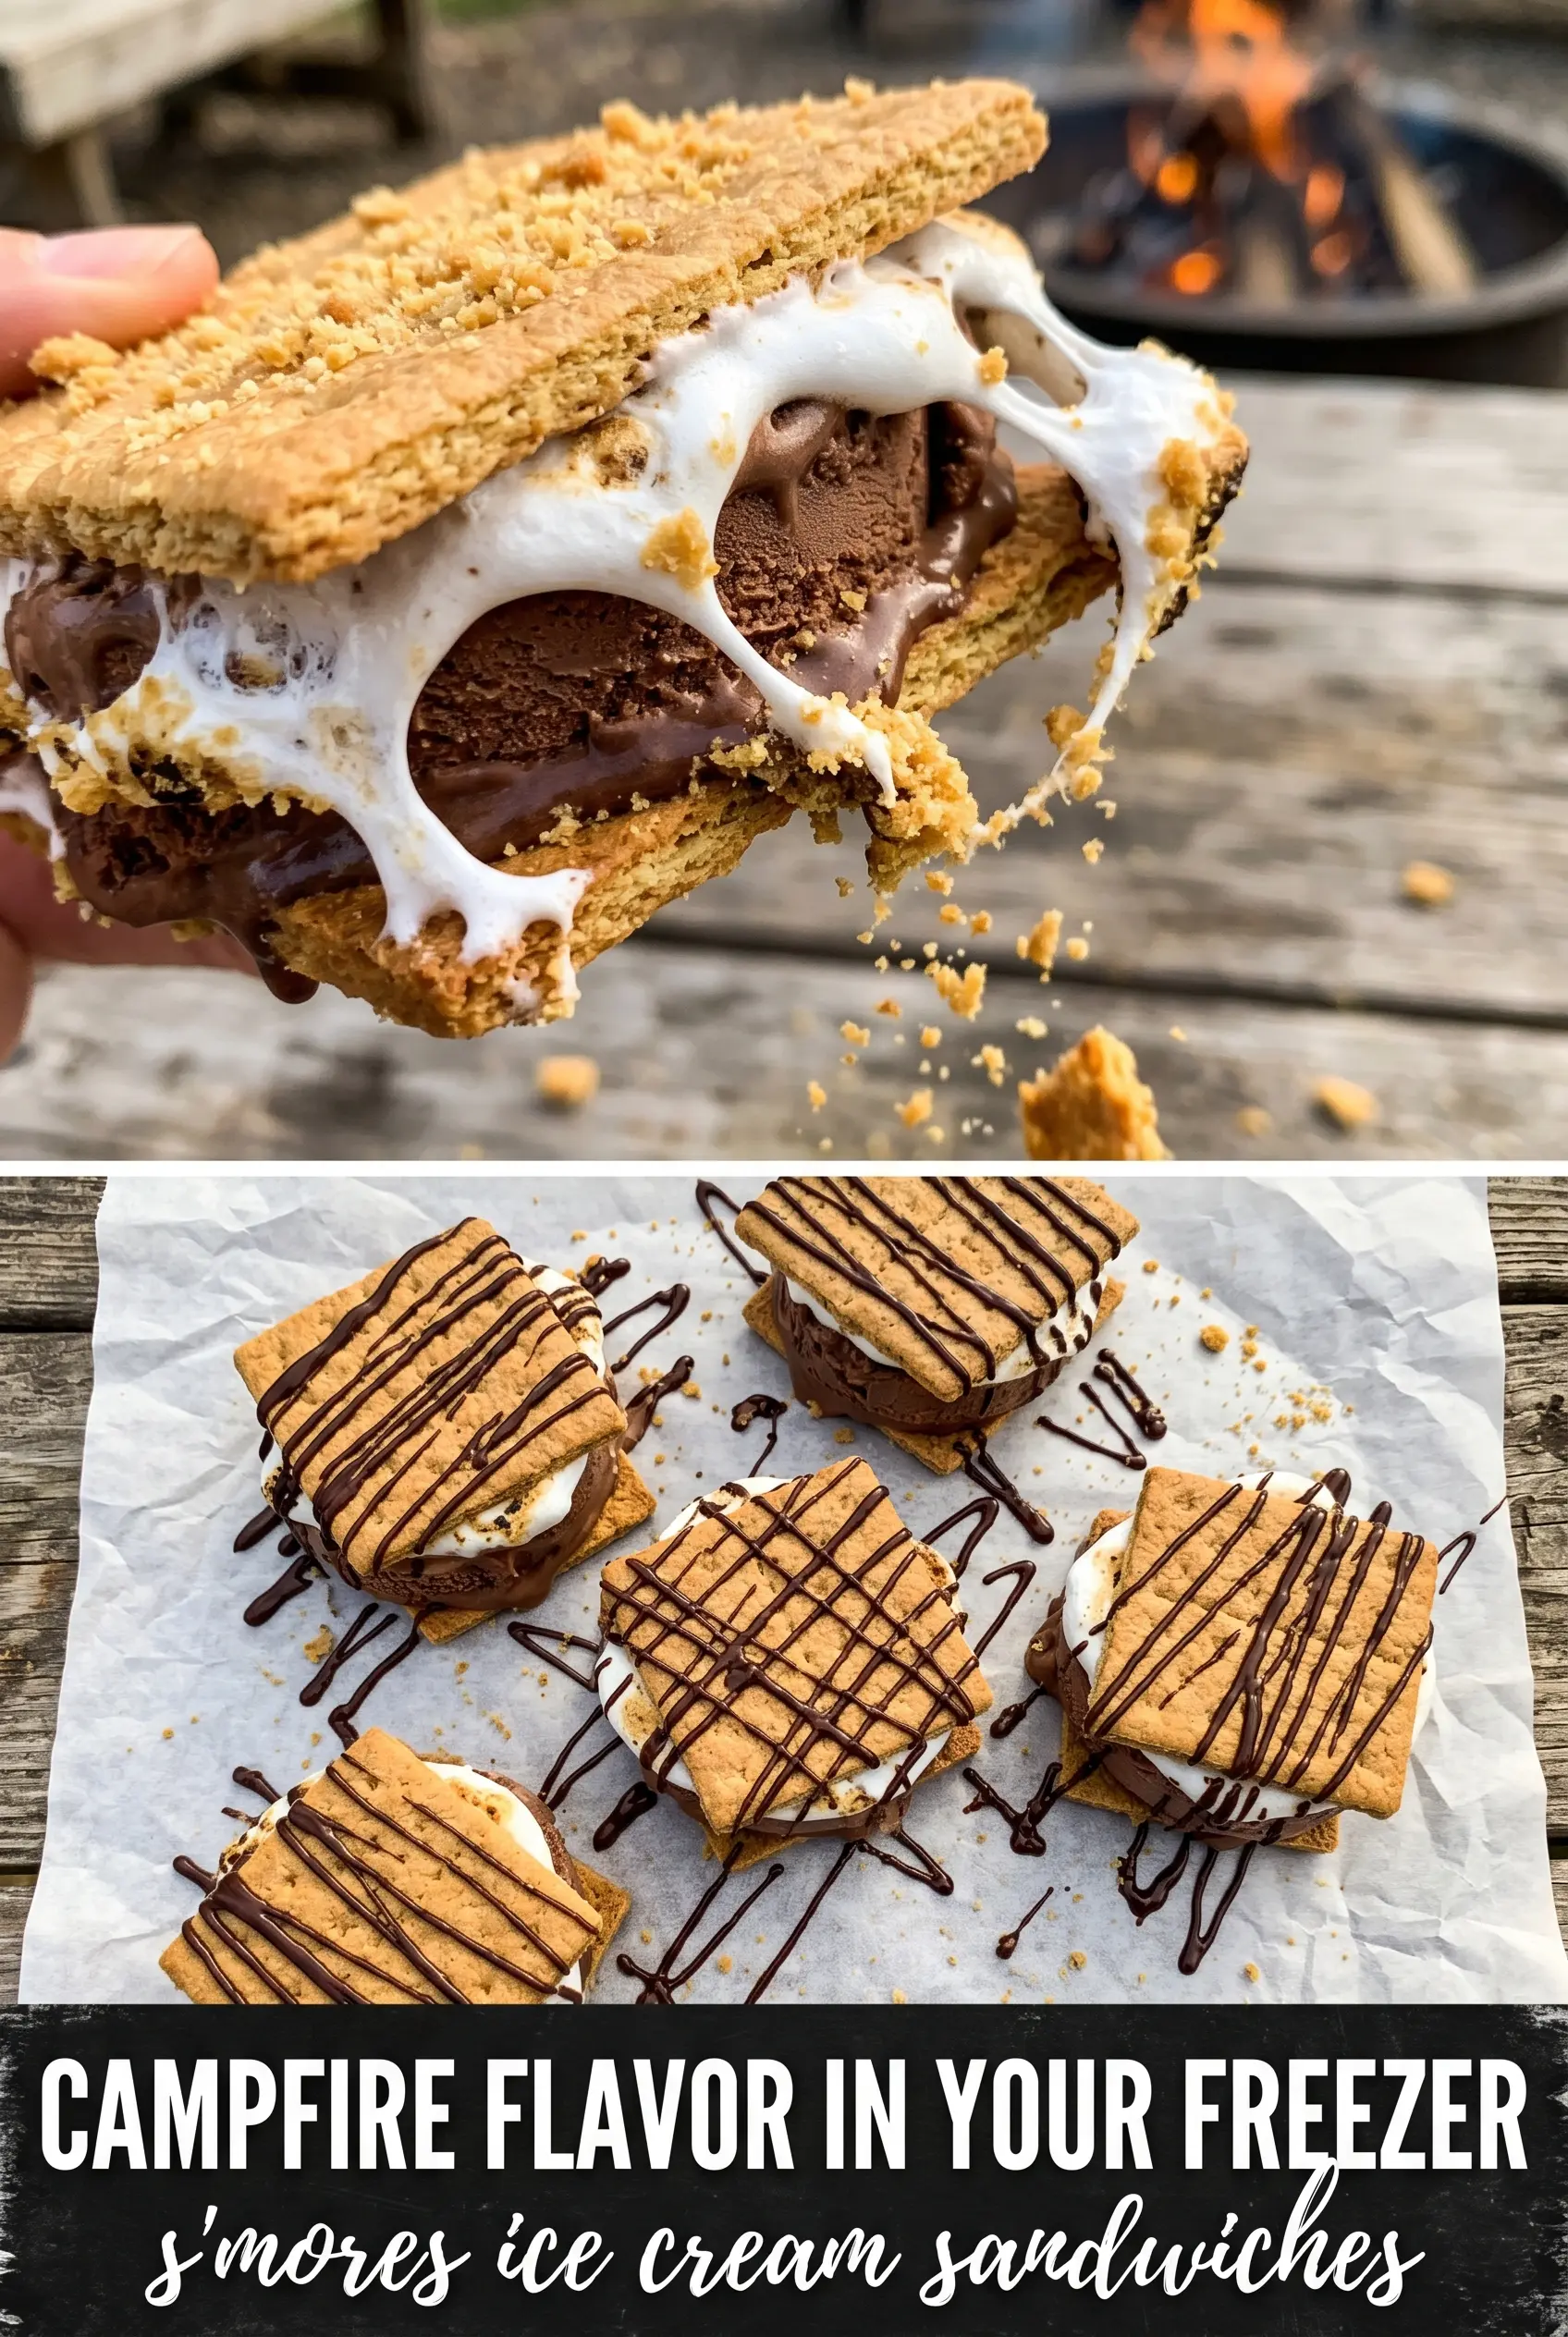
Graham cracker cookies with toasted marshmallow tops and a thick chocolate ice cream center turn a campfire classic into something you can hold in one hand. The cookies stay tender enough to bite cleanly from the freezer, the marshmallows toast into a sticky, bronzed cap, and the ice cream lands in the middle as a cold, rich layer that keeps every bite balanced.
The key here is the cookie texture. You want a dough sturdy enough to bake into neat rounds, but not so dry that it turns chalky once frozen, which is why the mix of all-purpose flour, whole wheat flour, honey, and brown sugar matters. The marshmallows go on before baking, then get torched right after so they pick up that campfire look without melting into the cookie.
Below, you’ll find the small details that keep the sandwiches from sliding apart, plus a few smart swaps if you want to change the ice cream or make the cookies a little more chocolate-forward.
The cookies stayed soft straight from the freezer, and the toasted marshmallow tops gave that true s’mores taste without getting sticky everywhere. My kids asked for another batch before the first tray was gone.
Save these s’mores ice cream sandwiches for the next time you want toasted marshmallow cookies wrapped around a cold chocolate center.
The Marshmallow Topping Needs a Fast Finish, Not a Long Bake
Most frozen sandwiches fail before they ever hit the freezer. The cookies bake too hard, the marshmallows melt flat, or the filling gets added while the cookies are still warm and the whole stack turns sloppy. This version avoids all three. The dough bakes into soft graham-style cookies with just enough structure to hold ice cream, and the mini marshmallows get torched after baking so you get a toasted top instead of a melted puddle.
The other thing that matters here is cooling time. If the cookies aren’t completely cool, the ice cream softens too fast and the sandwiches never set up cleanly. That hour in the freezer isn’t fluff; it’s what gives you neat edges and a bite that lands like a real ice cream sandwich instead of a mess.
- Whole wheat flour — This gives the cookies that graham cracker taste without needing crushed crackers in the dough. If you only have all-purpose flour, the cookies still work, but they’ll taste a little less toasty and a little more like standard sugar cookies.
- Honey — Honey brings the graham note forward and keeps the cookies softer after freezing. Maple syrup can work in a pinch, but it changes the flavor and the dough may spread a little more.
- Mini marshmallows — Use minis, not large marshmallows. They melt and toast into little golden domes that cling to the cookie top. Big marshmallows slump and can cover the whole surface before they brown.
- Chocolate ice cream — A denser chocolate ice cream holds its shape better than a very airy one. Let it soften just enough to scoop, not so much that it turns soupy when you spread it between the cookies.
What Each Ingredient Is Actually Doing in This Ice Cream Sandwich
- Cookie or bread base (the structural holder) — This needs to be sturdy enough to hold ice cream without crumbling, but tender enough to bite through. Freshness matters.
- Ice cream or frozen yogurt (the filling) — This should be slightly soft so it adheres to the cookies without melting off. Temperature matters here.
- Texture of the cookies (crispy vs. soft) — Crispy cookies stay crunchy; soft cookies meld with the ice cream. Choose based on the texture experience you want.
- Coating (optional chocolate, sprinkles, or nuts) — This adds visual appeal and texture. Dip in melted chocolate while ice cream is still cold so it sets immediately.
- Sandwich technique (speed matters) — Assemble sandwiches quickly so the ice cream doesn’t melt. Work in batches and keep ice cream scoops in the freezer.
- Freezing before serving (the set-up) — Let assembled sandwiches freeze for 30 minutes so they hold together when eaten. This also prevents ice cream from squishing out.
- Flavor pairing (cookies and ice cream together) — The cookie flavor should complement the ice cream, not compete. Think chocolate with vanilla or peanut butter with chocolate.
- Storage in the freezer (wrapped well) — Wrap individually so they don’t absorb freezer odors. They last 2-3 weeks when wrapped tightly.
Mixing the Dough, Toasting the Tops, and Freezing the Sandwiches
Building the Cookie Dough
Whisk the dry ingredients first so the cinnamon and baking soda distribute evenly. Beat the butter and brown sugar until the mixture looks fluffy and lighter in color, then add the honey, milk, and vanilla. When the flour goes in, stop as soon as the dough comes together. If you keep mixing, the cookies tighten up and bake up dry instead of soft.
Pressing in the Marshmallows
Scoop the dough into large rounds and flatten them gently so they bake into sandwich-friendly shapes. Press the mini marshmallows into the tops before baking; don’t bury them in the dough or they won’t toast evenly. You want the marshmallows sitting on the surface, where the heat can hit them directly and puff them into those golden little crowns.
Toasting After Baking
Bake until the edges are golden and the centers look set, not dry. The marshmallows should puff during baking, then get that last torching once the cookies come out. Move the torch constantly and keep the flame moving, because marshmallows can go from toasted to burnt in a second. If you don’t have a torch, put the tray under the broiler for a very brief pass and watch it the whole time.
Assembling and Freezing
Let the cookies cool completely before filling them. Spread the softened chocolate ice cream on the flat side of one cookie, then top with a second cookie marshmallow-side out. Press just enough to level the filling without squeezing it out the sides, then freeze until firm. If the ice cream is too soft at assembly, it will leak; if it’s too hard, it tears the cookies. Aim for spreadable, not melted.
How to Change the Filling or the Cookie Without Losing the S’mores Feel
Swap in vanilla bean or coffee ice cream
Chocolate ice cream makes the s’mores flavor feel deepest, but vanilla bean gives you a classic campfire sandwich and coffee ice cream adds a grown-up edge. Both freeze well and hold their shape, though a lighter ice cream will taste less rich, so the toasted marshmallow and honey in the cookie need to carry more of the flavor work.
Make it gluten-free with a 1:1 baking blend
A good cup-for-cup gluten-free flour blend can replace the all-purpose and whole wheat flour, but the cookies may spread a little less and feel slightly more delicate. Let them cool fully before handling, and keep the ice cream layer a little thinner so the sandwiches stay intact.
Use dairy-free ice cream and plant-based butter
This works well with a sturdy dairy-free chocolate ice cream and a plant-based butter that bakes well. The texture will be a little less rich, but the toasted marshmallow top and honeyed cookie still give you the same frozen s’mores vibe. Check that your marshmallows are gelatin-free if you need the full dessert to stay dairy-free and vegetarian-friendly.
Storage and Reheating
- Refrigerator: Not recommended. These soften fast and lose the clean sandwich texture in the fridge.
- Freezer: Store wrapped individually for up to 2 weeks. After that, the cookies can start to pick up freezer flavor and the marshmallow tops lose their best texture.
- Reheating: No reheating needed. Let a sandwich sit at room temperature for 3 to 5 minutes before eating so the ice cream loosens just enough. If it sits too long, the cookie edges go too soft and the filling slides.
Questions I Get Asked About This Recipe
S'mores Ice Cream Sandwiches
Ingredients
Equipment
Method
- Preheat your oven to 350F. In a mixing bowl, whisk both flours, cinnamon, baking soda, and salt until evenly combined.
- Beat the softened butter and brown sugar until fluffy, about 2 minutes. Add honey, whole milk, and vanilla extract and mix just until smooth.
- Stir the flour mixture into the wet ingredients to form a cohesive dough. If it seems dry, mix just a few extra turns until no flour streaks remain.
- Scoop dough into large rounds and place them on a sheet pan, pressing each round flat. Press mini marshmallows into the tops so they’re evenly spaced.
- Bake for 10-12 minutes at 350F until the edges are golden and the marshmallows are puffed. Use a kitchen torch to toast the marshmallows golden-brown immediately after baking.
- Cool the cookies completely before assembling. Sandwich softened chocolate ice cream between two cookies with the marshmallow sides facing outward.
- Freeze the assembled ice cream sandwiches for at least 1 hour before serving. Keep them covered so the cookies stay crisp.


