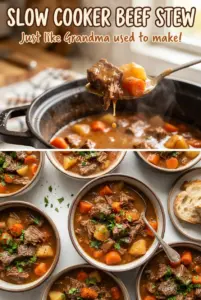
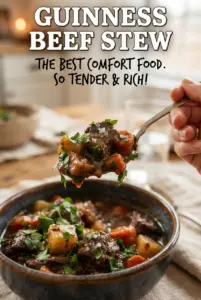
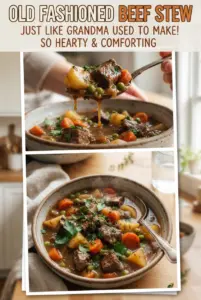
Slow cooker beef stew lands in that sweet spot between hearty and low-effort: the beef turns fork-tender, the potatoes hold their shape, and the broth cooks down into something deep and savory without you standing over the stove. What makes this version worth keeping around is the browning step at the beginning. That little bit of extra work gives the stew a richer base and keeps the finished pot from tasting flat.
The flour on the beef does two jobs at once. It helps the meat brown better in the skillet, and it gives the broth just enough body as everything cooks together. Tomato paste and Worcestershire bring that background depth you can taste even when the pot has been simmering all day. If you’ve ever had a slow cooker stew that came out thin or one-note, this one fixes that without making the method complicated.
Below, you’ll find the timing that matters most, the ingredient swaps that actually work, and the one small detail that keeps the peas bright instead of dull and mushy.
The beef came out incredibly tender and the broth had real body instead of tasting watery. Browning the meat first made a huge difference, and the potatoes held up perfectly for dinner.
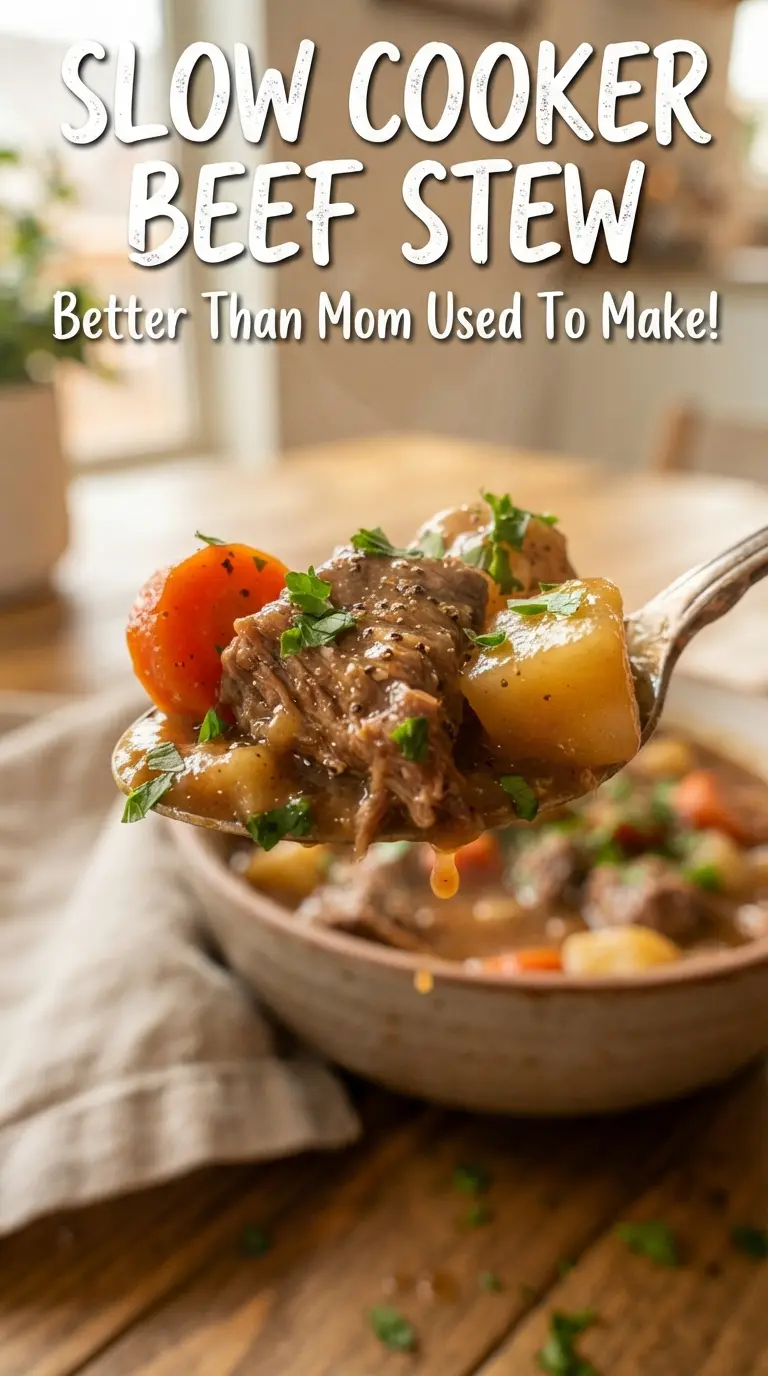
Save this slow cooker beef stew for a tender, gravy-thick dinner with beef, potatoes, and carrots.
The Browning Step That Gives Slow Cooker Beef Stew Its Depth
The slow cooker does the long, gentle work, but it doesn’t build flavor from scratch. That happens in the skillet before the lid ever goes on. Browning the beef in batches gives you browned bits on the bottom of the pan, and those bits dissolve into the broth instead of staying behind as wasted flavor. If the pan looks crowded, the meat will steam and turn gray instead of developing the dark crust you want.
The flour coating helps with both browning and body. It’s light enough that it won’t make the stew pasty, but it gives the broth a little thickness after eight hours. Don’t skip scraping the pan after the onion, garlic, and tomato paste go in. That’s where the deepest flavor lives.
- Beef chuck roast — This cut is the right choice because it has enough marbling to stay juicy through a long cook. Lean stew meat can work, but it usually ends up drier and less flavorful.
- Tomato paste — It adds concentrated savoriness and a little color. Let it cook for a minute in the pan so it loses the raw edge before the broth goes in.
- Worcestershire sauce — This is the quiet ingredient that makes the broth taste finished. There isn’t a perfect stand-in, but a small splash of soy sauce can cover some of the same ground if needed.
- Yukon gold potatoes — They hold together better than russets and bring a naturally creamy texture to the stew. If you use russets, expect a softer, starchier broth.
What Each Ingredient Is Actually Doing in This Recipe
- Primary ingredient (the star) — Quality matters most. Choose the best you can find.
- Cooking medium (oil, butter, or broth) — This carries flavors and prevents dryness.
- Seasonings (salt, pepper, spices, herbs) — Layer flavors so nothing overpowers. Build depth gradually.
- Aromatics (garlic, onion, herbs) — Cook with fat to bloom flavors. Become the foundation.
- Supporting ingredients — Complement the main ingredient without overpowering it.
- Sauce or liquid (if applicable) — Brings flavors together. Balance richness with acid.
- Acid (lemon, vinegar, wine, or other) — Brightens and prevents flat-tasting results.
- Final finish (garnish, glaze, or sauce) — Prevents one-dimensional taste and adds visual appeal.
Building the Stew in the Right Order So the Vegetables Don’t Turn Mushy
Start with the beef and aromatics, then add the vegetables and liquid around them. That order matters because the potatoes and carrots need the full cooking time to soften without collapsing, while the peas need only a short finish at the end. The broth should come just up around the ingredients, not flood them. Too much liquid makes the stew taste thin and keeps it from concentrating as it cooks.
Low for 8 hours gives the most even texture, especially if your chuck roast is a little tighter. High works when you’re short on time, but the difference between tender and stringy is narrower, so check it as soon as the shorter window is up. The beef should pull apart easily with a fork, and the carrots should be tender without breaking when stirred.
Browning the Beef in Batches
Toss the beef with flour, salt, and pepper, then brown it in hot oil in batches. The pieces need room to sear; if you crowd the pan, the flour coating gets gummy instead of crisping. Transfer each batch straight to the slow cooker so the meat keeps moving toward the final cook while you finish the rest.
Pulling the Flavor from the Pan
Cook the onion in the same pan until it softens, then add the garlic and tomato paste for just a minute. Pour in a cup of broth and scrape the bottom until the browned bits release cleanly. If those bits stay stuck, the stew loses a lot of its savory backbone.
Letting the Slow Cooker Do the Long Work
Add the remaining broth, Worcestershire, potatoes, carrots, celery, thyme, and bay leaves. Cook until the beef is fork-tender and the vegetables are cooked through. If the potatoes seem done before the beef, they’re probably cut too small; bigger chunks hold up better through the full cook.
Finishing with the Peas and Parsley
Stir in the peas during the last 10 minutes so they stay bright and slightly sweet. Pull out the bay leaves before serving, then shower the top with parsley. That last handful of herbs lifts the whole bowl and keeps the stew from tasting heavy.
What to Change When You Need a Different Kind of Stew
Make It Gluten-Free
Swap the all-purpose flour for a gluten-free flour blend that works one-for-one. The stew will still thicken nicely, though the broth may be a touch softer in body than with wheat flour. The rest of the recipe already fits naturally into a gluten-free meal as long as your broth and Worcestershire are certified gluten-free.
Go Dairy-Free Without Losing Richness
This stew is already dairy-free as written, which is one reason it’s such an easy cold-weather staple. Keep the browning step and the tomato paste exactly as written, because those are what give you the rich, full-bodied finish without any cream.
Swap in Different Vegetables
Parsnips, turnips, or mushrooms can stand in for part of the potatoes or carrots. Keep the total volume about the same so the broth doesn’t get overcrowded. Mushrooms add a deeper savory note, while parsnips bring a gentle sweetness that works well with the beef.
Make It Ahead for Busy Nights
You can brown the beef and cook the onion mixture a day ahead, then store it separately from the raw vegetables and broth. In the morning, combine everything in the slow cooker and let it go. The flavor often tastes even better the next day because the broth has had time to settle and round out.
Storage and Reheating
- Refrigerator: Store in an airtight container for up to 4 days. The broth thickens as it chills, so the stew may look a little denser the next day.
- Freezer: It freezes well for up to 3 months. Cool it completely first, then freeze in portions so the potatoes don’t get beaten up by repeated thawing.
- Reheating: Reheat gently on the stove over low heat or in the microwave in short bursts, stirring between rounds. High heat can break down the potatoes and make the beef dry at the edges before the center is warm.
Answers to the Questions Worth Asking
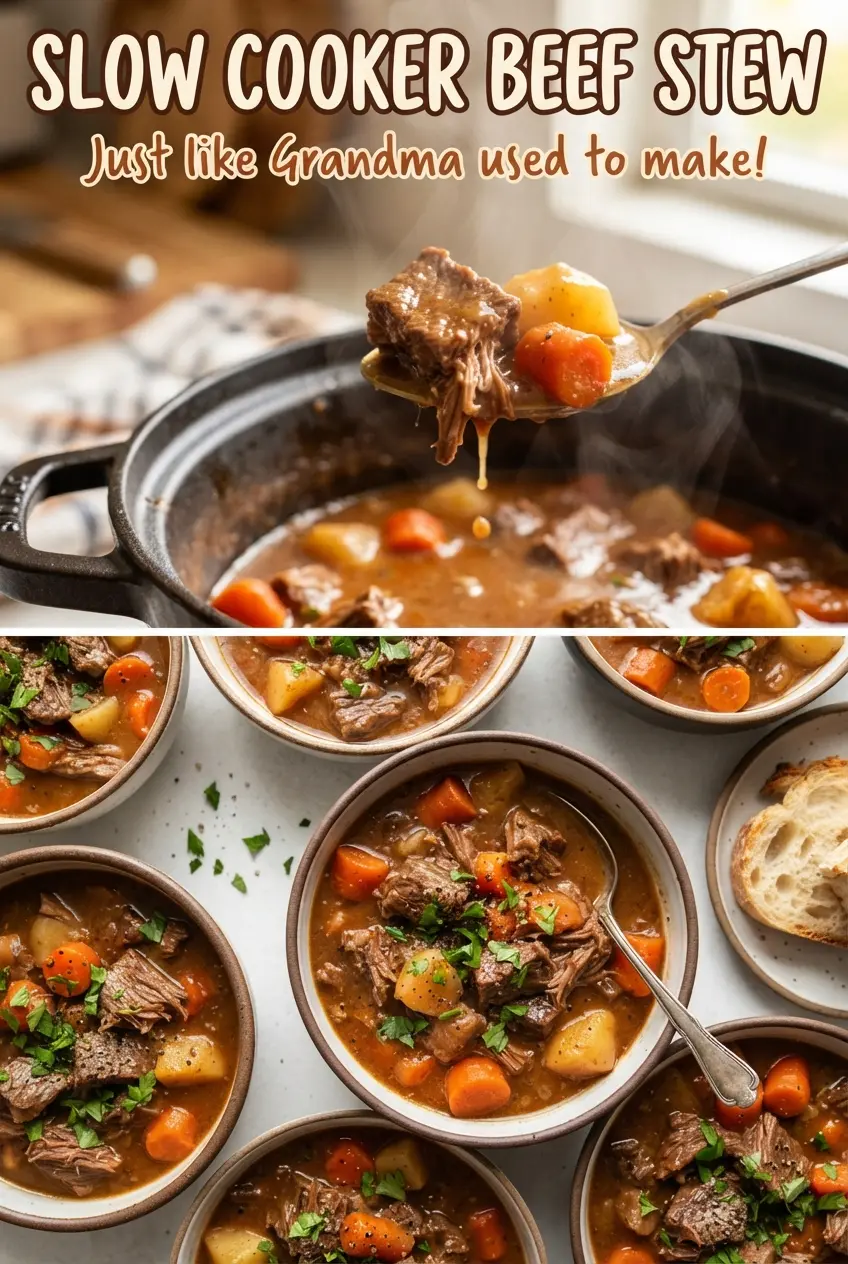
Slow Cooker Beef Stew
Ingredients
Equipment
Method
- Toss beef with flour, salt, and black pepper until evenly coated, then shake off excess flour. Brown the beef in batches in hot olive oil for 4-5 minutes per batch until well browned, transferring to the slow cooker as you go.
- Cook the diced onion in the same pan until softened, about 4 minutes. Add the minced garlic and tomato paste and cook for 1 minute, stirring to prevent sticking.
- Pour in 1 cup of beef broth and scrape up the browned bits from the pan. Transfer the pan mixture to the slow cooker.
- Add the remaining beef broth, Worcestershire sauce, Yukon gold potatoes, carrots, celery, dried thyme, and bay leaves to the slow cooker. Cover and cook on LOW for 8 hours or on HIGH for 4-5 hours until the beef is fork-tender.
- Stir in the frozen peas and cook for the last 10 minutes to heat through. Remove the bay leaves, then top the stew with chopped fresh parsley before serving.