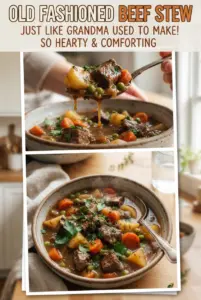
Old Fashioned Beef Stew is the kind of dinner that turns a tough cut into something spoon-tender and deeply satisfying. The broth cooks down into a gravy that clings to the beef and vegetables, and every bite tastes like it had time to become itself. It’s hearty without being heavy-handed, and the texture is what keeps me coming back: beef that breaks apart with a fork, potatoes that hold their shape, and carrots that still have a little bite.
The key is building flavor in layers. Browning the beef first gives you the base, and scraping up every browned bit after the broth goes in pulls that flavor straight into the stew. A little tomato paste, Worcestershire, and thyme are enough to deepen the pot without turning it into something that tastes like tomato sauce. The flour on the beef does double duty here too — it helps the meat brown and gives the stew a natural body as it simmers.
Below, I’ve laid out the part that matters most: how to keep the beef from steaming, how to avoid a thin broth, and what to do if you want to make this ahead. If you’ve ever ended up with tender meat but bland broth, this version fixes that.
The beef turned out fork-tender and the gravy thickened just enough to coat the potatoes without getting gluey. I also loved that the carrots still had some texture after the long simmer.
Save this Old Fashioned Beef Stew for a thick, beefy dinner with tender potatoes and carrots that hold their shape.
The Browning Step That Gives This Stew Its Deep Flavor
Stew can taste flat even when the meat is tender if the beef never gets a hard sear. The flour helps the cubes develop a better crust, but the real payoff comes from working in batches and letting each piece sit long enough to brown instead of crowding the pan. If the meat is piled in, it steams, the pan cools down, and you lose the dark bits that make the broth taste like something you’d want another bowl of.
The other place people go wrong is rushing the simmer. Once the liquid goes in, the heat should stay low enough that you see lazy bubbles, not a rolling boil. A hard boil tightens the beef before it has time to soften, and it can make the broth cloudy instead of rich.
What Each Ingredient Is Actually Doing in the Pot
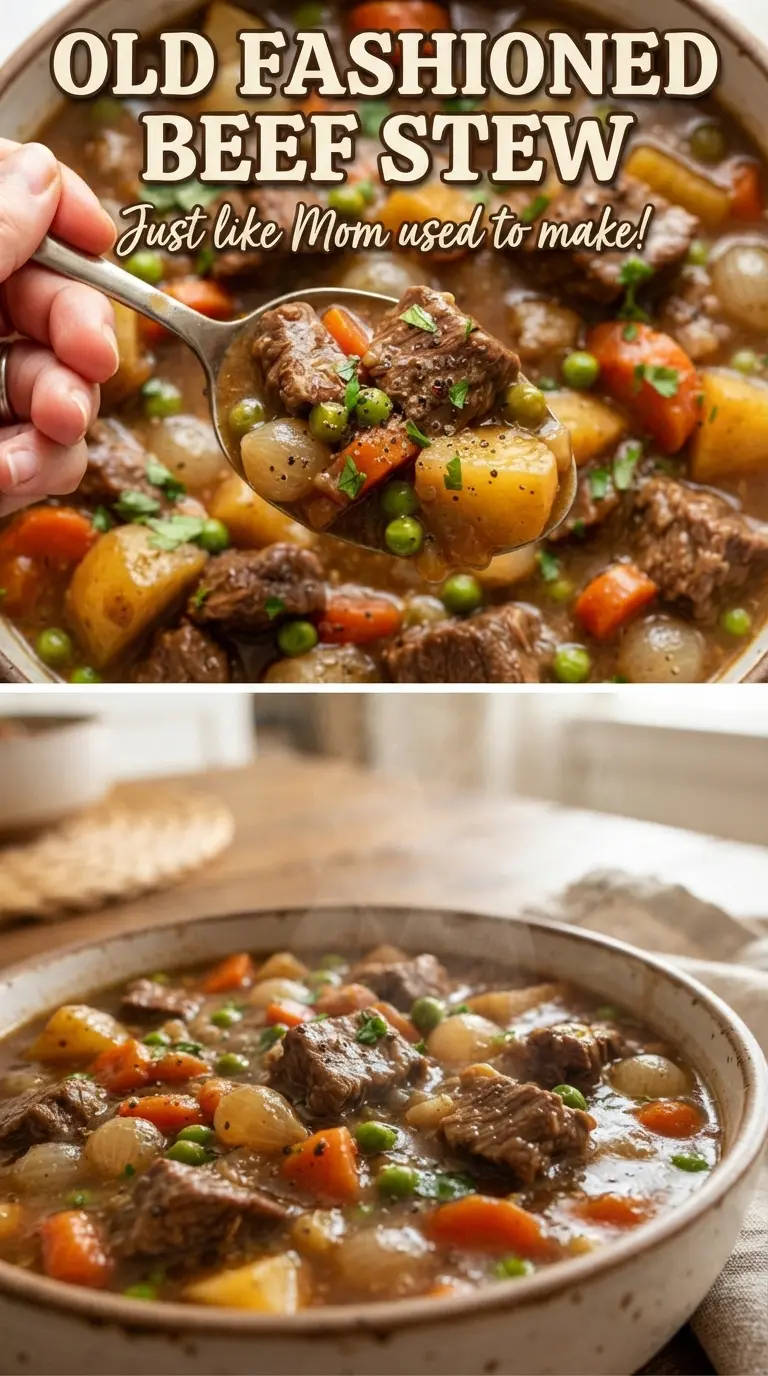
- Beef chuck — This is the cut that turns silky after a long simmer. Leaner beef stays stringy and dry; chuck has the connective tissue that melts into the broth and gives the stew its body.
- Flour — It clings to the beef and helps the surface brown, then thickens the stew as it cooks. If you need a gluten-free version, use a 1:1 gluten-free flour blend and brown the beef the same way.
- Tomato paste — Just a couple tablespoons deepen the broth without making it taste tomato-forward. Cooking it for a minute with the onions takes away the raw edge and makes the flavor rounder.
- Worcestershire sauce — This is the quiet ingredient that makes the pot taste more savory and complete. There isn’t a perfect substitute, but a splash of soy sauce can cover some of the same ground if that’s what you have.
- Russet potatoes, carrots, and pearl onions — These go in later because they need a shorter cook than the beef. Russets thicken the broth a little as they break down at the edges, while the pearl onions add sweetness and keep the stew from tasting one-note.
Building the Stew So the Gravy Thickens Naturally
Browning the Beef in Batches
Toss the beef with the flour, salt, and pepper before it hits the pan, then brown it in hot oil in a single layer. You’re looking for a dark brown crust, not just a gray surface; that color is where the flavor starts. If the cubes won’t release easily, they need another minute or two. Pull them once they’re browned on most sides and keep going until all the meat is done.
Cooking Down the Onion Base
Once the beef is out, the chopped onion goes into the same pot and cooks in the fat and browned drippings. Let it soften and pick up color for about five minutes, then stir in the garlic and tomato paste just long enough to lose their raw sharpness. If the pot looks dry, the onions can catch; a little more oil is fine, but don’t rush this part because it builds the backbone of the stew.
Simmering Until the Meat Yields
After the broth, water, Worcestershire, sugar, paprika, thyme, and bay leaves go in, scrape the bottom until the pan is clean and the liquid looks a little darker from the browned bits. Return the beef, cover the pot, and let it simmer gently for about two hours. The beef should still resist a little at that point. It needs that first stretch of time before the vegetables go in so it can turn tender without the potatoes falling apart.
Adding the Vegetables at the Right Time
The potatoes, carrots, and frozen pearl onions go in for the last 45 minutes. That window is long enough for the potatoes to soften and release a bit of starch, which helps thicken the broth, but short enough that the carrots keep their shape. If the stew is too thick at this stage, splash in a little water or broth; if it’s too thin, leave the lid cracked for the final 10 to 15 minutes so some steam can escape.
Add Mushrooms for a Deeper, Earthier Stew
Brown sliced cremini mushrooms after the beef comes out, then build the onion base in the same pot. They add a woodsy depth that fits the beef without changing the structure of the stew. The broth will taste a little more savory and less sweet from the carrots alone.
Make It Gluten-Free Without Losing Body
Swap the all-purpose flour for a good 1:1 gluten-free blend and use the same browning method. The stew still thickens as the potatoes break down, so you won’t lose the gravy-like texture, but avoid a blend that’s heavy on starch alone or the sauce can turn a little gummy.
Use Red Wine for a More Robust Pot
Replace 1 cup of the water or broth with dry red wine after the onions cook, then simmer it for a minute before adding the remaining liquid. The stew will taste a little deeper and more layered, but don’t use a sweet wine or the broth will lean cloying instead of savory.
Storage and Reheating
- Refrigerator: Keeps well for 4 days. The broth thickens as it chills, and the flavor gets even better by day two.
- Freezer: Freezes well for up to 3 months. Cool it completely first, then store it in airtight containers with a little space at the top for expansion.
- Reheating: Warm it gently on the stove over low heat, stirring now and then. A hard boil can make the beef stringy and the potatoes break apart before the center is hot.
Answers to the Questions Worth Asking
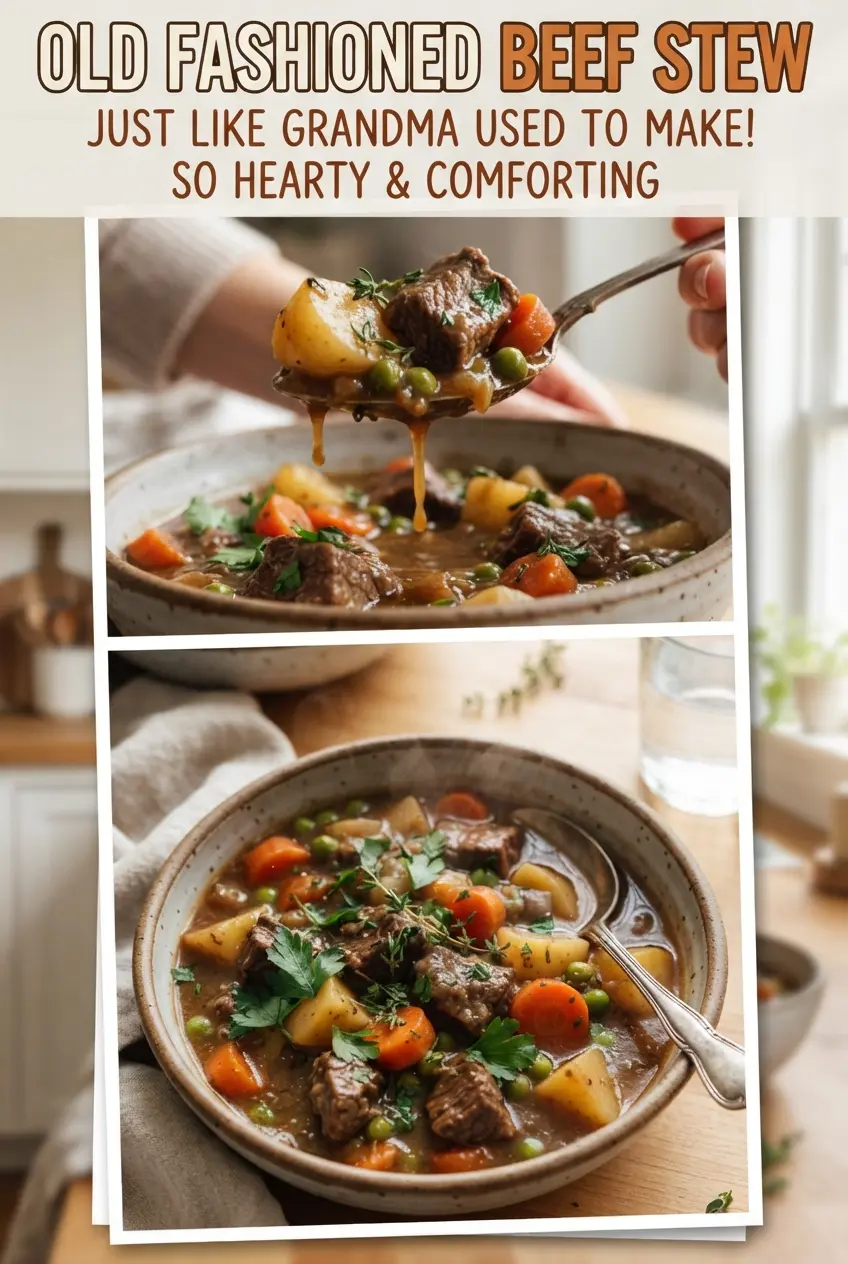
Old Fashioned Beef Stew
Ingredients
Equipment
Method
- Toss the beef with all-purpose flour, salt, and black pepper until evenly coated.
- Heat vegetable oil in a Dutch oven over high heat until shimmering, then brown the beef in batches until deep brown on all sides, 6 to 8 minutes per batch.
- Cook chopped onion in the Dutch oven for 5 minutes, stirring occasionally, until softened.
- Stir in minced garlic and tomato paste and cook for 1 minute to lightly brown and deepen the flavor.
- Add beef broth, water, Worcestershire sauce, sugar, paprika, dried thyme, and bay leaves, then scrape up the browned bits from the bottom of the pot.
- Return the browned beef to the pot, cover, and simmer gently until the meat is tender, 2 hours.
- Add the russet potatoes, carrots, and frozen pearl onions, then simmer uncovered or partially covered for 45 minutes, until the vegetables are tender and the gravy has thickened.
- Remove bay leaves, then season to taste with additional salt and black pepper if needed.