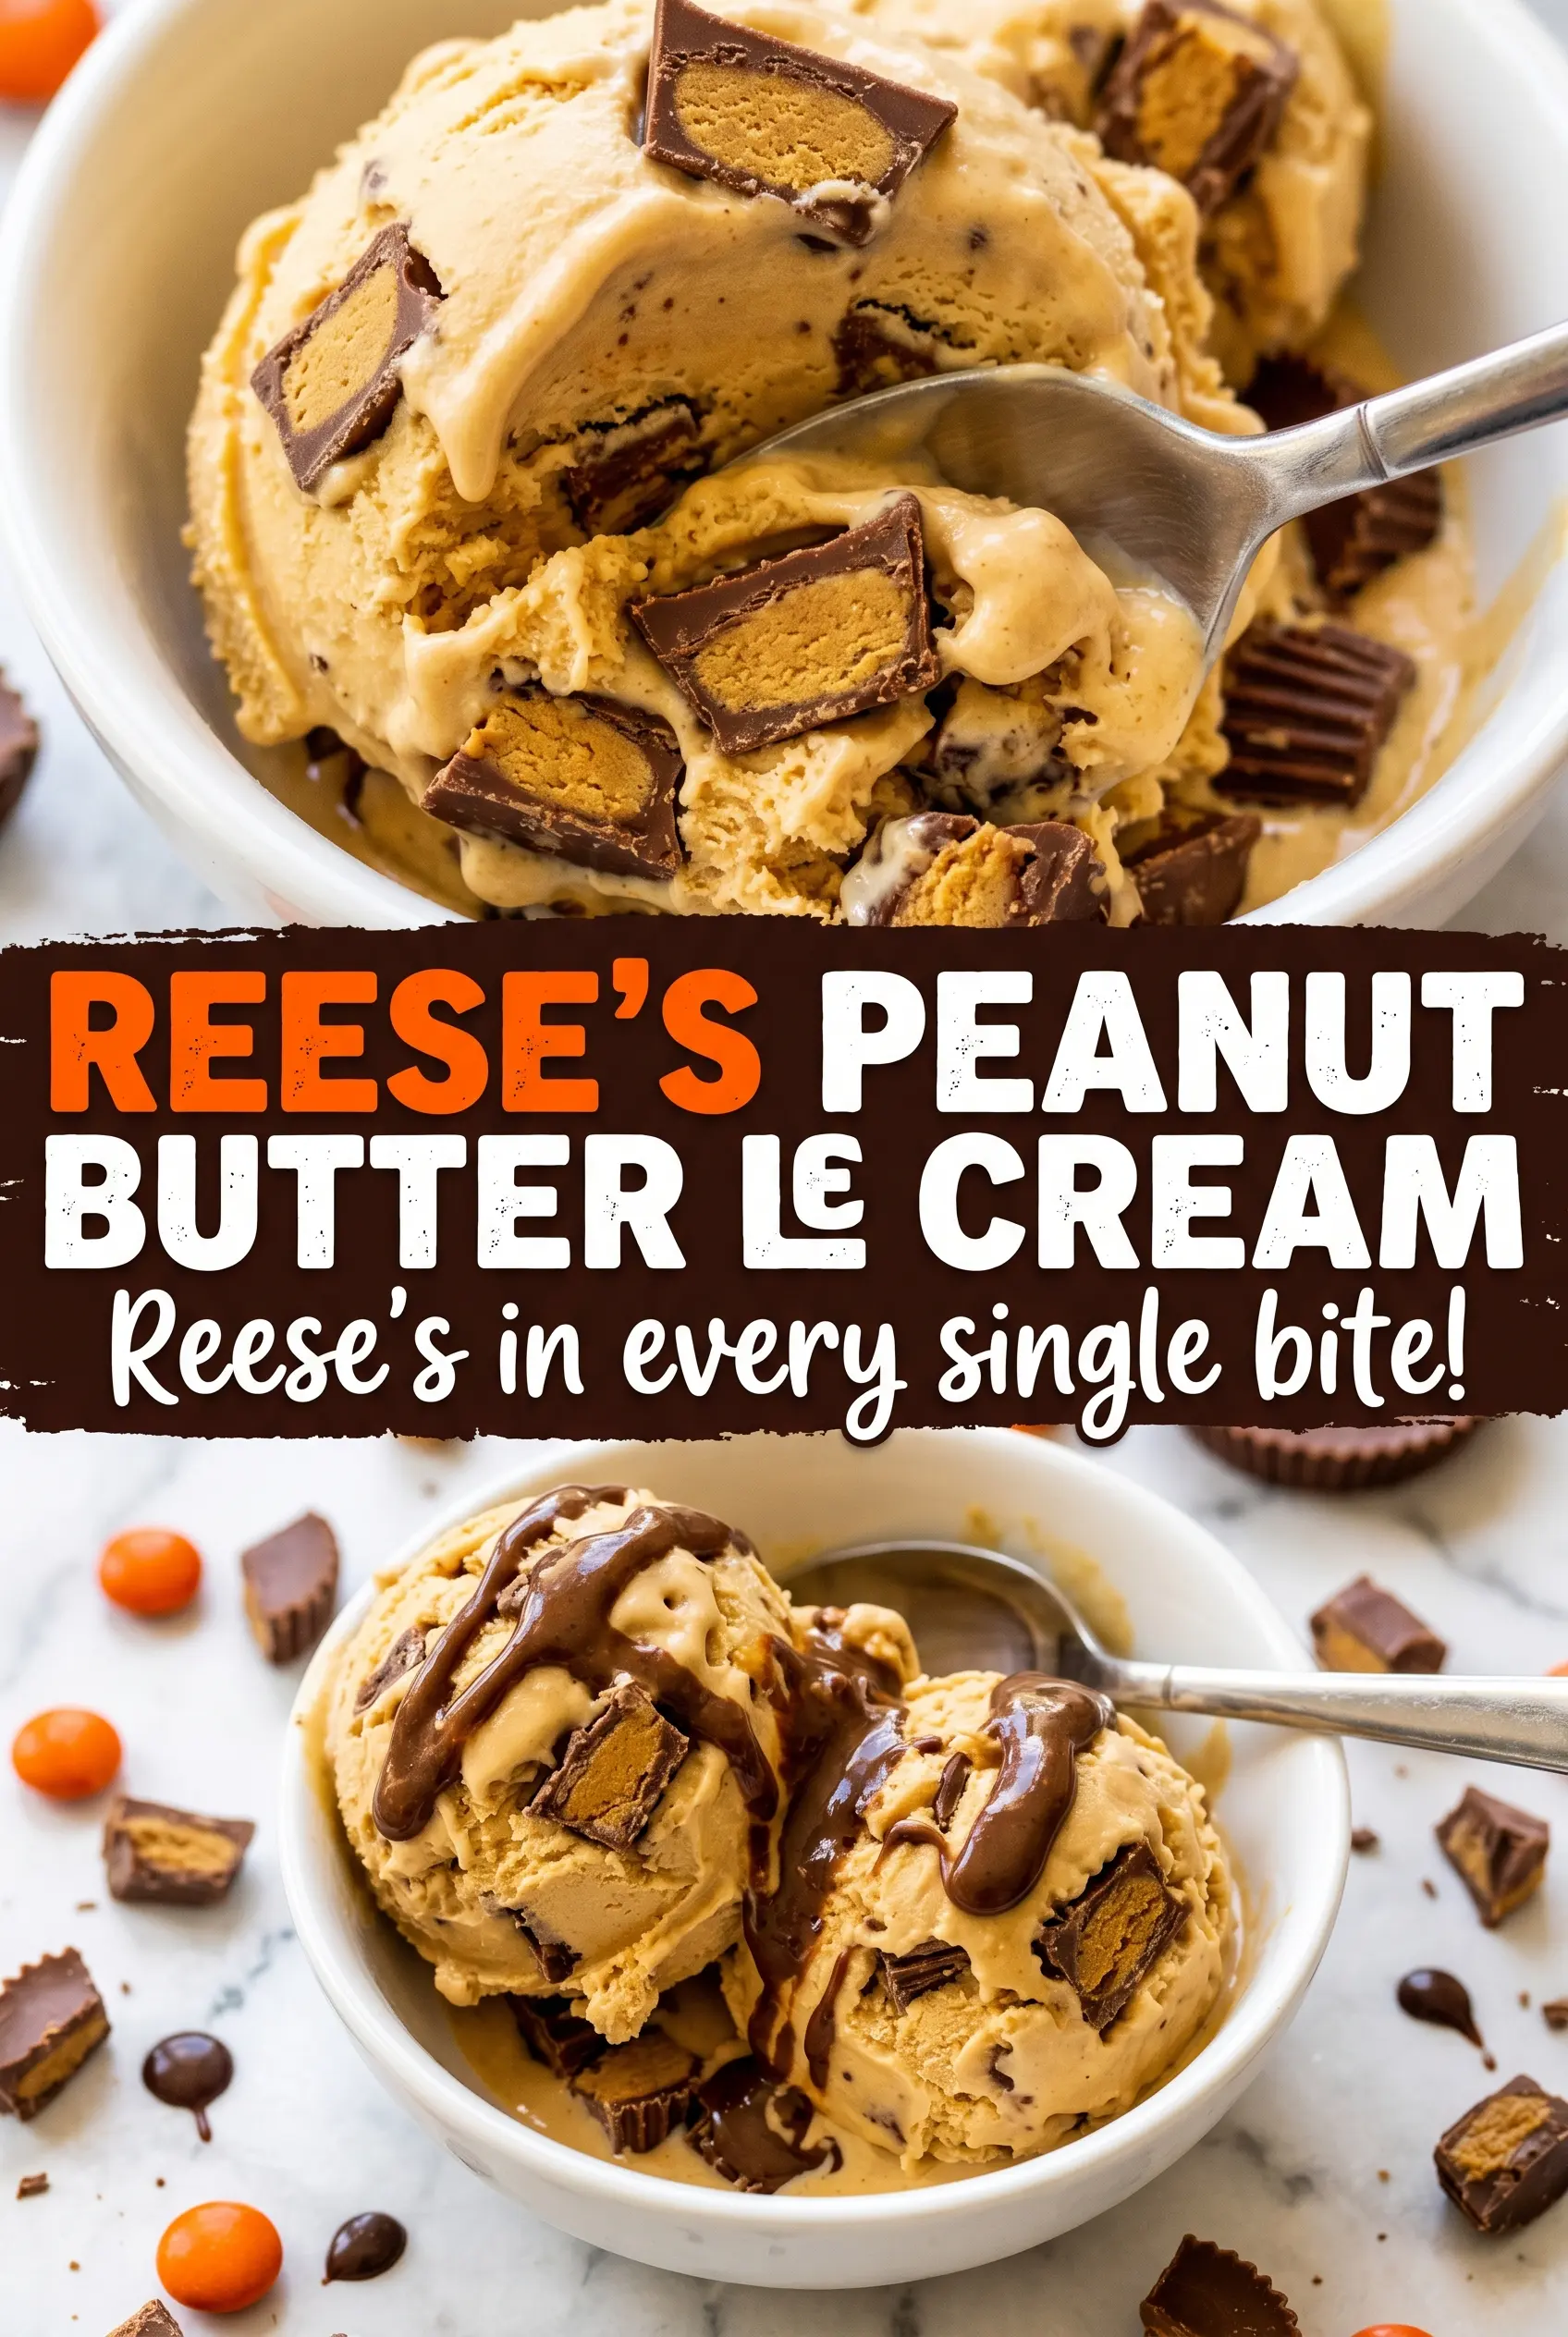
Reese’s Peanut Butter Ice Cream lands with that first spoonful: cold, creamy peanut butter base, little shards of chocolate shell, and pockets of candy that stay firm enough to give each bite some snap. The best part is that it tastes rich without turning heavy, which is exactly what you want from a no-churn frozen dessert that has to sit in the freezer for hours before serving.
The texture depends on how the base is built. Whipped cream gives it body and keeps it scoopable, while sweetened condensed milk adds sweetness and keeps ice crystals from taking over. Peanut butter goes in with the condensed milk instead of being folded in on its own, because that makes the mixture smoother and prevents little greasy streaks from showing up later.
Below, I’ll walk through the mixing order that keeps the ice cream light, the one peanut butter detail that changes the final texture, and a few ways to adapt it if you want a chocolate-heavy version or need to work around an ingredient you don’t have.
The peanut butter base turned out smooth, not icy, and the chopped Reese’s stayed chunky even after a full night in the freezer. My kids kept sneaking spoonfuls straight from the pan.
Reese’s Peanut Butter Ice Cream is the one to save for when you want a no-churn dessert with a creamy peanut butter base and big candy bar chunks in every scoop.
The Part That Keeps No-Churn Ice Cream Creamy Instead of Icy
No-churn ice cream lives or dies by how much air you keep in the base. If you whip the cream only to soft peaks, the mixture collapses too easily and freezes dense. If you overwhip it to a dry, grainy stage, the final texture can turn a little chalky. Stiff peaks are the sweet spot: the cream should hold its shape, but still look glossy and smooth.
The other place people run into trouble is the peanut butter. Natural peanut butter can work, but it needs to be stirred until completely smooth first, or it can leave oily streaks and tiny clumps in the finished ice cream. A standard creamy peanut butter gives the most consistent result here because it blends cleanly with the condensed milk and stays soft enough to scoop straight from the freezer.
Once the chopped Reese’s go in, fold them in gently and stop as soon as they’re distributed. Overmixing at this stage knocks out the air you just built into the cream, and that’s when the ice cream starts freezing heavier than it should.
What Each Ingredient Is Actually Doing in the Bowl

- Heavy cream — This is what gives the ice cream its body and scoopable texture. Whipping it to stiff peaks traps air, which is what replaces the churning step in a no-churn recipe.
- Sweetened condensed milk — Don’t swap this for regular milk or half-and-half. It brings sweetness and enough sugar concentration to help the ice cream stay soft instead of freezing into a brick.
- Creamy peanut butter — Use a smooth, shelf-stable peanut butter for the most even texture. If you use natural peanut butter, stir it very well first so the oil and solids are fully combined before mixing it into the base.
- Reese’s peanut butter cups — Chop them roughly, not too fine. Bigger pieces hold their shape better and give you those distinct candy bites instead of disappearing into the cream.
- Vanilla and salt — Vanilla rounds out the peanut butter flavor, and salt keeps the sweetness from tasting flat. That tiny bit of salt matters more than people expect in a frozen dessert.
- Chocolate sauce — This is optional, but it adds contrast and makes the peanut butter flavor read even more clearly. Warm it slightly so it drizzles instead of sinking into the top layer.
Building the Base Without Deflating It
Whip the Cream to a Firm, Glossy Finish
Start with cold heavy cream in a cold bowl if you can. Beat it until the peaks stand straight up but still look smooth, not dry. If you stop too early, the base won’t freeze with enough structure. If you go too far, the cream starts to look clumpy and the final texture gets less airy.
Blend the Peanut Butter Mixture Until It Looks Silky
Whisk the condensed milk, peanut butter, vanilla, and salt until the color is uniform and there are no streaks left. If the peanut butter seems stubborn, warm it just enough to loosen it, then whisk again. The goal is a base that pours smoothly into the whipped cream, not a thick paste that has to be fought into submission.
Fold, Don’t Stir
Use a spatula and work in broad strokes, turning the whipped cream over the peanut butter mixture until just combined. The base should look marbled for a few turns before it becomes uniform. If you stir hard, you’ll knock out the air that keeps the ice cream soft.
Finish with the Reese’s at the End
Add the chopped peanut butter cups after the base is mixed. Fold just until they’re spread throughout the pan, then stop. If you overwork them, the chocolate coating melts into streaks and the pieces lose their bite after freezing.
Use crunchy peanut butter for more texture
If you want a little extra bite in the base, crunchy peanut butter adds small peanut pieces that freeze into the ice cream. The texture gets a touch less smooth, but the peanut flavor comes through more strongly.
Make it dairy-free with coconut cream
Swap the heavy cream for full-fat coconut cream and use a dairy-free peanut butter cup. The result will be a little softer and carry a faint coconut note, but it still freezes into a rich, scoopable dessert.
Turn it into a chocolate peanut butter ice cream
Fold in 1/4 cup cocoa powder with the condensed milk and peanut butter for a deeper chocolate base. It makes the dessert taste more like a frozen peanut butter cup, but the color will be darker and the peanut butter flavor slightly less dominant.
Storage and Reheating
- Refrigerator: Not recommended. This is a frozen dessert, and it softens quickly at fridge temperature.
- Freezer: Store covered for up to 2 weeks. After that, the texture starts to pick up more ice crystals, especially around the edges.
- Reheating: No reheating needed. Let it sit at room temperature for 5 to 10 minutes before scooping so the peanut butter base loosens enough to serve cleanly.
Answers to the Questions Worth Asking
Reese's Peanut Butter Ice Cream
Ingredients
Equipment
Method
- Whip the heavy cream with a stand mixer until stiff peaks form, about 3–5 minutes, and the mixture holds firm ridges when you lift the beaters. Stop as soon as it looks thick and glossy to avoid graininess.
- Whisk the sweetened condensed milk, creamy peanut butter, vanilla extract, and salt together until smooth, about 1–2 minutes. Scrape the bowl to make sure no peanut butter streaks remain.
- Gently fold the peanut butter mixture into the whipped cream until just combined, keeping the texture light. Fold carefully until you no longer see streaks, but do not overmix.
- Fold in the chopped Reese's peanut butter cups so the chunks are evenly distributed throughout the pale tan base. Stop folding when the cups are dispersed and the mixture looks uniform.
- Transfer the mixture to a 9x5 loaf pan and smooth the top into an even layer. Tap the pan lightly to reduce air pockets.
- Freeze for at least 6 hours or overnight until firm and scoopable. The surface should look set with no visible wobble when you nudge the pan.
- When serving, drizzle extra chocolate sauce over the top and around scoops. Finish with a visible ribbon of chocolate for the best contrast.


