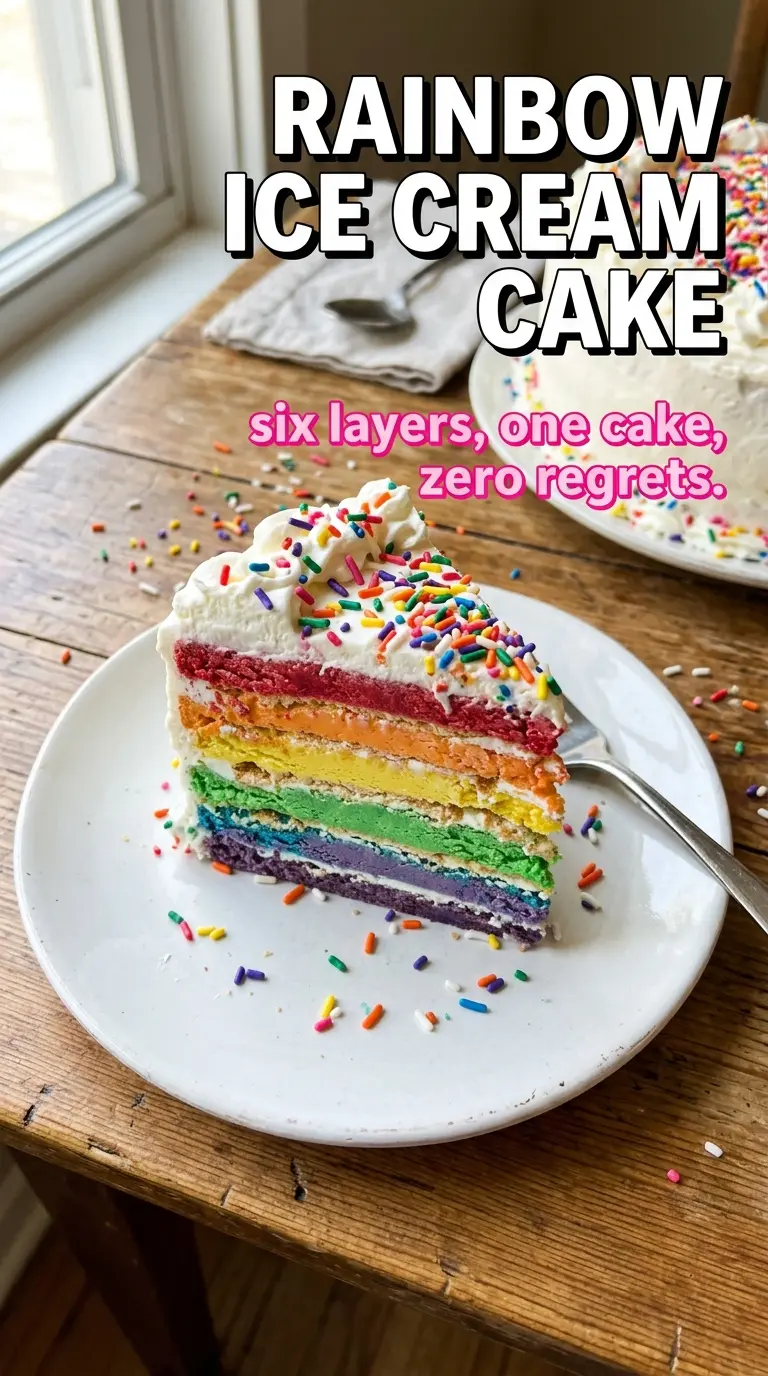
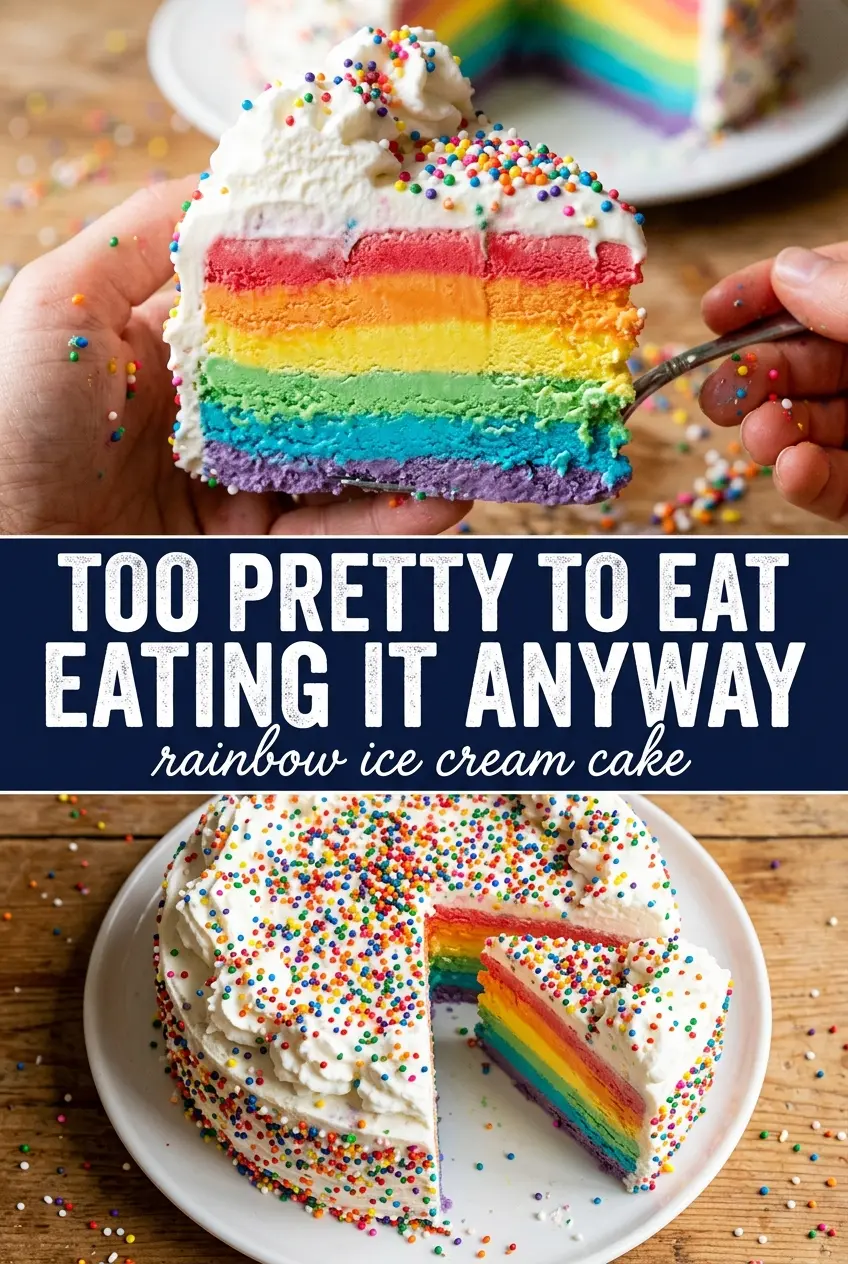
Rainbow ice cream cake earns its spot at the center of the table because the first slice gives you that clean striped reveal: crisp chocolate crust, four bright sherbet layers, and a cloud of whipped topping all in one bite. It looks like a bakery cake, but the texture is more playful than fussy — cold, creamy, tart, and just sweet enough to keep you reaching for another forkful.
The trick is working in thin layers and freezing each one until it’s firm before adding the next. That’s what keeps the colors sharp instead of muddy. Sherbet behaves better than full-fat ice cream here because it softens fast enough to spread, then sets hard enough to hold its shape under the topping. The Oreo crust gives the cake a little crunch and a dark base that makes the colors pop even more.
Below, you’ll find the timing cues that matter, the best way to keep the layers neat, and a few smart swaps if you need to adapt the cake for a different crowd or flavor combination.
The layers came out so clean, and the sherbet stayed bright all the way through. I was nervous about spreading it fast enough, but freezing between layers kept everything stacked perfectly.
Like this rainbow sherbet cake? Save it to Pinterest for the next birthday when you want a dramatic frozen slice with clean rainbow layers.
The Key to Sharp Rainbow Layers Is Freezing Between Every Spread
The biggest mistake with a layered ice cream cake is rushing the freeze time. If the bottom layer is even a little soft, the next color drags through it and the stripes turn cloudy instead of clean. Thin layers freeze faster and hold better, which is why this cake is built in stages rather than piled high all at once.
Work with sherbet that’s softened just enough to spread, not melted. You want it scoopable and glossy, but still thick. If it’s soupy, it will seep into the crust and make the whole cake icy at the base. Let each layer set until it feels firm to a light touch before adding the next one, and the slices will stay neat when you cut them.
What the Oreo Crust and Sherbet Each Bring to the Cake
- Oreo cookies — The chocolate crumbs give the cake a firm, slightly bitter base that keeps the dessert from tasting one-note sweet. You don’t need to remove the filling; it helps the crumbs bind.
- Butter — This is what turns crumbs into a crust that slices cleanly. Melted butter is enough here, but if the mixture looks dry when you press it in the pan, add another teaspoon or two.
- Rainbow sherbet assortment — Sherbet is the key to getting bold color and a sliceable frozen layer. Full ice cream can work, but it usually spreads heavier and blends more easily; sherbet sets with a brighter edge and a lighter bite.
- Whipped topping — This gives the cake its snowy outside finish and spreads more easily than whipped cream straight from scratch. Keep it cold until the last minute so it doesn’t get loose and streaky on the sides.
- Rainbow sprinkles — Add them after the whipped topping so they stick. If you sprinkle too early, they’ll bleed color into the white coating as the cake freezes.
Building the Cake So It Slices Cleanly
Pressing the Crust
Mix the Oreo crumbs with melted butter until every crumb looks damp, then press the mixture firmly into the bottom of the springform pan. Use the bottom of a measuring cup to pack it down evenly. A loose crust falls apart when you slice the cake, while a well-packed one gives you a tidy base that stands up to the frozen layers.
Layering the Sherbet
Spread each sherbet in a thin, even layer and work quickly before it starts to soften too much. A small offset spatula or the back of a spoon helps you smooth it without digging into the layer underneath. If you see crumbs pulling up into the sherbet, the crust or previous layer wasn’t frozen long enough, so stop and give it more time in the freezer.
Frosting and Finishing
Once the sherbet stack is fully solid, cover the cake with whipped topping in a thick, even coat. Don’t worry about making it perfect on the first pass; you can smooth it once it’s on the cake. The sprinkles go on right away, while the topping is still tacky, so they stay put and don’t slide off the sides.
Make It a Different Color Story
Swap the sherbet flavors to match a party theme, but keep the same total number of layers and the same freezing rhythm. Any bright, firm sherbet will work; just avoid very soft fruit sorbets that melt into the next layer too quickly. The cake will still slice beautifully, but the flavor balance will shift toward whatever citrus or berry note you choose.
Gluten-Free Version
Use gluten-free sandwich cookies in place of the Oreos if you need the crust to stay gluten-free. The rest of the cake is naturally gluten-free as long as your sherbet and whipped topping are labeled that way. The texture stays the same, though some gluten-free cookies make a slightly softer crust, so press it extra firmly.
Dairy-Free Approach
For a dairy-free cake, choose dairy-free whipped topping and check that your sherbet and cookies fit your needs. The finish will be a touch lighter and less rich, but the visual effect stays the same. This is the most practical swap if you need the cake to serve a mixed group without changing the build.
Storage and Reheating
- Refrigerator: Don’t store this cake in the fridge. It will melt and lose its layers within minutes.
- Freezer: Keep it covered in the freezer for up to 1 week for the best texture. After that, the sherbet can pick up freezer flavor and the whipped topping may start to dry out.
- Reheating: There’s no reheating here. Let the cake sit at room temperature for 8 to 12 minutes before slicing so the knife cuts through the layers instead of cracking the crust.
Questions I Get Asked About This Recipe
Rainbow Ice Cream Cake
Ingredients
Equipment
Method
- Press the crushed Oreo cookies mixed with melted butter firmly into a 9-inch springform pan. Make the surface level, then freeze for 15 minutes until set.
- Work quickly and spread the raspberry sorbet in a thin, even layer over the chilled crust. Freeze for 30 minutes until firm, then repeat with the orange sherbet, freezing between each layer.
- Spread the lemon sorbet in a thin, even layer and freeze for 30 minutes until firm. Spread the lime sherbet as the final layer and freeze until set.
- Freeze the completed layered cake for 4 hours until completely solid. This ensures the stripes stay crisp when sliced.
- Cover the top and sides with whipped topping. Press gently to seal the surface and keep the edges neat.
- Decorate generously with rainbow sprinkles, scattering them over the frosted top and letting some fall down the sides. Return to the freezer for 2 more hours until firm.
- Slice the cake to reveal the rainbow layers inside the whipped topping exterior. Serve straight from the freezer for clean, vivid stripes.


