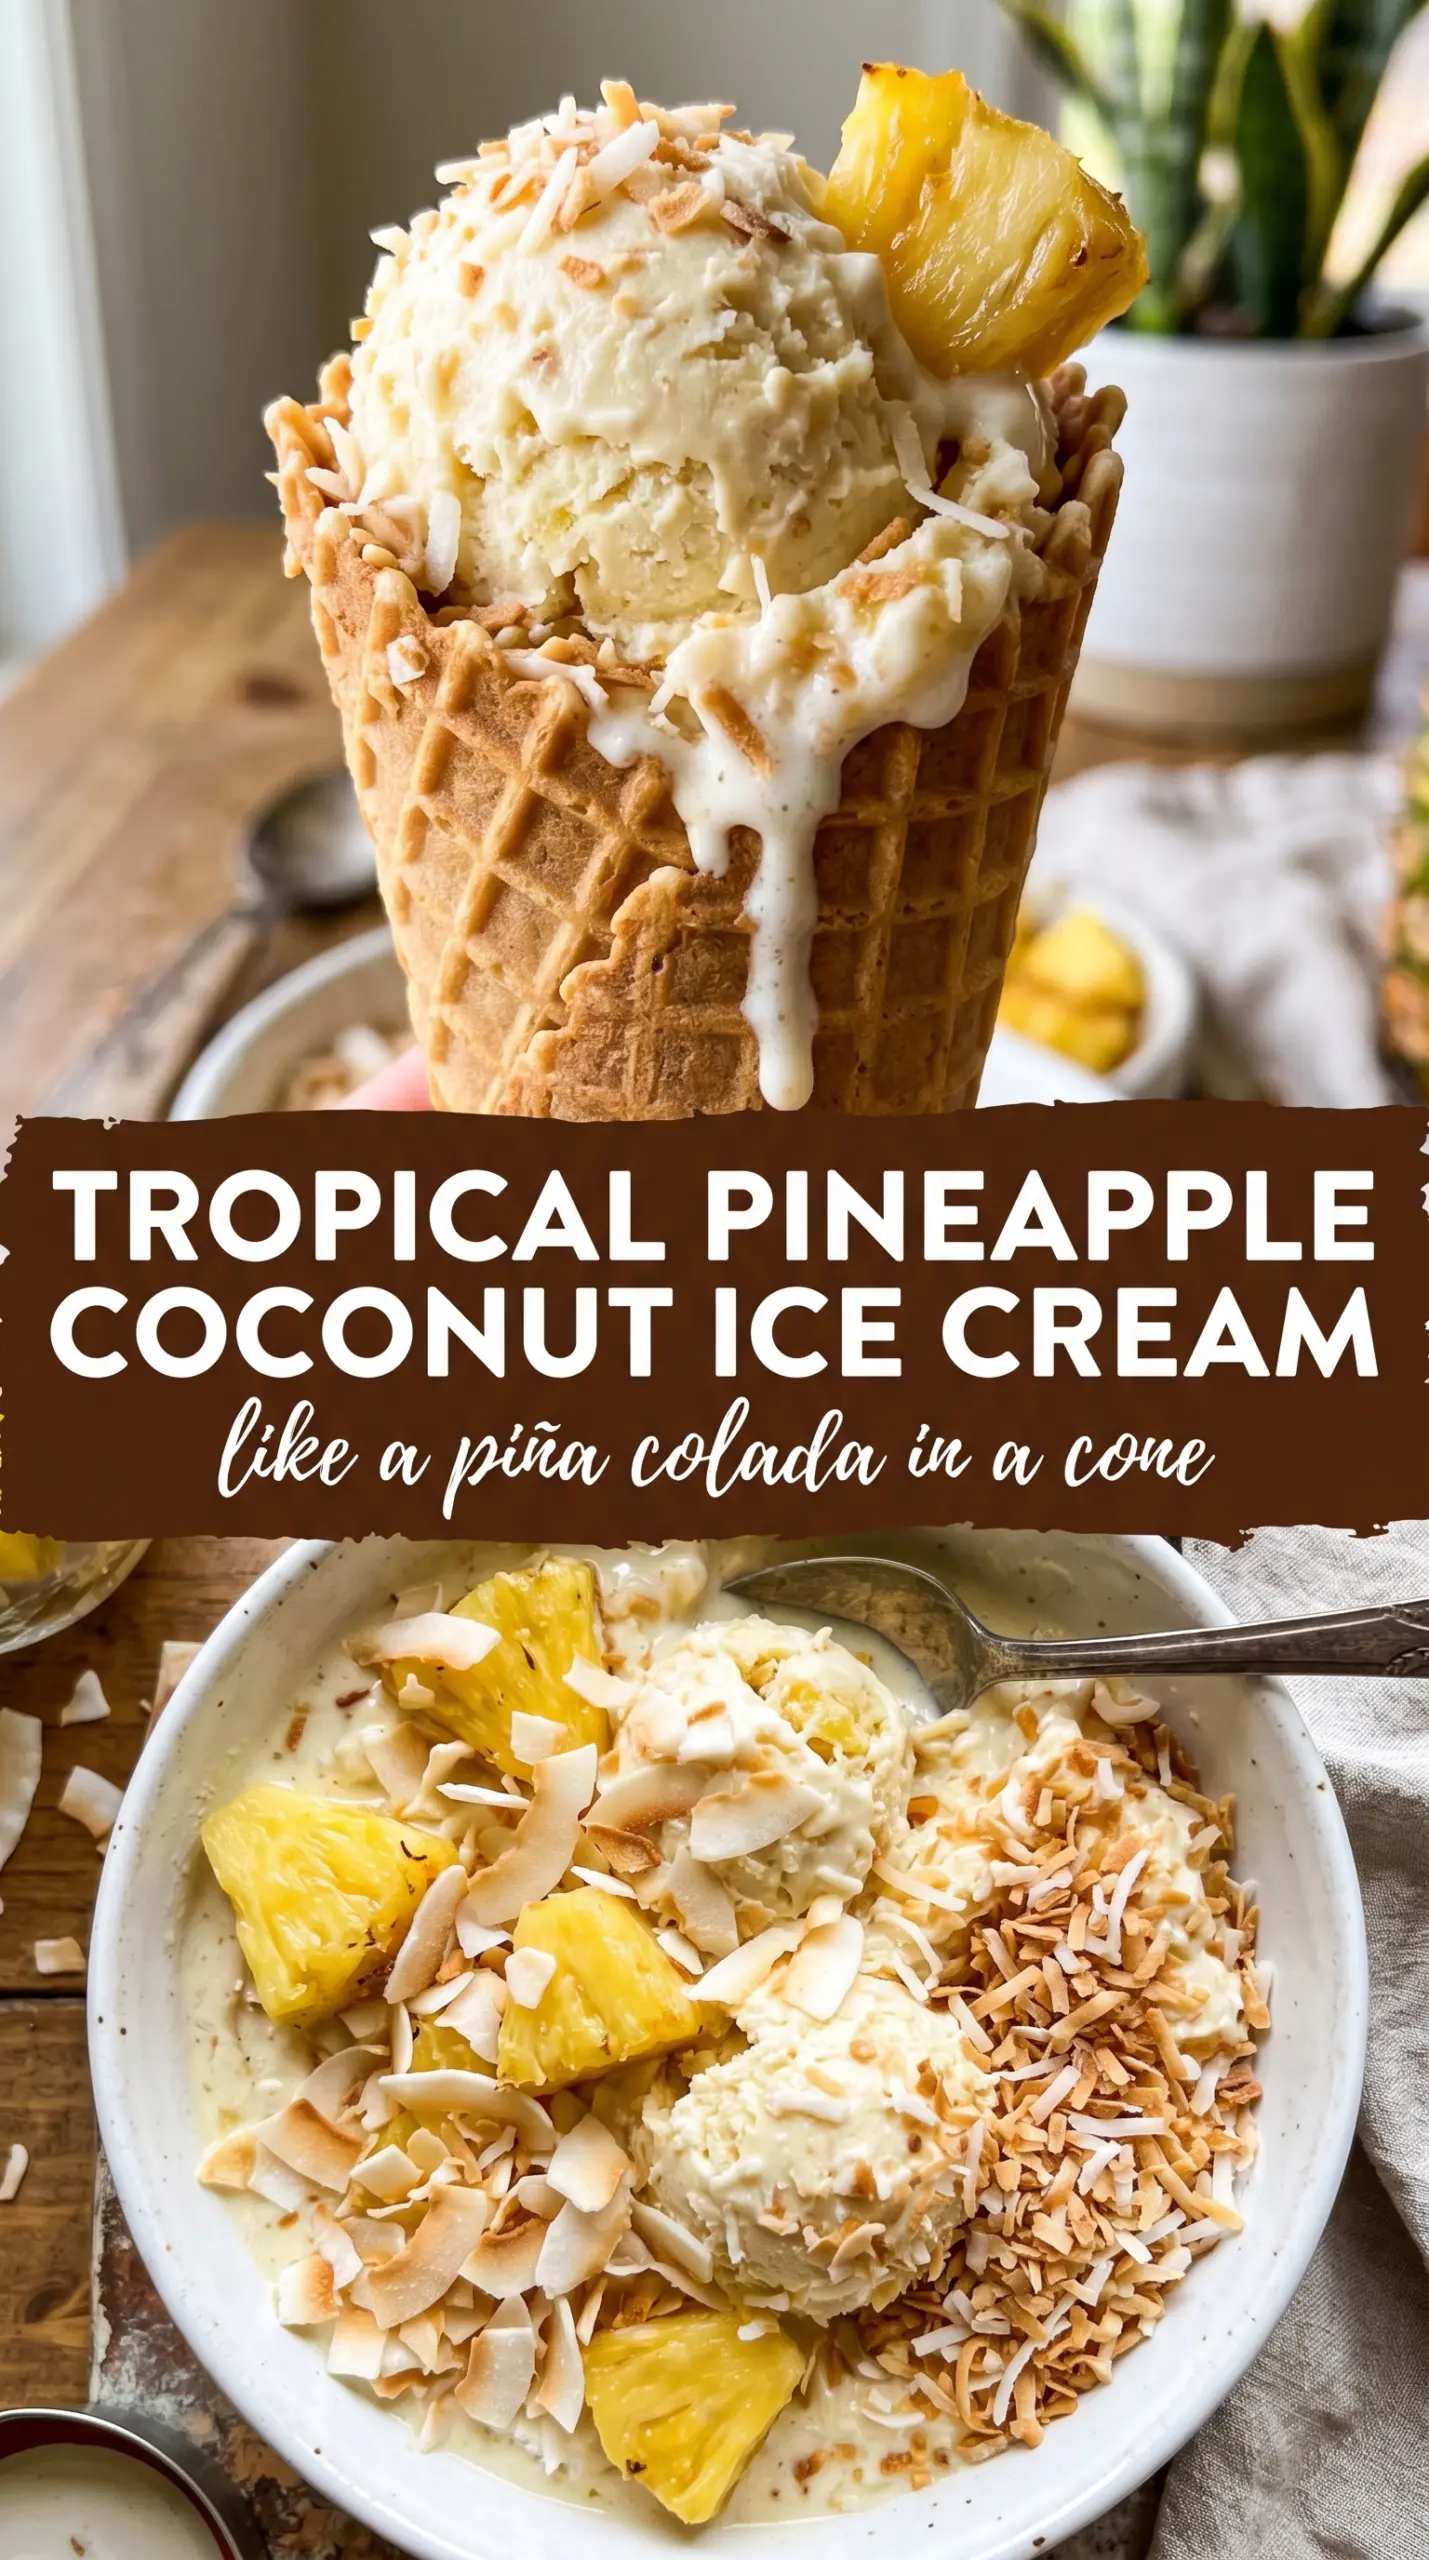
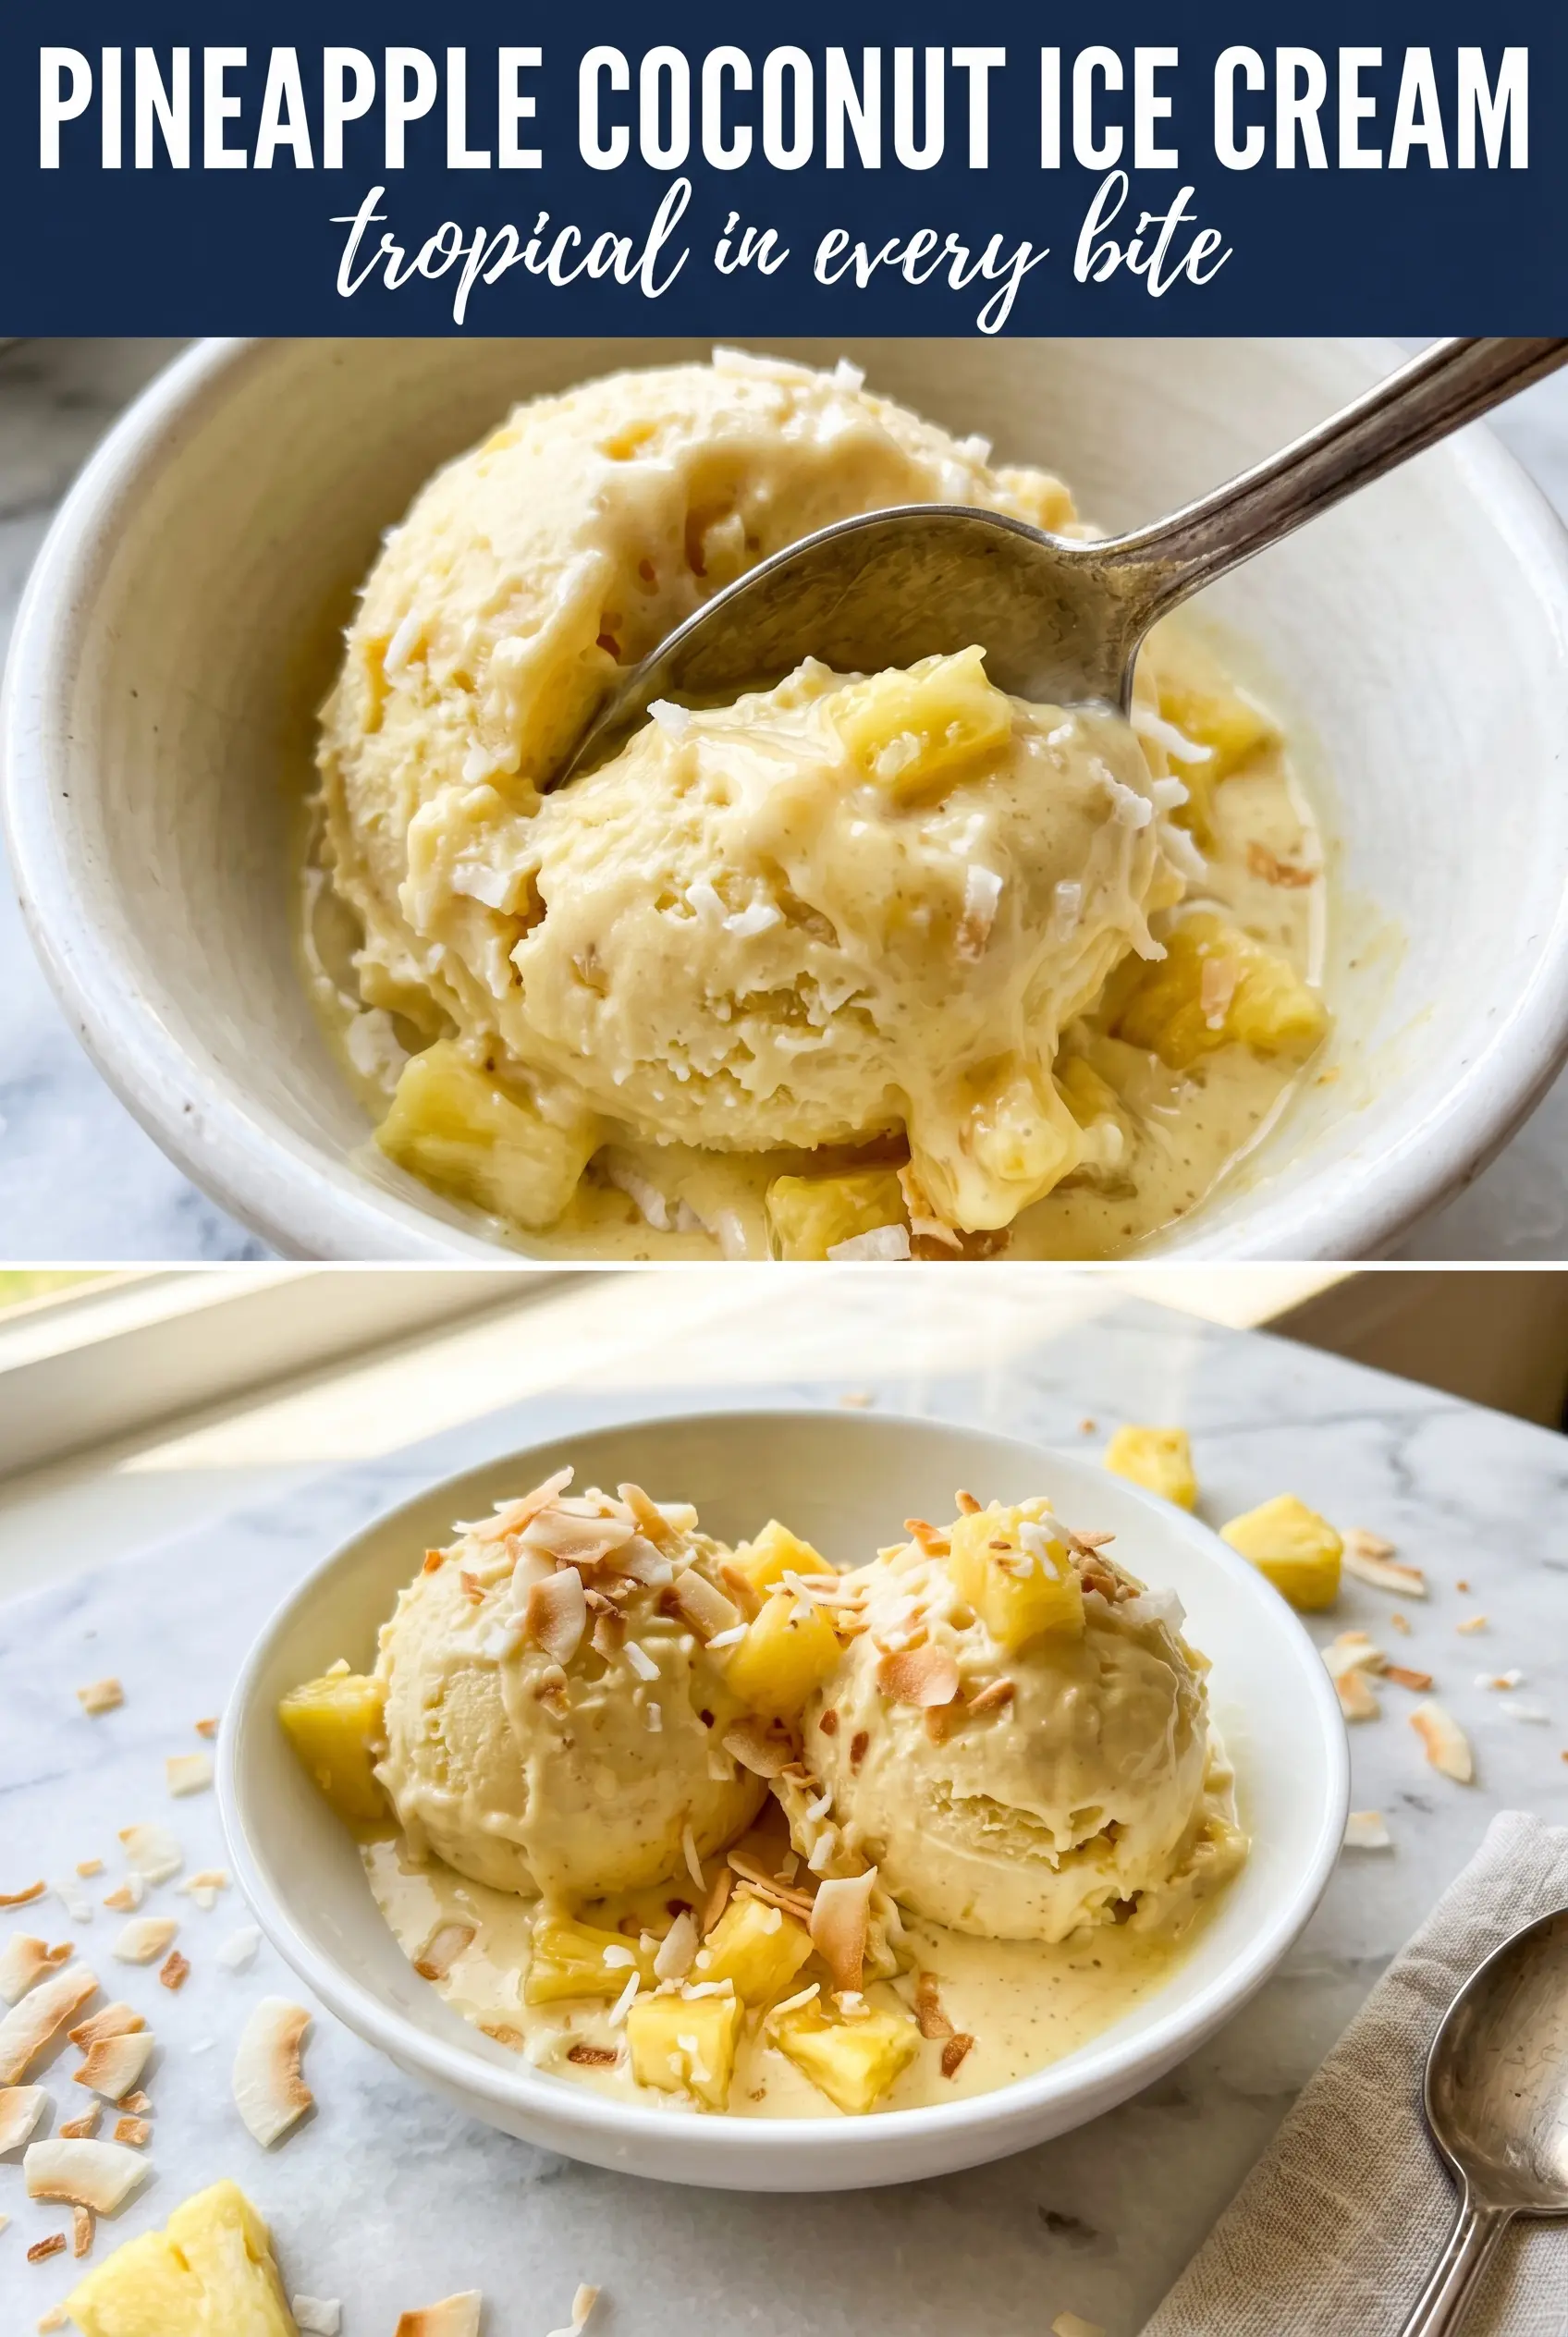
Tropical pineapple coconut ice cream lands with that rare mix of creamy, bright, and cold that makes one scoop turn into two before you’ve even put the lid back on the container. The coconut base gives it that plush, silky body, while the pineapple keeps every bite from tasting heavy. You get little pockets of fruit, toasted coconut, and a finish that tastes like a vacation bowl without drifting into candy-sweet territory.
The trick here is treating the custard like the base it is, not rushing it just because ice cream feels casual. Egg yolks give the finished texture enough richness to stay smooth after freezing, and cooking the mixture to the right temperature matters more than guessing by eye. The pineapple goes in near the end of churning so it stays bright and distinct instead of turning watery and icy. Toasted coconut is the other smart move; it adds flavor and a little chew, which keeps the texture interesting after the freezer does its work.
Below, I’ve included the temperature cue that keeps the custard from turning grainy, plus a few swaps for when you want this dairy-free or need to work with canned pineapple instead of fresh.
The custard turned out so smooth, and the pineapple stayed in little juicy pieces instead of freezing solid. I let it churn the full time with the coconut, and it scooped beautifully after a short freeze.
Like this pineapple coconut ice cream? Save it to Pinterest for the days when you want a creamy tropical dessert with real fruit and toasted coconut in every scoop.
The Custard Has to Be Cooked Gently, Not Just Heated
Ice cream that turns grainy or eggy usually went too fast on the stove. The base for this one needs steady, moderate heat so the yolks thicken the mixture without scrambling. If you see little bits forming around the whisk or the mixture starts to steam hard, pull it off the burner and keep stirring; carryover heat is enough to finish the job.
Straining the custard is worth the extra minute because even careful cooking can leave behind a few cooked egg threads. The target here is 175°F, which gives you a base that coats a spoon and still tastes clean. Go much hotter and the texture shifts from silky to pudding-like before it even reaches the churner.
What Each Ingredient Is Doing in the Bowl
- Full-fat coconut milk — This is the backbone of the coconut flavor. Light coconut milk won’t give you the same body, and the ice cream will freeze harder and taste thinner.
- Heavy cream — Cream softens the coconut milk and keeps the finished ice cream scoopable. You can swap in full-fat coconut cream for a dairy-free version, but the texture will be denser and slightly icier unless you churn it well and freeze it long enough to firm up.
- Egg yolks — These turn the base into a custard, which means richer flavor and a smoother freeze. If you skip them, you’ll get a more frozen-dessert texture, not the same plush mouthfeel.
- Fresh pineapple — Fresh dice stays bright and juicy without flooding the base. Canned pineapple brings too much syrup and can water things down unless you drain it very well and blot it dry.
- Coconut extract and vanilla — Coconut extract boosts the tropical note without needing more coconut milk, while vanilla rounds off the sharp edges of the fruit. Don’t overdo the coconut extract; a little makes the flavor read clearly, but too much starts to taste artificial.
- Toasted shredded coconut — Toasting deepens the flavor and keeps the coconut from tasting flat after freezing. Add it at the end of churning so it stays distinct instead of getting lost in the base.
Cooling, Churning, and Folding in the Fruit at the Right Moment
Building the custard base
Heat the coconut milk, cream, and sugar just until the sugar disappears and the mixture is hot around the edges. Whisk a little of that hot liquid into the yolks first, then stream the yolks back into the pan so they warm up gradually. That step keeps the eggs from curdling, which is the most common reason a custard goes lumpy.
Cooking to the spoon-coating stage
Return the mixture to the saucepan and stir constantly, scraping the bottom and corners as you go. The base is ready at 175°F, or when it coats the back of a spoon and leaves a clean line when you drag a finger through it. If it starts looking grainy, lower the heat immediately and keep whisking off the burner for a moment before going back on low.
Chilling until the base is fully cold
Stir in the coconut extract, vanilla, and salt after straining, then refrigerate the custard until it’s completely cold. Warm base in the ice cream maker gives you weak churn and a softer final set, so don’t cut this short. Four hours is the minimum here, and overnight is even better if you have the time.
Churning and adding the mix-ins
Churn the base until it reaches soft-serve thickness, then add the pineapple and toasted coconut in the last 5 minutes. That timing keeps the fruit from sinking and helps the coconut distribute evenly. If you add the pineapple too early, it can break down and turn the churn into a slushy mix.
Freezing for the final set
Transfer the ice cream to a freezer container and press parchment or plastic wrap directly on the surface before sealing. It needs time to firm up enough to scoop cleanly, but don’t leave it uncovered or the top will pick up icy crystals. After a few hours in the freezer, it should hold a scoop with a creamy edge and only a slight pull at the spoon.
Ways to Bend This Tropical Ice Cream Without Breaking It
Make it dairy-free
Use full-fat coconut cream in place of the heavy cream. The flavor turns even more coconut-forward and the texture gets a little firmer in the freezer, so let it sit on the counter for 5 to 10 minutes before scooping. Keep the yolks if you want the smoothest result; they matter more here than the dairy does.
Use canned pineapple when fresh isn’t available
Drain the pineapple well and pat it dry before dicing it smaller. Canned fruit tends to bring extra moisture and a softer bite, so drying it off helps keep the ice cream from forming icy pockets as it freezes.
Make it lighter on coconut
Cut the coconut extract in half and let the vanilla do more of the work. You’ll get a softer tropical note and a creamier, less pronounced coconut finish, which works well if you want the pineapple to lead the flavor.
Storage and Reheating
- Refrigerator: Don’t store the finished ice cream in the fridge; it will melt and separate. Keep the custard base refrigerated for up to 2 days before churning if needed.
- Freezer: The churned ice cream keeps well for about 2 weeks with a tight lid. After that, the texture starts getting icier, especially around the pineapple pieces.
- Reheating: Ice cream doesn’t reheat. For the best scoop, let it sit at room temperature for 5 to 10 minutes before serving so the edges soften instead of forcing a spoon through a frozen block.
Questions I Get Asked About This Recipe
Pineapple Coconut Ice Cream
Ingredients
Equipment
Method
- In a saucepan, heat the full-fat coconut milk, heavy cream, and granulated sugar, whisking until the sugar dissolves and the mixture is steaming.
- In a slow, steady stream, slowly whisk the hot coconut mixture into the egg yolks to temper them.
- Return everything to the saucepan and cook, stirring constantly, until the custard reaches 175°F (about 5–7 minutes) and coats the back of a spoon.
- Strain the custard into a clean container, then stir in the coconut extract, vanilla extract, and salt.
- Cool the custard completely, then refrigerate at least 4 hours until very cold.
- Churn in an ice cream maker until thickened, adding the finely diced pineapple and toasted shredded coconut during the last 5 minutes of churning.
- Transfer to a container and freeze until scoopable, about 2–3 hours.


