Peanut butter ice cream earns its place in the freezer because it tastes deep, roasted, and custardy instead of flat and sweet. The texture should land somewhere between dense and silky, with enough body that each scoop holds its shape before it melts into a creamy puddle. When it’s made the right way, the peanut butter doesn’t sit on top of the dairy — it folds into it and gives every bite that slow-building, salty richness.
This version uses a cooked custard base, which gives the ice cream a smoother finish and a better freeze than a simple no-cook mix. The eggs add that plush mouthfeel, while the peanut butter gets whisked in while the custard is still warm so it dissolves fully instead of leaving little oily streaks behind. A small amount of salt keeps the peanut flavor from tasting muted, and vanilla rounds out the edges without turning it into a vanilla dessert with peanut butter in it.
Below, I’ll walk you through the exact moment the custard is ready, how to keep it from curdling, and the one straining step that makes the final texture noticeably smoother.
The custard came out unbelievably smooth, and the peanut butter flavor stayed rich after freezing. I churned it exactly like you said and it scooped cleanly after a few hours in the freezer.
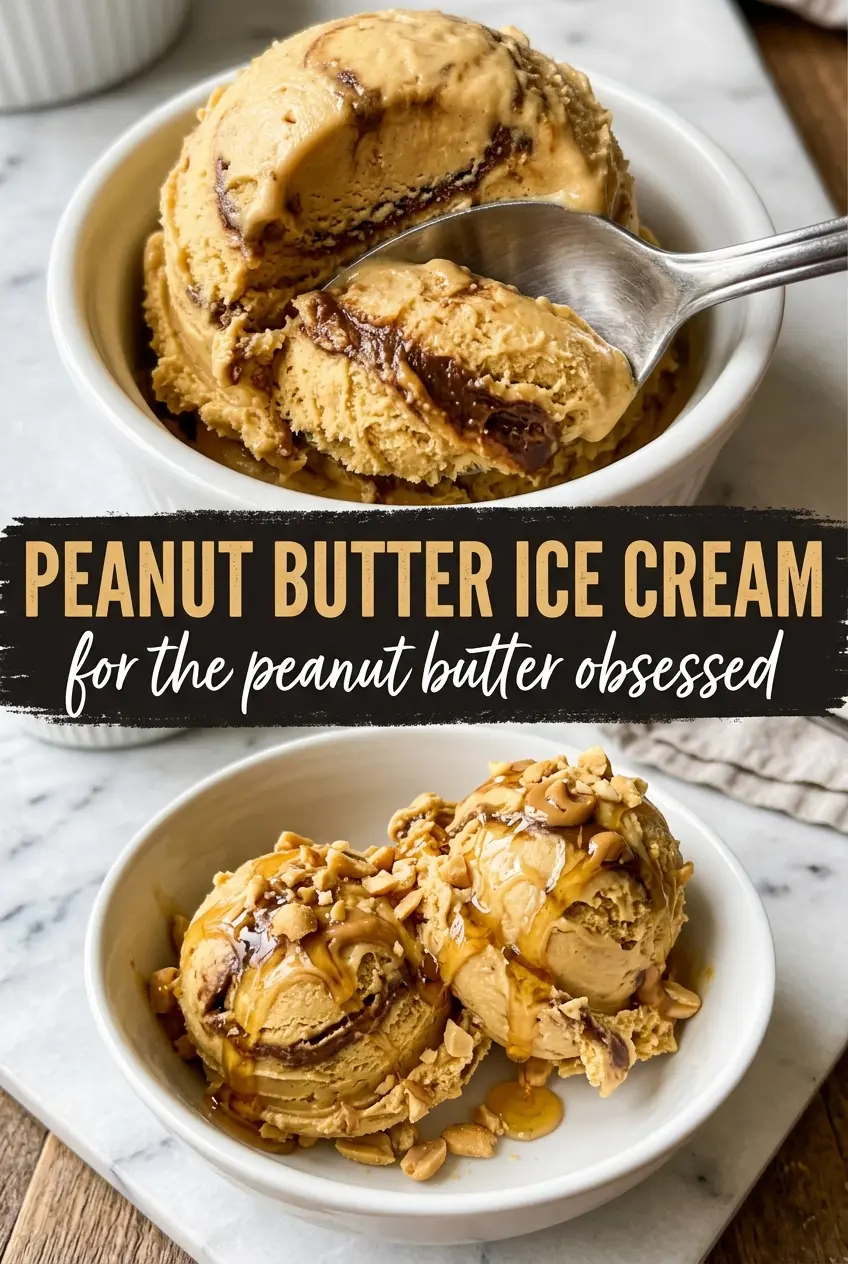
Like this creamy peanut butter custard ice cream? Save it to Pinterest for the nights when you want a rich, scoopable homemade dessert with real peanut flavor.
The Trick to Keeping Peanut Butter Custard Smooth Instead of Grainy
The part that trips people up here is not the churning. It’s getting the peanut butter into the custard without leaving oily streaks or tiny lumps behind. Peanut butter behaves best when it hits a warm base, because the heat loosens it enough to dissolve evenly before the mixture cools and thickens.
The other place this recipe can go wrong is the custard itself. If the heat runs too high, the yolks tighten too fast and you get a grainy base instead of a silky one. Low to medium-low heat and constant stirring keep the custard on track, and the target temperature matters more than the clock.
- Custard temperature — 175°F is the sweet spot. That’s hot enough to thicken the base and pasteurize the yolks without pushing them into scrambled-egg territory.
- Creamy peanut butter — Use a smooth, conventional peanut butter for the best emulsion. Natural peanut butter can work, but it tends to separate and gives you a less stable texture.
- Straining — Don’t skip the sieve. Even careful custards can pick up a few tiny bits, and straining gives you a cleaner, more luxurious finish.
- Chilling time — The base needs to be fully cold before it goes into the machine. A warm custard churns poorly and freezes with a denser, icier texture.
What Each Ingredient Is Actually Doing in This Ice Cream

- Heavy cream — This gives the ice cream its rich body and helps keep the finished texture soft enough to scoop. Lower-fat cream won’t carry the peanut butter as well and can make the base taste thin.
- Whole milk — Milk balances the richness so the ice cream doesn’t turn greasy or heavy. You can’t swap in skim milk without losing the creamy, custard-like texture.
- Egg yolks — The yolks thicken the base and give it that classic French-style ice cream feel. They’re the reason this freezes with a plush, dense scoop instead of an icy snap.
- Granulated sugar — Sugar sweetens the custard, but it also helps control the freeze, which keeps the ice cream from setting like a brick. Cutting it too far makes the texture harder.
- Creamy peanut butter — This is the star, so use one with a strong roasted peanut taste and a smooth consistency. If you use a salted peanut butter, taste the custard before adding extra salt.
- Vanilla extract — Vanilla softens the edges and makes the peanut flavor read more rounded. It shouldn’t dominate; it’s there to support, not steer.
- Salt — A little salt wakes up the peanut butter and keeps the sweetness in check. Without it, the ice cream tastes flatter and less peanut-forward.
Building the Base Without Scrambling the Yolks
Tempering the eggs
Whisk the yolks and sugar until they look a little thicker and paler, then stream in the hot cream and milk slowly while whisking the whole time. That gradual addition keeps the eggs from seizing. If you pour too fast, the yolks cook in streaks and you’ll feel little bits of egg in the finished ice cream.
Cooking the custard
Return everything to the saucepan and cook over medium-low heat, stirring constantly and scraping the bottom and corners. You want the custard to thicken enough to lightly coat a spoon, then reach 175°F. If it starts steaming hard or bubbling, the heat is too high and the yolks can turn grainy before the base thickens properly.
Adding the peanut butter
Take the pan off the heat before whisking in the peanut butter. Warm custard melts it in smoothly, and off-heat whisking keeps the emulsion stable. Keep going until the mixture looks uniform and glossy, with no oily sheen or streaks left on the surface.
Chilling and churning
Strain the base into a clean bowl, stir in the vanilla and salt, then cool it over an ice bath before refrigerating. The base needs to be fully cold before churning, or the machine has to work too hard and the texture suffers. Once it’s churned, transfer it to a freezer container and press parchment or plastic wrap directly on the surface for a cleaner freeze.
Three Ways to Work This Peanut Butter Ice Cream Into Your Routine
Dairy-Free Peanut Butter Ice Cream
Use full-fat canned coconut milk in place of the cream and milk, then skip the custard method and churn the mixture as a no-cook base. You’ll lose the eggy richness, but you’ll keep a dense, scoopable texture with a coconut note underneath the peanut butter.
Extra Peanut Punch
If you want a stronger roasted peanut hit, replace 2 tablespoons of the sugar with 2 tablespoons of powdered peanut butter or stir in 1/4 cup chopped roasted peanuts after churning. The powder deepens the peanut flavor without adding grit, while the chopped peanuts give you crunch but freeze firmer than the base.
Lighter Sweetness
You can reduce the sugar a little, but don’t cut it aggressively. Sugar isn’t only for sweetness here; it keeps the ice cream softer after freezing. If you want it less sweet, add a pinch more salt instead of stripping out too much sugar.
Storage and Reheating
- Refrigerator: Store the custard base for up to 2 days before churning. It may thicken a bit more as it sits, which is fine.
- Freezer: The churned ice cream keeps well for about 2 weeks. After that, it can pick up ice crystals and lose some of its creamy texture.
- Reheating: Let the container sit at room temperature for 5 to 10 minutes before scooping. If it’s rock hard, don’t microwave it, or the edges will melt before the center softens.
Answers to the Questions Worth Asking
Peanut Butter Ice Cream
Ingredients
Equipment
Method
- In a saucepan, heat the heavy cream and whole milk over medium heat until steaming, then whisk together to combine.
- In a bowl, whisk the egg yolks with the granulated sugar until smooth and slightly thick.
- Slowly whisk the hot cream mixture into the egg yolks in a thin stream, whisking constantly to prevent curdling.
- Return everything to the saucepan and cook over medium-low heat, stirring constantly, until the custard reaches 175°F (use a thermometer).
- Remove from heat and whisk in the creamy peanut butter until completely smooth and glossy.
- Strain the custard through a fine mesh sieve into a clean container, then whisk in the vanilla extract and salt.
- Cool the custard over an ice bath, stirring occasionally, until no longer hot.
- Cover and refrigerate for at least 4 hours or overnight, until very cold.
- Churn the chilled custard in an ice cream maker according to the manufacturer’s instructions until it thickens to soft-serve consistency.
- Transfer to a freezer-safe container and freeze until firm.


