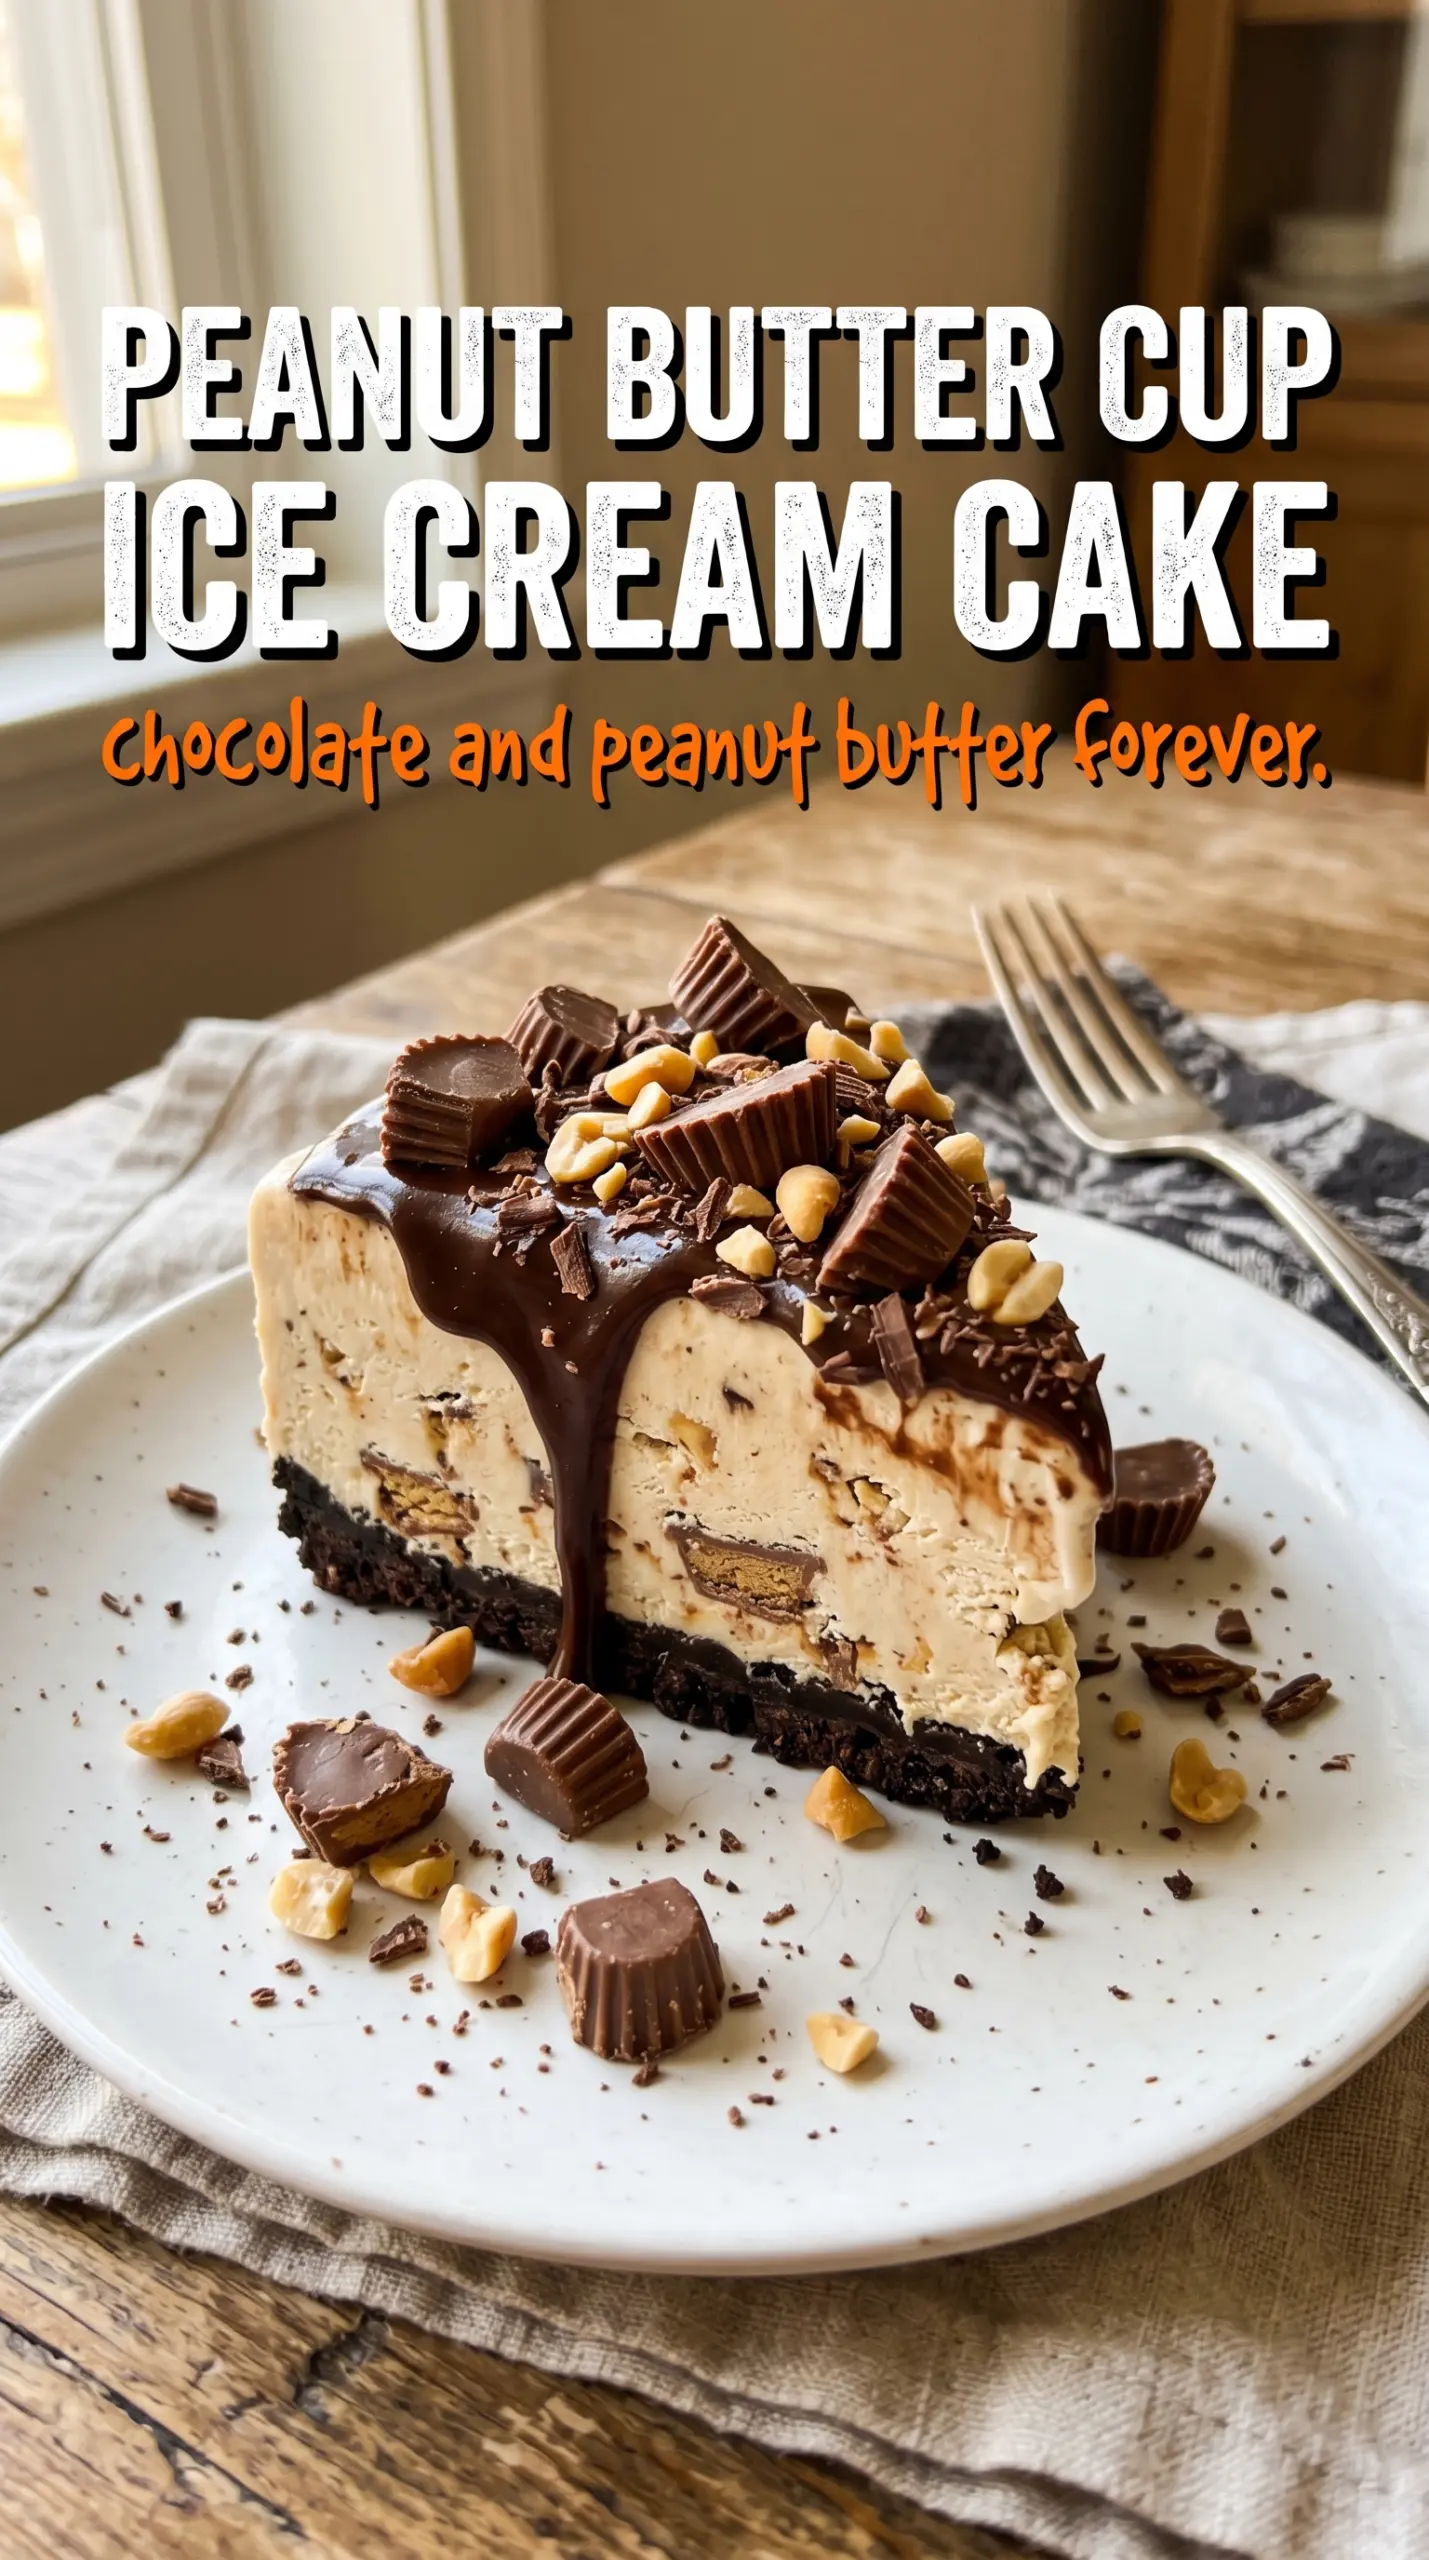
Chocolate Oreo crust, cold chocolate ice cream, and a thick peanut butter swirl give this cake the kind of bite that disappears fast at the table. The texture is the part I keep coming back for: a firm, cookie-crumb base under creamy ice cream, with chopped peanut butter cups tucked through every slice so each forkful lands a little different. It eats like a frozen candy bar turned into a proper celebration cake.
What makes this version work is the layering. The crust gets a short freeze before the ice cream goes in, which keeps the bottom from turning sandy as it softens. Warming the peanut butter just enough to drizzle matters too; if it’s too thick, it drags through the ice cream instead of making those clean, marbled ribbons. The final freeze gives the ganache a firm top and helps the whole cake slice neatly instead of collapsing at the first cut.
Below, I’ll walk through the spots where this cake can go off track, how to keep the swirl defined, and the easiest swaps if you need a different crust or a peanut-free version.
The peanut butter swirl stayed distinct after freezing, and the Oreo crust held together without crumbling when I sliced it. My kids kept sneaking bites straight from the pan.
Like this peanut butter cup ice cream cake? Save it to Pinterest for birthdays, cookouts, and the nights when you want a frozen dessert with a strong chocolate-peanut butter swirl.
The Part That Keeps the Crust From Turning Mushy
The crust has to be packed firmly enough to hold under frozen filling, but not so hard that it turns dense and greasy. Crushed Oreos and melted butter are doing two jobs here: the cookies bring structure and the butter locks the crumbs together once they chill. The short freeze before the filling goes in is the difference between a tidy slice and a crust that loosens into the bottom of the pan.
The other trap is a crust that was never pressed evenly in the first place. Pay attention to the corners and the sides of the springform pan. If the base is thin in spots, the ice cream will push through those weak areas as it softens on the counter.
What Each Layer Is Actually Doing Here
- Oreo cookies — These make the crust without needing extra sugar or cocoa. A standard chocolate sandwich cookie works here; use the whole cookie, filling and all, because the cream helps bind the crumbs once the butter goes in.
- Unsalted butter — This is what turns loose crumbs into a sliceable base. Salted butter will work in a pinch, but unsalted gives you better control since the cookies and candy already bring plenty of sweetness.
- Chocolate ice cream — Go with a tub that softens smoothly, not one that gets icy or airy when thawed. You want it soft enough to fold, not melted into soup, or the layers will smear together instead of stacking cleanly.
- Creamy peanut butter — Creamy peanut butter drizzles and swirls more cleanly than natural peanut butter, which can separate and seize as it cools. If you use natural peanut butter, warm it gently and stir very well first so it stays fluid long enough to marble through the ice cream.
- Reese’s peanut butter cups — Chop them unevenly so you get some tiny flecks and a few larger chunks. The smaller pieces disappear into the ice cream and flavor the whole layer, while the bigger ones give you those candy-bar bites.
- Chocolate ganache — This gives the top a glossy finish and a firm cap once frozen. Pour it on after the ice cream is mostly set, not before, or it can sink into the surface instead of staying on top.
Building the Cake So the Layers Stay Separate
Pressing and Chilling the Crust
Mix the crushed Oreos and melted butter until every crumb looks damp, then press the mixture into a 9-inch springform pan in an even layer. A flat-bottomed measuring cup makes this easy and keeps the base compact. Freeze it for 15 minutes so the crust firms up before the ice cream hits it. If you skip that rest, the filling can drag crumbs loose and muddy the bottom layer.
Folding in the Candy Pieces
Stir one cup of the chopped peanut butter cups into the softened chocolate ice cream before spreading it over the crust. Folding them in at this stage keeps the pieces suspended throughout the cake instead of all sinking to the bottom. Work quickly, because melted ice cream spreads too thin and loses that thick, scoopable texture once it refreezes.
Swirling in the Peanut Butter
Warm the peanut butter just enough that it pours in a ribbon, then drizzle it over the ice cream layer and run a knife through it in a few loose passes. Stop before the swirl blends into the chocolate completely; the goal is clear ribbons, not a uniformly tan filling. If the peanut butter is too hot, it will melt the ice cream underneath and leave gaps after freezing.
Finishing With Ganache and a Long Freeze
Pour the chocolate ganache over the firmed cake and spread it to the edges, then arrange the remaining peanut butter cups on top before the ganache sets. The cake needs the full final freeze so the top locks in and the slices hold their shape. If you cut too early, the center softens first and the whole layer starts to slump.
How to Adapt It Without Losing the Point of the Cake
Dairy-free version
Use dairy-free chocolate ice cream, plant-based butter for the crust, and a dairy-free chocolate topping. The texture stays close to the original, but the ganache may set a little softer, so give it extra freezer time before slicing.
Gluten-free crust
Swap in your favorite gluten-free chocolate sandwich cookies in place of Oreos. The crust will still hold together well as long as the crumbs are fine and the butter fully coats them before pressing.
Extra peanut butter cup filling
If you want a heavier candy-bar bite, use the full two cups of chopped peanut butter cups in the ice cream layer instead of saving some for the top. The cake turns richer and chunkier, but you lose a little of the clean visual finish on top.
Make-ahead timing
This cake can be made a full day ahead and held in the freezer until serving. If it sits longer than that, cover the springform pan well so the top doesn’t pick up freezer odors.
Storage and Reheating
- Refrigerator: Not ideal. This is a frozen dessert, so refrigeration softens the layers too quickly and the cake loses its clean slices.
- Freezer: Store covered for up to 1 week for the best texture. After that, the ice cream can start to pick up freezer flavor and the crust gets a little drier.
- Reheating: No reheating needed. Let the cake stand at room temperature for 8 to 12 minutes before slicing so the knife glides through the ganache instead of cracking it.
Questions I Get Asked About This Recipe
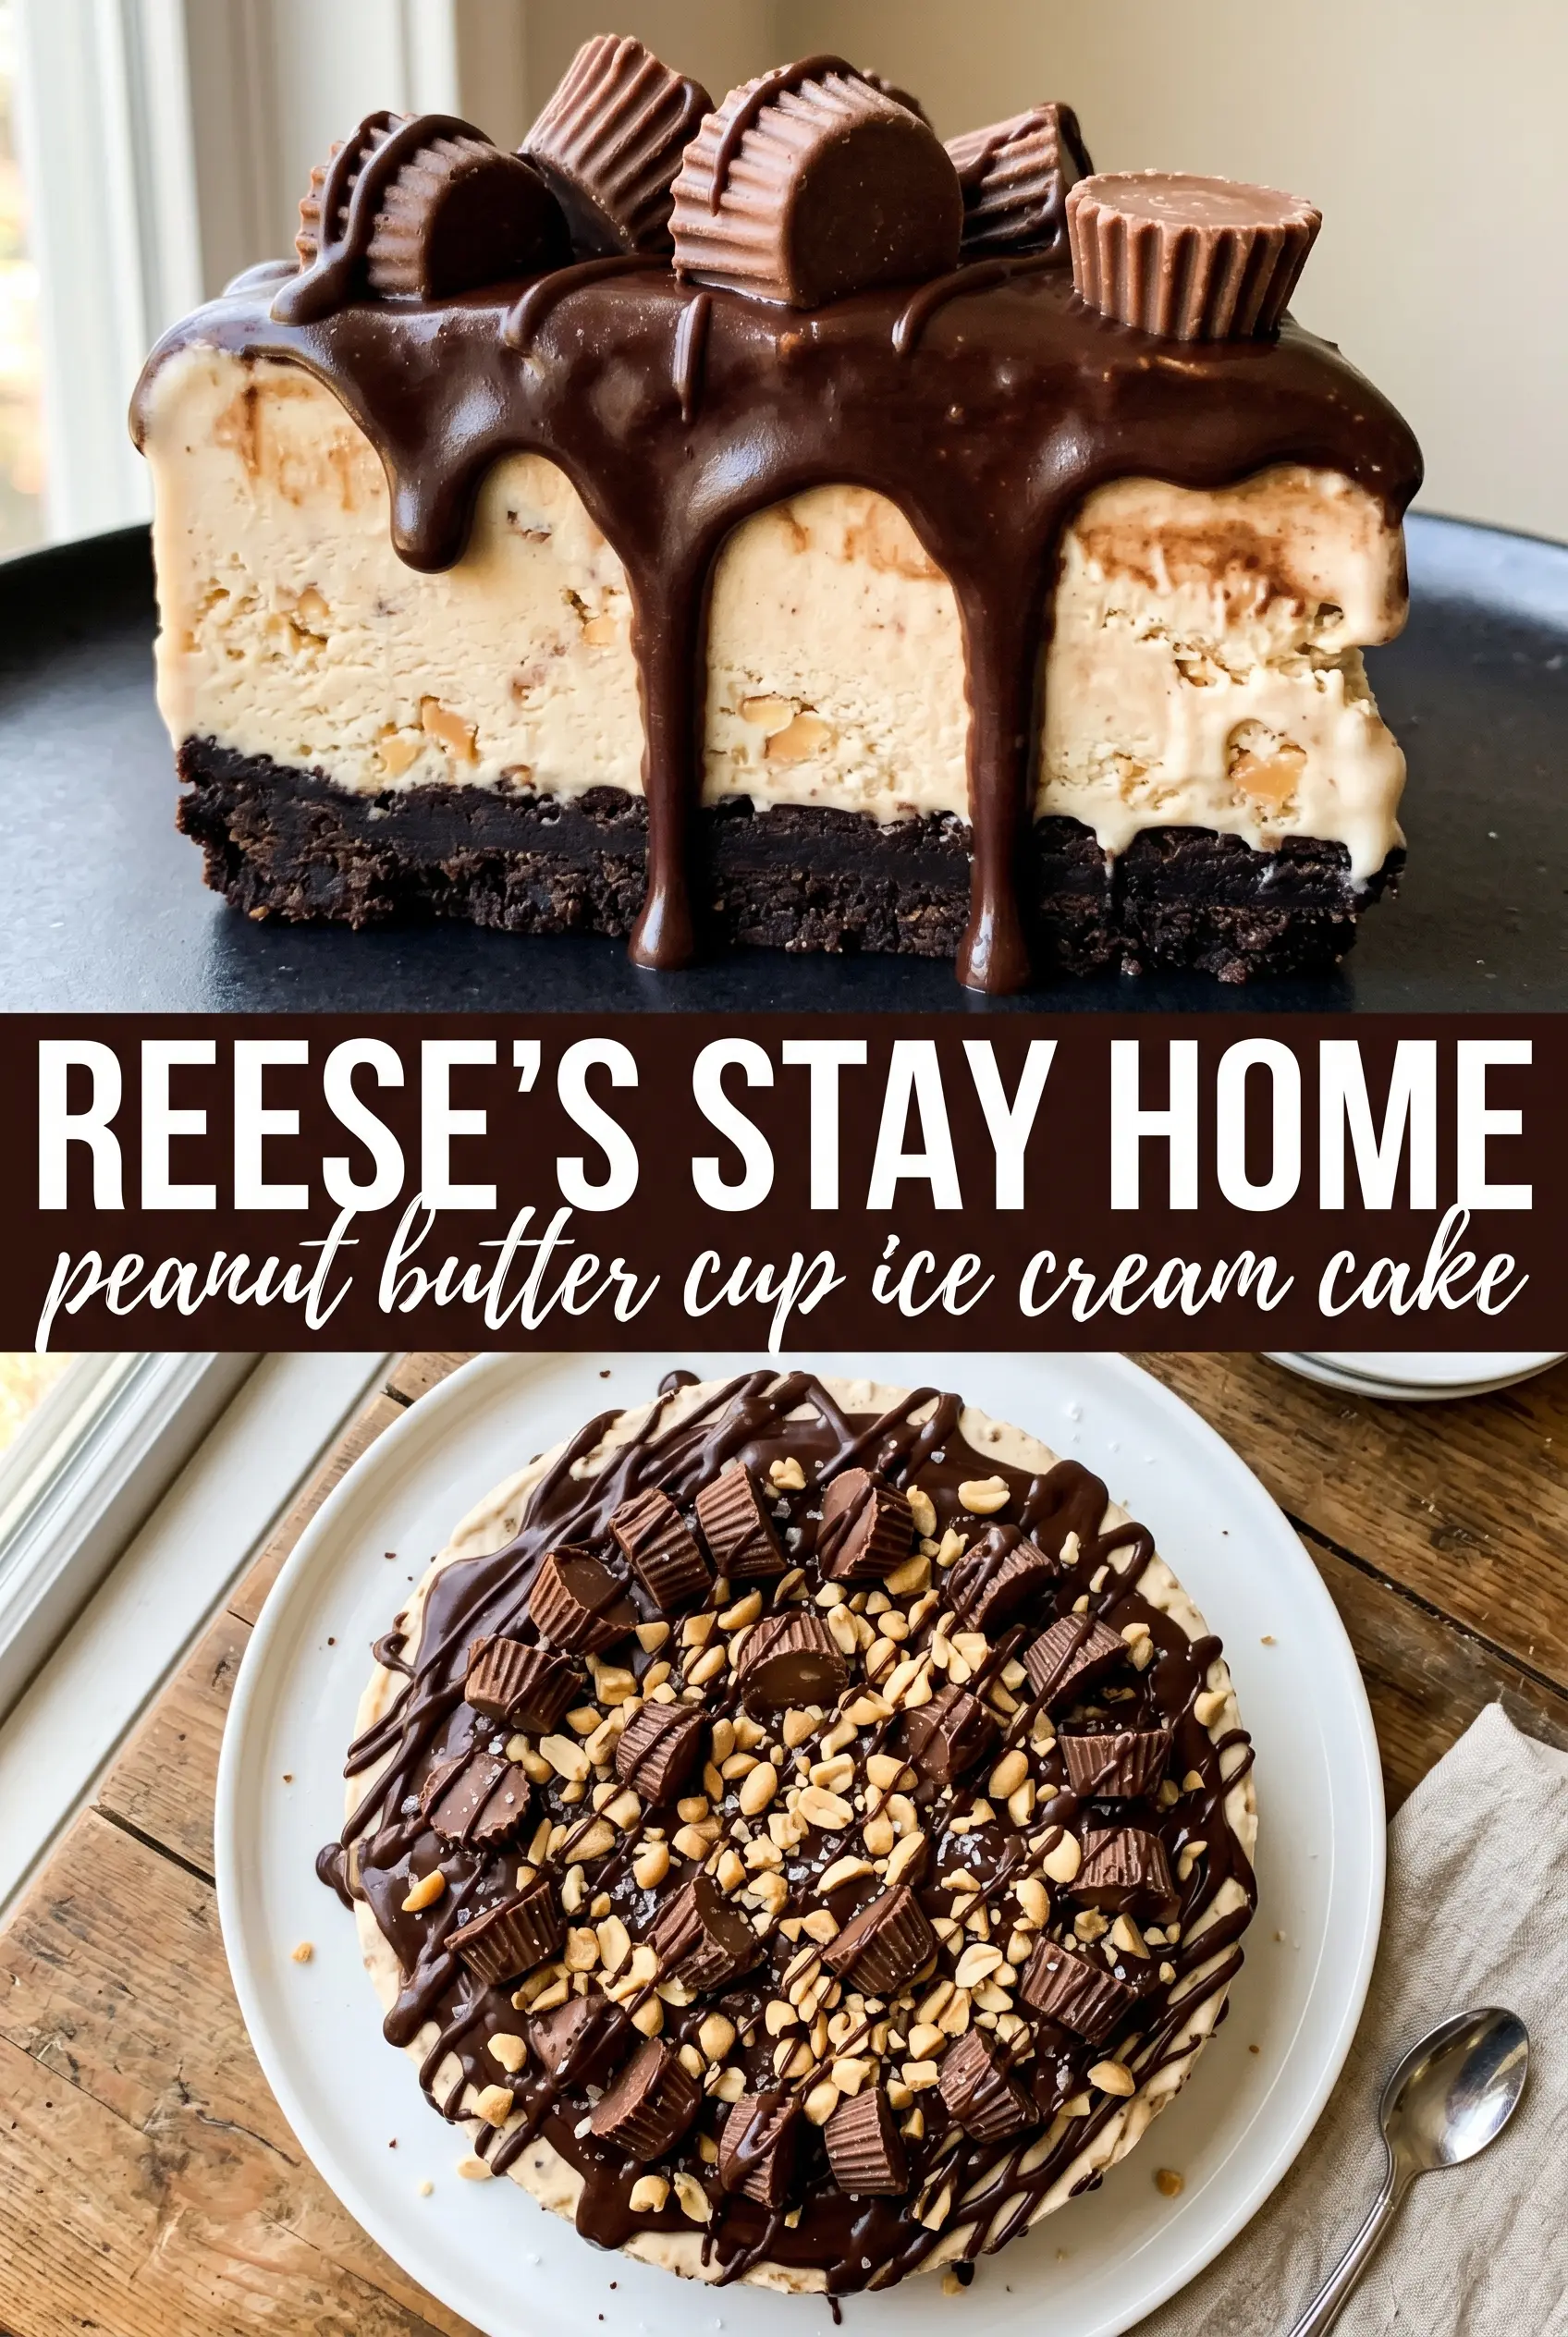
Peanut Butter Cup Ice Cream Cake
Ingredients
Equipment
Method
- Mix crushed Oreo cookies and melted unsalted butter until evenly combined, then press into a 9-inch springform pan (use firm pressure to compact). Freeze for 15 minutes until set and lightly firm.
- Spread softened chocolate ice cream over the crust in an even layer, then fold in 1 cup chopped Reese's peanut butter cups and spread the mixture over the crust. Stop when the surface is smooth enough to see the swirl points underneath.
- Warm creamy peanut butter until it pours easily, then drizzle it over the ice cream. Swirl through the surface with a knife for a thick, marbled peanut-butter look.
- Freeze the cake for 4 hours until firm to the touch so the layers slice cleanly. Use a flat edge to check—there should be no wobble in the center.
- Pour chocolate ganache over the top and spread to cover the entire surface. Arrange the remaining Reese's peanut butter cups on top in an even, decorative layer.
- Freeze for 2 more hours until the ganache is set and the cake is fully firm. Pipe whipped cream around the edge and serve chilled.


