Oreo Mint Ice Cream Cake lands with that first cold slice that cuts cleanly through a crunchy chocolate crust, pale green ice cream, and a glossy layer of ganache. It has the kind of texture contrast that keeps every bite interesting: firm enough to hold its shape, soft enough to give way easily once it hits the plate. The Oreo crust stays crisp under the ice cream, and the crushed-cookie topping adds just enough roughness to keep the finish from feeling one-note.
What makes this version work is the order of the freezes. The crust gets set before the ice cream goes in, the ice cream gets firmed up before the ganache goes on, and the ganache gets time to set before the whipped topping finishes the cake. That sequence keeps the layers distinct instead of smearing together into a muddy slice. Softening the ice cream just enough to spread it matters too; if it’s too loose, it melts the crust and loses that clean edge.
Below, I’ve laid out the small details that make the cake slice neatly, plus a few swaps and storage notes for the times you want to make it ahead without losing the structure.
The crust set up perfectly and the ganache stayed neat instead of running into the ice cream. I let it freeze the full time and every slice came out clean, even after sitting on the counter for a few minutes.
Love the dark Oreo crust and that minty green center? Save this Oreo Mint Ice Cream Cake for birthdays, potlucks, and any dessert table that needs a cold, clean-slicing showstopper.
The Freeze Order That Keeps the Layers Separate
Ice cream cakes fail when the structure gets rushed. If the crust isn’t cold before the ice cream goes in, the butter softens it and the crumbs never set into a real base. If the ganache goes on before the ice cream is firm, it melts into the top and the cake loses those clean, visible layers that make each slice look intentional.
The fix is simple: freeze between every major layer. That’s what keeps the crust compact, the ice cream level, and the chocolate cap smooth instead of streaky. It also gives the whipped topping a stable surface, so it sits on top of the cake rather than sinking into the ganache.
- Oreos — These do double duty here: the cookies build the crust and the topping. A standard Oreo gives you the right balance of chocolate cookie and creamy filling, which helps the crust hold together once the butter chills.
- Mint chocolate chip ice cream — This is the flavor anchor, so use one you actually like eating on its own. Softer ice cream spreads cleanly, but if it’s too melted, it will smear through the crust and freeze unevenly.
- Chocolate ganache — Ganache gives you a smooth, hard-set chocolate layer that slices better than sauce. It needs to be pourable but not hot; if it’s steaming, it will cut into the ice cream underneath.
- Whipped topping — This creates the light finish that balances the dense crust and ice cream. Cool Whip style topping holds better than fresh whipped cream for a cake that needs hours in the freezer.
- Andes mint pieces — These add a crisp mint-chocolate finish on top. Chop them a little if you want neater slices, or leave them larger for a more dramatic look.
What Each Ingredient Is Actually Doing in This Ice Cream Cake
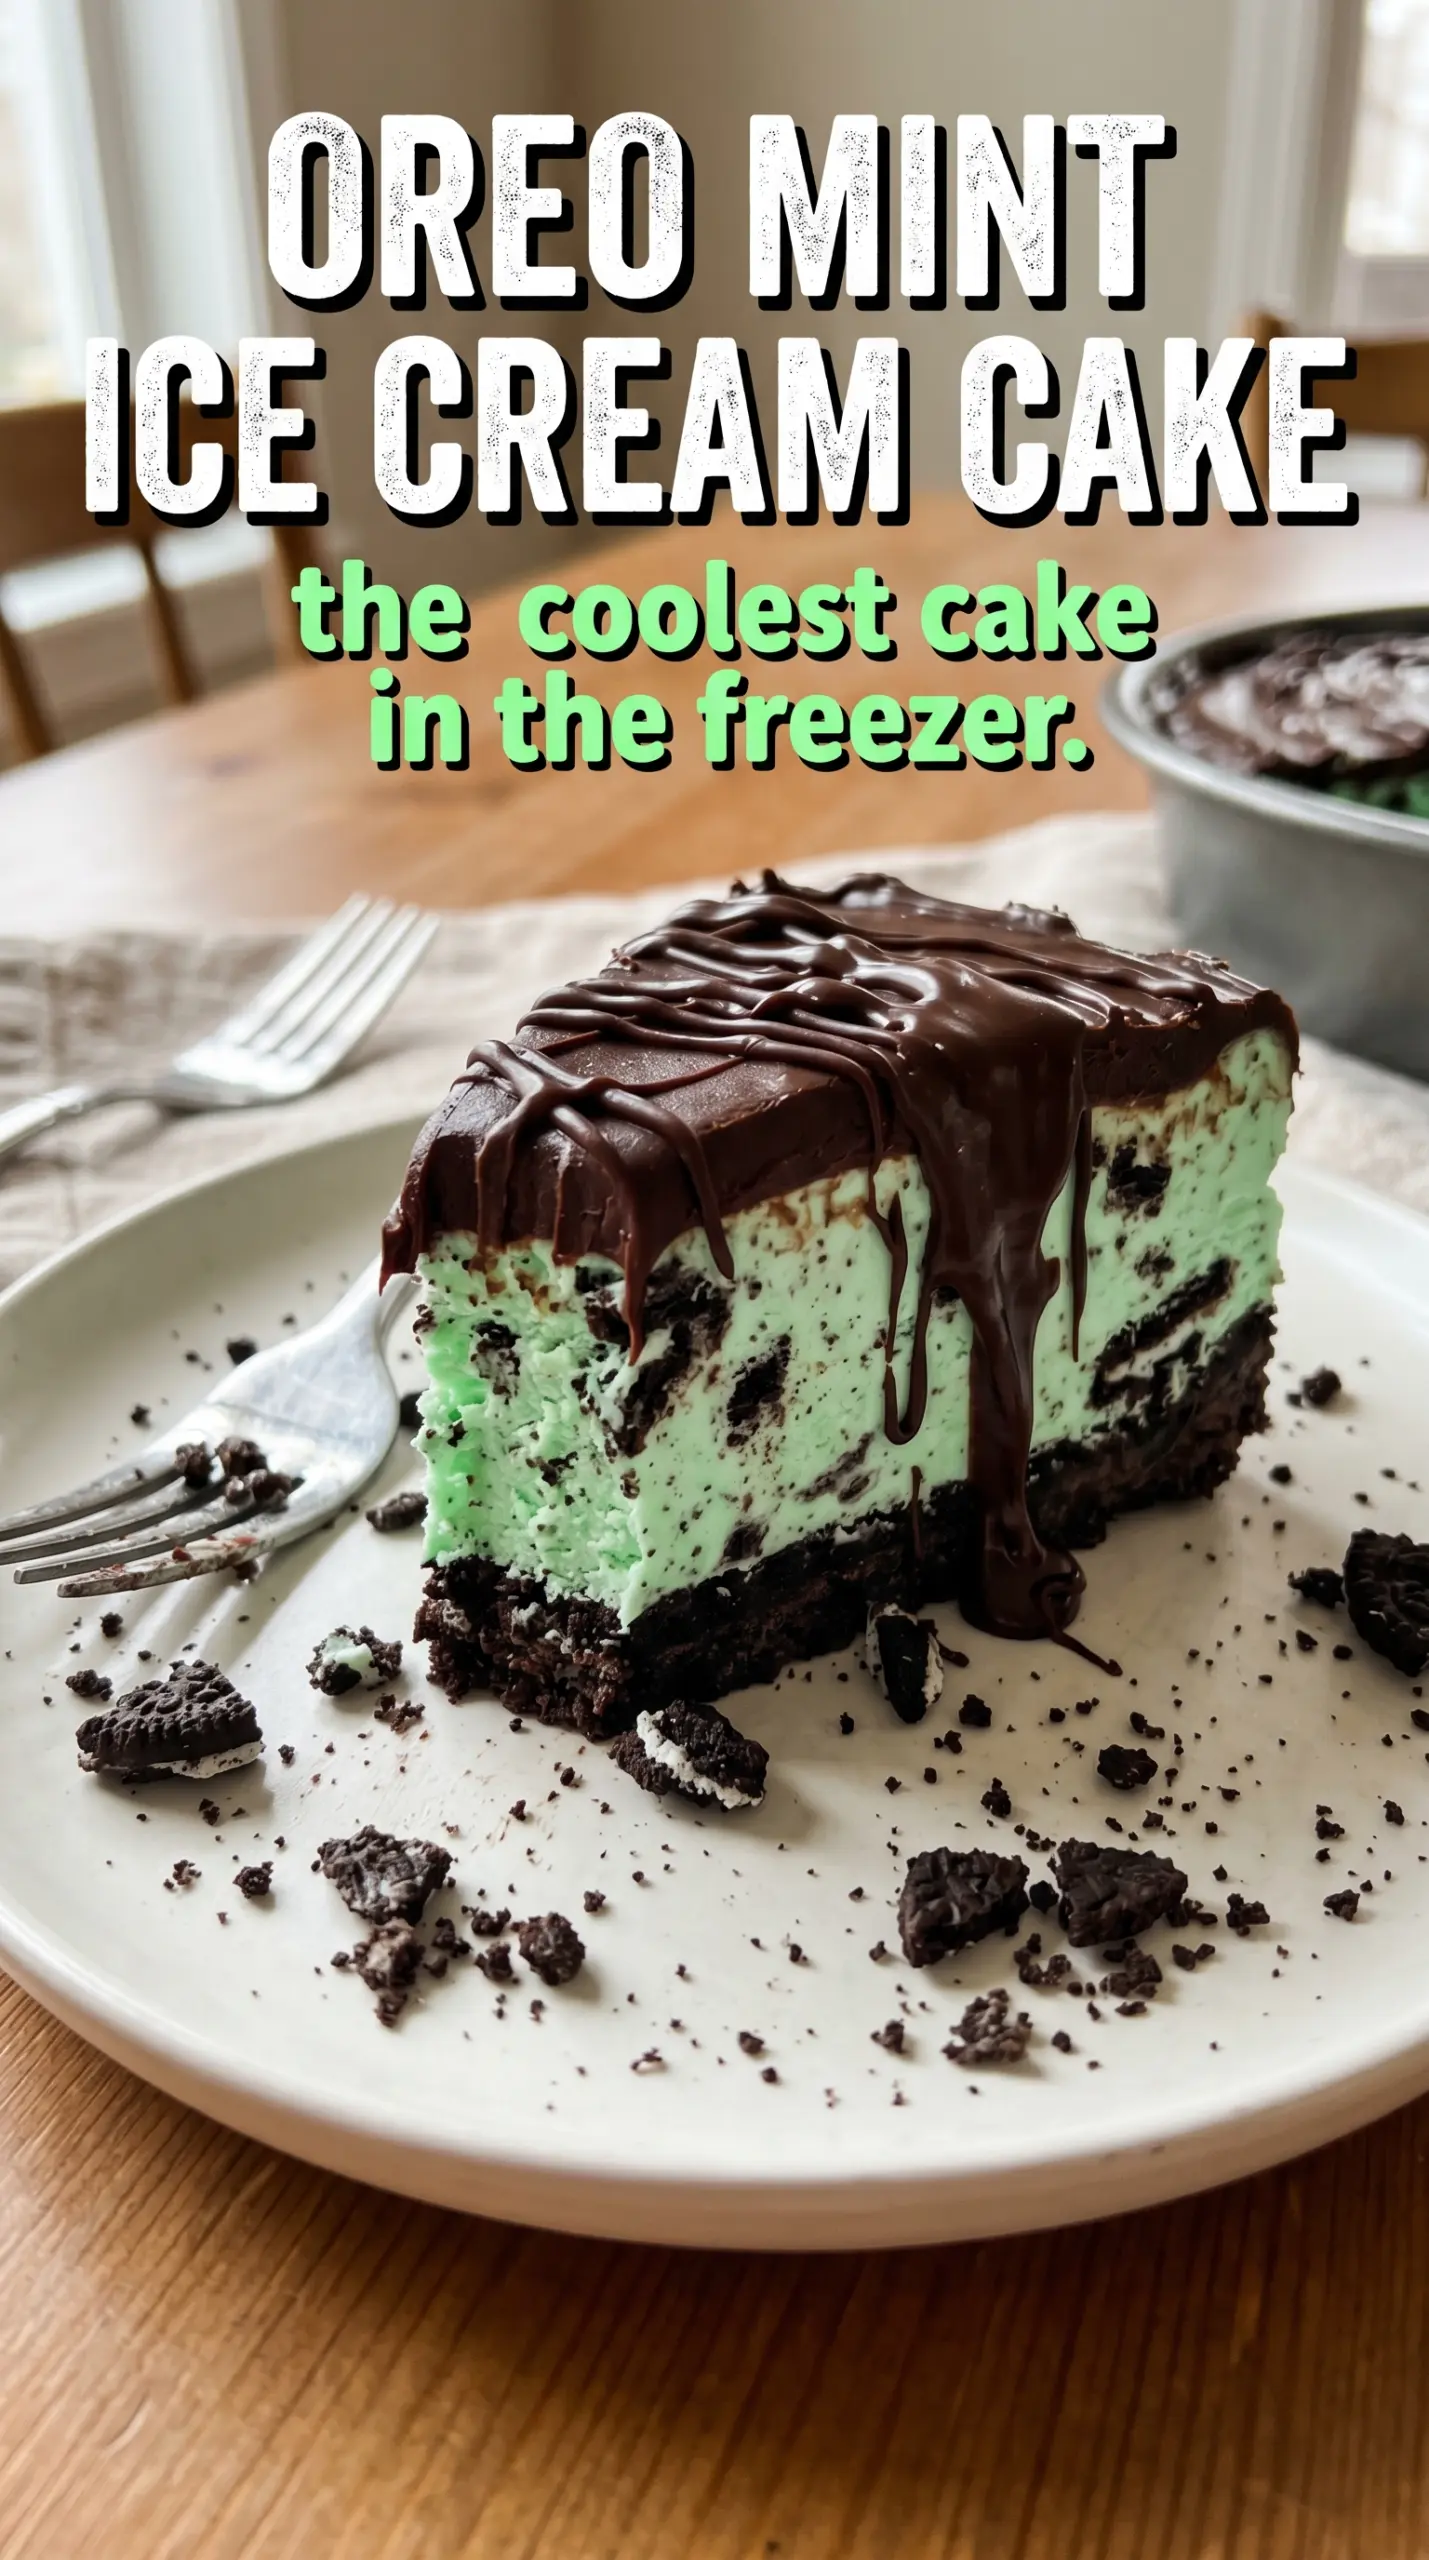
- Crust or base layer (cookies, brownies, or cake) — This provides structure and texture contrast. A sturdy base keeps the whole cake from crumbling when served.
- Ice cream (the main event) — Choose quality ice cream or frozen yogurt. Soft-serve or premium ice cream works better than hard-packed store brands.
- Cake layer (optional but recommended) — A thin cake layer adds substance and keeps the cake from being all frozen texture. Make it thin so it doesn’t overpower the ice cream.
- Sauce or syrup layer (fudge, caramel, or fruit) — This adds flavor depth and prevents the cake from tasting one-dimensional. Freeze between layers so sauces stay distinct.
- Toppings (chocolate chips, cookies, candy, or nuts) — These add texture and visual appeal. Mix-ins stay crispy longer if frozen separately first.
- Frosting or whipped cream (optional topping) — This adds richness to the outside. Keep it simple or it overwhelms the cake.
- Freezing time (the patience that pays off) — Each layer needs time to set so they stay distinct when sliced. Rushing this step means layers muddy together.
- Storage and serving technique (thaw 5 minutes before slicing) — A brief thaw makes slicing clean and easy. Serve slices immediately for best texture.
Building an Ice Cream Cake Without Losing the Shape
Pressing the Oreo Crust
Crush 24 Oreos into fine crumbs, then mix them with the melted butter until every crumb looks damp. Press the mixture firmly into the bottom of a 9-inch springform pan, pushing it into an even layer all the way to the edges. If the crust feels loose or sandy, it will crumble when you slice the cake, so use the bottom of a measuring cup to pack it down. Freeze it for 15 minutes before anything else touches it.
Spreading the Ice Cream Layer
Let the mint chocolate chip ice cream soften just enough that it bends under a spatula. You want spreadable, not soupy. Spoon it over the chilled crust and smooth it into an even layer, working quickly so the crust stays cold. Freeze the cake for 4 hours, or until the center feels firm when you lightly press the top with a finger.
Adding the Ganache and Finishing the Top
Pour the chocolate ganache over the frozen ice cream layer and tilt the pan so it reaches the edges in one smooth coat. If the ganache is too warm, it will melt through the surface; if it’s too thick, it will drag and leave gaps. Freeze for 1 hour until the top is set, then spread on the whipped topping and shower on the remaining crushed Oreos. Finish with Andes mint pieces and a few mint leaves, then freeze for 2 more hours before unmolding.
How to Adapt This Cake for Different Freezers, Diets, and Crowds
Make it dairy-free
Use a dairy-free mint chocolate chip ice cream, dairy-free whipped topping, and a plant-based ganache made with coconut cream and dairy-free chocolate. The cake still slices well, but the flavor shifts a little creamier and less sharp than the original.
Swap the mint ice cream flavor
Regular chocolate chip ice cream gives you a milder version if you want the Oreo flavor to lead instead of the mint. The cake will still hold the same way, but it loses that bright grasshopper-style contrast that makes the mint version pop.
Use a chocolate cookie crust instead of Oreos
Any sturdy chocolate sandwich cookie will work if Oreos aren’t what you have, but avoid thin crisp cookies that turn dusty once frozen. The filling in Oreos helps the crust bind and gives it a slightly firmer bite after chilling.
Storage and Reheating
- Refrigerator: Don’t store this in the fridge; it will collapse fast and turn slushy. Keep it frozen until serving.
- Freezer: It keeps well for up to 2 weeks if wrapped tightly once fully set. After that, the cookie crust starts to pick up freezer flavor.
- Reheating: There isn’t a reheating step here. Let slices sit at room temperature for 5 to 10 minutes before serving so the knife can cut through the crust without cracking the top.
Answers to the Questions Worth Asking
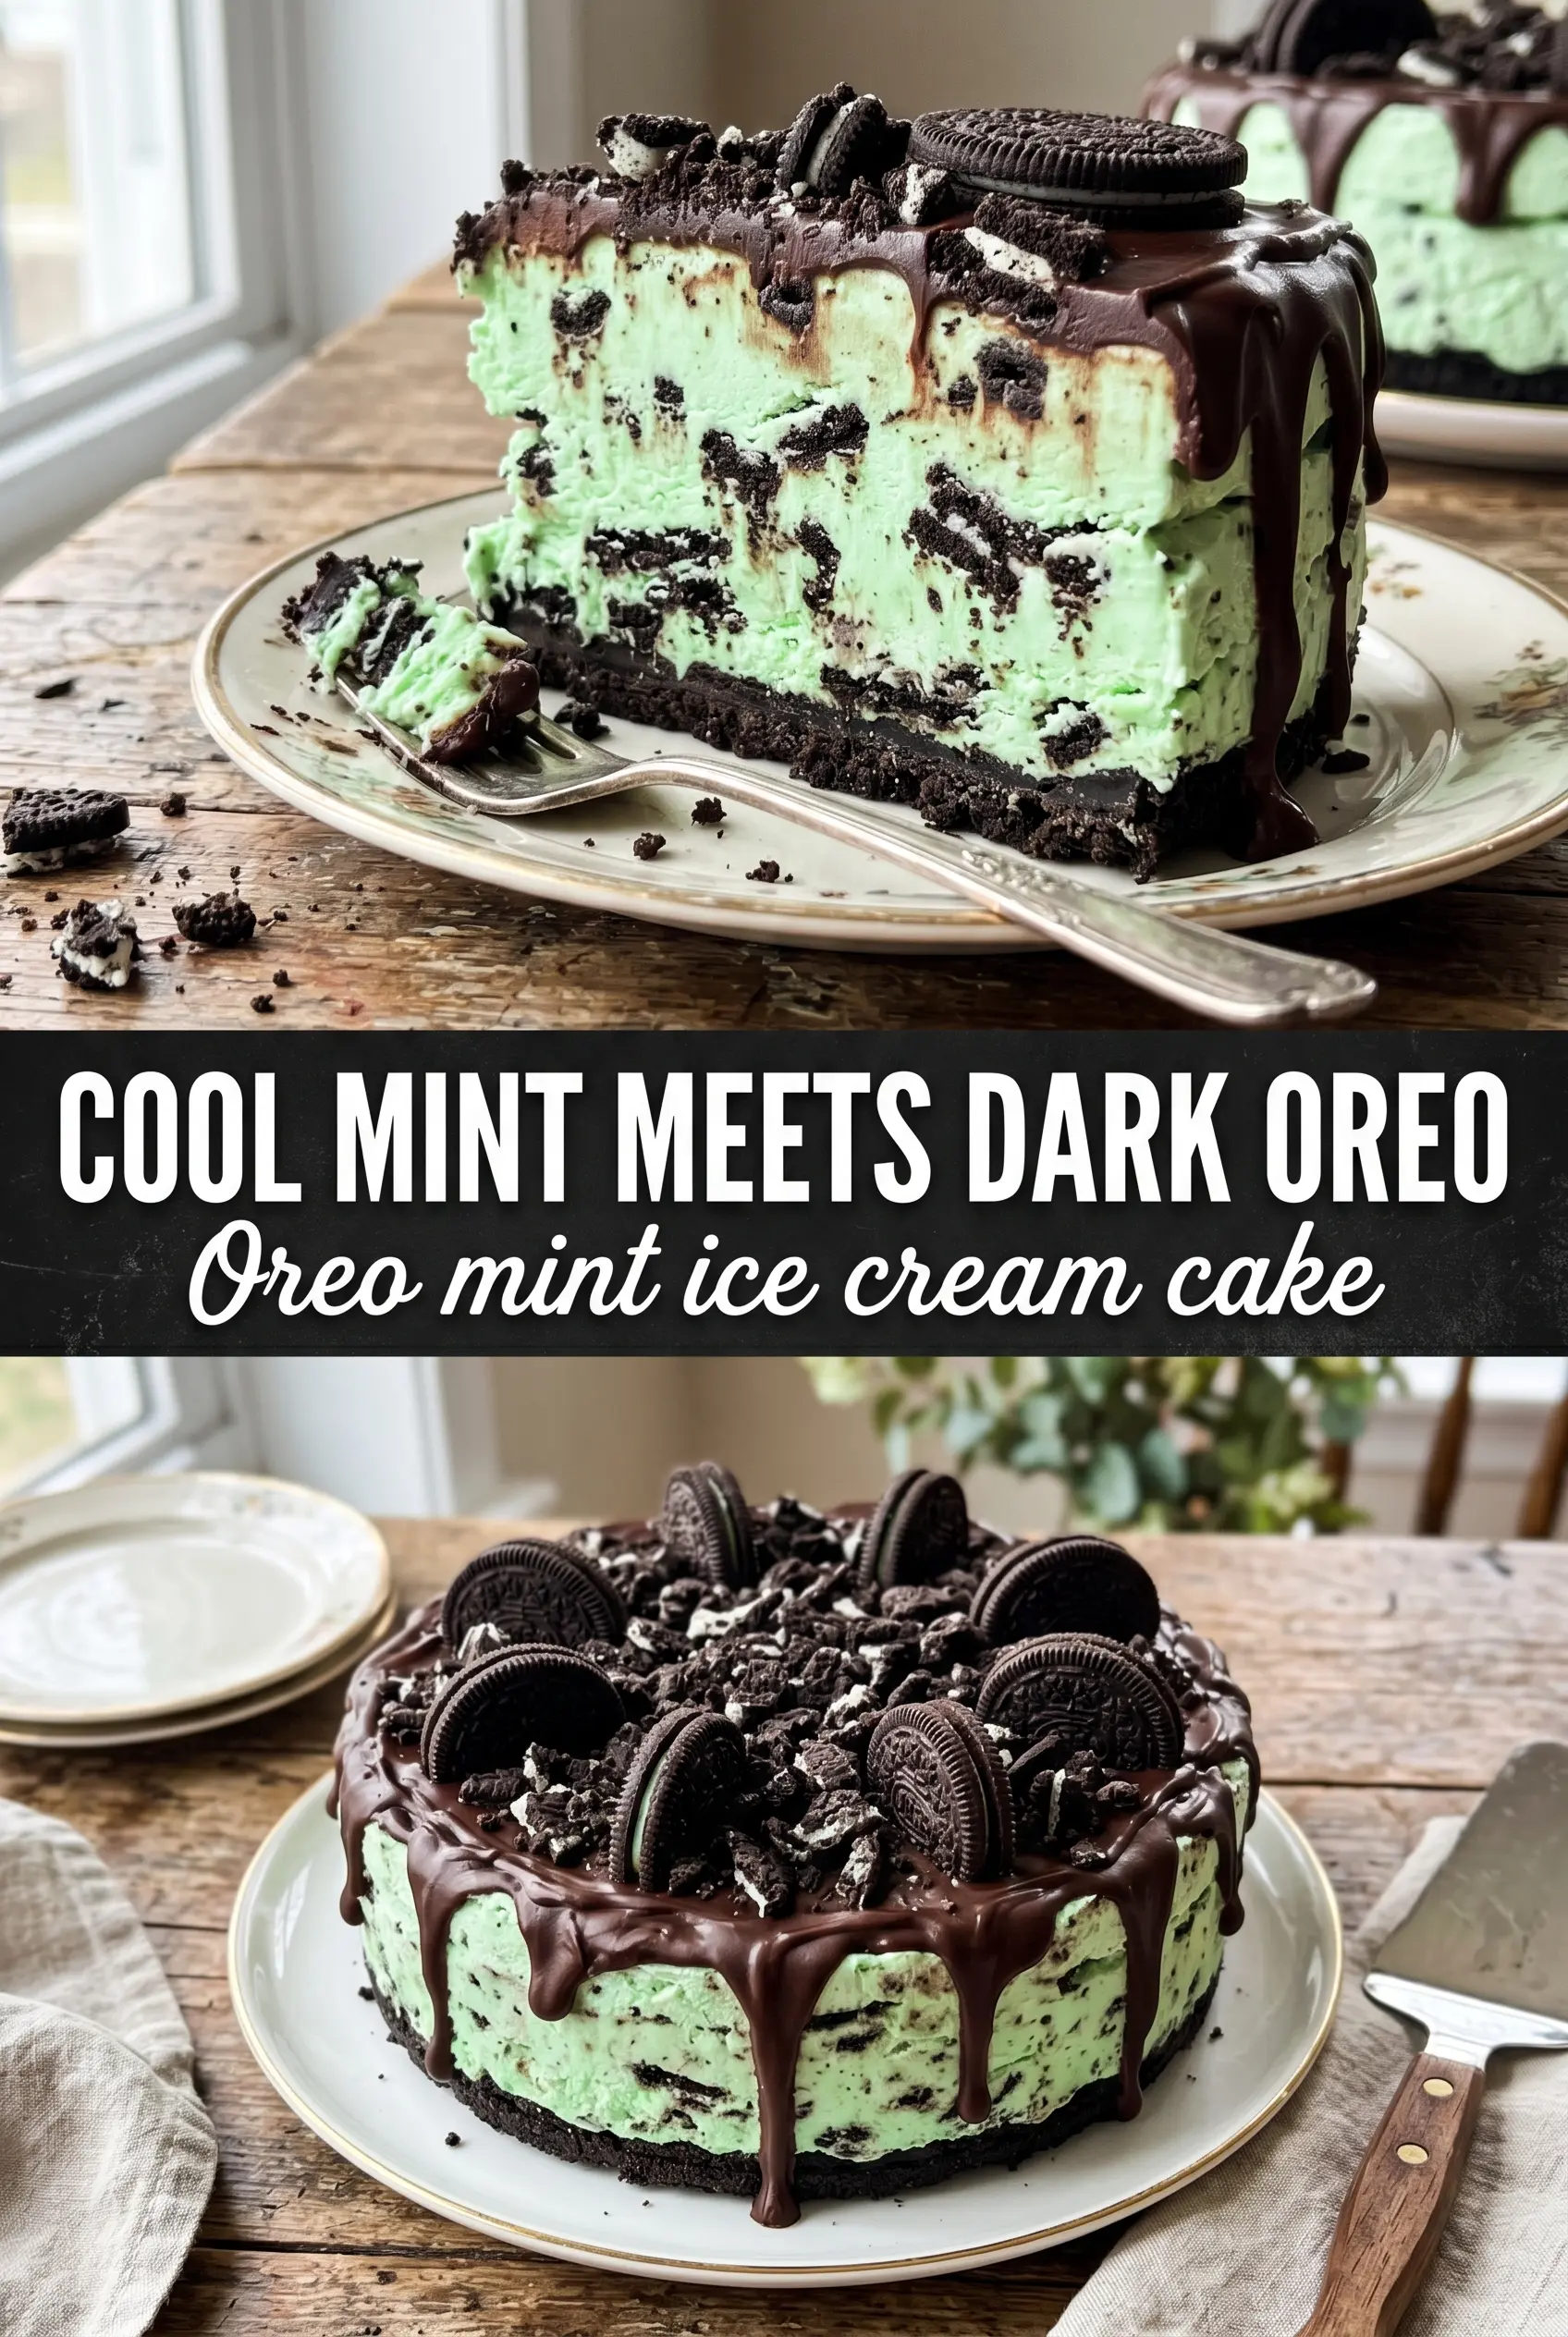
Oreo Mint Ice Cream Cake
Ingredients
Equipment
Method
- Crush 24 Oreos and combine them with melted butter until the mixture looks like wet sand. Press into a 9-inch springform pan, then place it on a flat surface and freeze for 15 minutes until firm.
- Spread the softened mint chocolate chip ice cream over the frozen crust and smooth the top with an even layer. Freeze for 4 hours until set and sliceable.
- Pour chocolate ganache over the frozen cake and tilt the pan to help it cover the top evenly. Freeze for 1 hour until the ganache sets with a firm, glossy finish.
- Cover the cake with whipped topping in an even layer, spreading to the edges. Crush the remaining 6 Oreos and sprinkle them over the top for a visible cookie crumble.
- Decorate with Andes mint pieces and fresh mint so the mint garnish is clearly visible. Freeze for 2 more hours, then release from the springform and serve chilled.


