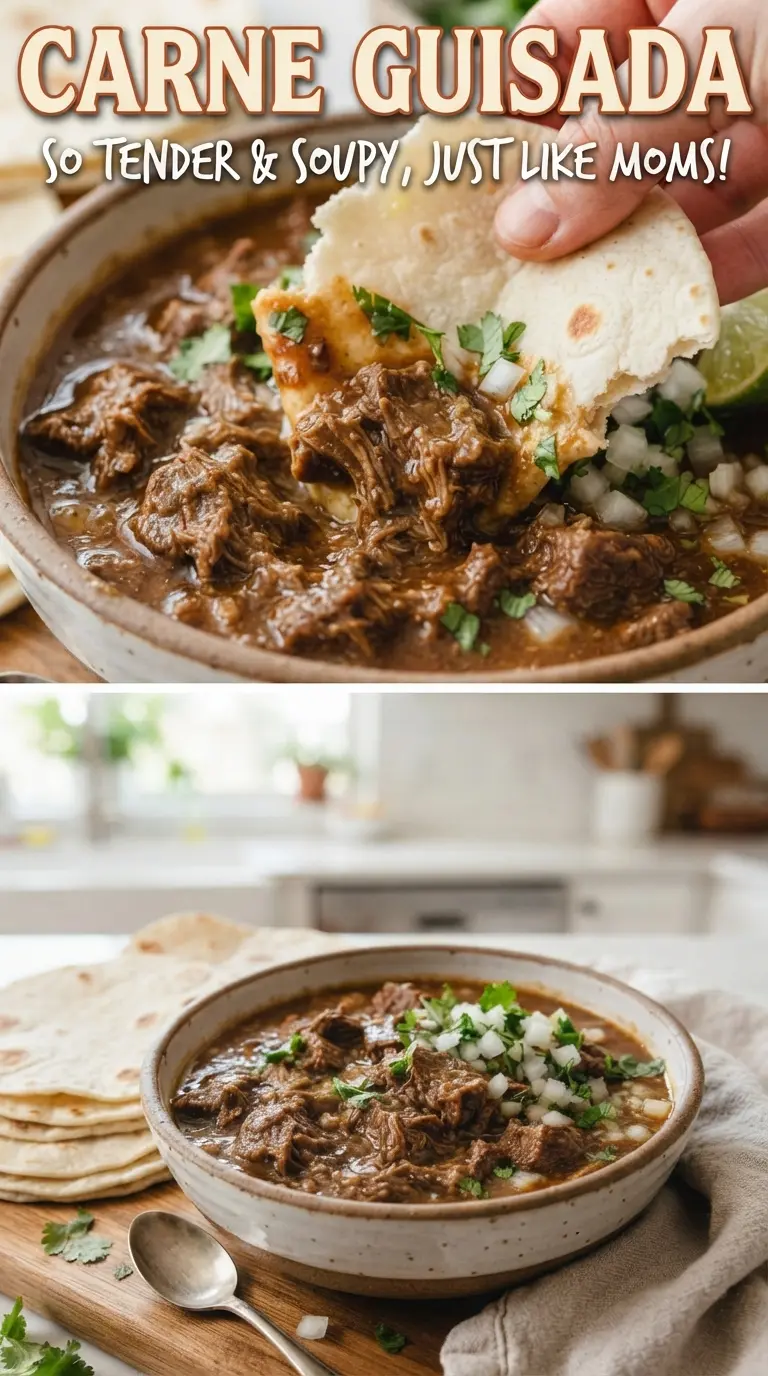
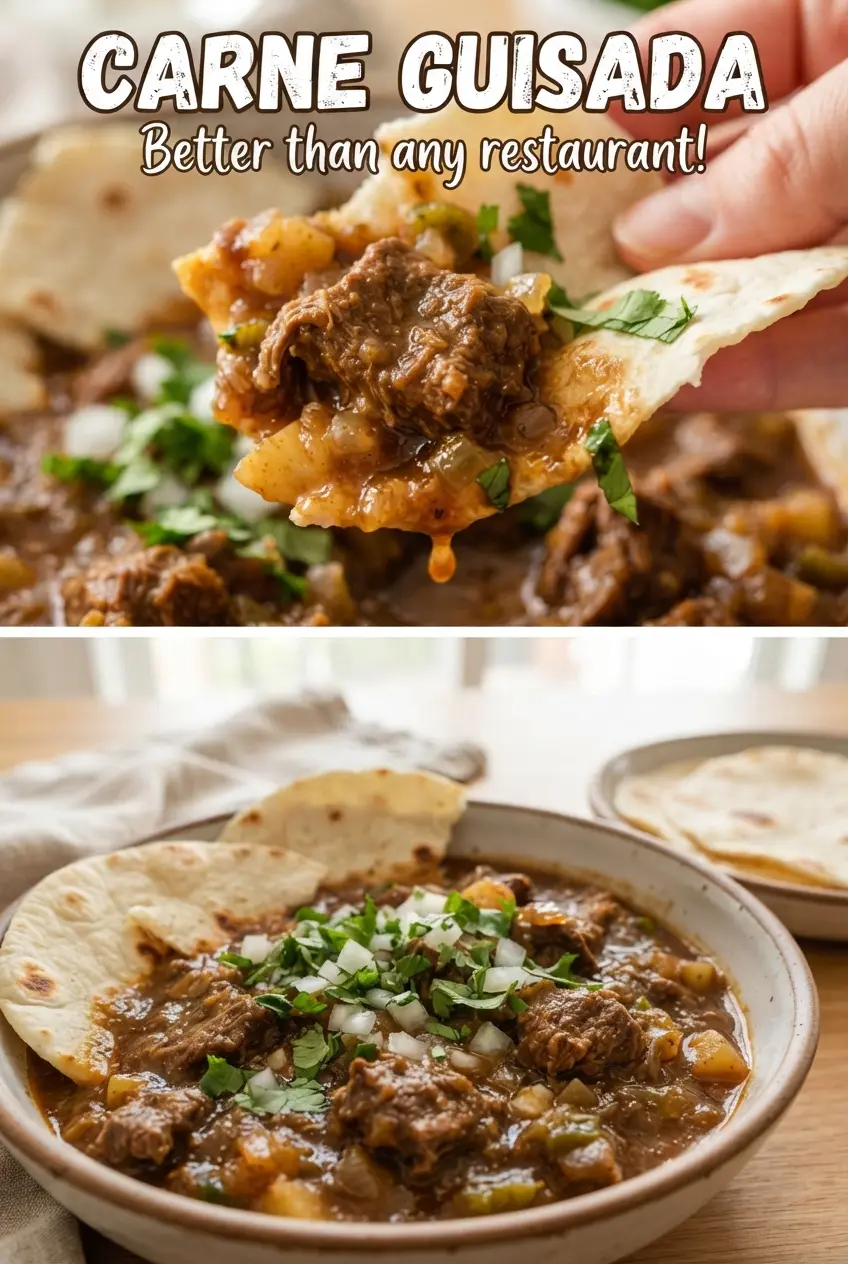
Carne guisada is the kind of beef stew that earns its place in the regular rotation because the gravy turns thick, spoon-coating, and deeply savory while the chuck cooks down until it barely needs a fork. It’s built for scooping into warm flour tortillas, where the tender beef and cumin-heavy sauce soak into the bread just enough to make every bite taste like it was meant to be wrapped up.
The trick here is patience at two points: first when browning the beef, and then when simmering it low until the collagen melts and the gravy tightens on its own. Flour gets stirred into the aromatics before the broth goes in, which gives the sauce body without making it pasty, and the tomato sauce adds just enough acidity to keep the stew from tasting flat.
Below, you’ll find the exact simmer cues that tell you the beef is ready, plus the small ingredient swaps that still keep the Tex-Mex flavor on track. If you’ve ever had carne guisada turn out thin or bland, this version fixes both problems.
The gravy thickened up beautifully and the chuck got fall-apart tender right at the 2-hour mark. I served it in tortillas with lime and my husband went back for thirds.
Save this carne guisada for thick, cumin-spiced beef that’s perfect for scooping into warm flour tortillas.
The Simmer That Turns Chuck Into Carne Guisada
Chuck is the right cut here because it starts tough and finishes rich. If you rush it, the meat stays chewy and the gravy tastes thin; if you simmer it gently for long enough, the connective tissue breaks down and gives the sauce body at the same time. The pot should barely bubble. A hard boil tightens the meat fibers and can leave you with beef that tastes cooked but not tender.
The other common mistake is stopping too soon. Carne guisada is ready when the beef gives easily under a spoon and the gravy coats the back of that spoon without running off like broth. That final thickness happens as much from evaporation as from the flour in the base, so don’t chase it with extra thickener at the start.
What Each Ingredient Is Doing in the Pot
- Beef chuck — This is the backbone of the dish. It has enough connective tissue to become tender during the long simmer, which is why it tastes substantial instead of stringy. A leaner stew cut can work, but it won’t give you the same rich gravy.
- Onion, green bell pepper, and jalapeño — This trio builds the Tex-Mex base. The onion brings sweetness, the bell pepper adds green depth, and the jalapeño gives background heat without taking over. Seed the jalapeño if you want a gentler pot; keep some seeds in if you want a sharper finish.
- Flour — Stirred into the cooked vegetables, it forms the thickening base for the gravy. If you skip this step, the sauce relies only on reduction and can stay brothy. All-purpose flour works best here because it cooks quickly and gives a smooth finish.
- Chili powder, cumin, and oregano — These are the seasonings that make the dish taste like carne guisada instead of plain beef stew. Cumin leads, oregano adds a little herbal edge, and chili powder rounds everything out. Fresh spice makes a difference here; if your cumin has been sitting in the cabinet for years, the gravy will taste flat.
- Tomato sauce — It gives the gravy color, acidity, and a little body. Tomato paste would be stronger and thicker, while diced tomatoes would leave the sauce chunkier than this recipe wants. Tomato sauce keeps the final texture smooth.
- Beef broth — This carries the seasoning and turns the flour mixture into a gravy that can simmer for hours. Use a broth with real beef flavor, not just salt, because the pot reduces and concentrates everything. If your broth is low-sodium, you get more control at the end.
Building the Gravy Without Losing the Beef
Browning in Batches
Season the beef first, then brown it in hot oil in a single layer so the cubes get actual color instead of steaming. Those browned bits at the bottom are part of the flavor, so don’t overcrowd the pan or stir constantly. If the meat releases juice right away, the pan isn’t hot enough. Pull the beef as soon as a deep brown crust forms on a few sides; it doesn’t need to cook through yet.
Softening the Aromatics
Cook the onion, bell pepper, and jalapeño until the onion turns translucent and the peppers soften. This is where the stew starts tasting layered instead of just meaty. Add the garlic at the end of this stage so it smells fragrant, not harsh. If garlic goes in too early, it can scorch and turn bitter under the spices.
Coating With Spices and Flour
Stir the flour, chili powder, cumin, and oregano into the vegetables for about a minute. That short toast wakes up the spices and keeps the flour from tasting raw once the broth goes in. The pan will look dusty at first, then paste-like as the oil and vegetable moisture absorb it. Keep stirring so the flour doesn’t clump in the corners of the pan.
Slow Simmer to the Finish
Add the tomato sauce, broth, bay leaf, and browned beef, then cover the pot and let it simmer gently for 1 1/2 to 2 hours. You’re looking for very small bubbles, not a rolling boil. Stir now and then so the bottom doesn’t catch, and add a splash of broth only if the pan starts drying out before the beef is tender. The stew is finished when the beef shreds with light pressure and the gravy has a glossy, spoon-thick texture.
How to Adapt Carne Guisada for Your Kitchen
Make It Gluten-Free Without Losing Body
Swap the all-purpose flour for a gluten-free 1:1 flour blend and cook it the same way in the vegetables before adding the liquid. The gravy won’t be quite as silky as with wheat flour, but it still thickens well and keeps the same comfort-food feel.
Turn the Heat Up or Down
For a milder pot, use only half the jalapeño and remove every seed. For a hotter version, leave some seeds in or add a second jalapeño. The rest of the recipe can stay the same; just remember that heat tastes sharper after two hours of simmering, so don’t overdo it at the start.
Use Beer for a Deeper Stew
Replace 1 cup of the beef broth with a lager or light Mexican beer for a rounder, slightly darker gravy. Keep the rest of the broth amount the same. Avoid anything too bitter or too dark, because it can push the sauce out of balance.
Storage and Reheating
- Refrigerator: Store in an airtight container for up to 4 days. The gravy thickens as it chills, which is normal.
- Freezer: It freezes well for up to 3 months. Cool it completely first, then freeze in portions for easier thawing.
- Reheating: Reheat gently on the stove over low heat with a splash of broth or water. A hard boil can dry out the beef and make the gravy split at the edges.
Answers to the Questions Worth Asking
Carne Guisada
Ingredients
Equipment
Method
- Season the beef with salt and black pepper, then brown it in hot vegetable oil in batches in a Dutch oven (visual cue: browned edges and fond on the bottom). Cook until each batch is well-browned before removing to a plate.
- Add the onion, green bell pepper, and jalapeno to the Dutch oven and cook for 5 minutes (visual cue: softened vegetables). Add the garlic and cook for 1 minute until fragrant.
- Sprinkle in the all-purpose flour, chili powder, ground cumin, and dried oregano, then stir for 1 minute (visual cue: spices darken slightly and smell toasted).
- Add the tomato sauce, beef broth, and bay leaf, then return the browned beef to the pot (visual cue: liquid covers the meat). Cover and bring to a simmer.
- Simmer covered for 1 1/2-2 hours until the beef is very tender and the gravy is thick (visual cue: gravy coats the back of a spoon). Stir occasionally as needed to prevent sticking.
- Spoon the carne guisada into warm flour tortillas and top with cilantro and lime wedges (visual cue: bright green cilantro and fresh lime on top). Serve right away.