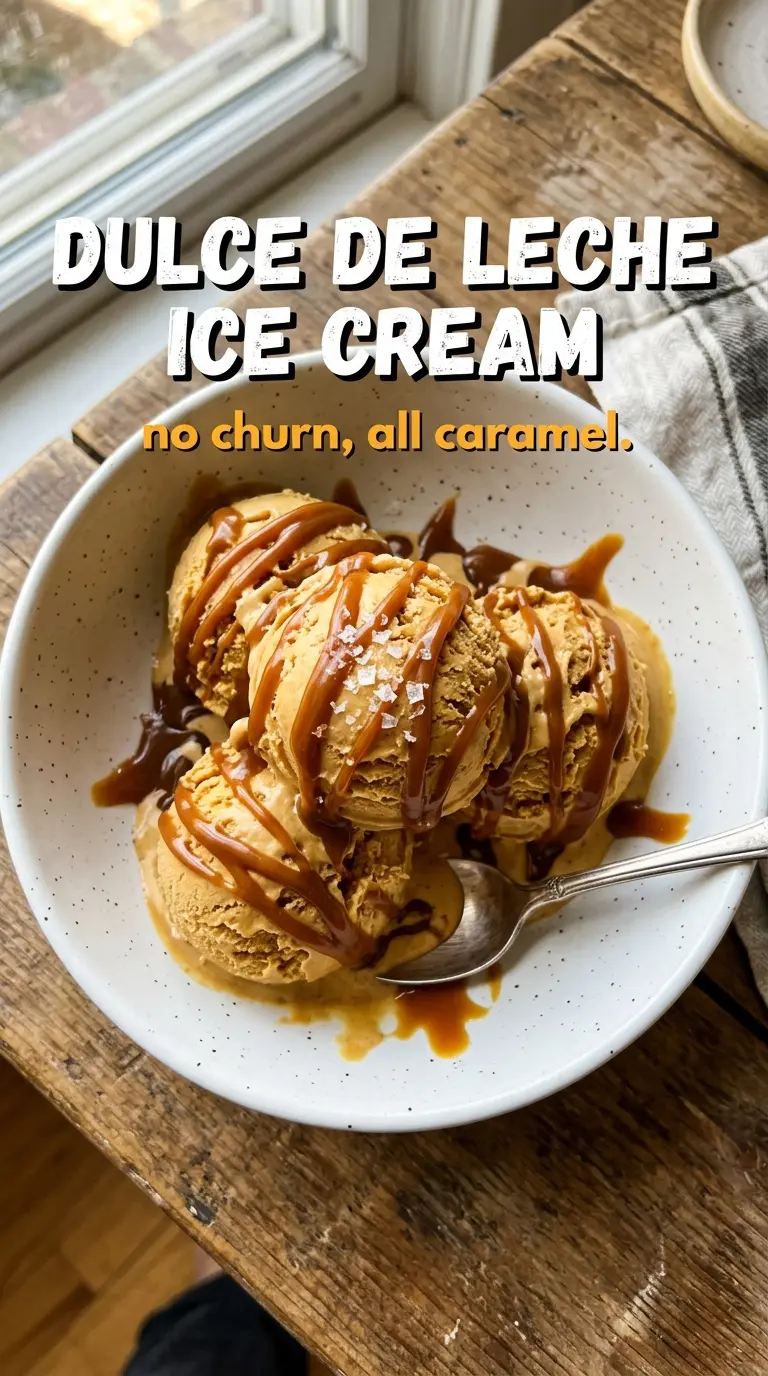
Silky, scoopable ice cream with thick ribbons of dulce de leche is what makes this no-churn version worth keeping in the freezer. The base stays soft and creamy because it leans on whipped cream and sweetened condensed milk instead of an ice cream machine, while the caramel swirls give every bite that deep, cooked-milk sweetness people expect from a good dulce de leche dessert.
The key is keeping the whipped cream airy and folding the caramel mixture in just enough to combine without deflating it. Dulce de leche thickens the base and adds body, so you get those dramatic swirls instead of a uniform beige mixture. A pinch of salt keeps the sweetness from flattening out, and flaky salt on top makes the whole thing taste more finished.
Below, you’ll find the exact folding and swirling rhythm that keeps this ice cream creamy instead of icy, plus a few useful swaps if you want to make it dairy-free or turn it into a different caramel dessert.
The dulce de leche swirled in beautifully and it froze up with that perfect creamy scoop, not icy at all. I added the flaky salt on top and it made the caramel taste even deeper.
Love the thick dulce de leche ribbons and creamy no-churn texture? Save this caramel-swirled ice cream for the next time you want an easy dessert with a little drama.
The Swirl Matters More Than the Mix
No-churn ice cream can go flat fast if you stir too hard after the whipped cream is in. The trick here is to keep two textures on purpose: an airy base and a thick caramel ribbon. If you blend the dulce de leche all the way through, you lose the contrast that makes each scoop taste rich instead of just sweet.
The other thing that matters is the thickness of the dulce de leche itself. You want something spoonable but not runny, because thin caramel disappears into the base and can add extra moisture that works against a clean freeze. If your dulce de leche is very stiff, warm the jar for a few seconds and stir it before measuring so it drizzles instead of clumping.
What Each Ingredient Is Doing in the Freezer
- Heavy cream — This is where the body and lightness come from. Whipping it to stiff peaks gives the ice cream its structure, and there isn’t a true substitute that behaves the same way. If you swap in a lighter cream, the final texture turns softer and less stable.
- Sweetened condensed milk — This keeps the base smooth and scoopable without churning. It adds sweetness and helps prevent ice crystals, which is why this recipe works so well without an ice cream machine. Don’t replace it with regular milk and sugar unless you’re ready for a much icier result.
- Dulce de leche — This is the flavor and the swirl. It also thickens the base slightly, which helps the final ice cream hold its shape. Any good store-bought dulce de leche works here; if you make your own, let it cool fully before folding it in so it doesn’t melt the whipped cream.
- Vanilla extract — Vanilla rounds out the caramel and keeps the whole thing from tasting one-note. You won’t taste it as a separate flavor, but you’d notice if it were missing.
- Salt — A small amount sharpens the dulce de leche and keeps the sweetness from turning heavy. The flaky salt on top is optional, but it adds the best finish because it gives you tiny bursts of contrast in each bite.
Folding, Swirling, and Freezing Without Losing the Texture
Whip the Cream to a Firm Peak
Start with cold cream in a cold bowl if you can. Beat it until the whisk leaves defined trails and the peaks hold their shape when you lift the beater. Stop there. If you go past stiff peaks into a dry, grainy stage, the ice cream base won’t fold as smoothly and you’ll lose some of that plush texture.
Build the Caramel Base Separately
Whisk the condensed milk, half of the dulce de leche, vanilla, and salt together until the mixture looks glossy and fully blended. This keeps the caramel from streaking unevenly through the cream. If the dulce de leche fights you and stays in little lumps, warm it just enough to loosen it, then whisk again.
Fold, Don’t Stir
Add the caramel mixture to the whipped cream in two or three additions and use a spatula to fold from the bottom up. The motion should be slow and deliberate, because aggressive stirring knocks out the air you just built. Stop as soon as the mixture is mostly uniform with a few pale streaks left behind.
Layer the Swirl in the Pan
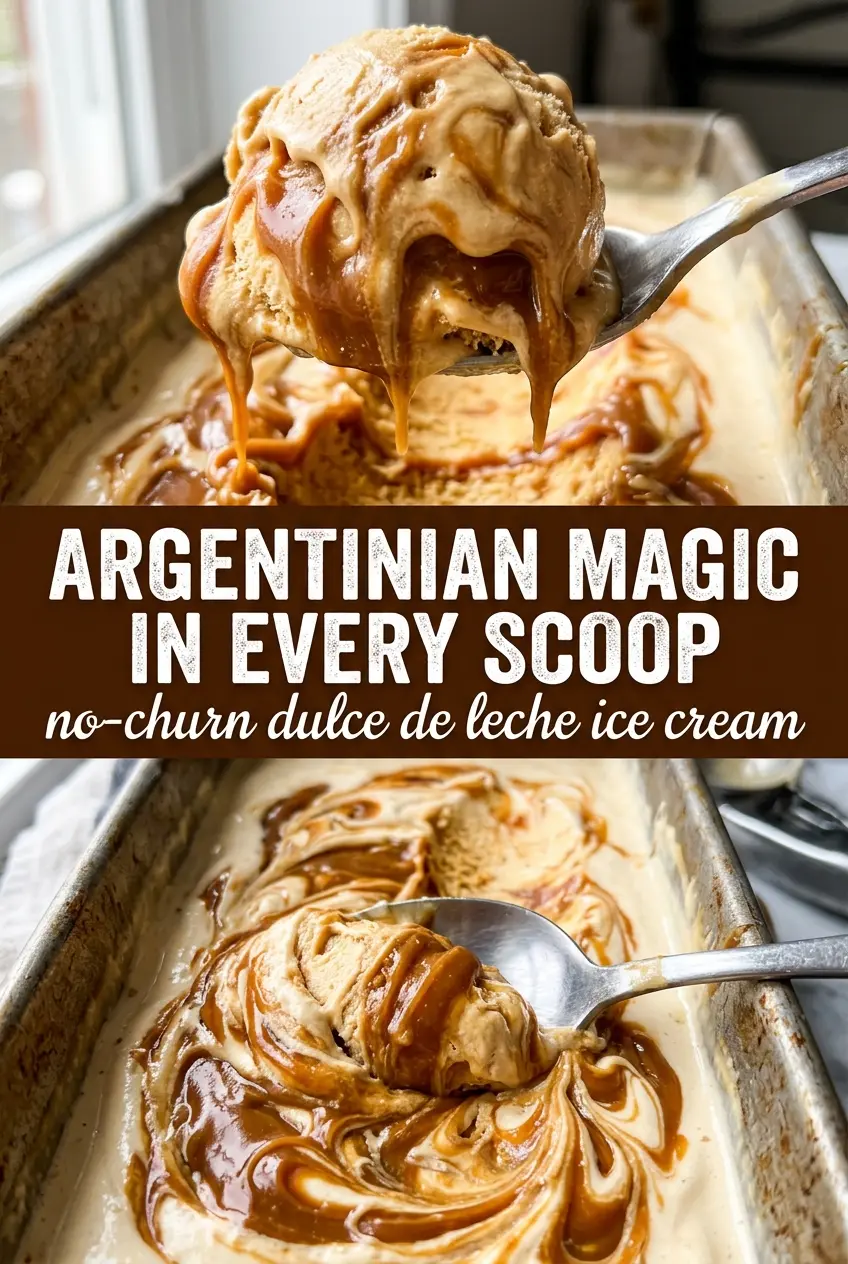
Spoon half the ice cream into a loaf pan, drizzle on half the remaining dulce de leche, then repeat with the rest. Drag a butter knife or skewer through the layers once or twice for wide ribbons. If you over-swirl, the caramel disappears into the base and the finished ice cream loses that pretty marbled look.
Freeze Until Firm, Then Let It Sit Briefly
Cover the pan and freeze for at least 6 hours, or until the center is fully set. Before scooping, let it sit at room temperature for 5 to 10 minutes so it softens just enough to serve cleanly. If you try to scoop it straight from the freezer, the edges can crack and the texture feels harder than it should.
How to Adapt This Caramel Ice Cream for Different Kitchens
Dairy-Free Version
Use a full-fat coconut cream in place of the heavy cream and a dairy-free sweetened condensed milk. The ice cream will still freeze creamy, but it will taste a little more coconut-forward, so keep the vanilla and salt in place to balance the caramel.
Extra Caramel Ribbon
If you want more visible dulce de leche in each scoop, hold back an extra 2 to 3 tablespoons and drizzle it only over the top layer. You’ll get a stronger swirl pattern, but the texture will be a little richer and denser in those caramel pockets.
Salted Caramel Finish
For a stronger salted caramel profile, add a tiny extra pinch of fine salt to the base and finish each scoop with flaky salt right before serving. That gives you a sharper contrast, but don’t overdo it or the caramel loses its soft sweetness.
Storage and Reheating
- Refrigerator: Not recommended. This ice cream needs the freezer to keep its structure and will melt into a loose cream base in the fridge.
- Freezer: Freeze in a covered loaf pan for up to 2 weeks for the best texture. After that, it can start to pick up ice crystals and the caramel ribbons lose some definition.
- Reheating: No reheating needed. For serving, let it sit at room temperature for 5 to 10 minutes before scooping so the edges soften instead of chipping off in hard shards.
Answers to the Questions Worth Asking
No-Churn Dulce de Leche Ice Cream
Ingredients
Equipment
Method
- Whip the heavy cream to stiff peaks using a stand mixer, 5 to 7 minutes, until the cream holds firm ridges when lifted. Visual cue: the whisk leaves peak trails that don’t droop.
- Whisk the sweetened condensed milk, 1/2 cup of the dulce de leche, vanilla extract, and salt together until smooth. Visual cue: the mixture looks glossy and uniform with no streaks of caramel.
- Fold the dulce de leche mixture into the whipped cream gently until no white streaks remain. Visual cue: the mixture stays thick and airy, with a creamy caramel tint.
- Pour half of the mixture into a 9x5 loaf pan, then drizzle half of the remaining dulce de leche over the top. Visual cue: you should see distinct caramel patches sitting on the cream.
- Swirl the surface using a knife or skewer in 6 to 10 gentle passes, keeping the ribbons thick rather than fully mixing. Visual cue: visible golden swirls spread across the surface.
- Repeat with the remaining ice cream mixture and remaining dulce de leche, then do another 6 to 10 gentle swirls on top. Visual cue: a second layer of caramel ribbons appears through the cream.
- Sprinkle with flaky sea salt for finishing, then cover and freeze at least 6 hours. Visual cue: after freezing, the ice cream slices cleanly with firm, scoopable texture.


