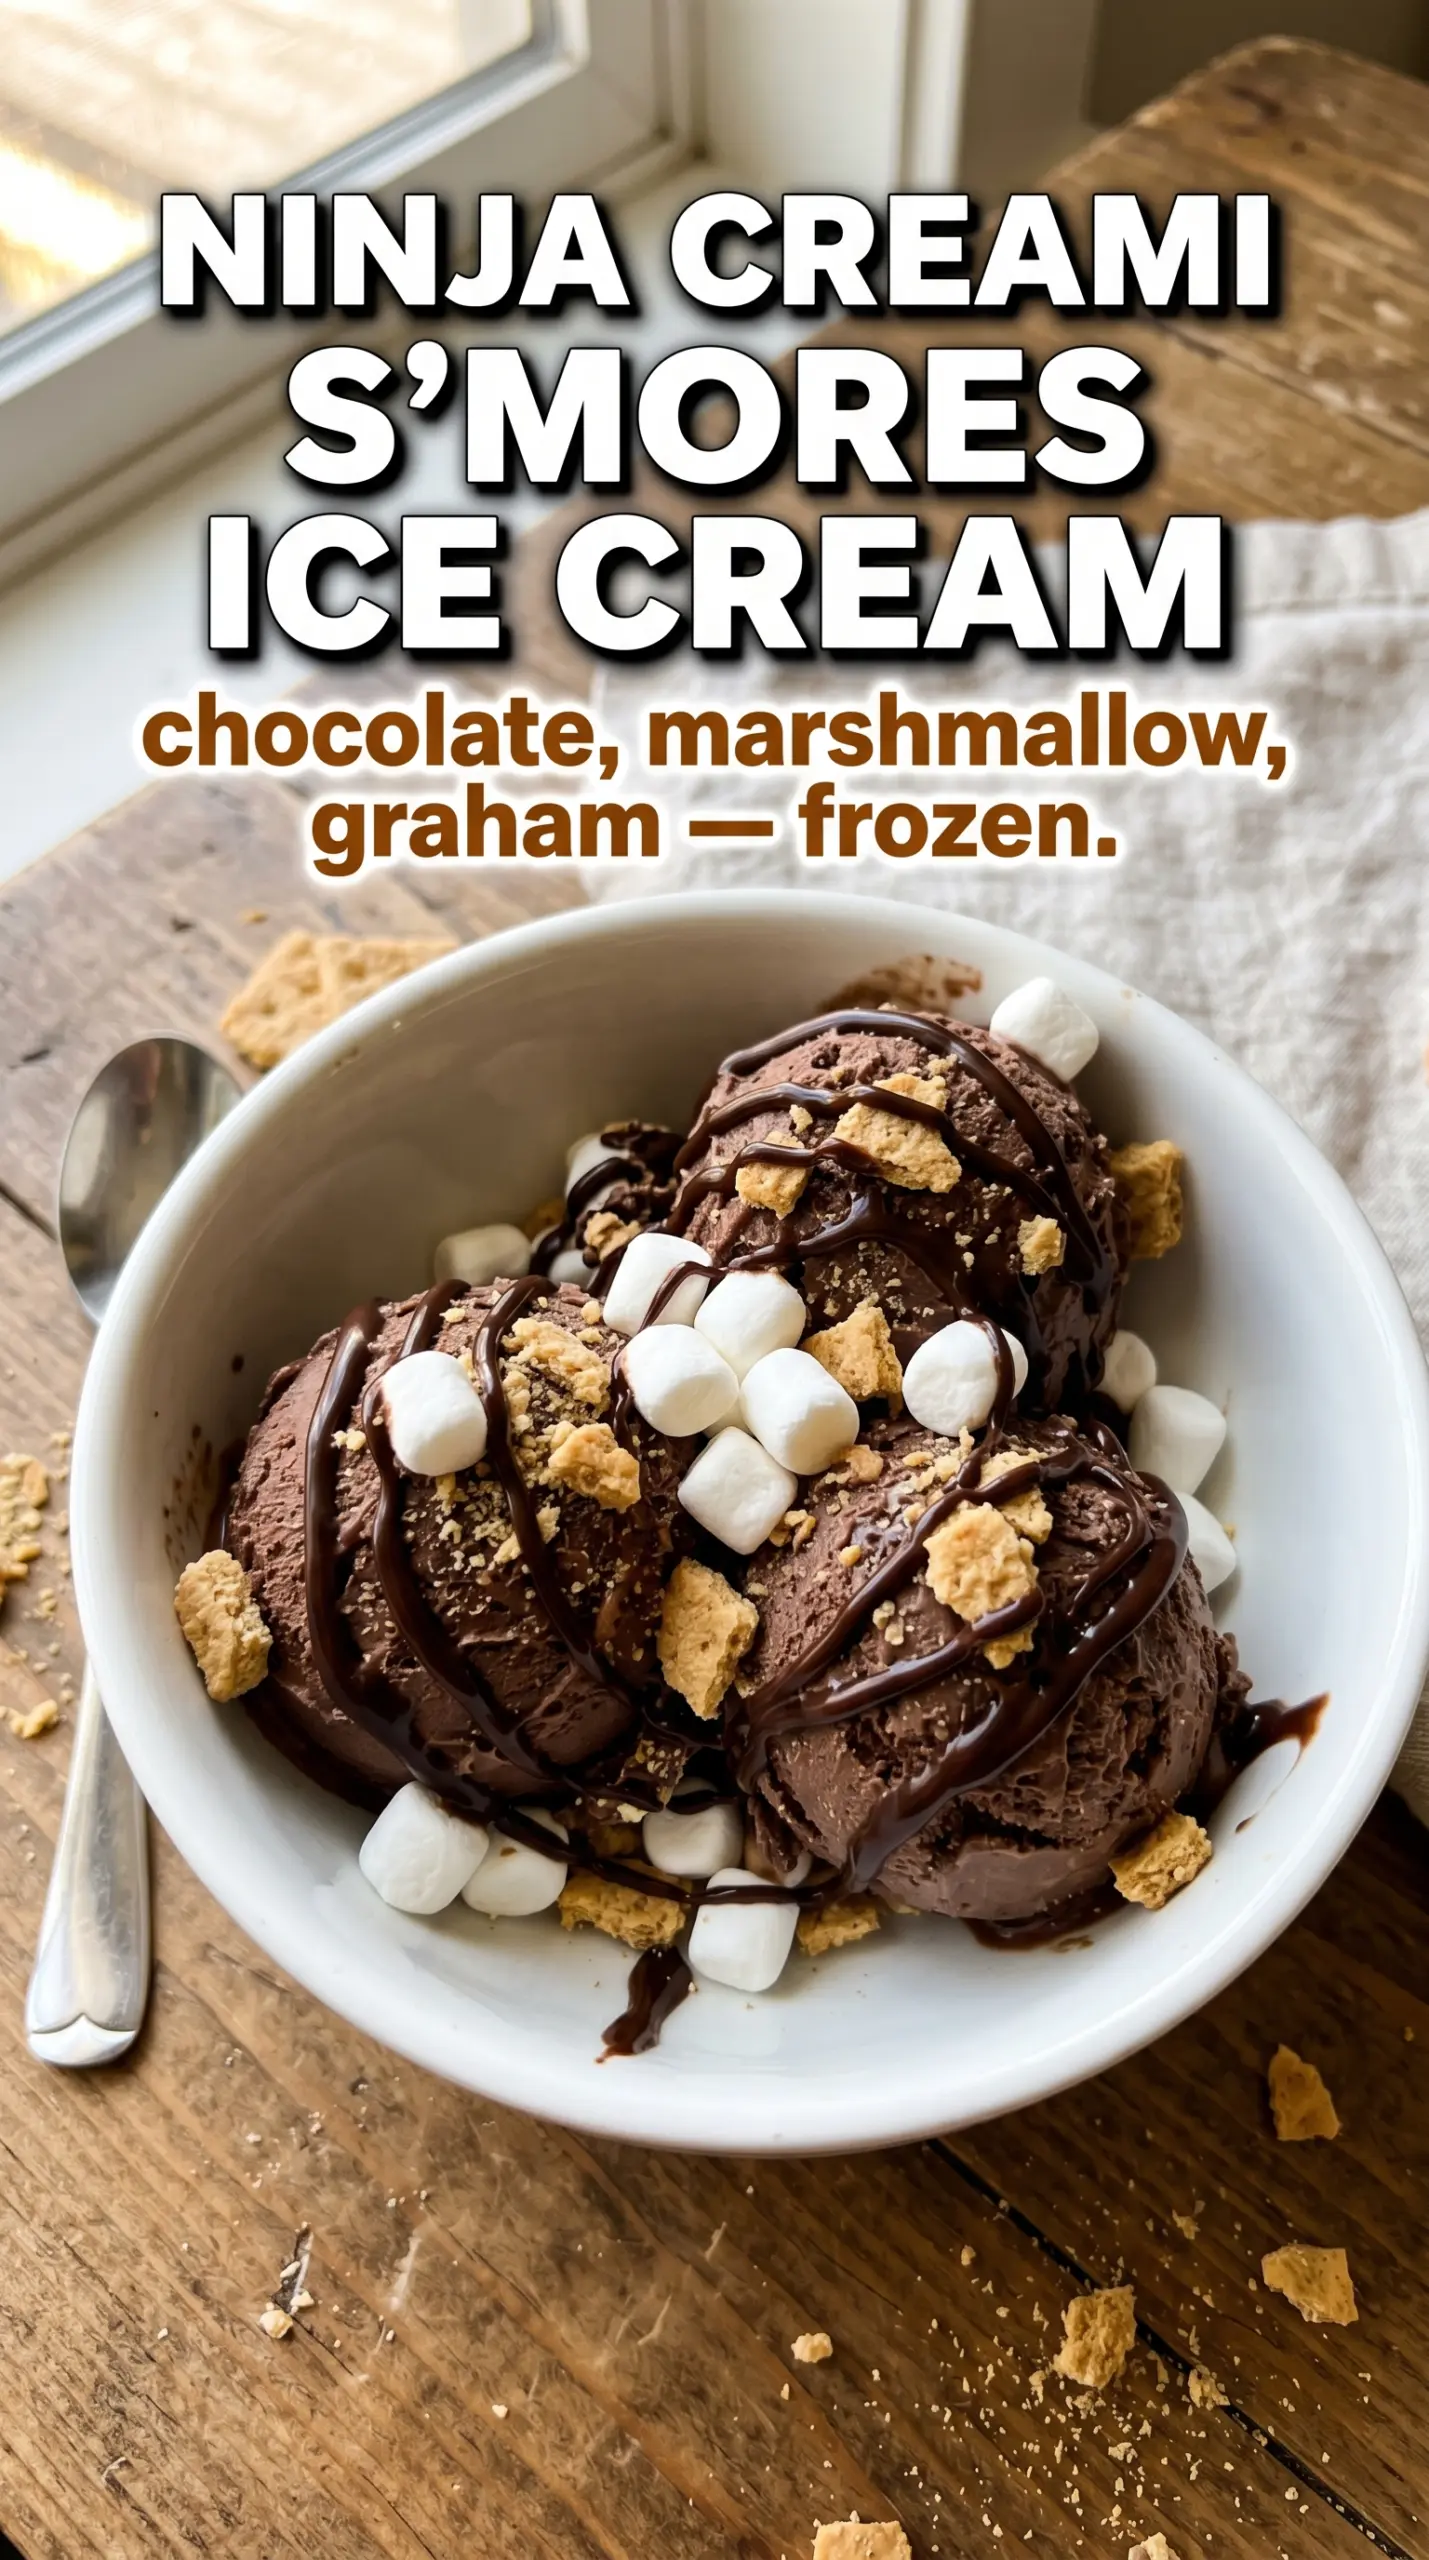
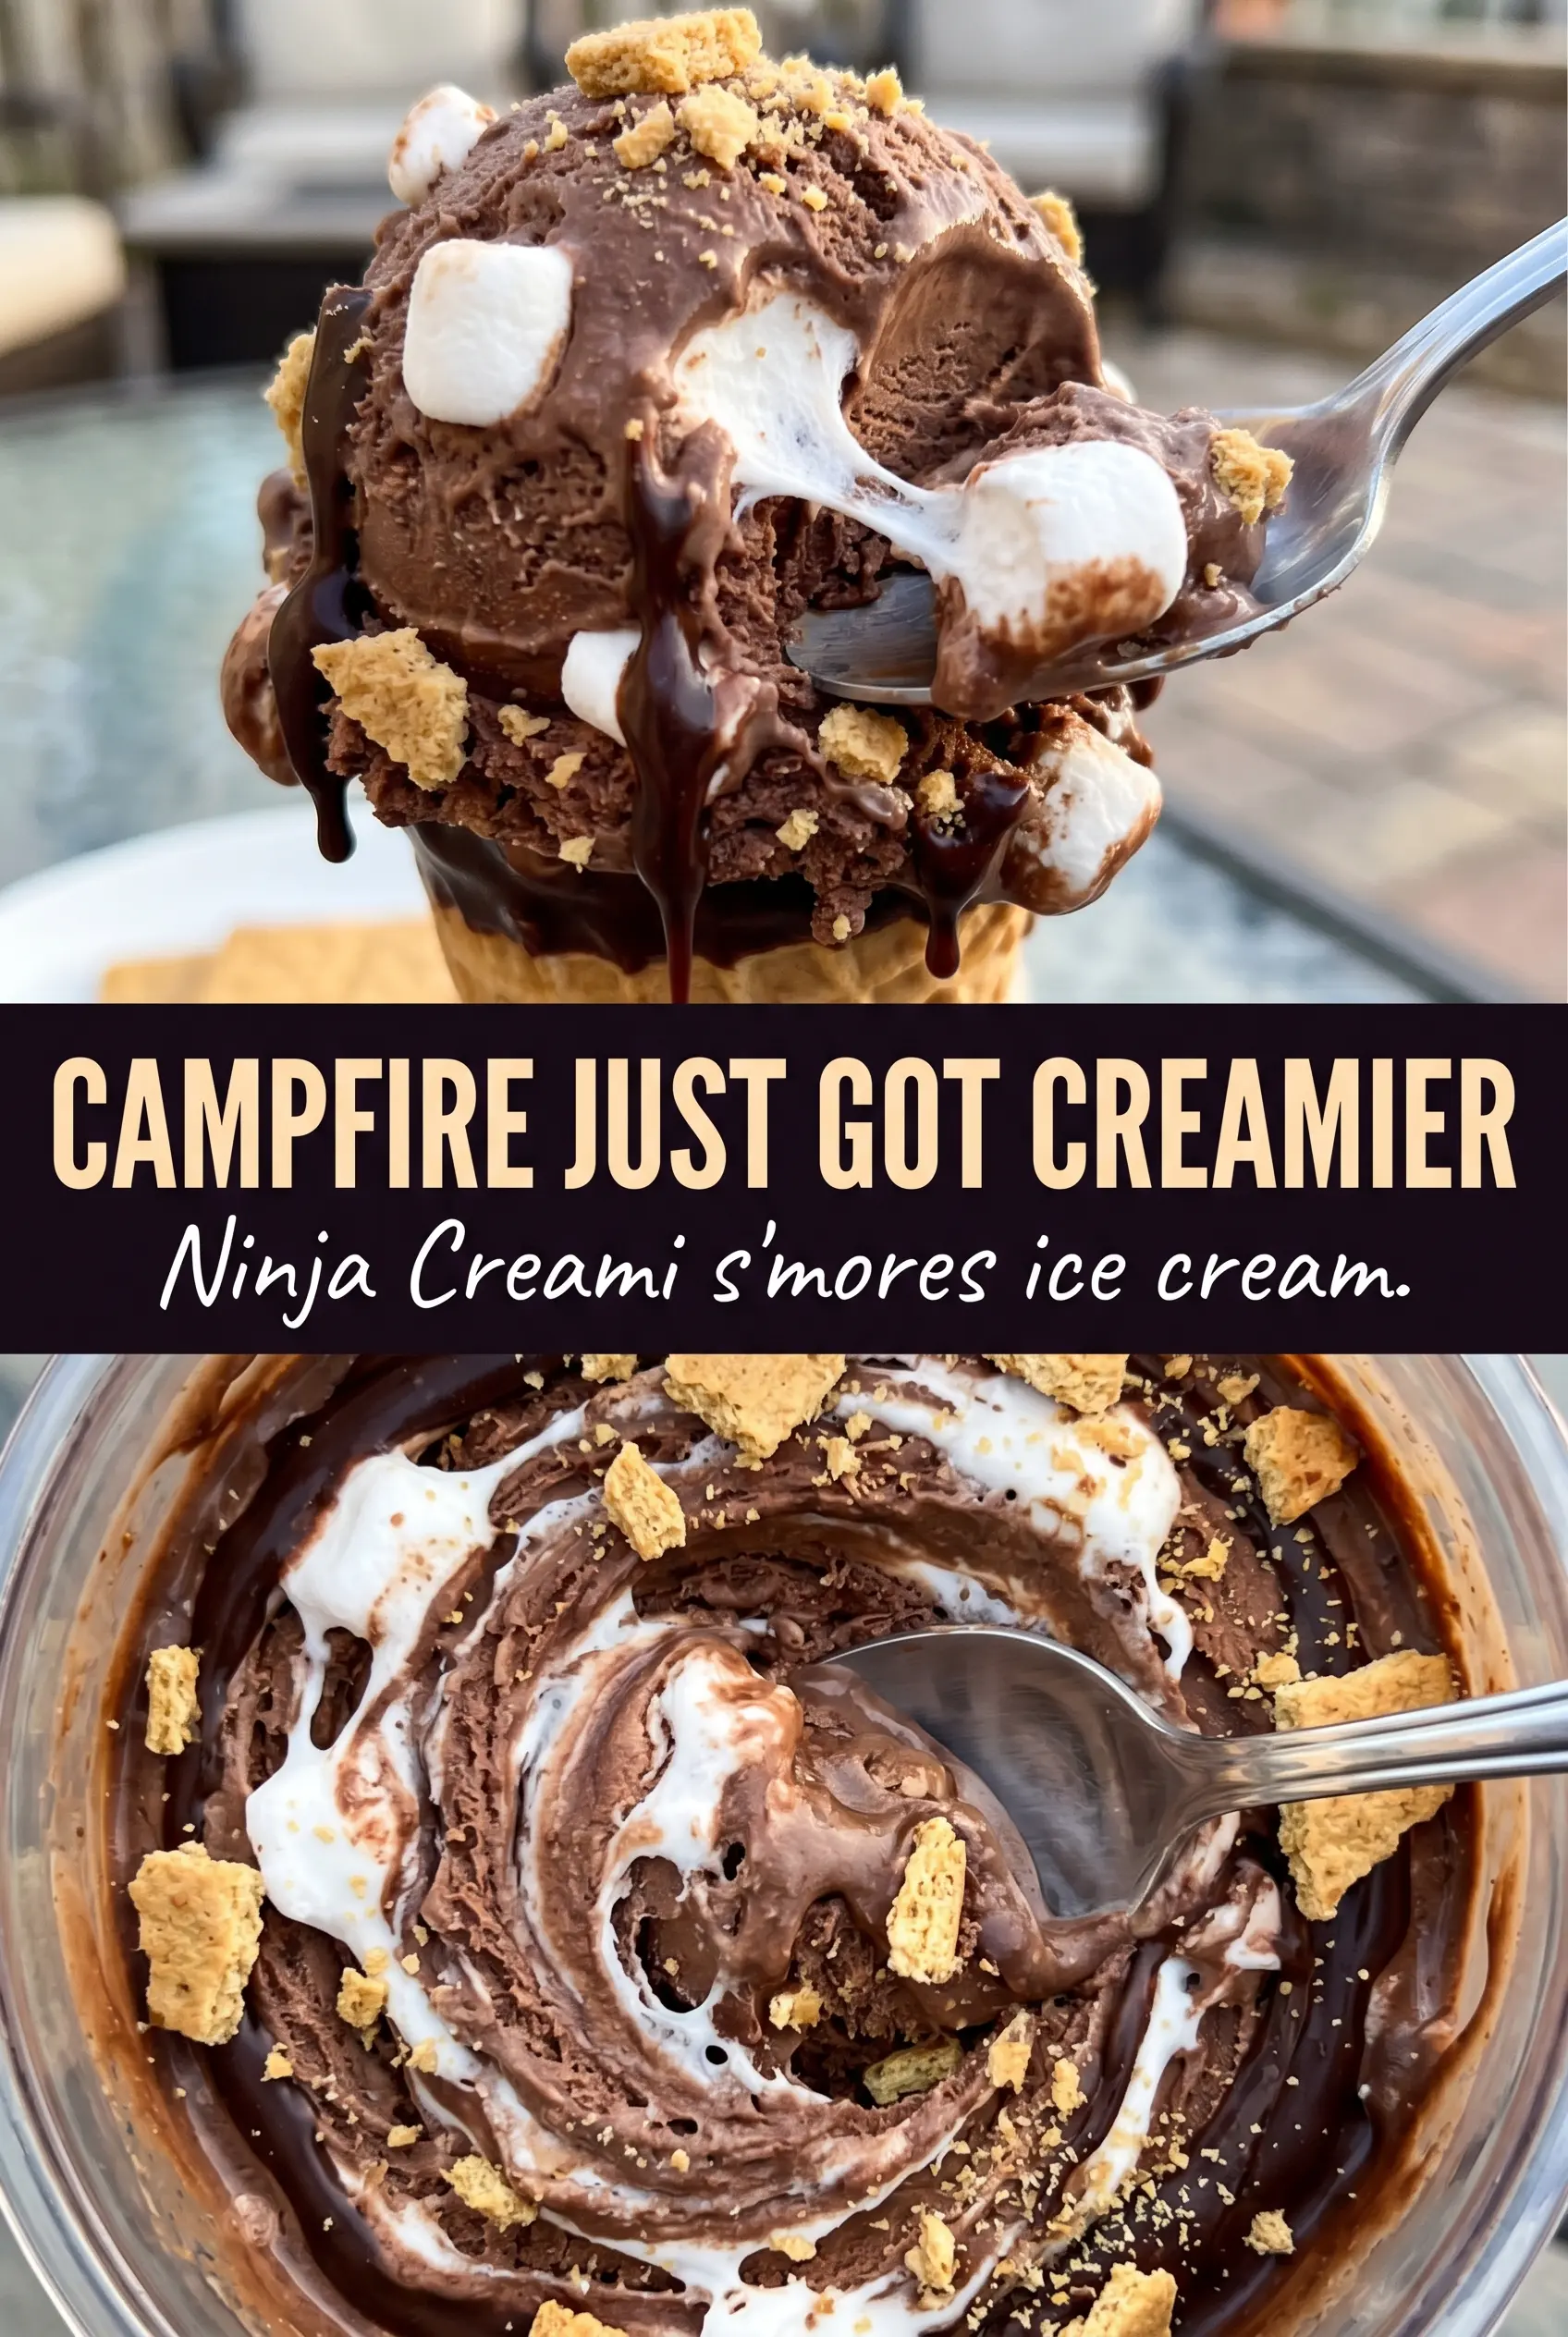
Chocolatey, creamy Ninja Creami S’mores Ice Cream brings all the campfire notes into a frozen dessert that still scoops like a real treat. The base turns rich and smooth instead of icy, and the toasted marshmallows plus graham cracker pieces give you that familiar s’mores crunch in every bite.
What makes this version work is the balance in the base. Chocolate milk gives you the main flavor fast, but the heavy cream and cream cheese keep the texture from tasting thin after freezing. A little sugar and vanilla round out the chocolate, while the salt keeps the sweetness from going flat. The mix-ins go in after the first spin so the marshmallows stay distinct instead of dissolving into the pint.
Below, I’ll walk you through the one part people usually rush: freezing the base long enough and adding just enough milk on the respin to get that scoopable, creamy finish. The toasted marshmallows matter here too, and I’ll show you how to keep them from turning into sticky clumps.
The base froze up smooth, and after the first spin I only needed a splash of milk to get it creamy. The toasted marshmallows and graham crackers stayed chunky instead of disappearing, which made it taste just like a s’mores bar in ice cream form.
Love the chocolate-marshmallow-graham cracker combo? Save this Ninja Creami S’mores Ice Cream for the next time you want a campfire-style dessert with a creamy finish.
The Reason This Creami Stays Creamy Instead of Turning Icy
The biggest mistake with Ninja Creami desserts is treating the base like it can be watery and still spin into something rich. It can’t. This one works because the chocolate milk gets reinforced with heavy cream and cream cheese, which gives the machine enough fat and body to shave into a smooth texture instead of a snowy one.
Freeze it solid for the full 24 hours. If the center is still soft, the blade pulls through unevenly and you get a crumbly pint that needs extra liquid just to recover. The other trap is overdoing the milk on the respin. Start with the smallest splash possible. You want the mixture to look dry and sandy after the first spin, then loosen it only until the surface turns glossy and creamy.
What Each Ingredient Is Actually Doing in the Pint
- Chocolate milk — This gives you the flavor foundation without having to build a cooked custard. If you only have milk, the cocoa swap works, but whisk it long enough that no dry cocoa clumps survive or they’ll freeze into little bitter specks.
- Heavy cream — This is what keeps the pint from tasting frozen and thin. Half-and-half will work in a pinch, but the texture will be softer and a little less rich after the first spin.
- Cream cheese — The small amount here matters more than it looks like it should. It adds body and helps the base stay smooth after freezing, which is especially useful in a dessert that’s getting a lot of mix-ins.
- Mini marshmallows — Toast them lightly before adding them in. That gives you the s’mores flavor instead of plain sweetness, and it also keeps them from blending into the base as easily. Burnt marshmallows taste harsh, so stop once the edges are golden and the centers are just starting to puff.
- Graham crackers — Crush them fairly fine, but not into dust. You want some texture left so the mix-in stage gives you little buttery crumbs, not dry sand.
Getting the Base Mixed and the Mix-Ins Folded in at the Right Time
Blending the Base Until It’s Completely Smooth
Blend the chocolate milk, cream, sugar, cream cheese, vanilla, and salt until the mixture looks uniform and there are no streaks of cream cheese left on the sides. Any little lump will freeze into a hard bit that the machine can’t fully fix later. Scrape the blender if needed, then pour the base into the pint container without going past the fill line. The surface should look glossy and even before it goes into the freezer.
Freezing It Fully Before the First Spin
Set the pint on a level surface and freeze it for 24 hours. If it’s tilted, the top can freeze unevenly, and that shows up later as a dry ring around the edges. Don’t rush this stage because a pint that isn’t frozen solid will spin into a slushy mess instead of ice cream. The base should feel rock hard all the way through before it goes into the machine.
Spinning, Respinning, and Adding the Crunch
Process on the Ice Cream setting first. If the texture looks crumbly, add just 1 tablespoon milk and respin. Stop as soon as it turns creamy; too much milk makes the whole pint loose and less scoopable. Add the toasted marshmallows and graham crackers with the Mix-In function so they stay in pieces instead of getting crushed into the base.
How to Change It Without Losing the S’mores Character
Dairy-Free Version
Use a rich oat milk or coconut milk base and a dairy-free cream cheese. The texture will still be creamy if you keep enough fat in the mix, but coconut milk will add a faint coconut note, while oat milk keeps the flavor closer to classic s’mores.
Gluten-Free Swap
Use certified gluten-free chocolate cookies or gluten-free graham-style crackers instead of standard grahams. You’ll still get the toasted, crumbly contrast, but the flavor will lean a little more cookie-like than classic campfire cracker.
Extra Chocolate Version
Add a tablespoon of chocolate syrup to the base or fold in mini chocolate chips with the marshmallows and graham crackers. That gives you a richer, darker ice cream, but too much chocolate can crowd out the marshmallow note, so keep the add-ins restrained.
Storage and Re-Spin
- Refrigerator: Not recommended. This is a frozen dessert, and it will melt into a thin milkshake texture fast.
- Freezer: You can refreeze leftovers in the pint, but the texture gets harder after the first spin. Let it sit at room temperature for 5 to 10 minutes before trying to scoop again.
- Reheating: Not applicable. If the pint gets too firm, the fix is a short rest on the counter, not heat.
Questions I Get Asked About This Recipe
Ninja Creami S'mores Ice Cream
Ingredients
Equipment
Method
- Blend chocolate milk, heavy cream, sugar, cream cheese, vanilla extract, and salt until completely smooth, stopping to scrape as needed so no lumps remain.
- Pour the smooth mixture into the Ninja Creami pint container, cover, and freeze for 24 hours for a firm churn-ready texture.
- Process on the Ice Cream setting, then re-spin and add 1 tablespoon milk if needed to reach the creamy, spoonable consistency; look for a uniform churn with no icy bits.
- Use the Mix-In function to fold in toasted mini marshmallows and crushed graham crackers so the pieces stay suspended instead of fully blending.
- Top with an extra toasted marshmallow and serve right away for the best contrast between toasted edges and creamy base.


