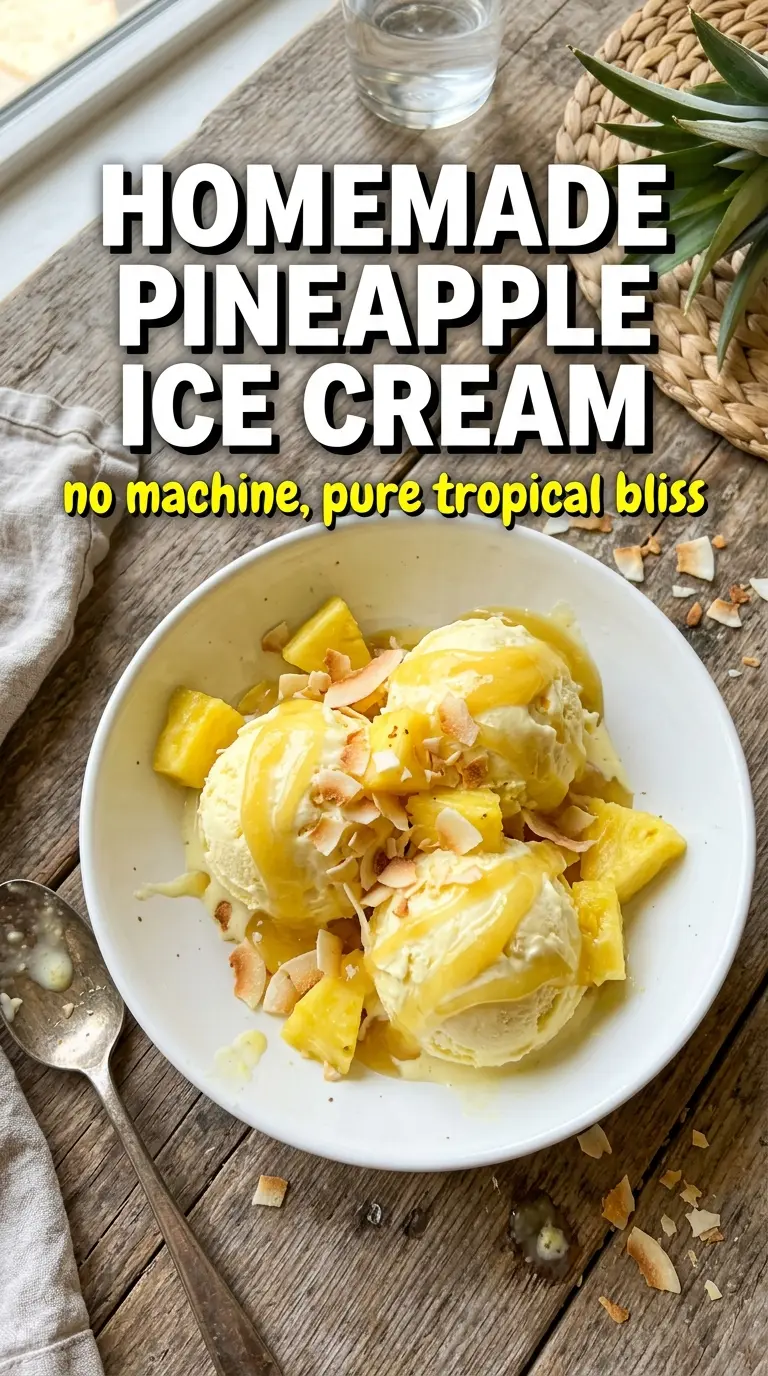
Bright pineapple ice cream is the kind of dessert that disappears fast because it hits both sides of the table at once: creamy and rich, but still sharp with fresh fruit flavor. The pineapple doesn’t get buried in the custard here. It stays front and center, which is what makes each spoonful taste clean, tropical, and a little unexpected instead of just sweet.
The trick is cooking the pineapple first. That step concentrates the juice, softens the fruit, and takes the raw edge off so it blends smoothly into the base without watering everything down. The custard itself gets cooked to a true nappe-like thickness, then strained before the pineapple goes in, which keeps the texture silkier than a version where everything is just whisked together and hoped for the best.
Below, I’ll walk you through the part that matters most: how to keep the pineapple flavor bright while still ending up with a scoopable, creamy ice cream. There’s also a few practical notes on substitutions and storage, because frozen desserts reward small details.
The pineapple flavor stayed bright after freezing, and the custard turned out silky instead of icy. I loved that little bit of texture from the puree — it tasted fresh, not heavy.
Save this pineapple ice cream for the nights when you want a fresh-tasting frozen dessert with real fruit flavor and a creamy custard base.
Why the Pineapple Needs to Be Cooked Before It Hits the Custard
Fresh pineapple has a lot of water, and that’s the main thing that ruins homemade fruit ice cream. If you stir raw pineapple straight into a custard base, the freezer has to fight all that extra moisture, and the result is usually icy rather than creamy. Cooking the pineapple with sugar and lemon juice does two jobs at once: it pulls out the juice, then reduces it back into something concentrated enough to carry flavor without thinning the base.
The other reason this matters is texture. Pineapple contains an enzyme called bromelain that can make dairy act oddly if it’s used raw in large amounts. A brief simmer shuts that problem down and gives you a softer, more predictable puree. The fruit still tastes fresh, but it behaves like a proper ice cream ingredient instead of a loose fruit topping pretending to be part of the custard.
- Cooked pineapple puree — This is what keeps the ice cream from turning watery. Reduce it until it looks glossy and the pan is nearly dry before blending.
- Lemon juice — A little extra acid sharpens the fruit and keeps the finished ice cream from tasting flat after freezing.
- Egg yolks — They give the custard body and that dense, scoopable texture you can’t get from cream alone. There isn’t a real substitute if you want classic custard ice cream.
- Heavy cream and whole milk — The combination matters. Cream gives richness, while whole milk keeps the base from becoming greasy or heavy on the tongue.
What the Custard and Fruit Are Each Doing Here
Fresh pineapple: Use ripe pineapple that smells fragrant at the base. If it’s bland to eat out of hand, it will be bland in the ice cream too. Frozen pineapple can work in a pinch, but thaw it first and cook off the extra liquid until the puree thickens.
Egg yolks: These are what make the base feel like real ice cream instead of frozen dairy. Whisk them with the sugar before adding the hot cream, and keep the heat gentle when you cook the custard. If you rush this step, the yolks can scramble.
Vanilla and salt: Both are small ingredients with a big job. Vanilla rounds out the pineapple, and salt keeps the sweetness from tasting one-note. Don’t skip either one, or the finished scoop can taste hollow.
Heavy cream plus whole milk: I wouldn’t swap in low-fat milk here. You need enough fat for a smooth churn and a soft freeze. If you want a lighter version, the texture changes, and not in a good way.
Cooking the Pineapple Custard Without Scrambling It
Softening the Pineapple
Start by simmering the diced pineapple with part of the sugar and the lemon juice until the fruit looks translucent at the edges and the juices turn syrupy. You’re not trying to brown it. You’re just driving off excess water and concentrating the flavor. If the mixture still looks loose and watery, keep cooking; that extra liquid is what later turns into ice crystals.
Tempering the Yolks
Heat the cream and milk until steam rises from the surface and tiny bubbles form around the edges. Whisk the hot dairy slowly into the yolks and sugar so the eggs warm up gradually instead of seizing. If you dump it all in at once, you can end up with sweet scrambled egg bits, and that’s hard to fix.
Thickening to the Right Point
Return the custard to the pan and cook over low to medium-low heat, stirring constantly with a spatula or wooden spoon. Stop when it reaches about 175°F and coats the back of a spoon. Pull it off the heat before it boils; boiling is what makes the yolks grainy. Strain it, then stir in the vanilla, salt, and cooled pineapple puree.
Chilling Before Churning
Let the base cool completely, then refrigerate it for a full 4 hours. This part matters more than most people think. A cold base churns faster, traps air better, and freezes more smoothly. If you rush it into the machine while it’s still warm, the texture comes out dense and a little greasy.
Make It Dairy-Free With Full-Fat Coconut Milk
Swap the cream and milk for full-fat coconut milk, and the pineapple takes on a more tropical, almost piña colada-style edge. The texture won’t be as custardy, but it will still churn into a creamy scoop if the base is well chilled. Use a little less vanilla if you want the pineapple to stay in front.
For a Stronger Fruit Punch, Roast Half the Pineapple First
Cook half the pineapple on the stovetop and roast the other half until lightly caramelized, then blend both into the custard. Roasting gives you deeper, jammy notes that make the ice cream taste more intense and less delicate. The tradeoff is a darker color and a less bright finish.
Use Frozen Pineapple When Fresh Isn’t Good
Thaw the pineapple first, then cook it long enough for the extra liquid to evaporate. Frozen fruit can work well here, but only after you reduce it properly. If you skip that step, the finished ice cream tends to freeze harder and lose some of its fresh fruit flavor.
How to Keep It Scoopable After the Freezer
Press parchment or plastic wrap directly onto the churned ice cream before sealing it in the container. That small barrier helps prevent ice crystals from forming on the surface. If the ice cream gets hard in the freezer, let it sit at room temperature for 5 to 10 minutes before scooping instead of forcing it with a bent spoon.
Storage and Reheating
- Refrigerator: The churned base can be held in the fridge for up to 2 days before freezing, but don’t let it sit much longer or the pineapple flavor starts to fade.
- Freezer: Store in a tightly sealed container for up to 2 weeks. It’s best within the first few days, before the texture starts to get a little icier around the edges.
- Reheating: There’s no reheating here. For serving, let the container stand at room temperature for 5 to 10 minutes so the scoop releases cleanly without melting into a puddle.
Questions I Get Asked About This Recipe

Homemade Pineapple Ice Cream
Ingredients
Equipment
Method
- Simmer the diced fresh pineapple with 1/4 cup granulated sugar and lemon juice for 10 minutes, stirring occasionally, until softened and the juices look more concentrated. Remove from heat and cool slightly before blending to a chunky puree, leaving some texture behind.
- Heat the heavy cream and whole milk until steaming, not boiling, then lower the heat as soon as steam rises. In a separate bowl, whisk the egg yolks with the remaining 1/2 cup granulated sugar until smooth.
- Slowly whisk the steaming dairy into the egg yolks in a thin stream to temper, then pour everything back into the pot. Keep cooking while stirring until the mixture reaches 175F and coats the back of a spoon.
- Strain the custard to remove any bits, then return it to the pot and stir in vanilla extract, salt, and the pineapple puree. Continue stirring until evenly combined and the color turns a pale yellow.
- Cool the custard completely to room temperature, then refrigerate for 4 hours until very cold. The mixture should look thick when you tilt the container.
- Churn in an ice cream maker according to the manufacturer’s directions until it thickens to soft-serve consistency, with a lighter, aerated texture. Scrape into a container and freeze until firm.


