Fudgy chocolate ice cream and thick peanut butter ribbons are a hard combination to beat, especially when the texture turns out dense, creamy, and scoopable without an ice cream maker. This version lands in that sweet spot between rich and light: the chocolate base tastes deeply cocoa-forward, while the peanut butter stays streaky and soft enough to cut through the cold with every bite.
The trick is keeping the whipped cream airy and folding in the chocolate base just until it disappears. Overmixing knocks out the volume that gives no-churn ice cream its silky body, and that’s the fastest way to end up with something icy instead of plush. Warming the peanut butter matters too. It needs to flow in ribbons, not clump on contact with the cold mixture.
Below, I’m breaking down the one step people usually rush, plus a couple of smart swaps for making this dessert your own without losing that fudgy-swirl texture.
The peanut butter swirled in beautifully and the ice cream froze up creamy, not icy. I let it sit 10 minutes before scooping and it was perfect.
Save this no-churn chocolate peanut butter ice cream for the nights when you want fudgy chocolate and peanut butter ribbons without pulling out the machine.
The Creamy Texture Depends on the Fold, Not the Freezer
No-churn ice cream only works when the whipped cream stays whipped. That’s what gives the finished dessert its smooth, scoopable body instead of a frozen brick. Once the condensed milk mixture is fully blended, the folding has to stay gentle and brief. If you stir it like batter, you’re pressing the air right back out of the cream.
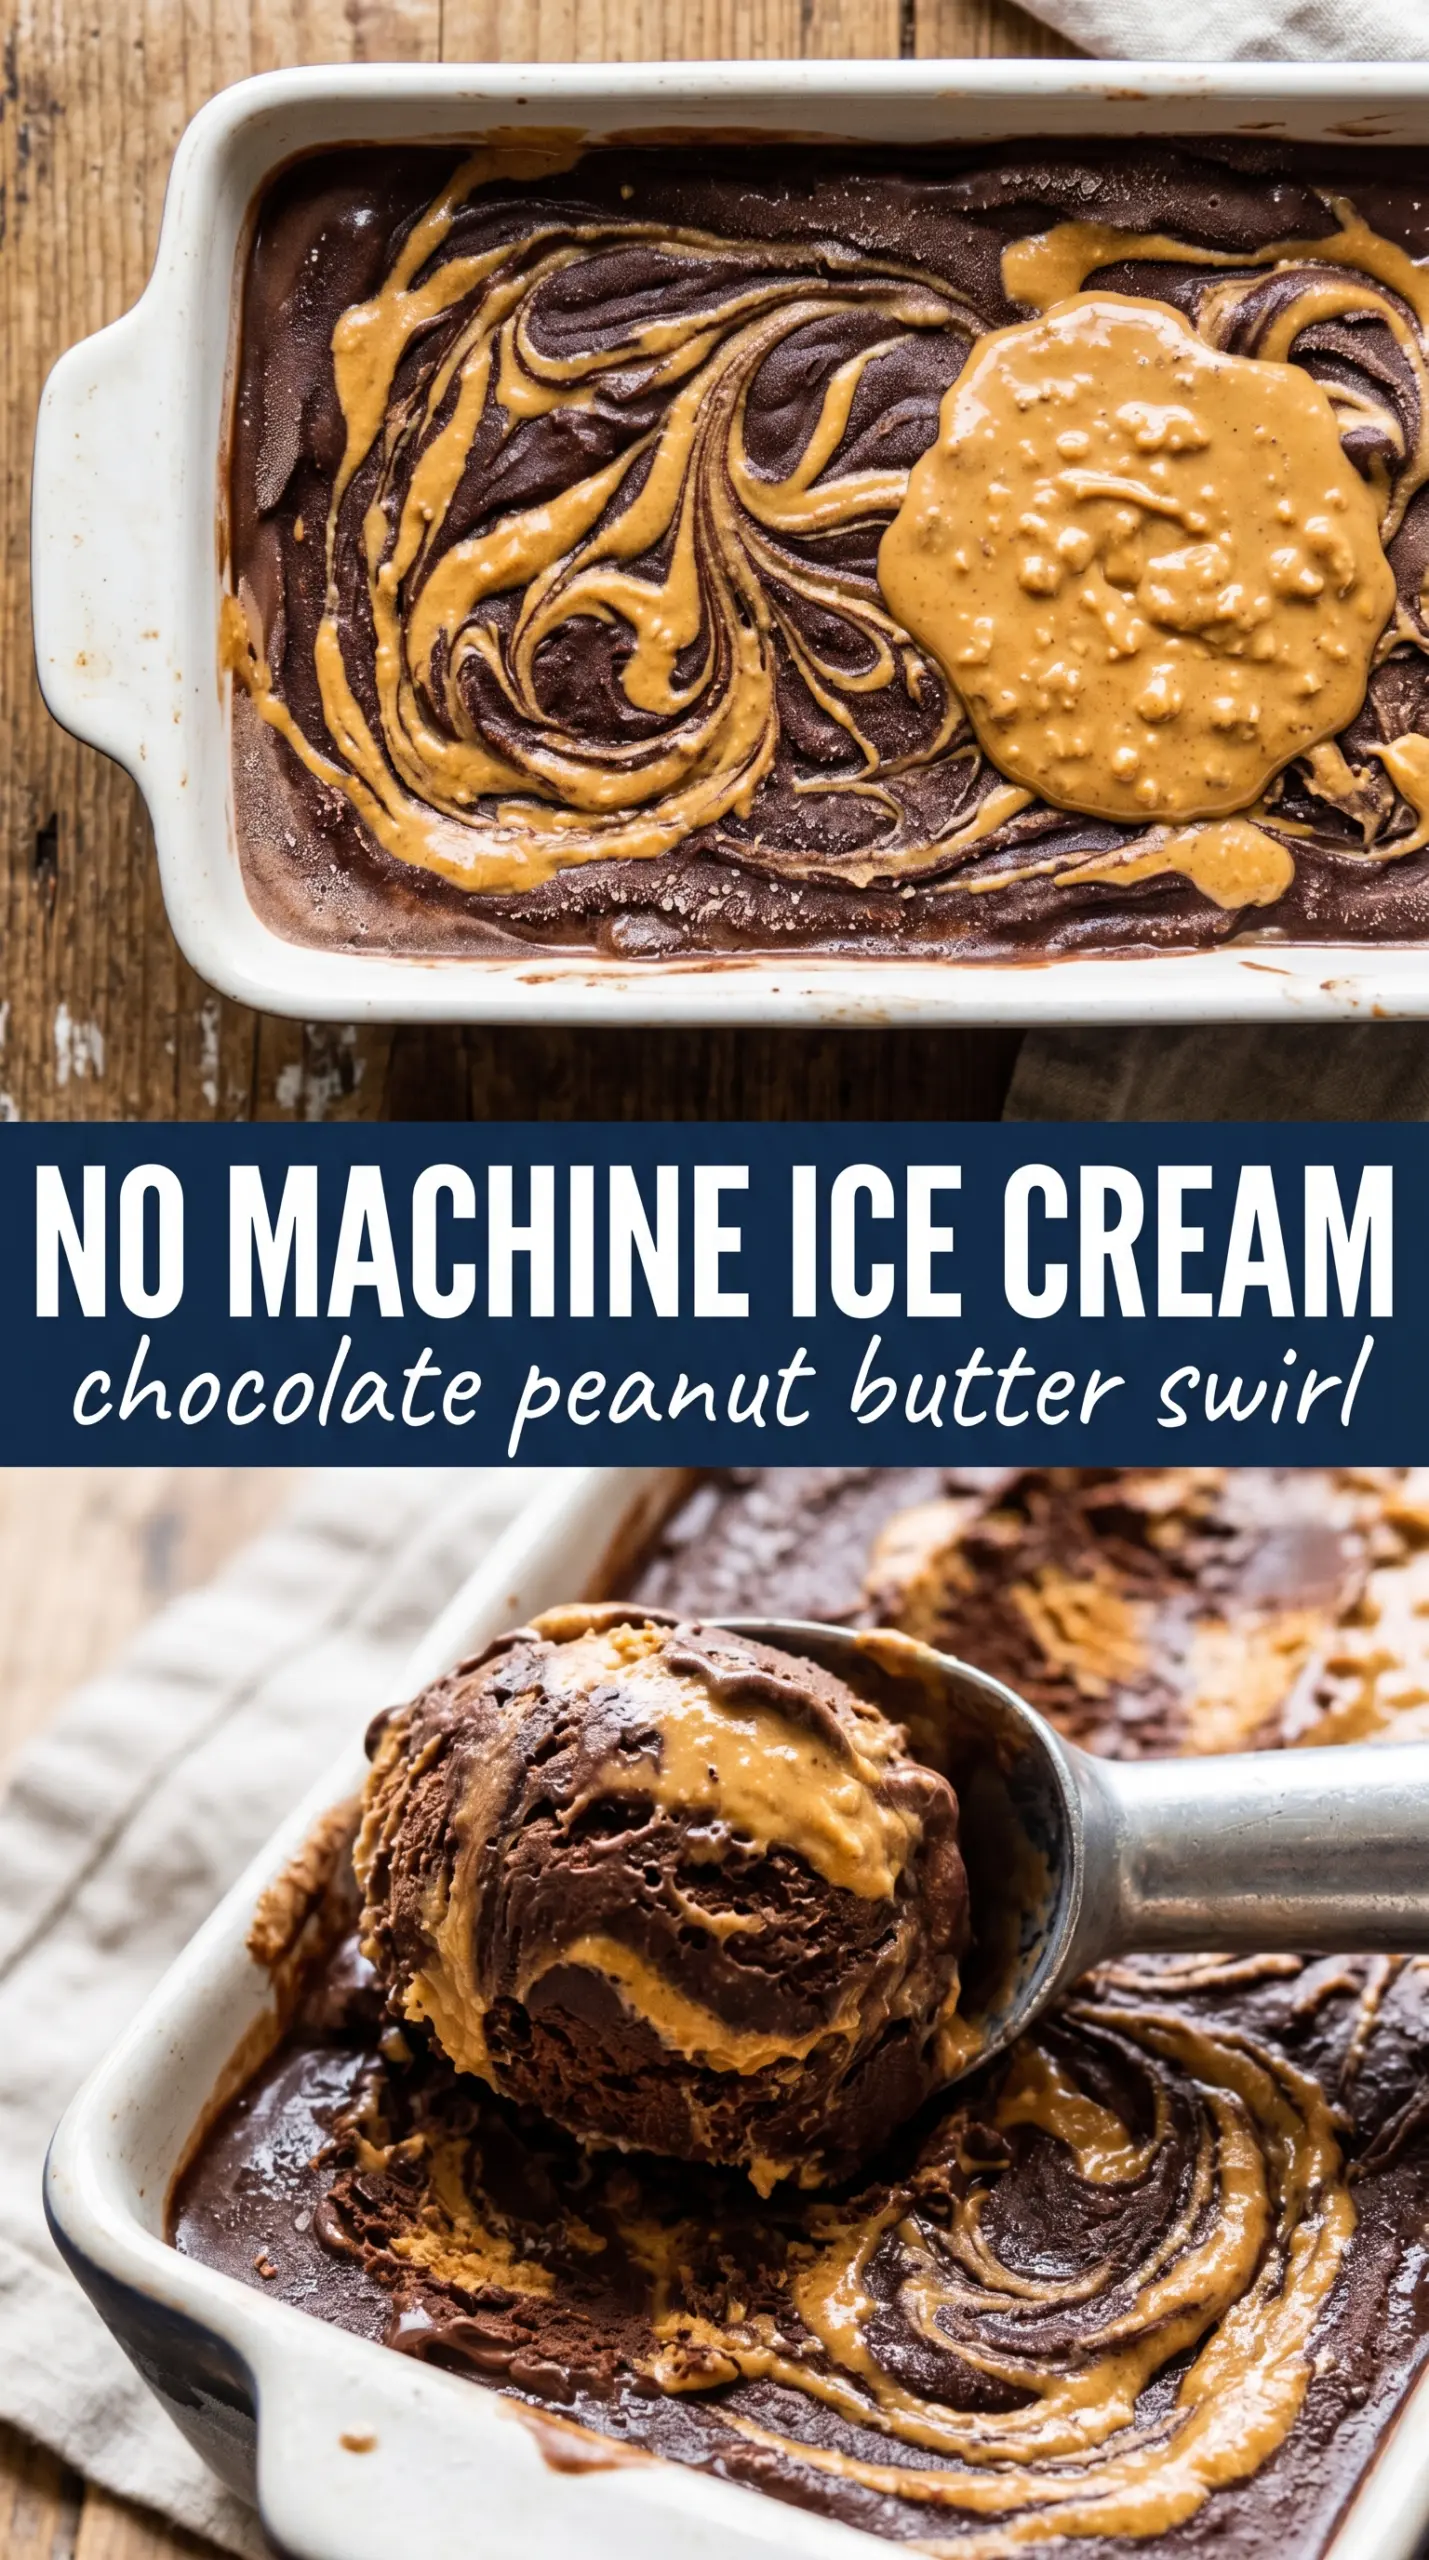
The other place people run into trouble is the peanut butter. Cold peanut butter seizes into hard streaks that don’t swirl cleanly, so warming it until it just loosens makes the difference between pretty ribbons and blunt clumps. The base should go into the pan thick but pourable, and the swirls should sit on top before you drag a knife through them.
What Each Ingredient Is Actually Doing in This Ice Cream
- Heavy cream — This is the structure. Whipping it to stiff peaks traps air that keeps the ice cream soft and scoopable after freezing. Don’t swap in half-and-half here; it won’t hold enough air.
- Sweetened condensed milk — This brings sweetness and keeps the mixture from freezing rock hard. It also gives the base that dense, old-fashioned ice cream body without an egg custard. There isn’t a real substitute that does all of that at once.
- Unsweetened cocoa powder — Cocoa gives the ice cream its deep chocolate flavor without adding extra liquid. A good cocoa powder matters more here than in many desserts because it’s doing the heavy lifting on flavor. If your cocoa tastes flat in the spoon, it’ll taste flat in the ice cream too.
- Creamy peanut butter — Use the kind that stirs smooth and stays spreadable. Natural peanut butter can work if it’s fully mixed and not dry, but it often tastes looser and swirls less cleanly. Warming it for a few seconds in the microwave helps it ribbon through the base instead of breaking into blobs.
- Vanilla and salt — Vanilla rounds out the chocolate, and salt keeps the sweetness from feeling one-note. Even a small amount makes the peanut butter taste fuller and the cocoa taste deeper.
The Part That Keeps the Swirls Clean and the Base Light
Whipping the Cream to the Right Peak
Start with cold cream and a cold bowl if you can. Beat it until it holds firm peaks that stand up when you lift the whisk, but stop before it turns grainy or buttery. Underwhipped cream makes a loose base that freezes harder, while overwhipped cream gets lumpy and is harder to fold smoothly.
Mixing the Chocolate Base Without Overworking It
Whisk the condensed milk, cocoa, vanilla, and salt until the mixture looks glossy and there are no dry streaks hiding at the bottom. Cocoa loves to cling to the sides of the bowl, so scrape well. The mixture should be thick but pourable, not grainy. If you see little cocoa specks, keep whisking a bit longer before it goes into the cream.
Folding and Swirling for That Fudgy Finish
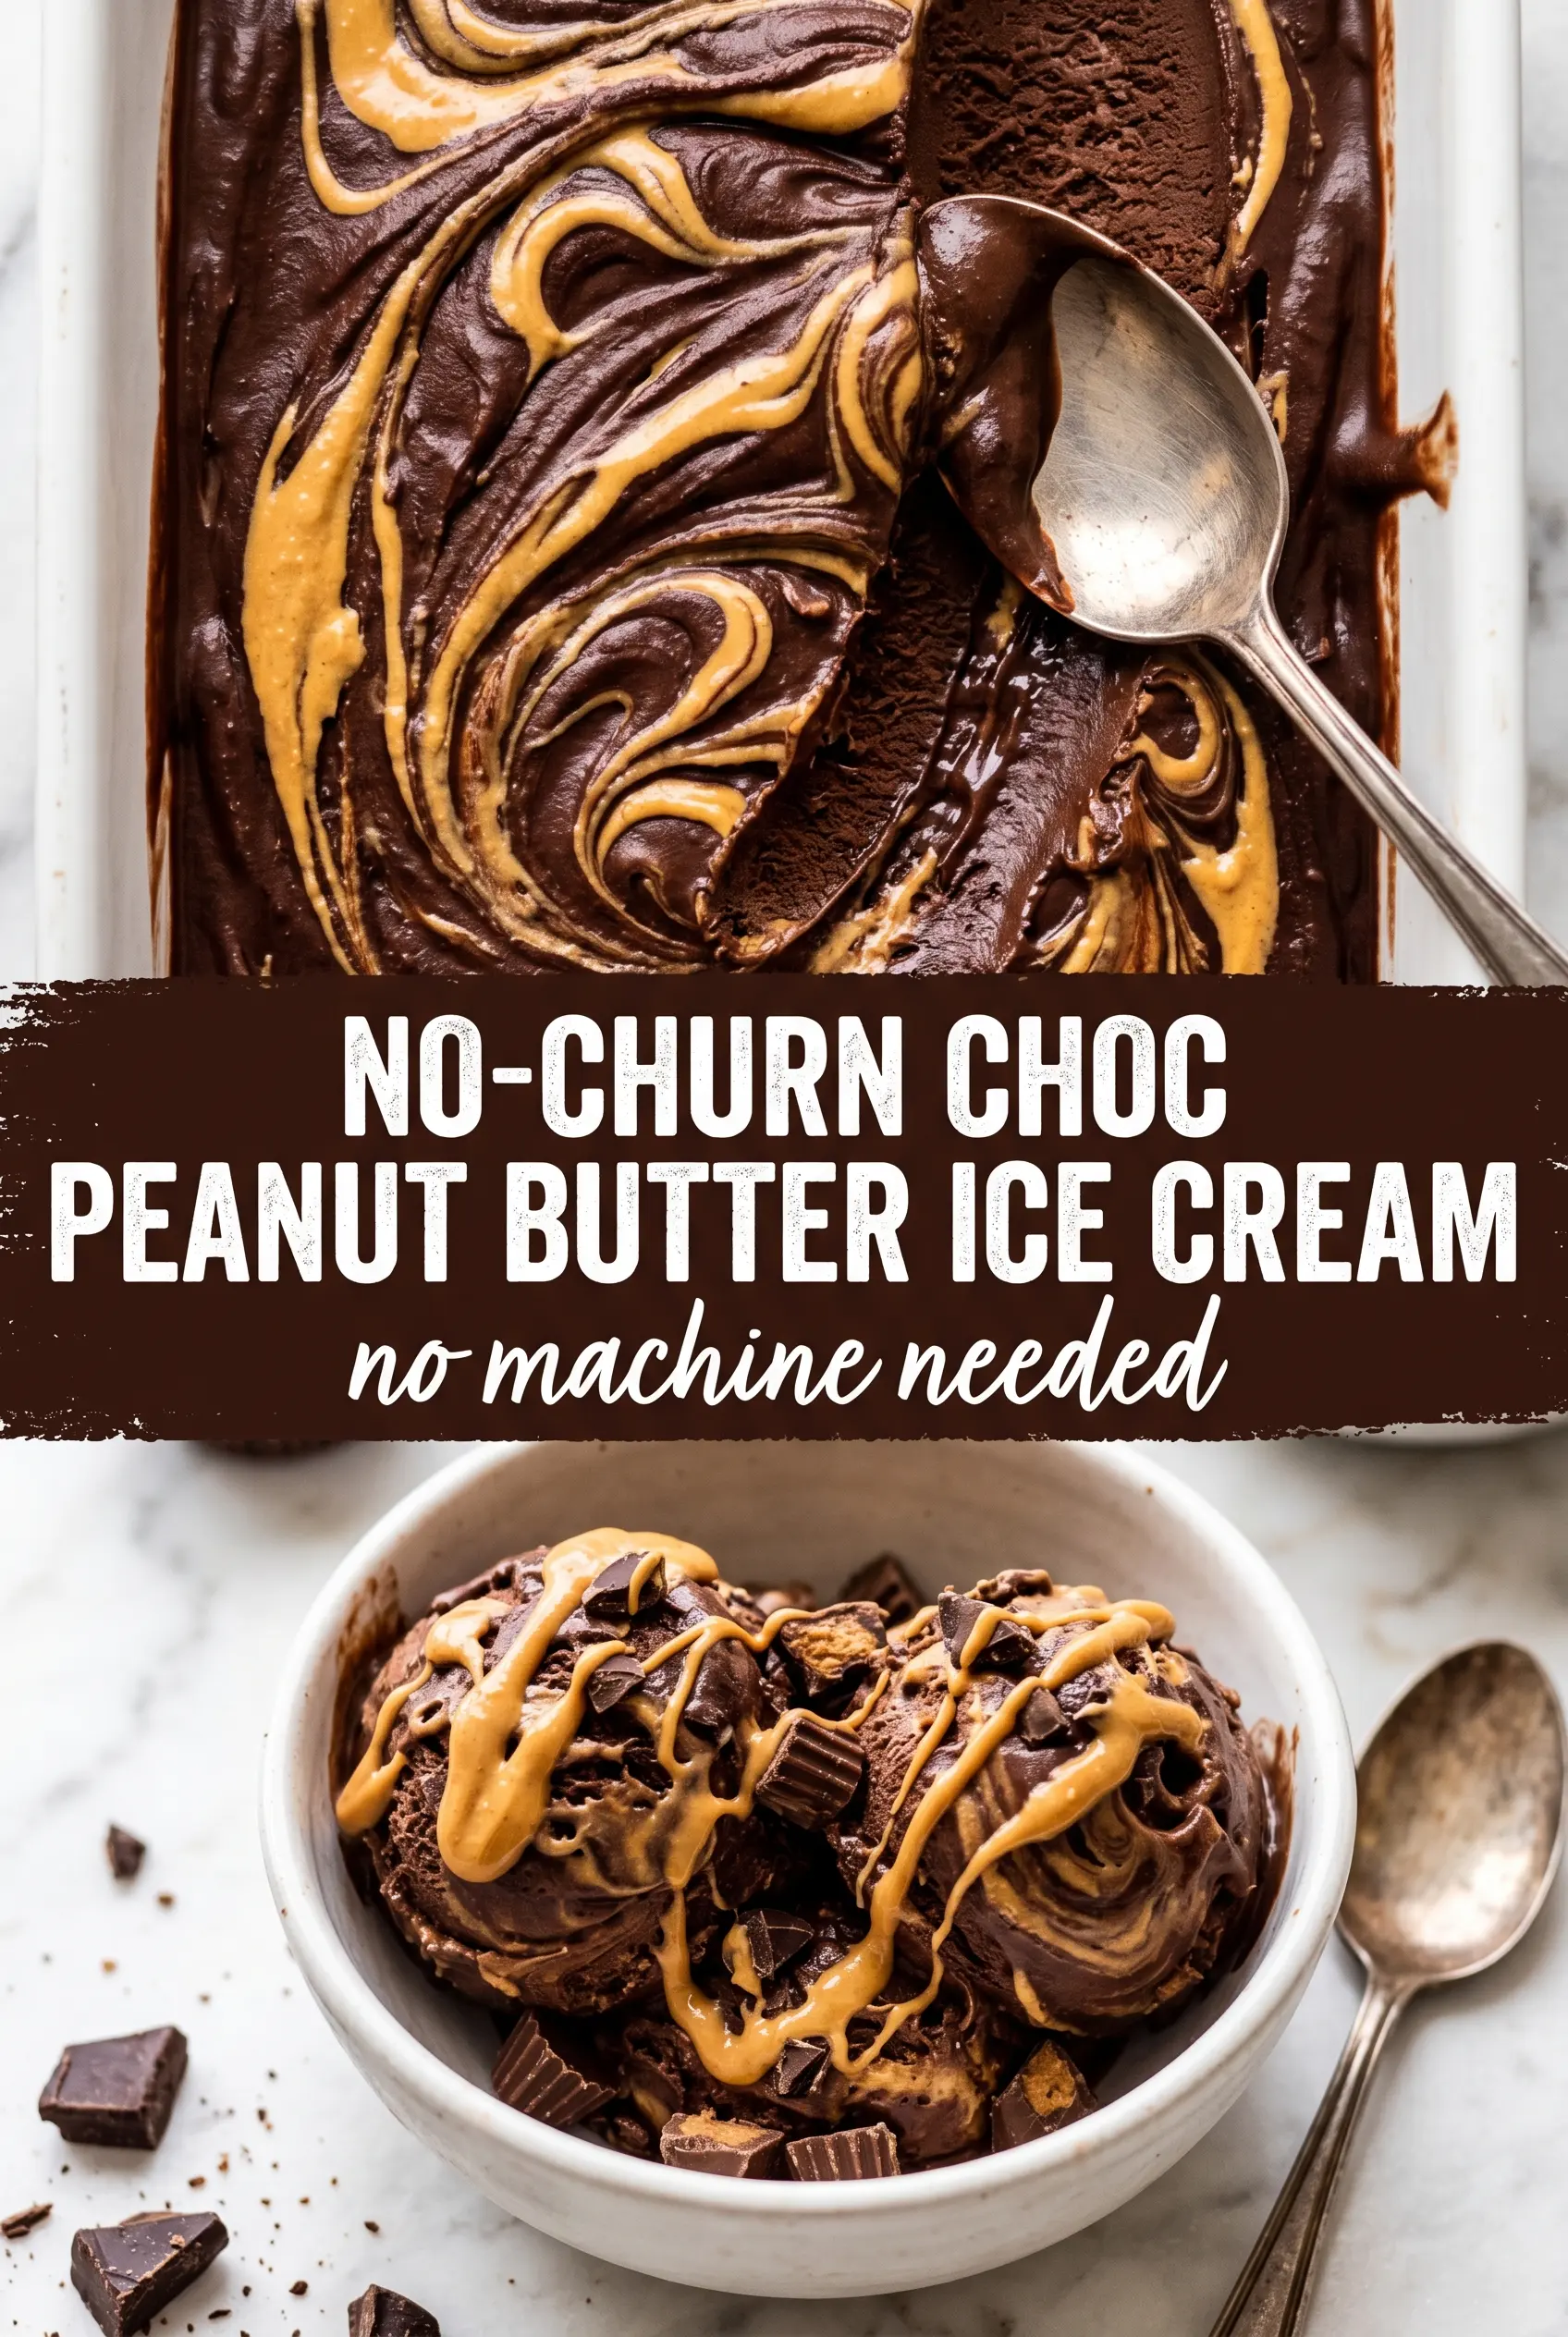
Add the chocolate mixture to the whipped cream in two or three additions and fold with a spatula, scooping from the bottom and turning the bowl as you go. Stop the moment the streaks disappear. Pour half into the loaf pan, drizzle on half the warm peanut butter, then repeat with the second layer. A knife gives you better swirls than a spoon because it cuts through the layers without mixing them into one muddy color.
Make It More Chocolatey with Cocoa Nibs
A handful of cocoa nibs adds crunch and a sharper chocolate bite. Stir them in right at the end so they stay suspended instead of sinking. They change the texture more than the flavor, which works nicely if you want a little contrast against the creamy base.
Dairy-Free Version with Coconut Cream
Use full-fat coconut cream in place of the heavy cream and a dairy-free sweetened condensed milk if you can find one. The texture will be a touch softer and the coconut flavor will show up faintly, but the ice cream still freezes creamy. Chill the coconut cream first so it whips properly.
Crunchy Peanut Butter for a Different Texture
Crunchy peanut butter gives you little peanut bits throughout the swirl, which makes each scoop feel a little more dessert-like and less uniform. Warm it gently so the chunks still drizzle, not clump. You lose the smooth ribbon effect, but gain a bit of crunch.
Storage and Reheating
- Refrigerator: This ice cream needs the freezer, not the refrigerator. If it sits in the fridge, it will melt into a thick sauce within an hour or two.
- Freezer: Store it tightly covered for up to 2 weeks. The flavor holds well, though the peanut butter ribbons may firm up more the longer it sits.
- Reheating: There’s no reheating here. Let the container sit at room temperature for 8 to 12 minutes before scooping. If you try to dig in too early, the surface breaks while the center stays hard.
Answers to the Questions Worth Asking
No-Churn Chocolate Peanut Butter Ice Cream
Ingredients
Equipment
Method
- Whip the heavy cream in a large bowl until it forms stiff peaks.
- Whisk the sweetened condensed milk, cocoa powder, vanilla extract, and salt together until completely smooth.
- Gently fold the condensed milk mixture into the whipped cream until just combined, keeping the airiness and not deflating.
- Pour half of the ice cream mixture into a 9x5 loaf pan and drizzle with half of the warmed peanut butter.
- Swirl the peanut butter into the chocolate base with a knife for thick ribbons.
- Add the remaining ice cream mixture on top and drizzle with the rest of the peanut butter.
- Swirl again with a knife so the ribbons run throughout but stay visually thick.
- Freeze for at least 6 hours or overnight until firm enough to scoop.


