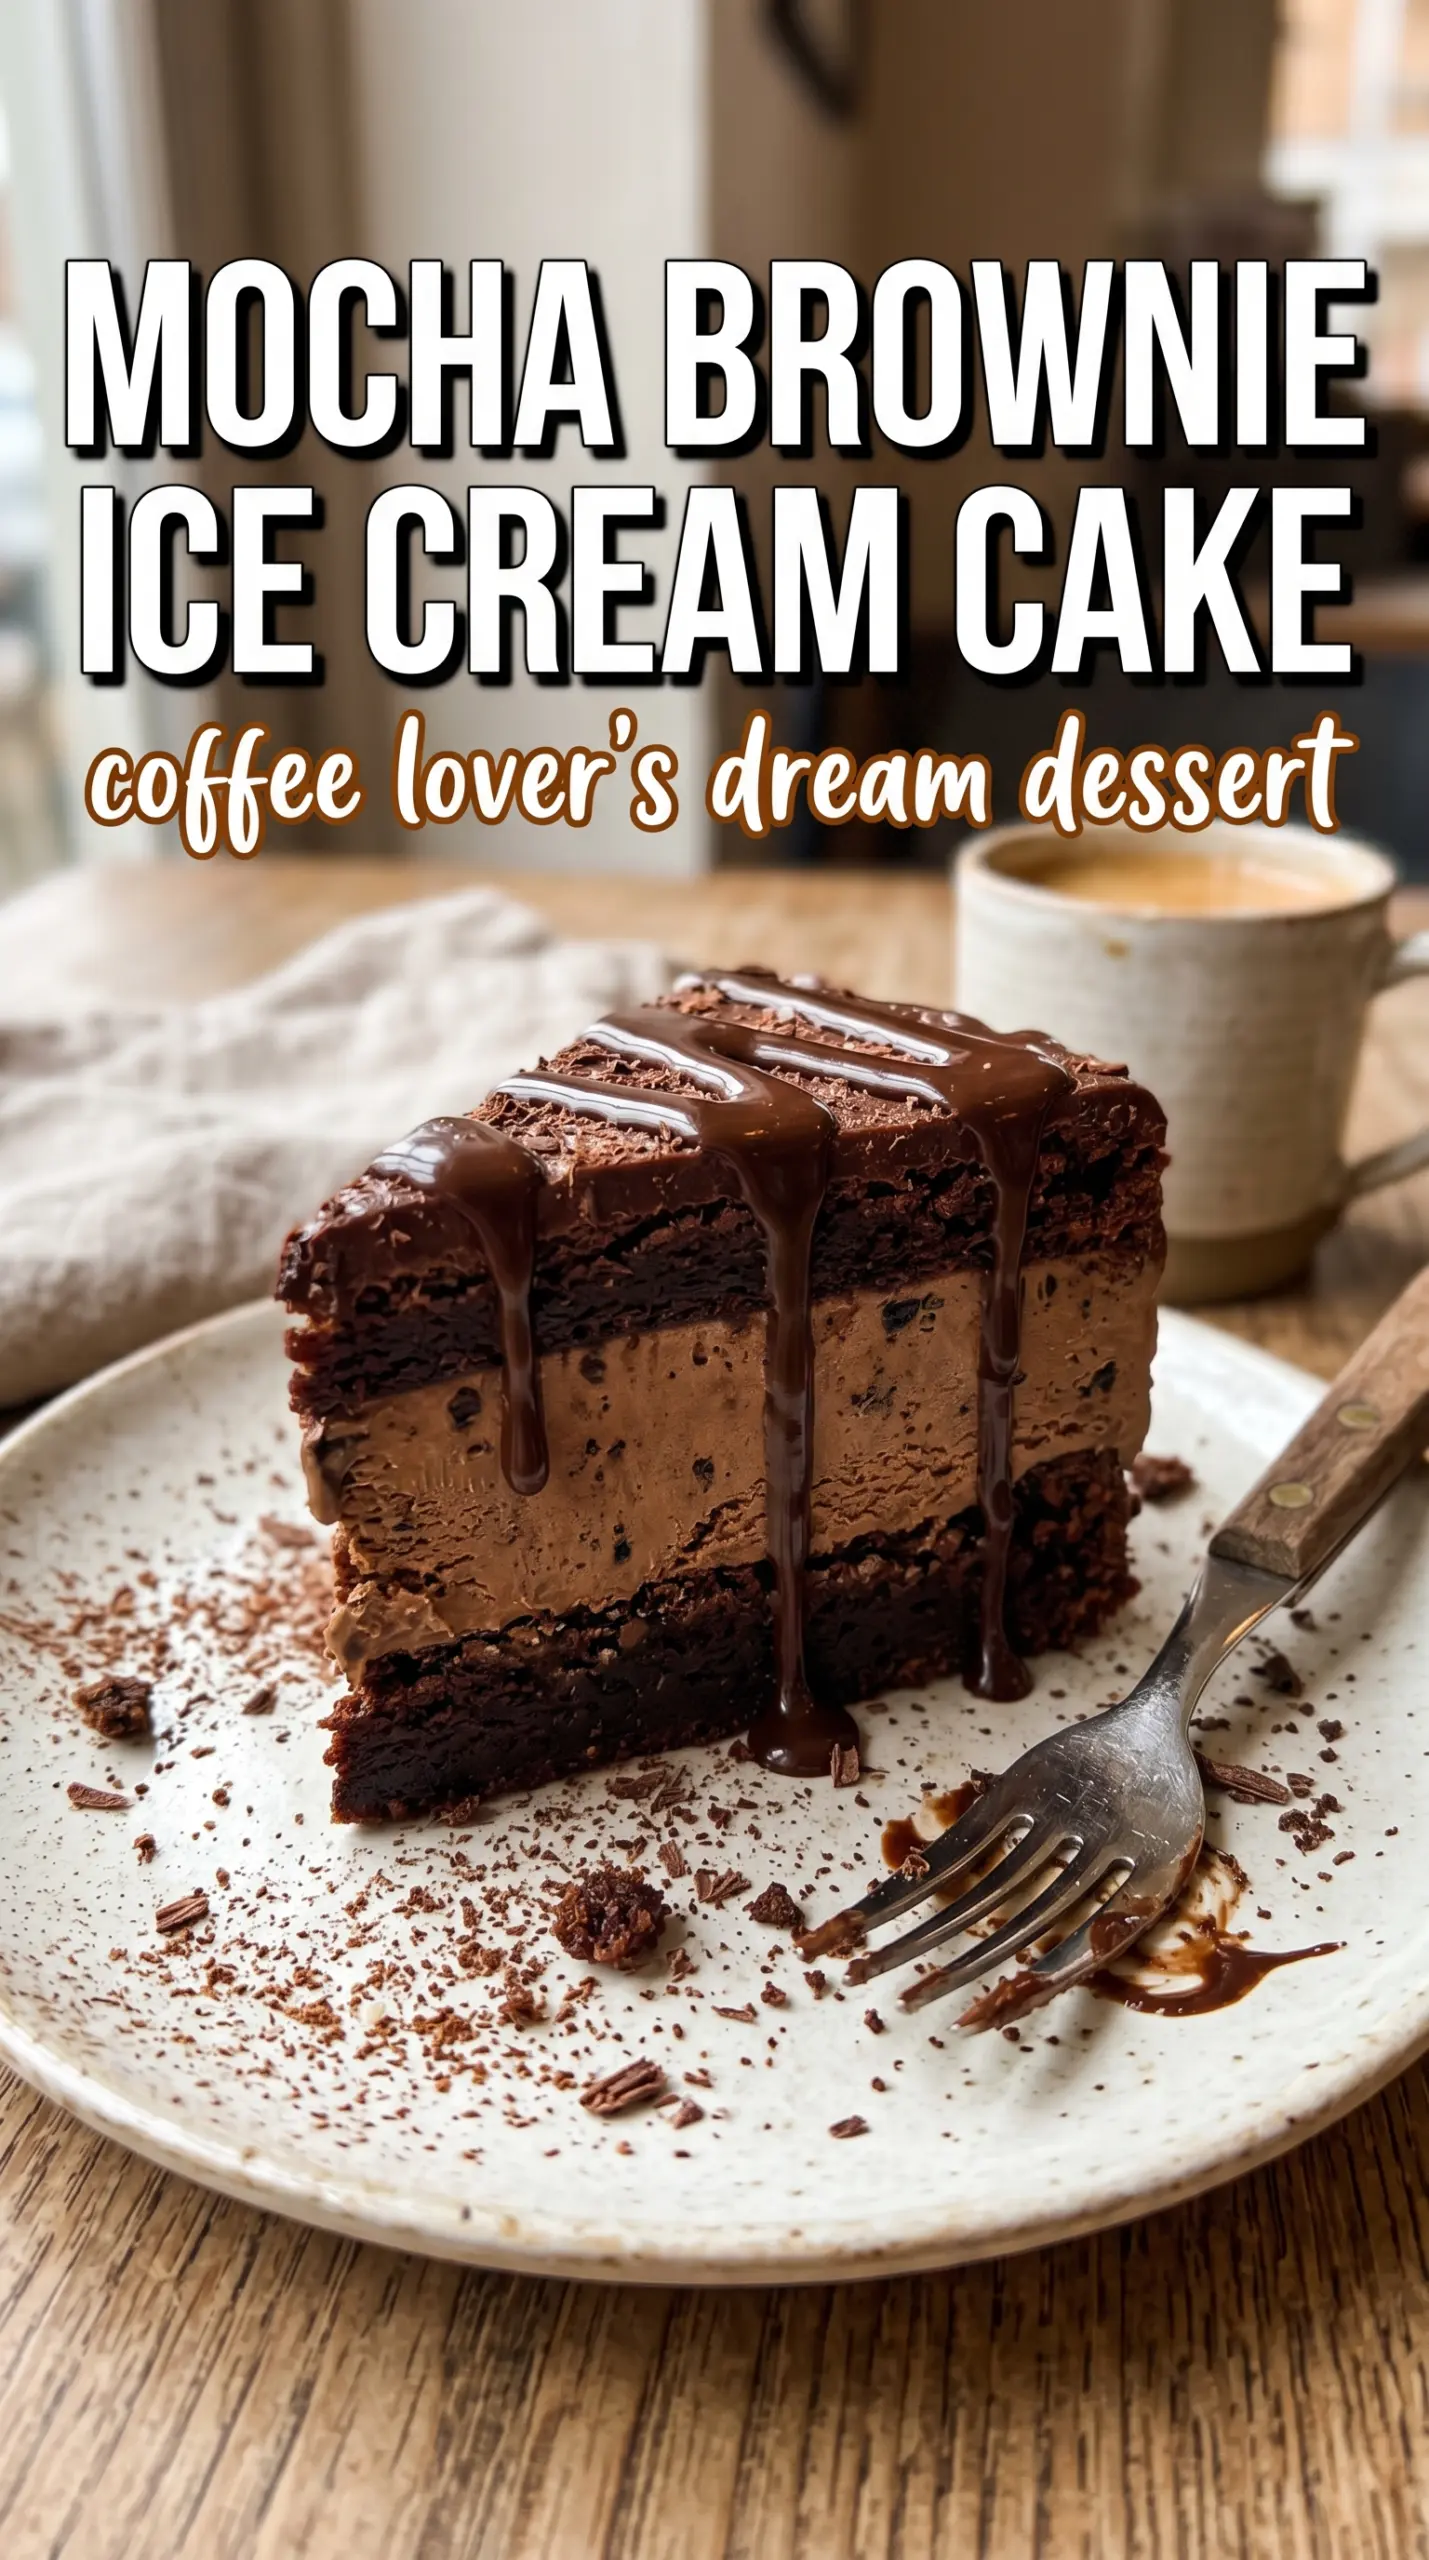
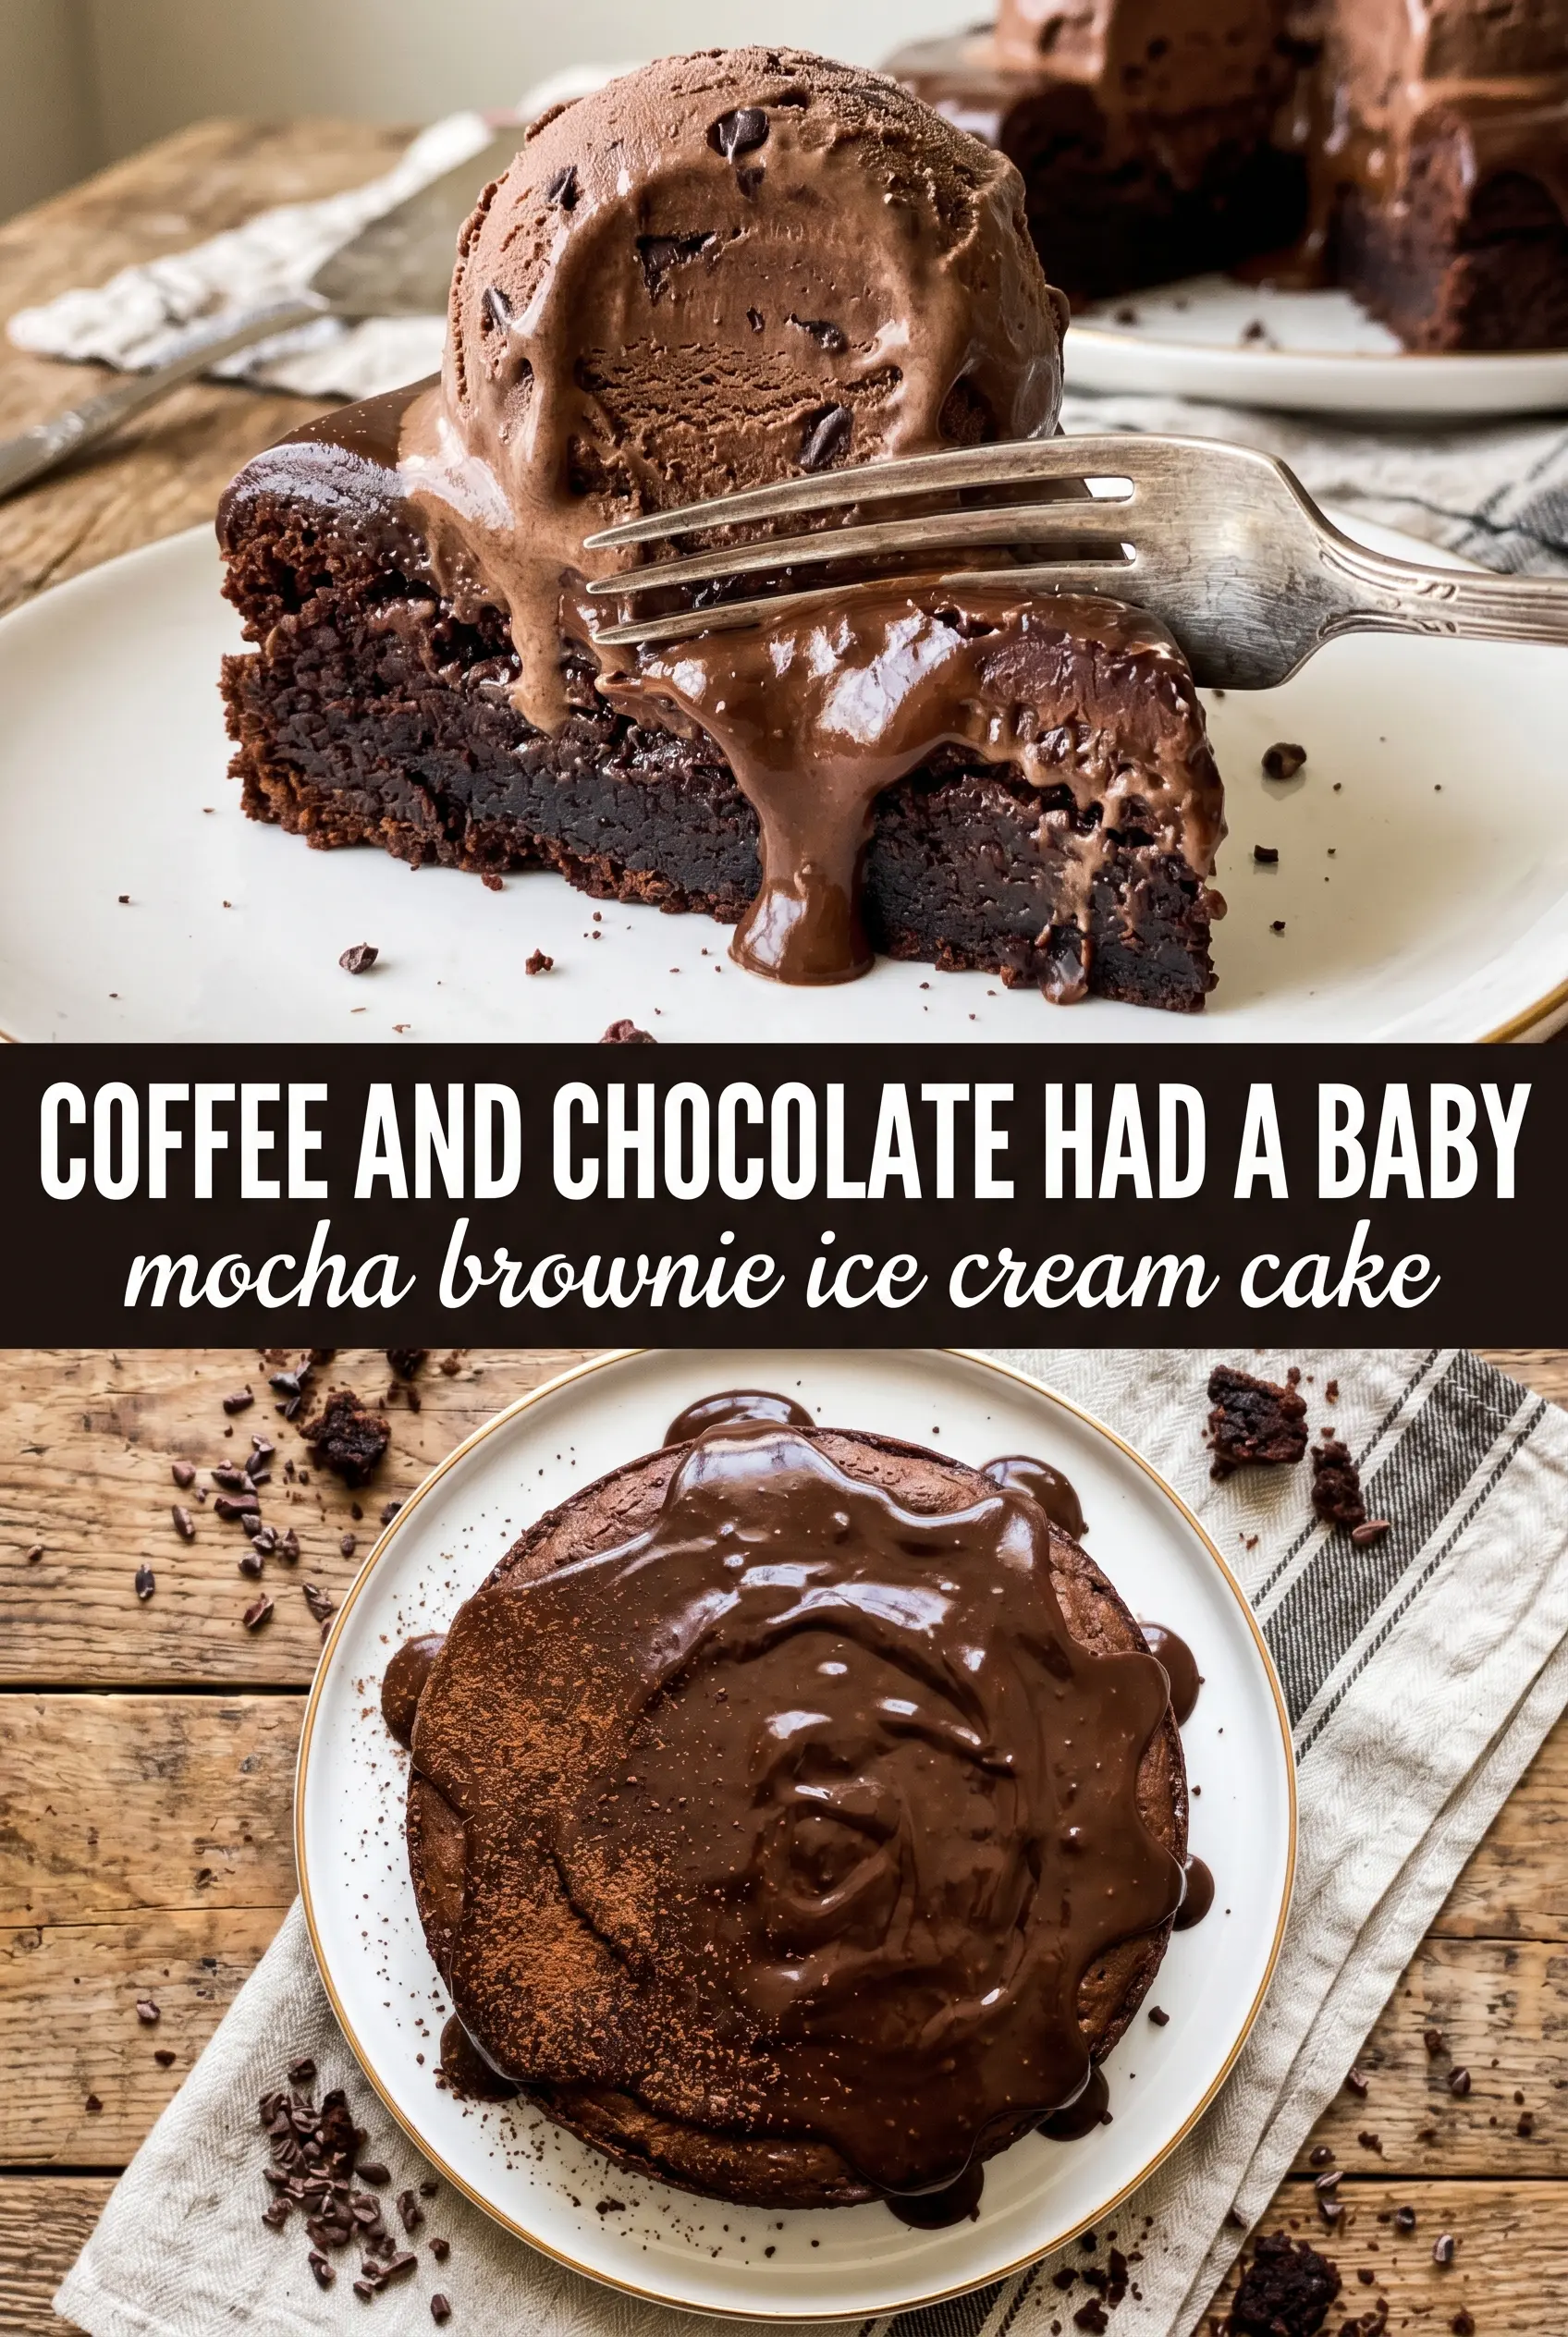
Fudgy brownie, coffee ice cream, and a glossy dark chocolate top make this cake land somewhere between dessert and a caffeine-fueled celebration. The brownie stays dense enough to slice cleanly, the ice cream layer turns creamy instead of icy, and the ganache sets into a thin shell that cracks just enough under a fork. It’s the kind of dessert that gets quiet at the table for a second, then disappears fast.
What makes this version work is the balance of temperature and texture. The brownie base is baked first, cooled all the way through, then brushed with espresso so it tastes deeper without turning soggy. The coffee ice cream needs to be softened just enough to spread, not melted, or the layers start sliding around and the cake loses its shape. Once the ganache goes on, the whole thing needs a long freeze so the slices hold their lines.
Below, I’ve included the small details that matter most: how to keep the brownie from freezing hard, what kind of ganache gives you the cleanest finish, and how to make the cake ahead without losing that sharp, bakery-style slice.
The brownie layer stayed fudgy even after freezing, and the coffee ice cream spread evenly without turning icy. I used the espresso brush on the brownies and it made the chocolate taste much richer.
Save this mocha brownie ice cream cake for the kind of dessert that slices clean, tastes like espresso and dark chocolate, and still feels special enough for a birthday.
The Part That Keeps the Layers From Slipping
The most common mistake with an ice cream cake like this is building it before each layer has the right texture. Warm brownie, too-soft ice cream, and impatient freezing time will give you a leaning, messy slice instead of the clean cross-section you want. The fix is simple: cool the brownie completely, soften the ice cream just until it spreads, then freeze long enough between layers that each one can support the next.
The espresso brush is doing more than adding flavor. It keeps the brownie from tasting flat after freezing, and it sharpens the chocolate notes without making the base wet. That’s the difference between a frozen dessert that tastes like cold cake and one that tastes intentionally mocha.
- Brownie mix — A boxed mix keeps the base dependable and fudgy, which matters because this dessert already has a few moving parts. Add the espresso powder right into the batter so the flavor bakes in instead of sitting on top.
- Instant espresso powder — This is the ingredient that makes the chocolate taste deeper. Coffee granules can work in a pinch, but instant espresso dissolves more smoothly and gives a cleaner, stronger mocha flavor.
- Coffee ice cream — Use a brand you actually like eating plain, because it’s the center of the cake. If it’s too hard to spread, let it sit at room temperature just until it loosens; if it gets soupy, it will smear into the brownie instead of forming a distinct layer.
- Dark chocolate ganache — A pourable ganache gives the top that glossy finish and a little crack when sliced. If yours is too warm, it will melt the ice cream edge; if it’s too thick, it won’t settle into an even layer.
- Whipped cream — This is for the finish, not structure. Stabilized whipped cream holds best if you’re making the cake ahead, but plain whipped cream works if you pipe it close to serving time.
What Each Ingredient Is Actually Doing in This Ice Cream Cake
- Crust or base layer (cookies, brownies, or cake) — This provides structure and texture contrast. A sturdy base keeps the whole cake from crumbling when served.
- Ice cream (the main event) — Choose quality ice cream or frozen yogurt. Soft-serve or premium ice cream works better than hard-packed store brands.
- Cake layer (optional but recommended) — A thin cake layer adds substance and keeps the cake from being all frozen texture. Make it thin so it doesn’t overpower the ice cream.
- Sauce or syrup layer (fudge, caramel, or fruit) — This adds flavor depth and prevents the cake from tasting one-dimensional. Freeze between layers so sauces stay distinct.
- Toppings (chocolate chips, cookies, candy, or nuts) — These add texture and visual appeal. Mix-ins stay crispy longer if frozen separately first.
- Frosting or whipped cream (optional topping) — This adds richness to the outside. Keep it simple or it overwhelms the cake.
- Freezing time (the patience that pays off) — Each layer needs time to set so they stay distinct when sliced. Rushing this step means layers muddy together.
- Storage and serving technique (thaw 5 minutes before slicing) — A brief thaw makes slicing clean and easy. Serve slices immediately for best texture.
Building the Frozen Layers Without Losing the Shape
Baking the Espresso Brownie Base
Line and grease a 9-inch springform pan so the cake releases cleanly later. Bake the brownie mix with the espresso powder until the center is set and a toothpick comes out with moist crumbs, not wet batter. If it looks done at the edges but still jiggles in the middle, give it a few more minutes; a soft center now turns into a gummy layer once frozen. Cool it completely before anything else touches it.
Adding the Coffee Soak
Brush the cooled brownie with espresso or strong coffee in a thin, even layer. You want the brownie to taste richer, not damp, so stop once the surface is lightly moistened. If the coffee pools, the base will freeze into a patchy layer and may separate when sliced. A pastry brush works best here because it lets you control the amount.
Spreading the Ice Cream Layer
Spoon the softened coffee ice cream over the brownie and work quickly. Use an offset spatula to nudge it all the way to the sides, pressing gently so there are no air pockets at the edge. The ice cream should be soft enough to spread but still hold shape; if it is melty, freeze the pan for 10 minutes before trying again. Freeze the cake until the layer is firm all the way through, about 4 hours.
Finishing With Ganache and Whipped Cream
Pour the ganache over the frozen cake and tilt the pan just enough to cover the top in a smooth sheet. If the cake isn’t firm before the ganache goes on, the heat from the chocolate can dig into the ice cream and make the surface uneven. Freeze again until the ganache sets, then pipe the whipped cream around the edge and finish with chocolate-covered espresso beans. Keep the cake frozen until serving so the layers stay sharp.
How to Adapt the Mocha Brownie Ice Cream Cake for Different Tables
Dairy-Free Version
Use a dairy-free brownie mix, coffee-flavored non-dairy ice cream, and a coconut cream ganache. The texture will still be rich and sliceable, but the topping will taste a little more coconut-forward, so choose a chocolate that stands up to it.
Extra-Intense Coffee Flavor
Brush the brownie with a slightly stronger espresso and add a teaspoon more instant espresso powder to the brownie batter. That pushes the dessert from mocha into full coffee-chocolate territory without making it bitter, as long as you’re using a dark, sweet ice cream.
Gluten-Free Shortcut
Swap in a gluten-free brownie mix and keep the rest of the method the same. The key is to bake it just until set, because gluten-free brownies can dry out faster than standard ones and won’t have the same forgiveness once frozen.
Storage and Reheating
- Refrigerator: Don’t store this one in the fridge. It softens too fast and the layers lose their structure.
- Freezer: Freeze tightly wrapped for up to 1 week for the best texture. After that, the brownie can start tasting dry and the ice cream may pick up freezer flavor.
- Reheating: No reheating needed. For the cleanest slices, let the cake sit at room temperature for 5 to 10 minutes before cutting, then use a hot knife wiped clean between cuts.
Questions I Get Asked About This Recipe
Mocha Brownie Ice Cream Cake
Ingredients
Equipment
Method
- Preheat the oven to 350°F (175°C), mix brownie batter as directed and stir in the instant espresso powder, then bake in a 9-inch springform pan until a toothpick comes out with moist crumbs. Let the brownies cool completely.
- Brush the cooled brownies evenly with the espresso or strong coffee so the surface looks slightly glossy. Set aside until the brushing step soaks in.
- Spread the softened coffee ice cream over the brushed brownie layer, smoothing the top with an even, level thickness. Freeze for 4 hours until firm.
- Pour the dark chocolate ganache over the frozen cake and tilt the pan to encourage an even coating across the top. Freeze for 2 more hours until the ganache sets.
- Pipe whipped cream around the edge and onto the top, then top with chocolate-covered espresso beans for visible speckles. Freeze until ready to serve, keeping the cake firm for clean slices.


