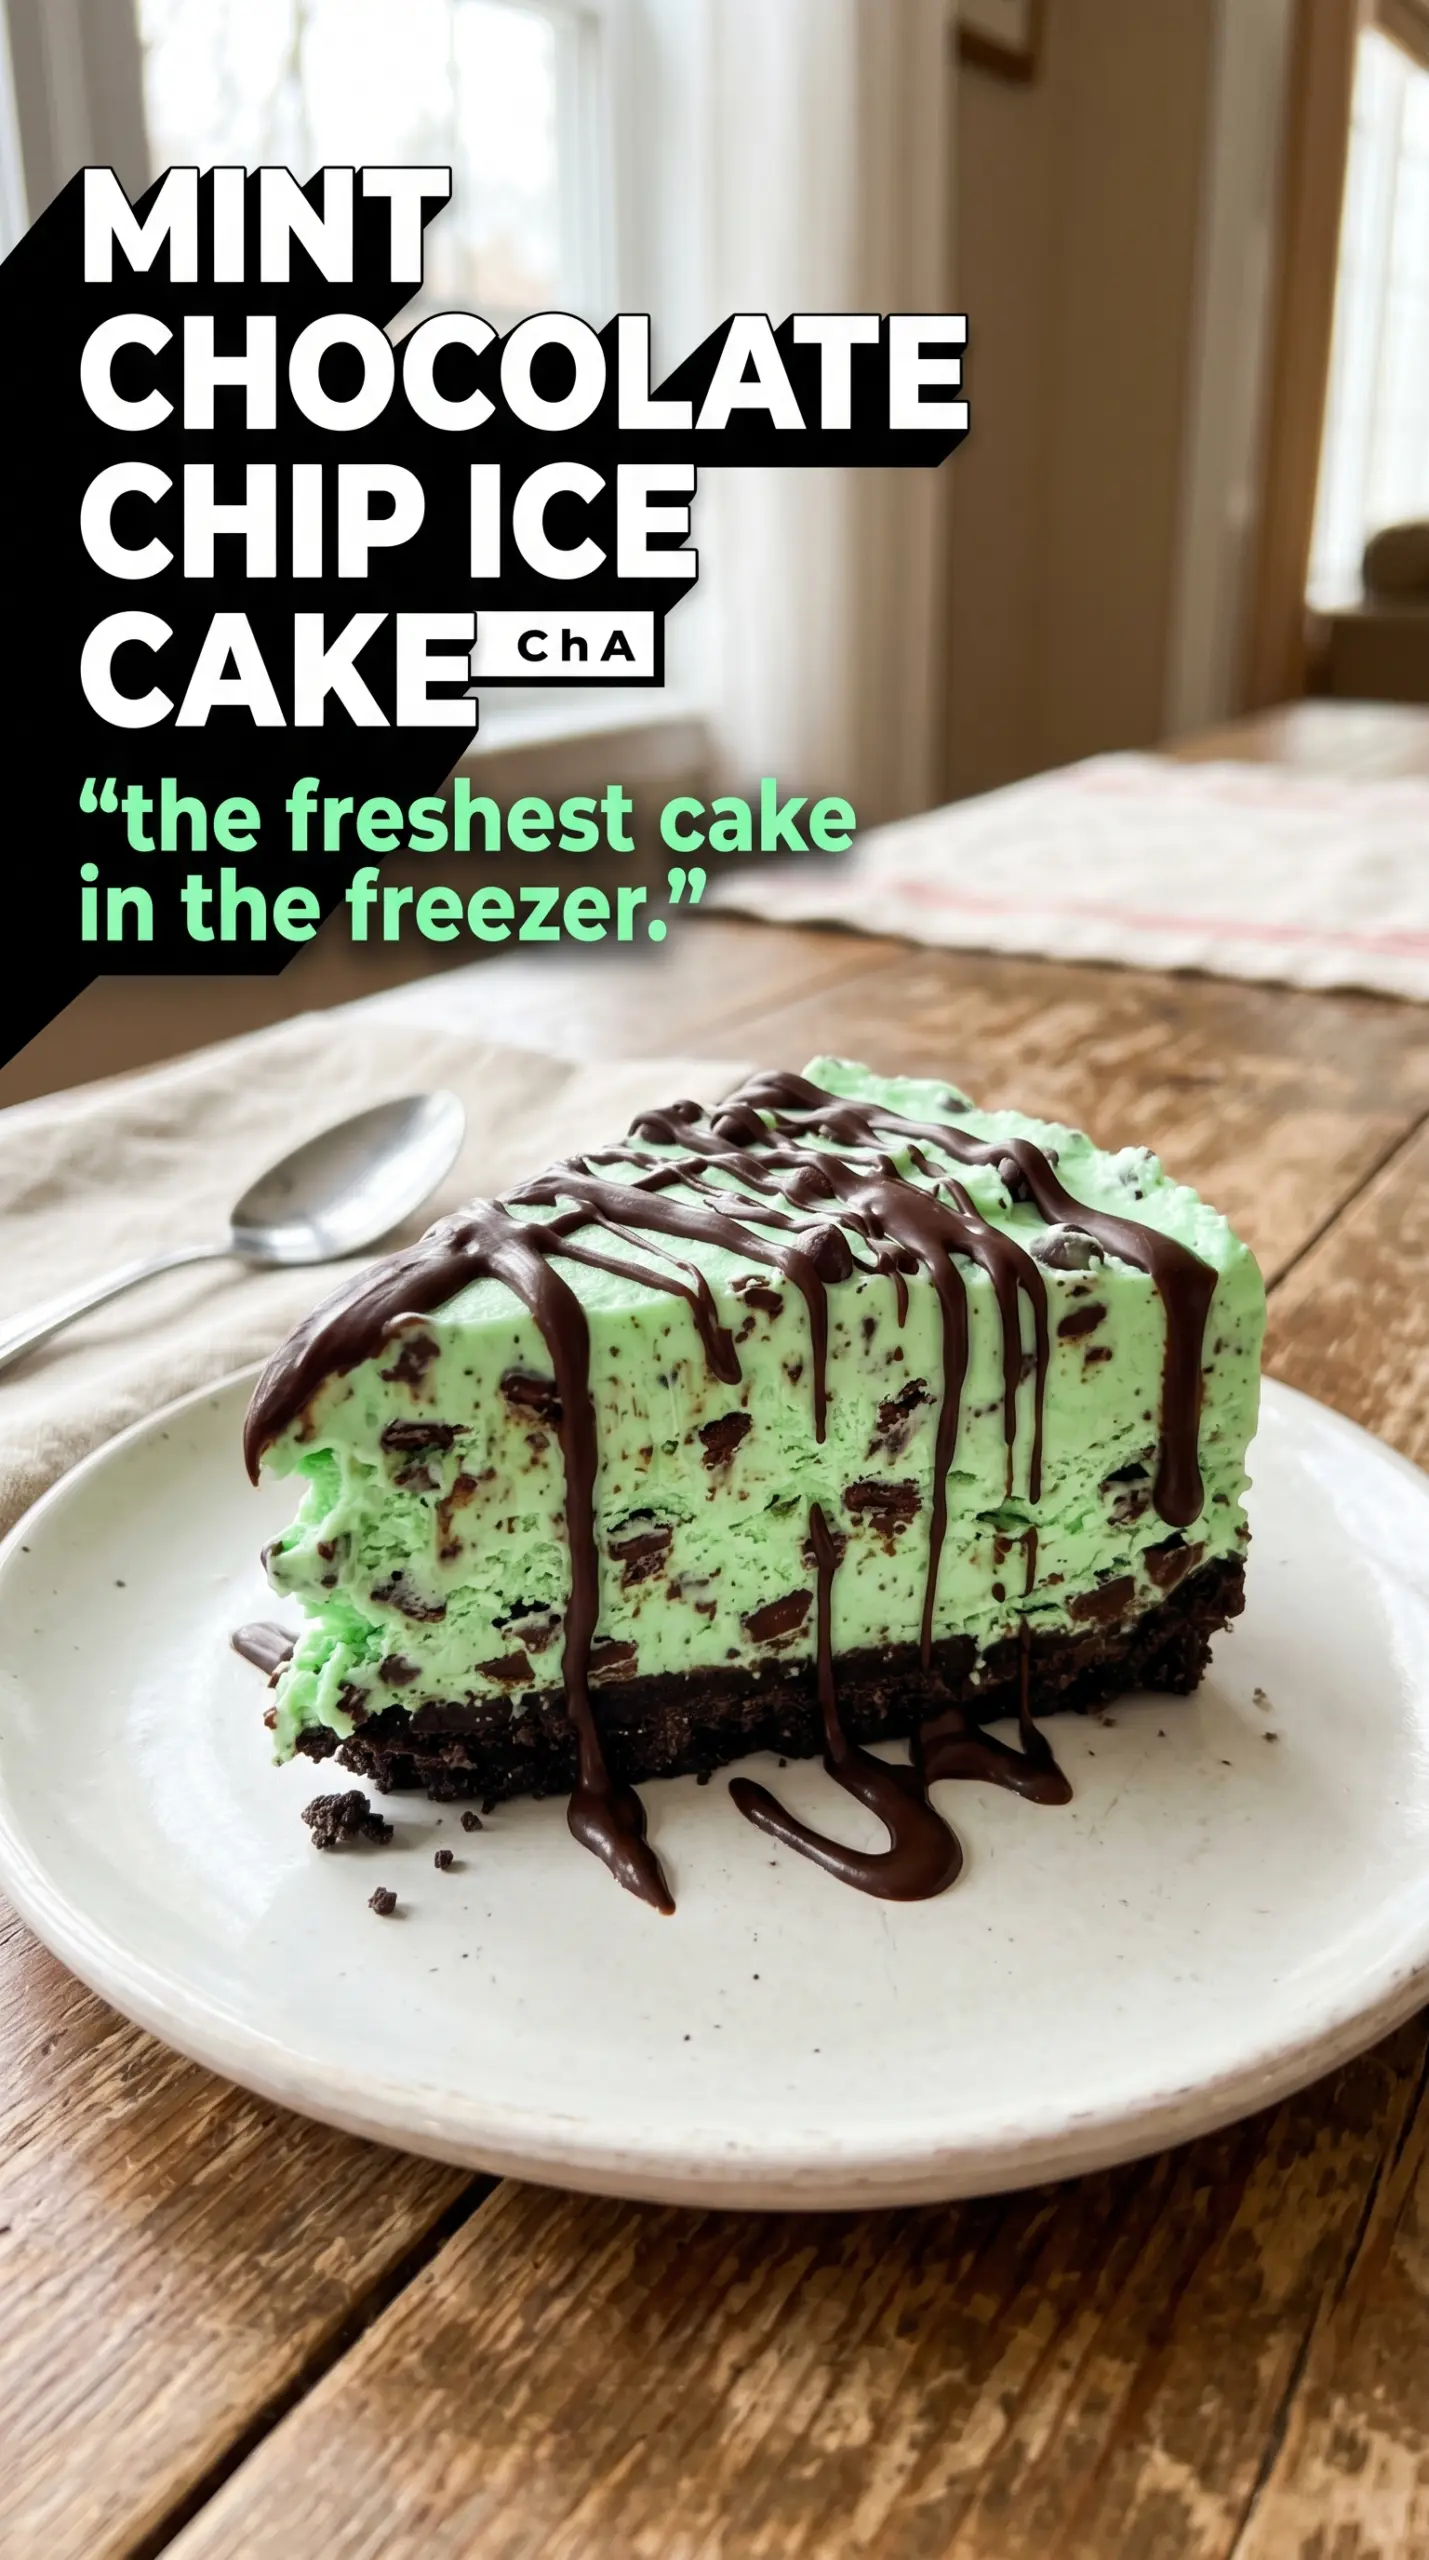
Cold, creamy mint chocolate chip ice cream tucked into a dark Oreo crust and finished with a glossy chocolate ganache is the kind of dessert that disappears fast. The contrast is what makes it work: crisp cookie base, firm ice cream layer, and a chocolate top that cracks just a little when you cut through it. It looks celebratory without asking for much hands-on time, which is exactly why it earns a place in the dessert rotation.
The details matter here. The crust needs enough melted butter to hold together when pressed, but not so much that it turns greasy and dense. The ice cream has to be softened just enough to spread cleanly; if it’s melted, the layers lose definition and the cake freezes into a slouchy block instead of a clean slice. A thick ganache also helps the topping drip in slow ribbons instead of sliding right off the cake.
Below, you’ll find the small timing cues that keep the layers distinct, plus a few ways to adapt the cake for different occasions without losing that mint-and-chocolate contrast.
The crust set up firm, the ice cream layer sliced cleanly, and the ganache stayed glossy instead of cracking. I made it the night before a birthday dinner and every slice came out picture-perfect.
Save this mint chocolate chip ice cream cake for birthdays, summer dinners, or any time you want a frozen dessert with a crisp Oreo crust and ganache drip.
The Secret to a Clean Slice Is More Freezer Time Than You Think
Frozen layer cakes fail when people rush the setting time. The crust needs a quick freeze before the ice cream goes in, or the pressure from spreading the filling can mash it loose. Then the ice cream layer needs enough time to firm up all the way through, not just on top, before the ganache lands. If the center is still soft, the chocolate topping can sink instead of sitting in a neat shell.
This cake also cuts better when each layer is distinct in temperature. The crust should be cold and sturdy, the ice cream should be spreadable but not soupy, and the ganache should be cool enough to pour in a thick ribbon. That combination is what gives you clean edges and those sharp, bakery-style slices.
- Crushed chocolate sandwich cookies — These make the crust dark, crisp, and sturdy enough to support the ice cream. Fine crumbs pack tighter than chunky ones, so pulse them until they look like damp sand.
- Melted butter — Butter is what turns crumbs into a sliceable crust. If the mixture looks sandy and won’t hold when squeezed, add just a bit more; if it looks greasy, it will freeze hard and brittle.
- Mint chocolate chip ice cream — The ice cream is the whole point, so use a brand with a strong mint flavor and enough chips to stand out. Let it soften on the counter until it spreads with a spoon, not a mixer.
- Chocolate ganache — Ganache gives the cake its polished finish and the best chocolate contrast. It should be pourable, not hot; too much heat can soften the ice cream and create puddles instead of drips.
- Whipped cream and toppings — Pipe the whipped cream after the ganache has set, or the decorations will slide. Andes mints give you a cleaner chocolate-mint bite, while Oreo crumbs lean more cookie-heavy.
What Each Ingredient Is Actually Doing in This Ice Cream Cake
- Crust or base layer (cookies, brownies, or cake) — This provides structure and texture contrast. A sturdy base keeps the whole cake from crumbling when served.
- Ice cream (the main event) — Choose quality ice cream or frozen yogurt. Soft-serve or premium ice cream works better than hard-packed store brands.
- Cake layer (optional but recommended) — A thin cake layer adds substance and keeps the cake from being all frozen texture. Make it thin so it doesn’t overpower the ice cream.
- Sauce or syrup layer (fudge, caramel, or fruit) — This adds flavor depth and prevents the cake from tasting one-dimensional. Freeze between layers so sauces stay distinct.
- Toppings (chocolate chips, cookies, candy, or nuts) — These add texture and visual appeal. Mix-ins stay crispy longer if frozen separately first.
- Frosting or whipped cream (optional topping) — This adds richness to the outside. Keep it simple or it overwhelms the cake.
- Freezing time (the patience that pays off) — Each layer needs time to set so they stay distinct when sliced. Rushing this step means layers muddy together.
- Storage and serving technique (thaw 5 minutes before slicing) — A brief thaw makes slicing clean and easy. Serve slices immediately for best texture.
Building the Layers Without Melting the Cake
Pressing the Oreo Crust
Mix the crushed cookies with melted butter until every crumb looks moistened, then press the mixture firmly into the bottom of a 9-inch springform pan. Use the bottom of a measuring cup to compact it; a loose crust falls apart when you lift the first slice. Freeze it for 15 minutes so the butter can harden before the filling goes on.
Spreading the Ice Cream Layer
Let the mint chocolate chip ice cream soften just enough that a spatula can glide through it. If it gets runny, it will seep into the crust and make the whole cake muddy at the edges. Spread it in an even layer, pushing all the way to the sides, then freeze for 4 hours until it feels solid in the center when tapped.
Adding the Ganache Finish
Pour the chocolate ganache over the frozen cake once the ice cream is firm. Start in the center and work outward so the topping naturally drips over the sides without being forced. If the ganache is too warm, chill it for a few minutes; hot ganache will melt the top layer and blur the clean look of the cake.
Decorating and Setting the Cake
Let the ganache set in the freezer for an hour before piping on the whipped cream. Add the Andes mints or Oreo pieces after the whipped cream, then finish with fresh mint for color. Freeze the decorated cake for one more hour so the toppings stay put when you slice it.
How to Adjust the Cake for Different Freezers and Diets
Dairy-Free Version
Use dairy-free mint chip ice cream, plant-based butter for the crust, and a dairy-free chocolate ganache made with coconut cream or a suitable non-dairy cream substitute. The texture stays close to the original, but the topping may set a little softer, so give it extra freezer time before slicing.
Extra Chocolate Version
Swap part of the mint ice cream topping for crushed chocolate cookies between the layers or fold in extra chopped Andes mints on top. This pushes the cake toward a deeper chocolate finish and gives more crunch in each slice, but the mint flavor will read a little softer.
Make-Ahead Birthday Cake
Assemble the cake through the ganache layer the day before, then add the whipped cream and garnish on the day you plan to serve it. That keeps the decorations neat and prevents the whipped cream from picking up freezer frost.
Storage and Serving
- Refrigerator: Not recommended; the cake will soften fast and lose its clean slices.
- Freezer: Wrap the finished cake well and freeze up to 1 week for the best texture. After that, the crust can pick up freezer smell.
- Serving: Let the cake sit at room temperature for 8 to 10 minutes before slicing. If you cut it straight from the freezer, the crust can crack and the knife will drag through the ganache.
Questions I Get Asked About This Recipe

Mint Chocolate Chip Ice Cream Cake
Ingredients
Equipment
Method
- Combine crushed chocolate sandwich cookies and melted butter, then press the mixture into a 9-inch springform pan to form an even crust layer. The crumbs should look evenly moistened and tightly packed.
- Freeze the crust for 15 minutes to set it before adding the ice cream.
- Spread the softened mint chocolate chip ice cream over the frozen crust in an even layer, smoothing the top with firm strokes. Keep the layer level so it slices cleanly.
- Freeze for 4 hours until the ice cream is solid.
- Pour chocolate ganache over the frozen cake, letting it naturally drip down the sides for a glossy finish. Add ganache to cover the top completely.
- Freeze for 1 hour until the ganache sets.
- Pipe whipped cream around the edge to create a decorative border. Use an even pressure so the ridges hold their shape.
- Decorate with Andes mint candies and fresh mint on top for the signature mint look. Scatter pieces so they’re visible in the slice.
- Freeze for 1 more hour before serving to firm up the whole cake for clean cuts.


