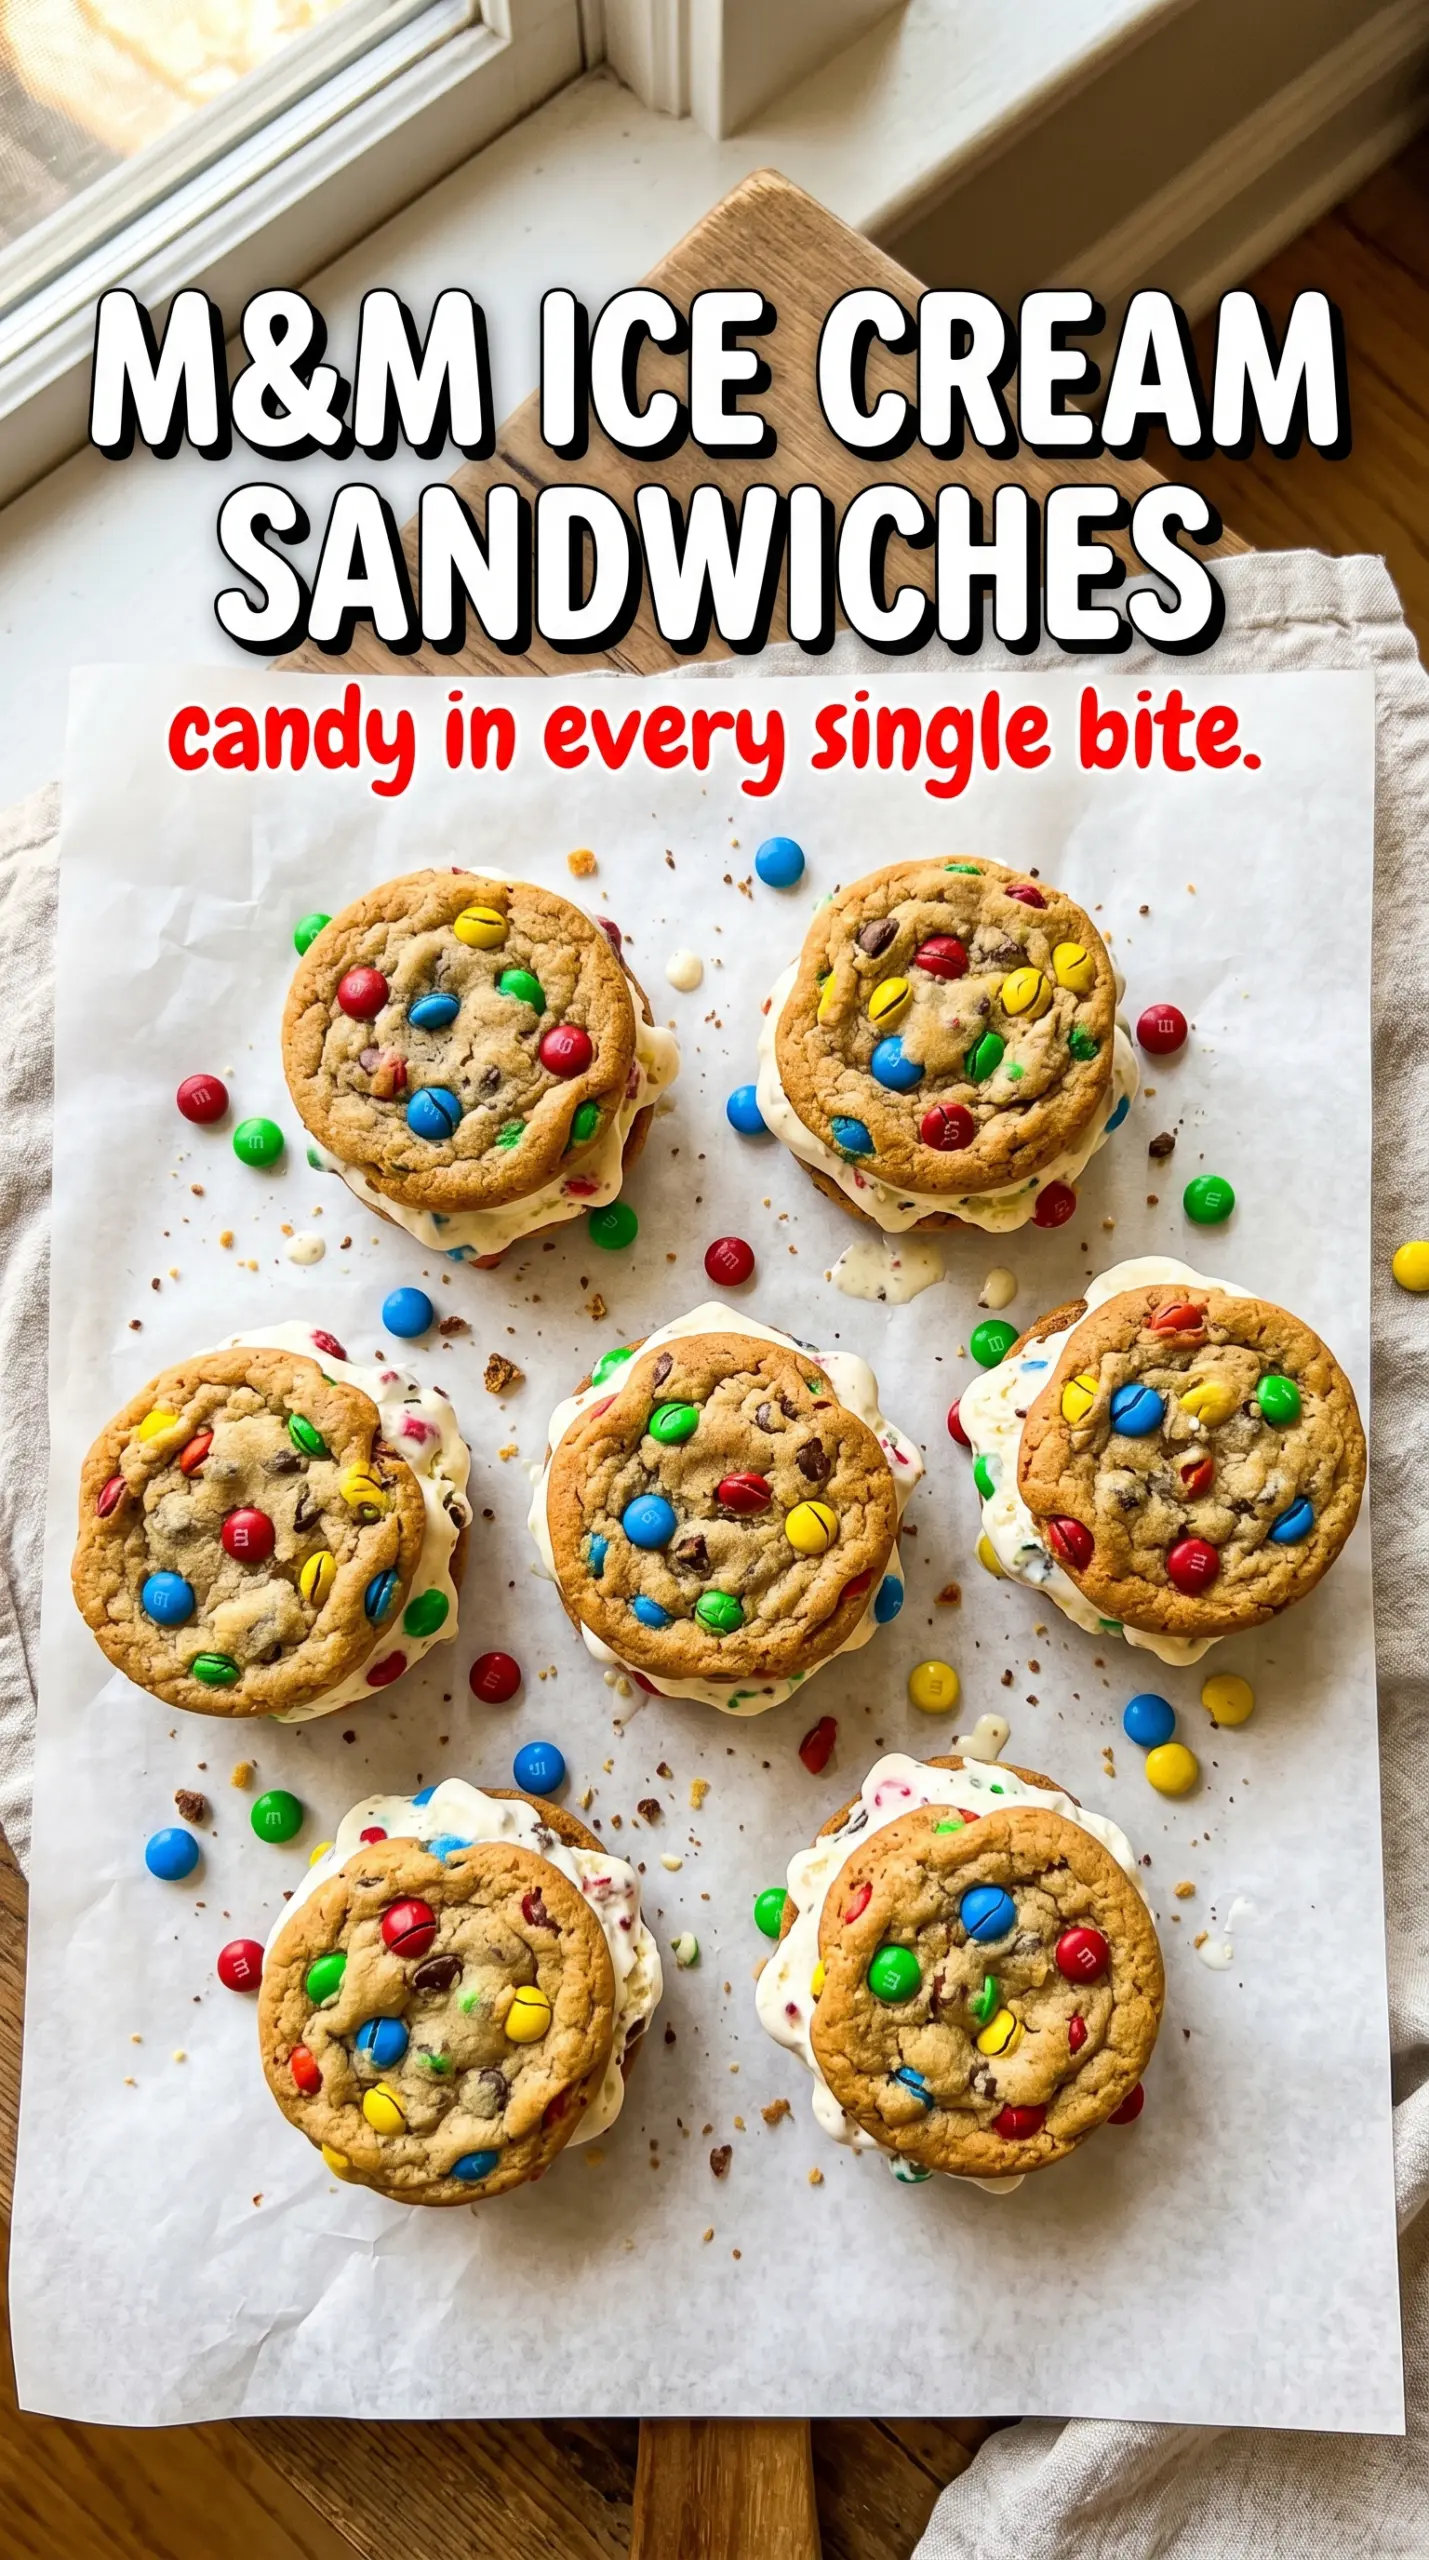
Golden M&M-studded cookies and a thick layer of vanilla ice cream make these ice cream sandwiches the kind of dessert people reach for before they’ve even finished dinner. The cookies stay soft enough to bite cleanly from the freezer, but they’ve still got enough structure to hold their shape, which is what separates a good sandwich from one that falls apart in your hands.
The trick is baking the cookies just until the edges set and the centers look a touch underdone. That keeps them tender after freezing instead of turning brittle. Folding some of the candy into the dough and pressing extra pieces on top gives you color in every bite, while rolling the edges in crushed M&Ms adds a little crunch and keeps the whole thing looking fun without any extra work.
Below, you’ll find the timing that matters most, plus a few swaps if you want to change up the ice cream or make these ahead for a party. The whole batch comes together fast, and once they’re frozen, they’re easy to serve straight from the freezer whenever you need them.
The cookies stayed soft after freezing and didn’t crack when I cut them in half. Rolling the edges in crushed M&Ms made them look bakery-level, and my kids asked for them again the next day.
Save these M&M ice cream sandwiches for the days when you want a soft cookie, cold vanilla center, and a candy-coated edge that looks as cheerful as it tastes.
Why These Cookies Stay Soft Enough to Sandwich
The biggest mistake with ice cream sandwiches is baking the cookies like you’d bake them for a cookie plate. That gives you a crisp cookie that turns hard in the freezer and shatters when you bite in. These need to be pulled when the edges are set and the centers still look slightly soft, because they firm up as they cool and stay pleasantly chewy once frozen.
The second detail that matters is size. Large scoops give you enough surface area for the ice cream, and pressing M&Ms into the tops before baking keeps the candies visible without relying only on mix-ins. If the cookies spread too much, the sandwich becomes awkward and the ice cream squeezes out the sides. Chilling the dough is optional here only if your kitchen runs warm; otherwise, a sturdy cookie dough and a lined sheet pan are enough to keep them in shape.
What Each Ingredient Is Doing in the Dough
- All-purpose flour — This gives the cookies enough body to support the ice cream without baking up dry or cakey. Don’t swap in cake flour here; it won’t hold up as well in the freezer.
- Butter — Softened butter creams with the sugars to create the tender, chewy texture you want. Salted butter works in a pinch, but cut back on the added salt so the dough doesn’t taste blunt.
- Brown sugar and granulated sugar — The brown sugar brings moisture and chew, while the white sugar helps the edges set and brown. Using both is what keeps these cookies soft without turning them dense.
- M&M candies — Some go into the dough for color in every bite, and some get pressed on top so the cookies look festive right out of the oven. If you crush the final batch for the edges, do it lightly; you want small pieces, not dust.
- Vanilla ice cream — A classic vanilla base works best because it balances the candy and cookie. Let it soften just enough to spread; if it’s melted, it will leak before the sandwiches freeze solid.
Building the Cookie Shell Before the Ice Cream Goes In
Creaming the Butter and Sugars
Beat the butter with both sugars until the mixture looks pale and fluffy, not greasy. That step traps air and gives the cookies a lighter bite. If the butter is too cold, the mixture will look sandy; if it’s too warm, the dough will spread more than it should.
Mixing the Dough Without Toughening It
Add the eggs and vanilla, then stir in the flour mixture just until the dry streaks disappear. Overmixing here builds too much gluten and gives you cookies that bake up tighter and less tender. Fold in most of the M&Ms at the end so they stay intact instead of streaking the dough.
Baking to the Right Finish
Scoop the dough into large rounds on lined baking sheets and press a few extra candies into the tops. Bake until the edges are golden and the centers still look soft and slightly underbaked. They should finish setting on the sheet as they cool; if you wait for them to look fully done in the oven, they’ll end up too firm after freezing.
Assembling and Freezing the Sandwiches
Let the cookies cool completely before adding the ice cream or the filling will melt and slide out. Spread softened vanilla ice cream on the flat side of one cookie, top with a second cookie, then press gently so the filling reaches the edges without spilling over. Roll the sides in crushed M&Ms, then freeze the sandwiches for at least an hour so they slice cleanly and hold together when served.
Three Ways to Adjust These Without Losing the Point
Dairy-Free Version
Use a plant-based butter and a creamy dairy-free vanilla ice cream that stays scoopable after freezing. The cookies will still bake up tender, but the flavor will be a little less rich, so don’t skip the vanilla. Check the candy labels too, since not every chocolate candy coating is dairy-free.
Different Ice Cream Filling
Chocolate, cookies and cream, or strawberry ice cream all work, but the sandwich gets sweeter and richer as the filling gets more intense. Choose a flavor that can stand up to the candy-coated cookie without disappearing. If you use a mix-in-heavy ice cream, let it soften only until spreadable so the cookies don’t slide apart.
Making Them Ahead for a Crowd
Bake the cookies a day in advance and keep them covered at room temperature, then assemble the sandwiches the day you plan to serve them. Once filled, wrap each one tightly and freeze so they don’t pick up freezer odors. This method keeps the cookies soft and gives you clean edges when it’s time to serve.
Cookie-Only Shortcut
If you want the candy cookie part without the ice cream, bake the dough a minute or two longer for a more portable cookie. The extra time firms the centers enough for lunchbox-style treats, but it also makes them less ideal for sandwiching later. That’s the tradeoff: more structure, less freezer softness.
Storage and Reheating
- Refrigerator: Not the best choice. The cookies dry out faster in the fridge and the ice cream softens unevenly.
- Freezer: Freeze wrapped sandwiches for up to 2 weeks. After that, the texture is still safe, but the cookies start to pick up freezer flavor.
- Reheating: These aren’t meant to be reheated. Set them out for 5 to 8 minutes before serving so the ice cream softens slightly without turning runny.
Questions I Get Asked About This Recipe
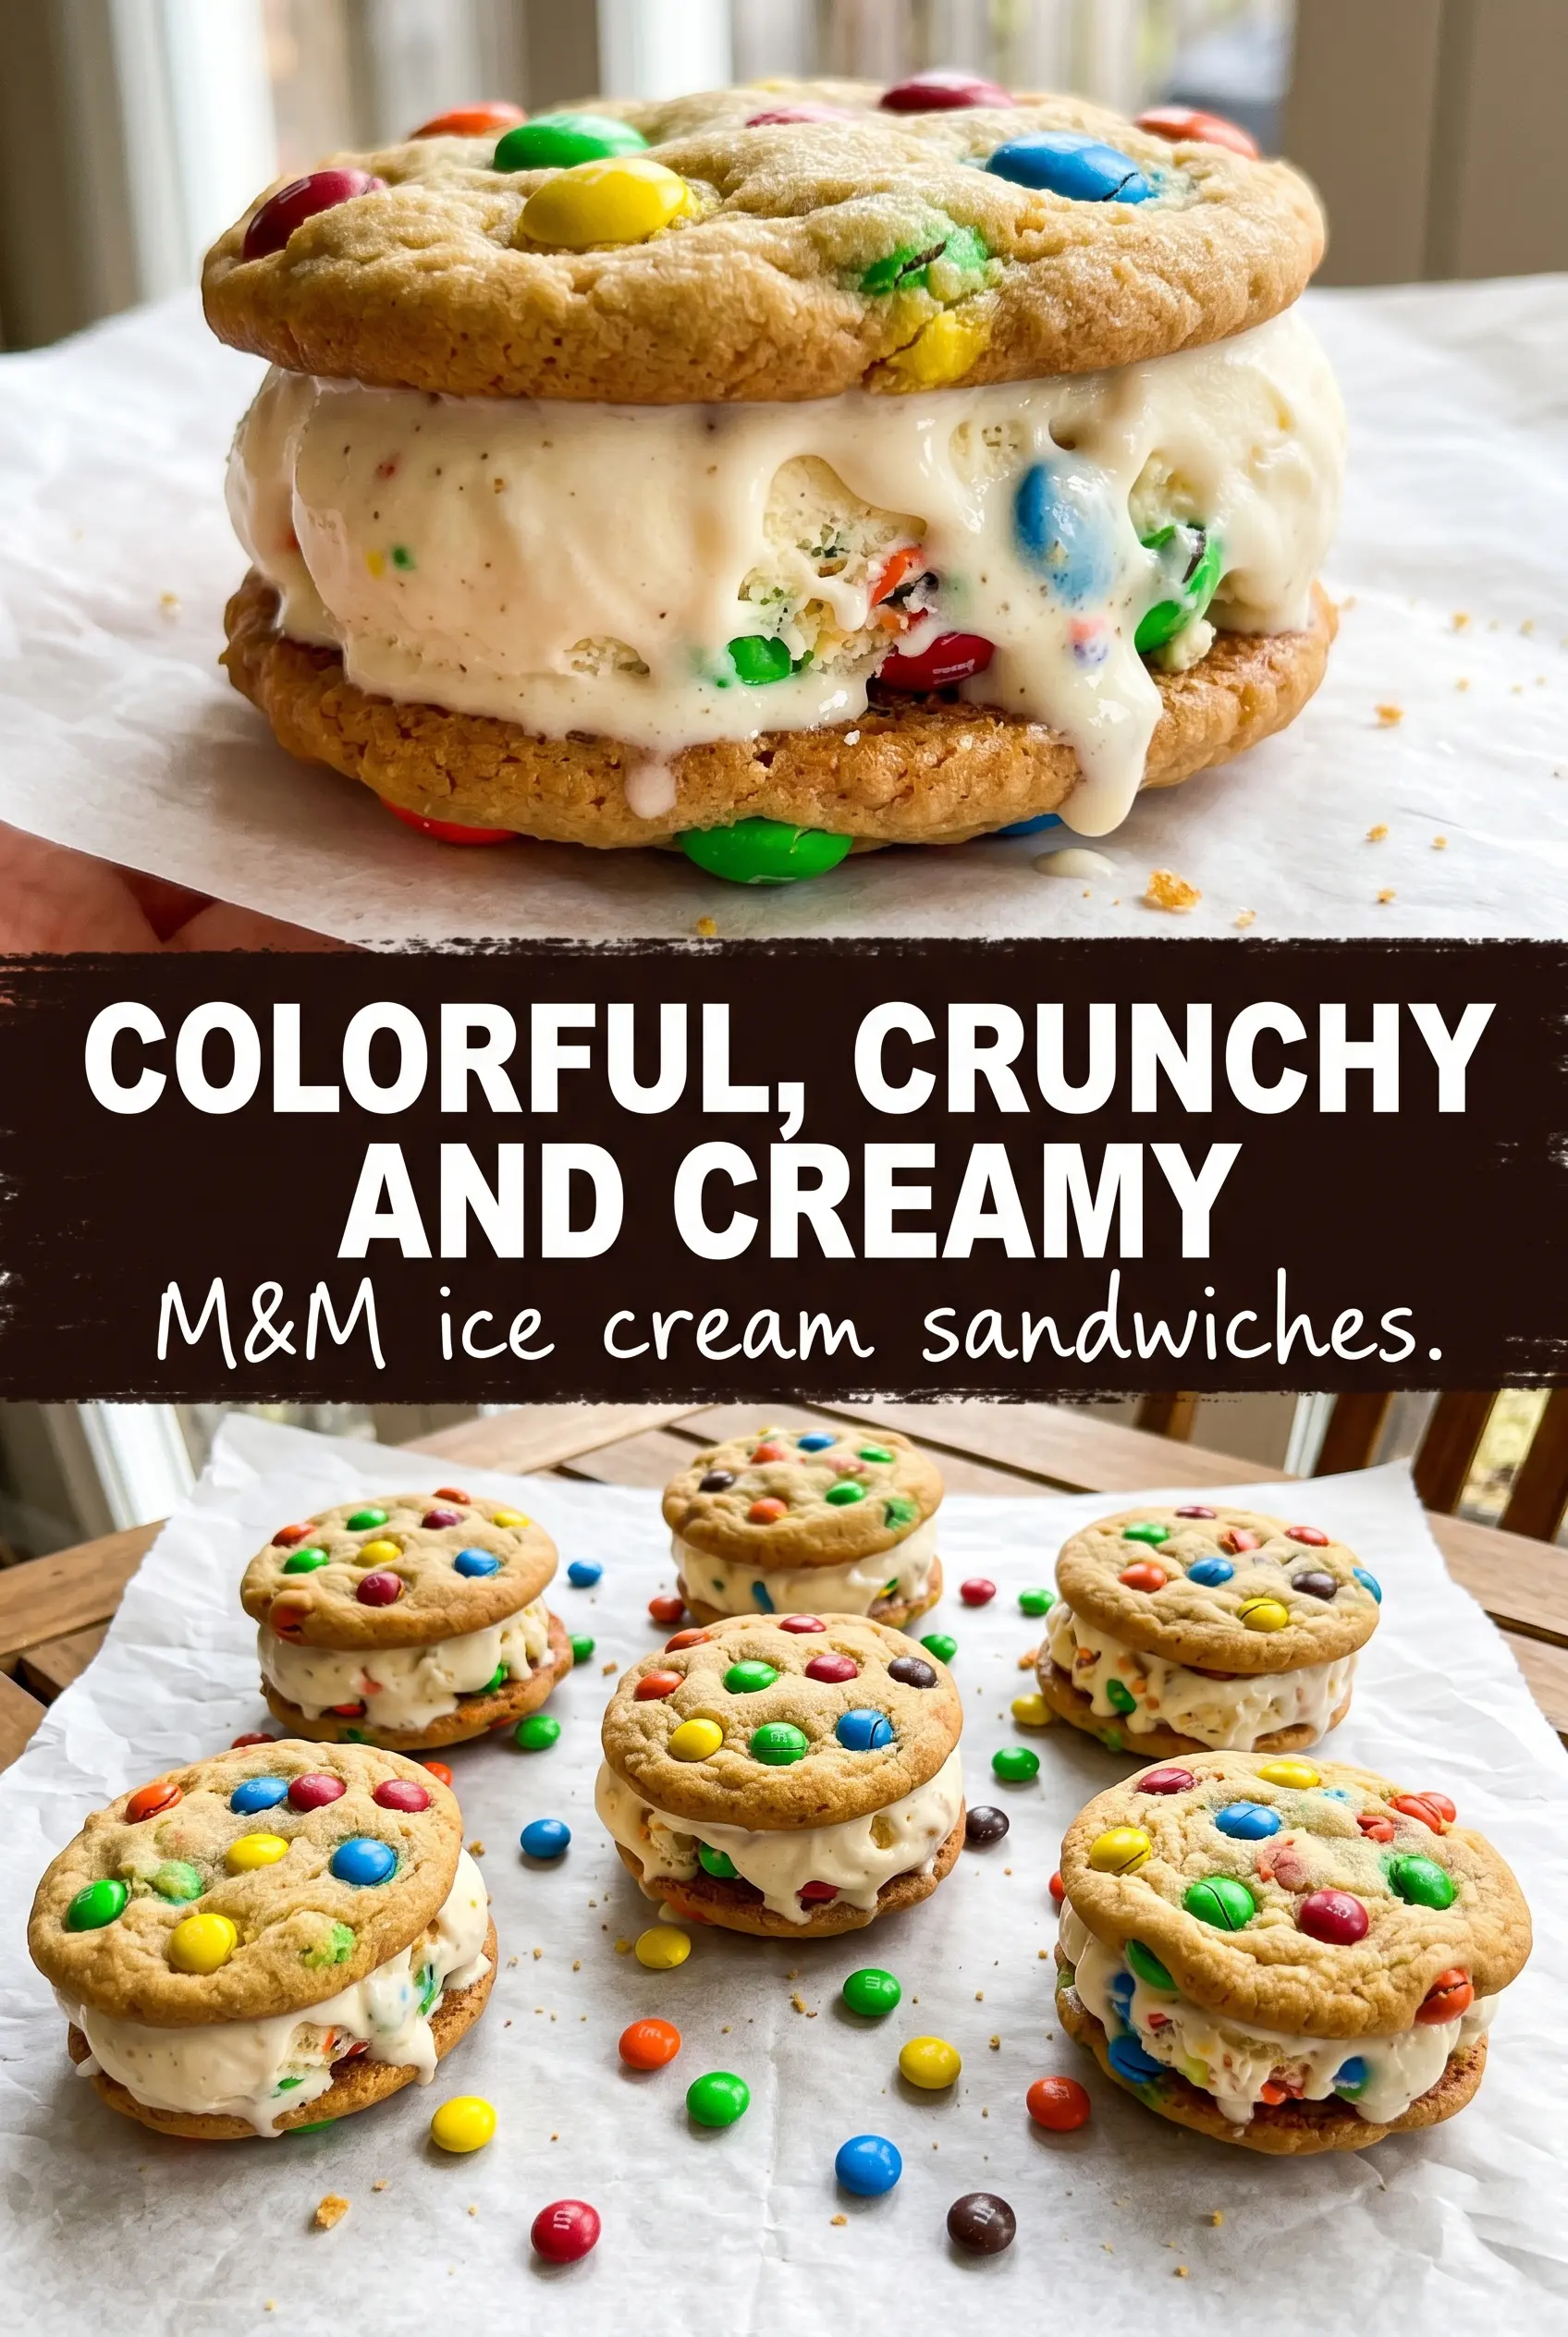
M&M Ice Cream Sandwiches
Ingredients
Equipment
Method
- Preheat oven to 375F, then whisk all-purpose flour, baking soda, and salt in a bowl.
- Beat softened unsalted butter, granulated sugar, and brown sugar until fluffy.
- Beat in eggs and vanilla extract until the batter looks smooth and cohesive.
- Stir in the flour mixture until just combined, then fold in 1.5 cups of M&M candies.
- Scoop large rounds onto a lined sheet pan and press 4–5 M&Ms into the tops of each cookie.
- Bake for 10-12 minutes, until edges are golden, then cool completely.
- Sandwich softened vanilla ice cream between two M&M cookies to form each ice cream sandwich.
- Roll the edges in the remaining crushed M&Ms so the candy-dotted sides stick.
- Freeze for 1 hour before serving for firm, sliceable sandwiches.


