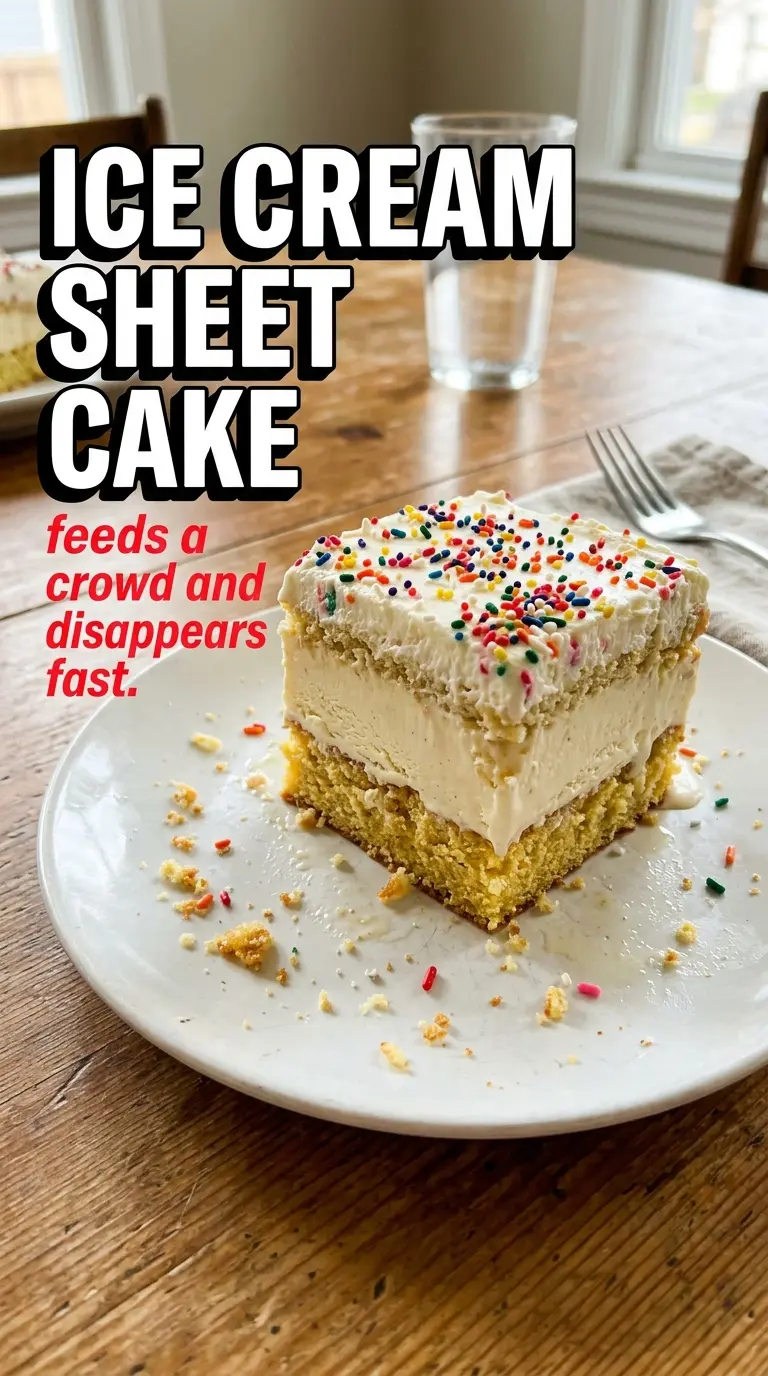
Ice cream sheet cake is the kind of party dessert that disappears before the coffee gets poured. The Oreo crust stays crisp enough to slice cleanly, the two ice cream flavors give you that classic chocolate-and-vanilla contrast, and the whipped topping turns the whole pan into a blank canvas for birthday frosting, sprinkles, or anything else you want to pile on top. It looks like a celebration and eats like one too.
What makes this version work is the order. The crust gets frozen before the ice cream goes in, which keeps the cookies from turning muddy. The hot fudge gets drizzled after the ice cream layer is in place, so it settles into a ribbon instead of sinking straight through. And because the whole cake is built in a sheet pan, every slice gets a good ratio of crust, ice cream, and topping without needing a knife and a prayer.
Below, I’ll show you how to keep the layers neat, how to soften ice cream without turning it soupy, and a few smart variations if you want to change the flavors or make it ahead for a crowd.
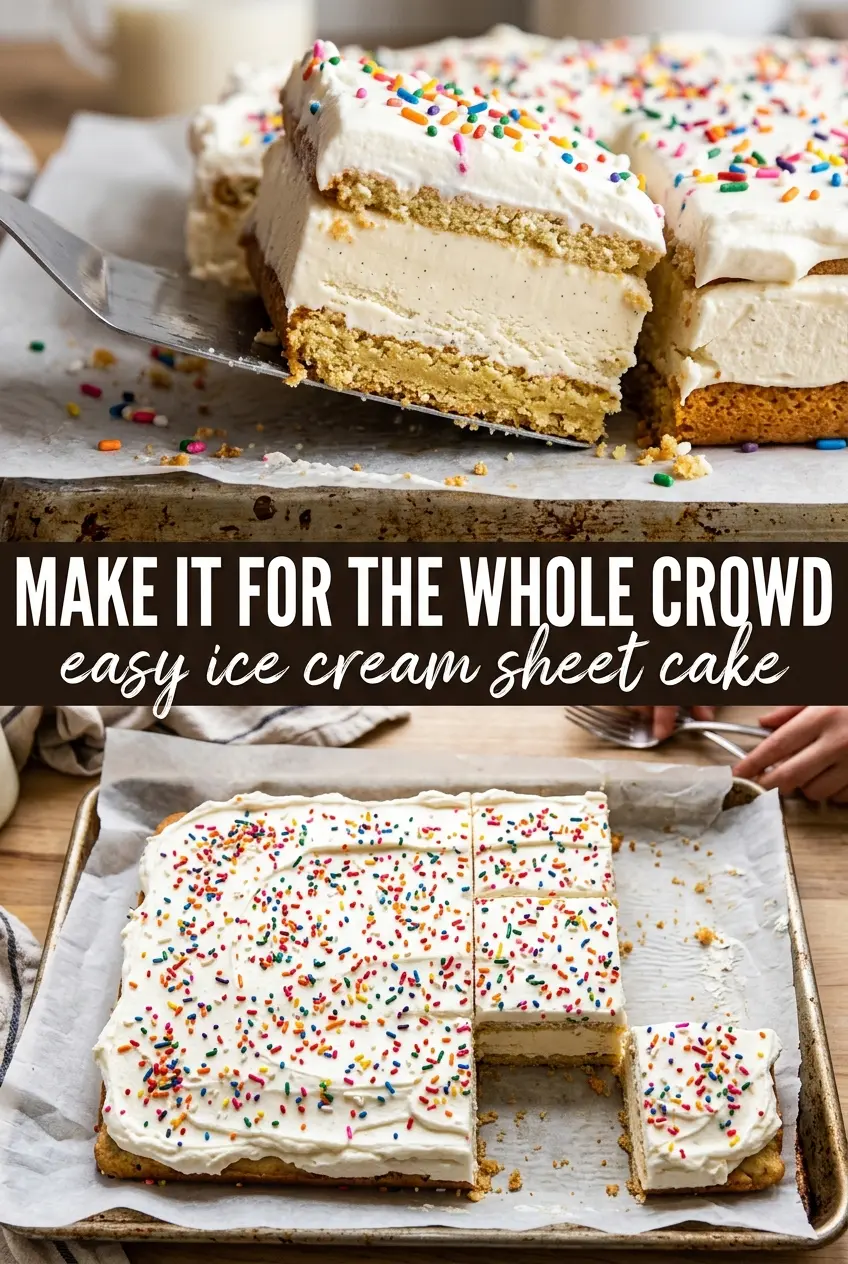
The crust set up perfectly and the fudge stayed in a nice layer instead of mixing into the ice cream. I made it the night before, and it sliced cleanly into neat squares for the party.
Like this ice cream sheet cake? Save it to Pinterest for the next birthday, cookout, or big dinner when you need a frozen dessert that feeds a crowd.
The Trick to Keeping the Layers Clean in a Frozen Sheet Cake
The part that trips people up is rushing the assembly. If the crust isn’t cold enough, the ice cream starts melting the second it hits the pan. If the ice cream is too soft, the two flavors blend into one pale stripe instead of staying distinct. The answer is simple: freeze between layers, and work with ice cream that’s softened just enough to spread, not pour.
That middle freeze after the fudge is important too. Hot fudge looks harmless when it’s warm, but it will sink and streak if the ice cream underneath is still too loose. Give the pan time to firm up before the whipped topping goes on, and you get those clean, bakery-style slices instead of a slumpy mess.
- Crushed Oreo cookies — These bring the dark, chocolatey crunch that makes the whole dessert taste like an ice cream sandwich in sheet-cake form. Crush them finely enough that they pack together, but leave a few small pieces for texture.
- Melted butter — This is what turns the cookie crumbs into a pressable crust. If you cut it back, the base falls apart when you slice the cake.
- Vanilla and chocolate ice cream — Use a brand you like eating plain, because the flavor carries the whole dessert. Let both tubs sit out just until spreadable; if they’re half-melted, the layers run together and the cake loses its stripes.
- Hot fudge sauce — Thick fudge gives you a richer ribbon than thin chocolate syrup. Warm it just enough to drizzle smoothly, then stop. If it gets hot, it melts the ice cream layer underneath.
- Whipped topping — This is the frosting. It spreads cleanly over frozen ice cream and holds decorations better than homemade whipped cream, which can soften faster in the freezer.
- Sprinkles and gel frosting — These are for the party look, but they also help hide any imperfect smoothing on top. Add them after the whipped topping firms up a bit so the colors stay sharp.
What Each Ingredient Is Actually Doing in This Ice Cream Cake
- Crust or base layer (cookies, brownies, or cake) — This provides structure and texture contrast. A sturdy base keeps the whole cake from crumbling when served.
- Ice cream (the main event) — Choose quality ice cream or frozen yogurt. Soft-serve or premium ice cream works better than hard-packed store brands.
- Cake layer (optional but recommended) — A thin cake layer adds substance and keeps the cake from being all frozen texture. Make it thin so it doesn’t overpower the ice cream.
- Sauce or syrup layer (fudge, caramel, or fruit) — This adds flavor depth and prevents the cake from tasting one-dimensional. Freeze between layers so sauces stay distinct.
- Toppings (chocolate chips, cookies, candy, or nuts) — These add texture and visual appeal. Mix-ins stay crispy longer if frozen separately first.
- Frosting or whipped cream (optional topping) — This adds richness to the outside. Keep it simple or it overwhelms the cake.
- Freezing time (the patience that pays off) — Each layer needs time to set so they stay distinct when sliced. Rushing this step means layers muddy together.
- Storage and serving technique (thaw 5 minutes before slicing) — A brief thaw makes slicing clean and easy. Serve slices immediately for best texture.
Building the Cake So It Freezes Neatly Instead of Smearing
Pressing the Oreo Crust
Mix the crushed Oreos with melted butter until every crumb looks damp, then press the mixture into a 12×18 sheet pan in an even layer. Use the bottom of a measuring cup to pack it down firmly, especially in the corners, or the crust will crumble when you cut the cake. Freeze it for 20 minutes so it sets before the ice cream goes on.
Spreading the Ice Cream Without Mixing the Flavors
Let the vanilla and chocolate ice cream soften at room temperature just until a spatula can move through them. Spread vanilla over one half of the crust and chocolate over the other half, meeting in the center for that neapolitan look. If the edges start to drag up cookie crumbs, pause and let the ice cream soften a minute longer; if it turns glossy and loose, it’s too warm and will blur together in the pan.
Adding the Fudge Layer
Drizzle the hot fudge over the ice cream in ribbons, then use the back of a spoon to nudge it into an even layer without digging down into the ice cream. This step goes best when the ice cream is cold but not rock hard. Freeze the pan for 4 hours after the fudge goes on so the center firms up fully before the topping.
Finishing and Decorating the Top
Spread the whipped topping over the frozen surface in an even blanket, working quickly so you don’t melt the top edge of the ice cream. Decorate with sprinkles and gel frosting piping once the topping is on. Freeze the finished cake for at least 2 more hours before slicing; if you cut too early, the top layer smears and the squares won’t hold their shape.
How to Change the Flavors Without Losing the Structure
Gluten-Free Version
Use certified gluten-free sandwich cookies instead of Oreos. The crust will still pack and freeze the same way, but check the label on your fudge sauce too, since some brands use additives that aren’t gluten-free.
Dairy-Free Sheet Cake
Use dairy-free sandwich cookies, plant-based ice cream, a dairy-free hot fudge, and coconut whipped topping. The texture stays close to the original, but the cake may freeze a little harder, so let it sit a few minutes before slicing.
All-Chocolate Version
Swap the vanilla ice cream for more chocolate and finish with chocolate shavings instead of colorful decorations. You’ll get a deeper cocoa flavor and a more uniform look, which works well when you want the dessert to feel less birthday-cake and more classic ice cream bar.
Storage and Reheating
- Refrigerator: Don’t store this in the fridge. It will melt, collapse, and lose the clean layered look.
- Freezer: Keep the cake covered tightly in the freezer for up to 2 weeks. Press plastic wrap directly against any cut surfaces to prevent ice crystals.
- Reheating: Not applicable. For the best slice, let the cake sit at room temperature for 5 to 10 minutes before cutting so the crust doesn’t crack and the knife glides through the frozen layers.
Answers to the Questions Worth Asking
Ice Cream Sheet Cake
Ingredients
Equipment
Method
- Press crushed Oreo cookies and melted unsalted butter firmly into a 12x18 sheet pan to form an even crust layer. Place the pan in the freezer for 20 minutes until set (visual cue: crust looks firm to the touch).
- Spread softened vanilla ice cream over half of the crust. Spread softened chocolate ice cream over the other half so the two flavors meet in the middle for a neapolitan effect (visual cue: distinct halves with a straight center seam).
- Drizzle hot fudge sauce over the ice cream layers in an even coating. Freeze for 4 hours to firm up the fudge (visual cue: surface looks set and scoopable).
- Cover the entire top completely with whipped topping, smoothing to fully seal the edges. The surface should look like a solid, white layer (visual cue: no ice cream or fudge peeking through).
- Decorate with colorful sprinkles and gel frosting piping to mimic a decorated birthday cake. Freeze at least 2 more hours before slicing into squares (visual cue: topping is firm enough to cut cleanly).


