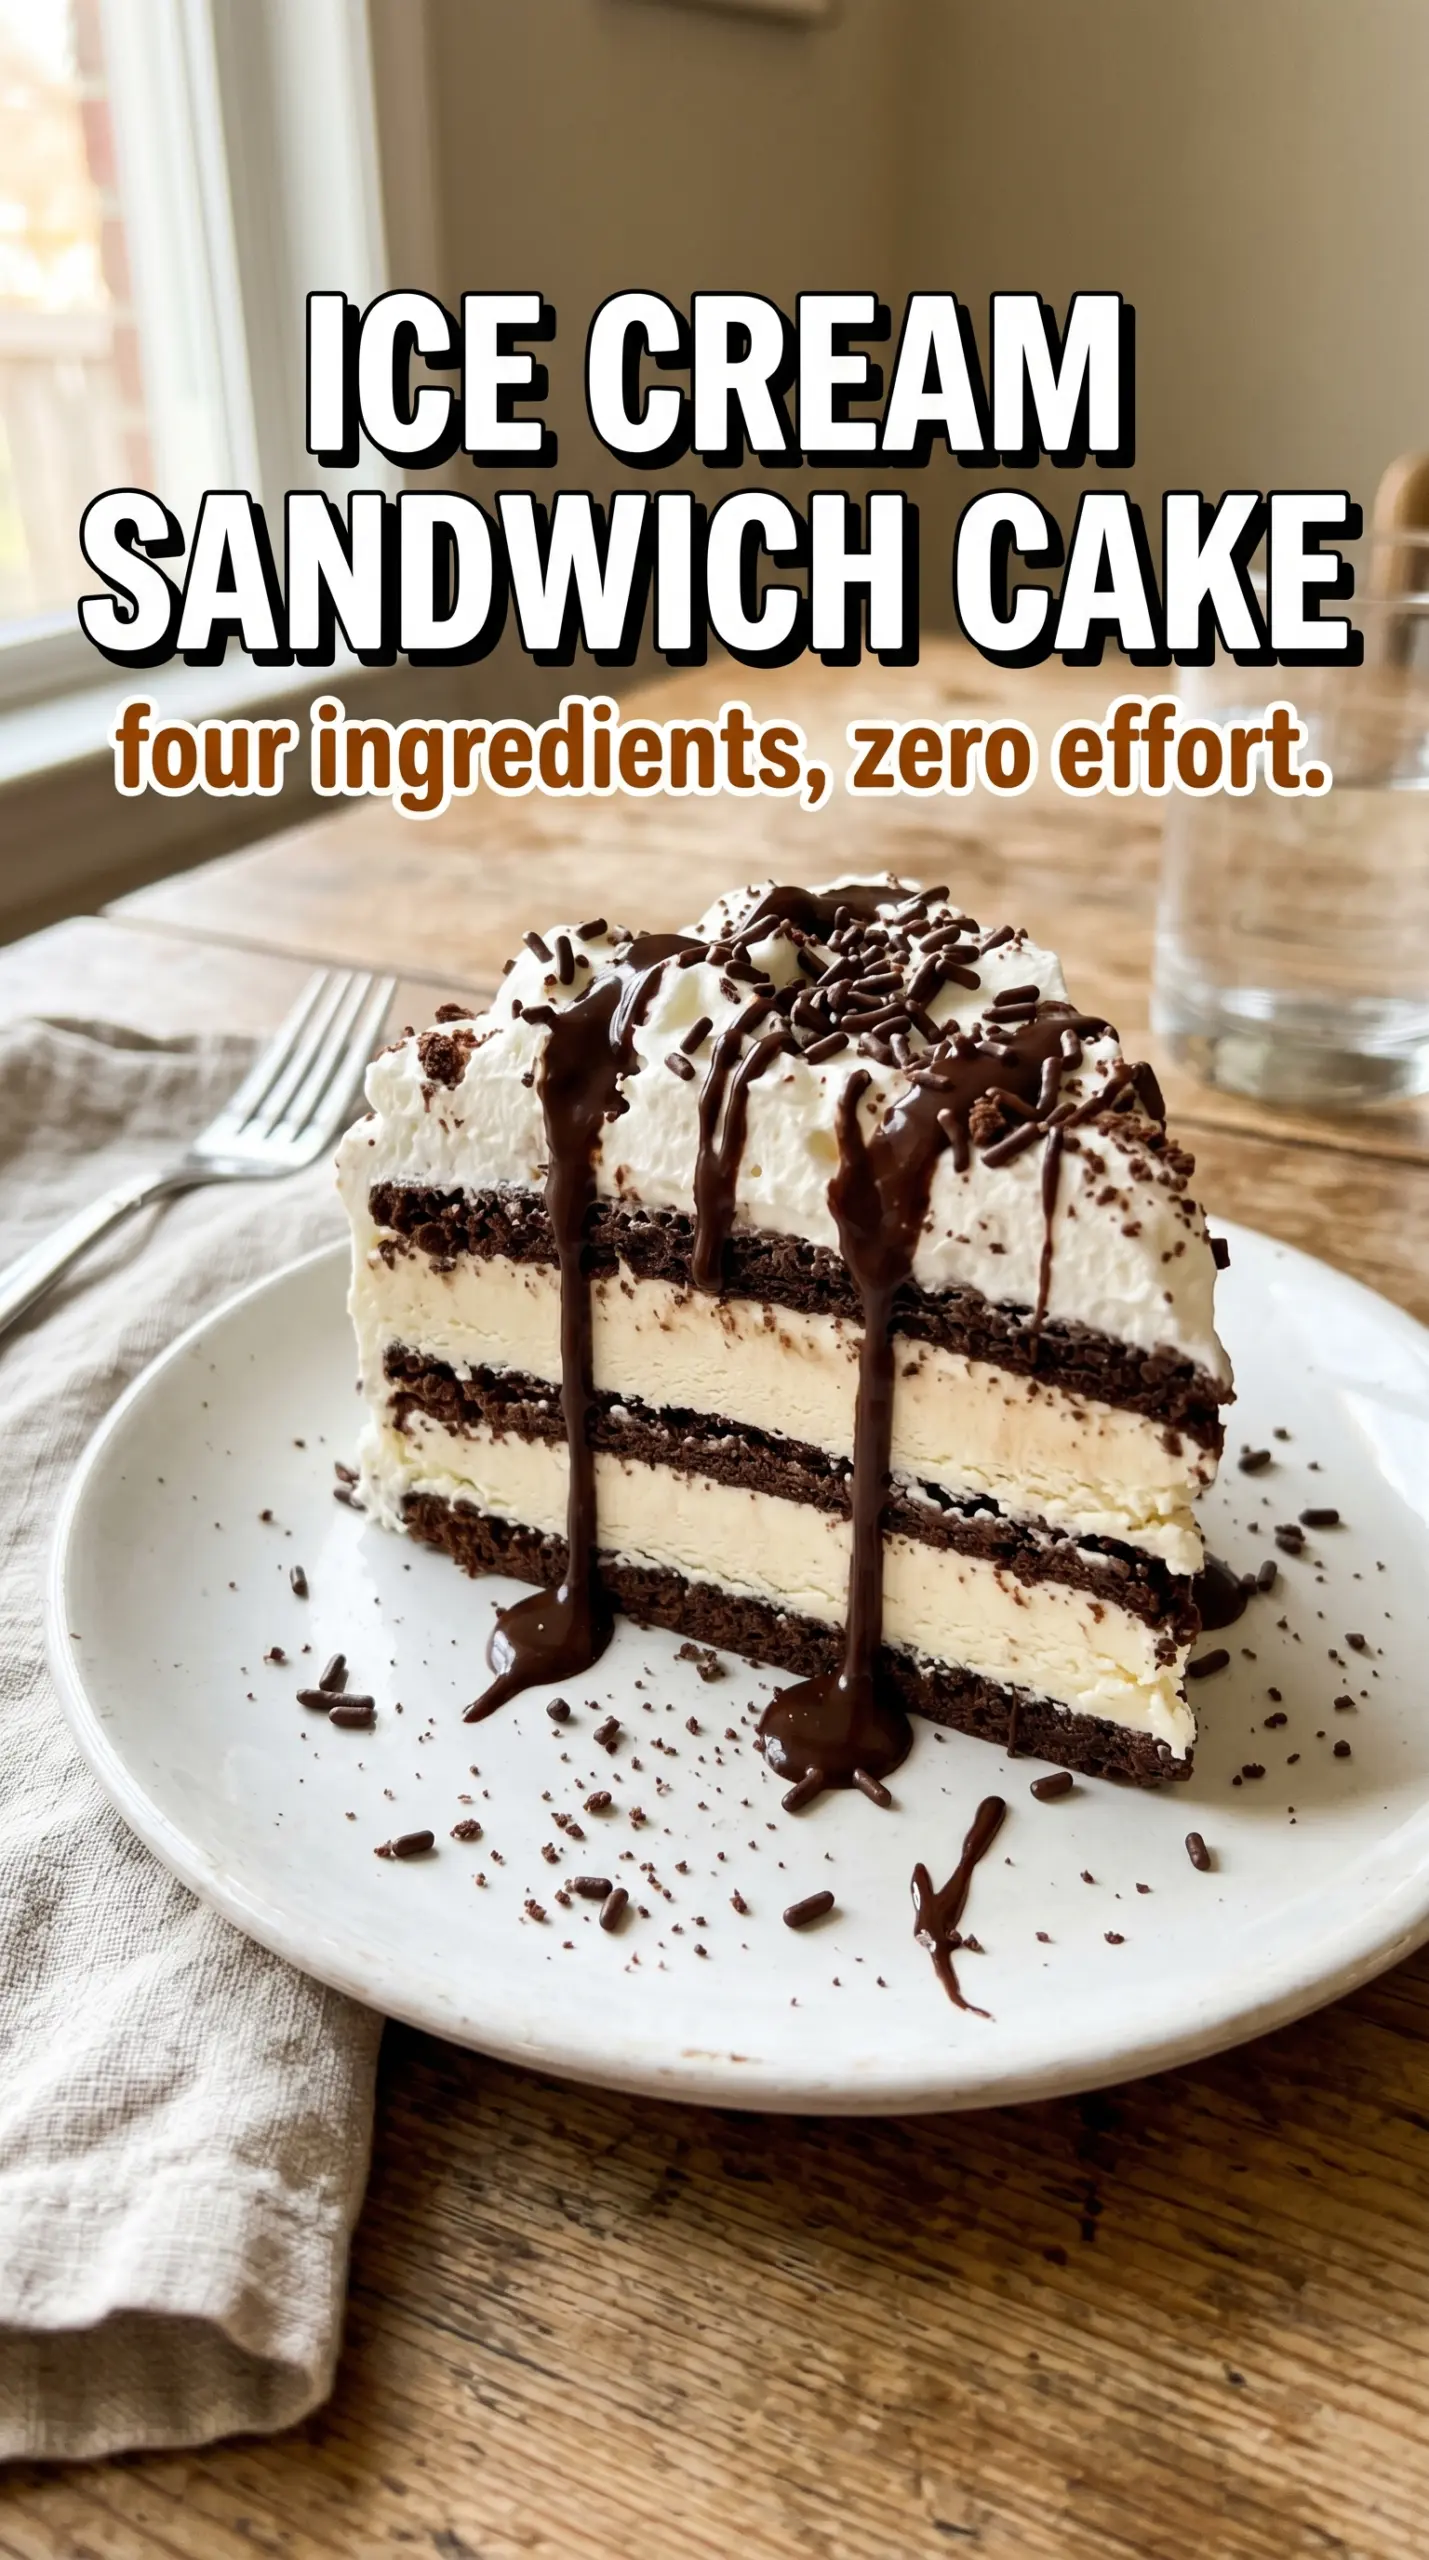
Layers of ice cream sandwiches, whipped topping, hot fudge, and caramel turn into a cake that slices cleanly and disappears fast. It’s the kind of dessert that looks like you spent all afternoon building it, even though the whole thing comes together with almost no effort. The best part is the texture: soft enough to bite through without a knife fight, but frozen firm enough to hold neat squares for a crowd.
What makes this version work is the order. The sandwiches go in first to create a sturdy base, then the whipped topping acts like both frosting and glue, and the sauces get drizzled in a way that keeps each bite from tasting one-note. If you spread the filling too thin or rush the freeze time, the layers slide and the whole cake loses its shape. Give it the full chill and it cuts like a proper dessert.
Below, I’m sharing the layering trick that keeps the cake from collapsing, plus a few smart swaps if you want to change the toppings without changing the structure. Once you’ve made it once, you’ll see why this one earns a spot in the freezer for birthdays, cookouts, and last-minute dessert emergencies.
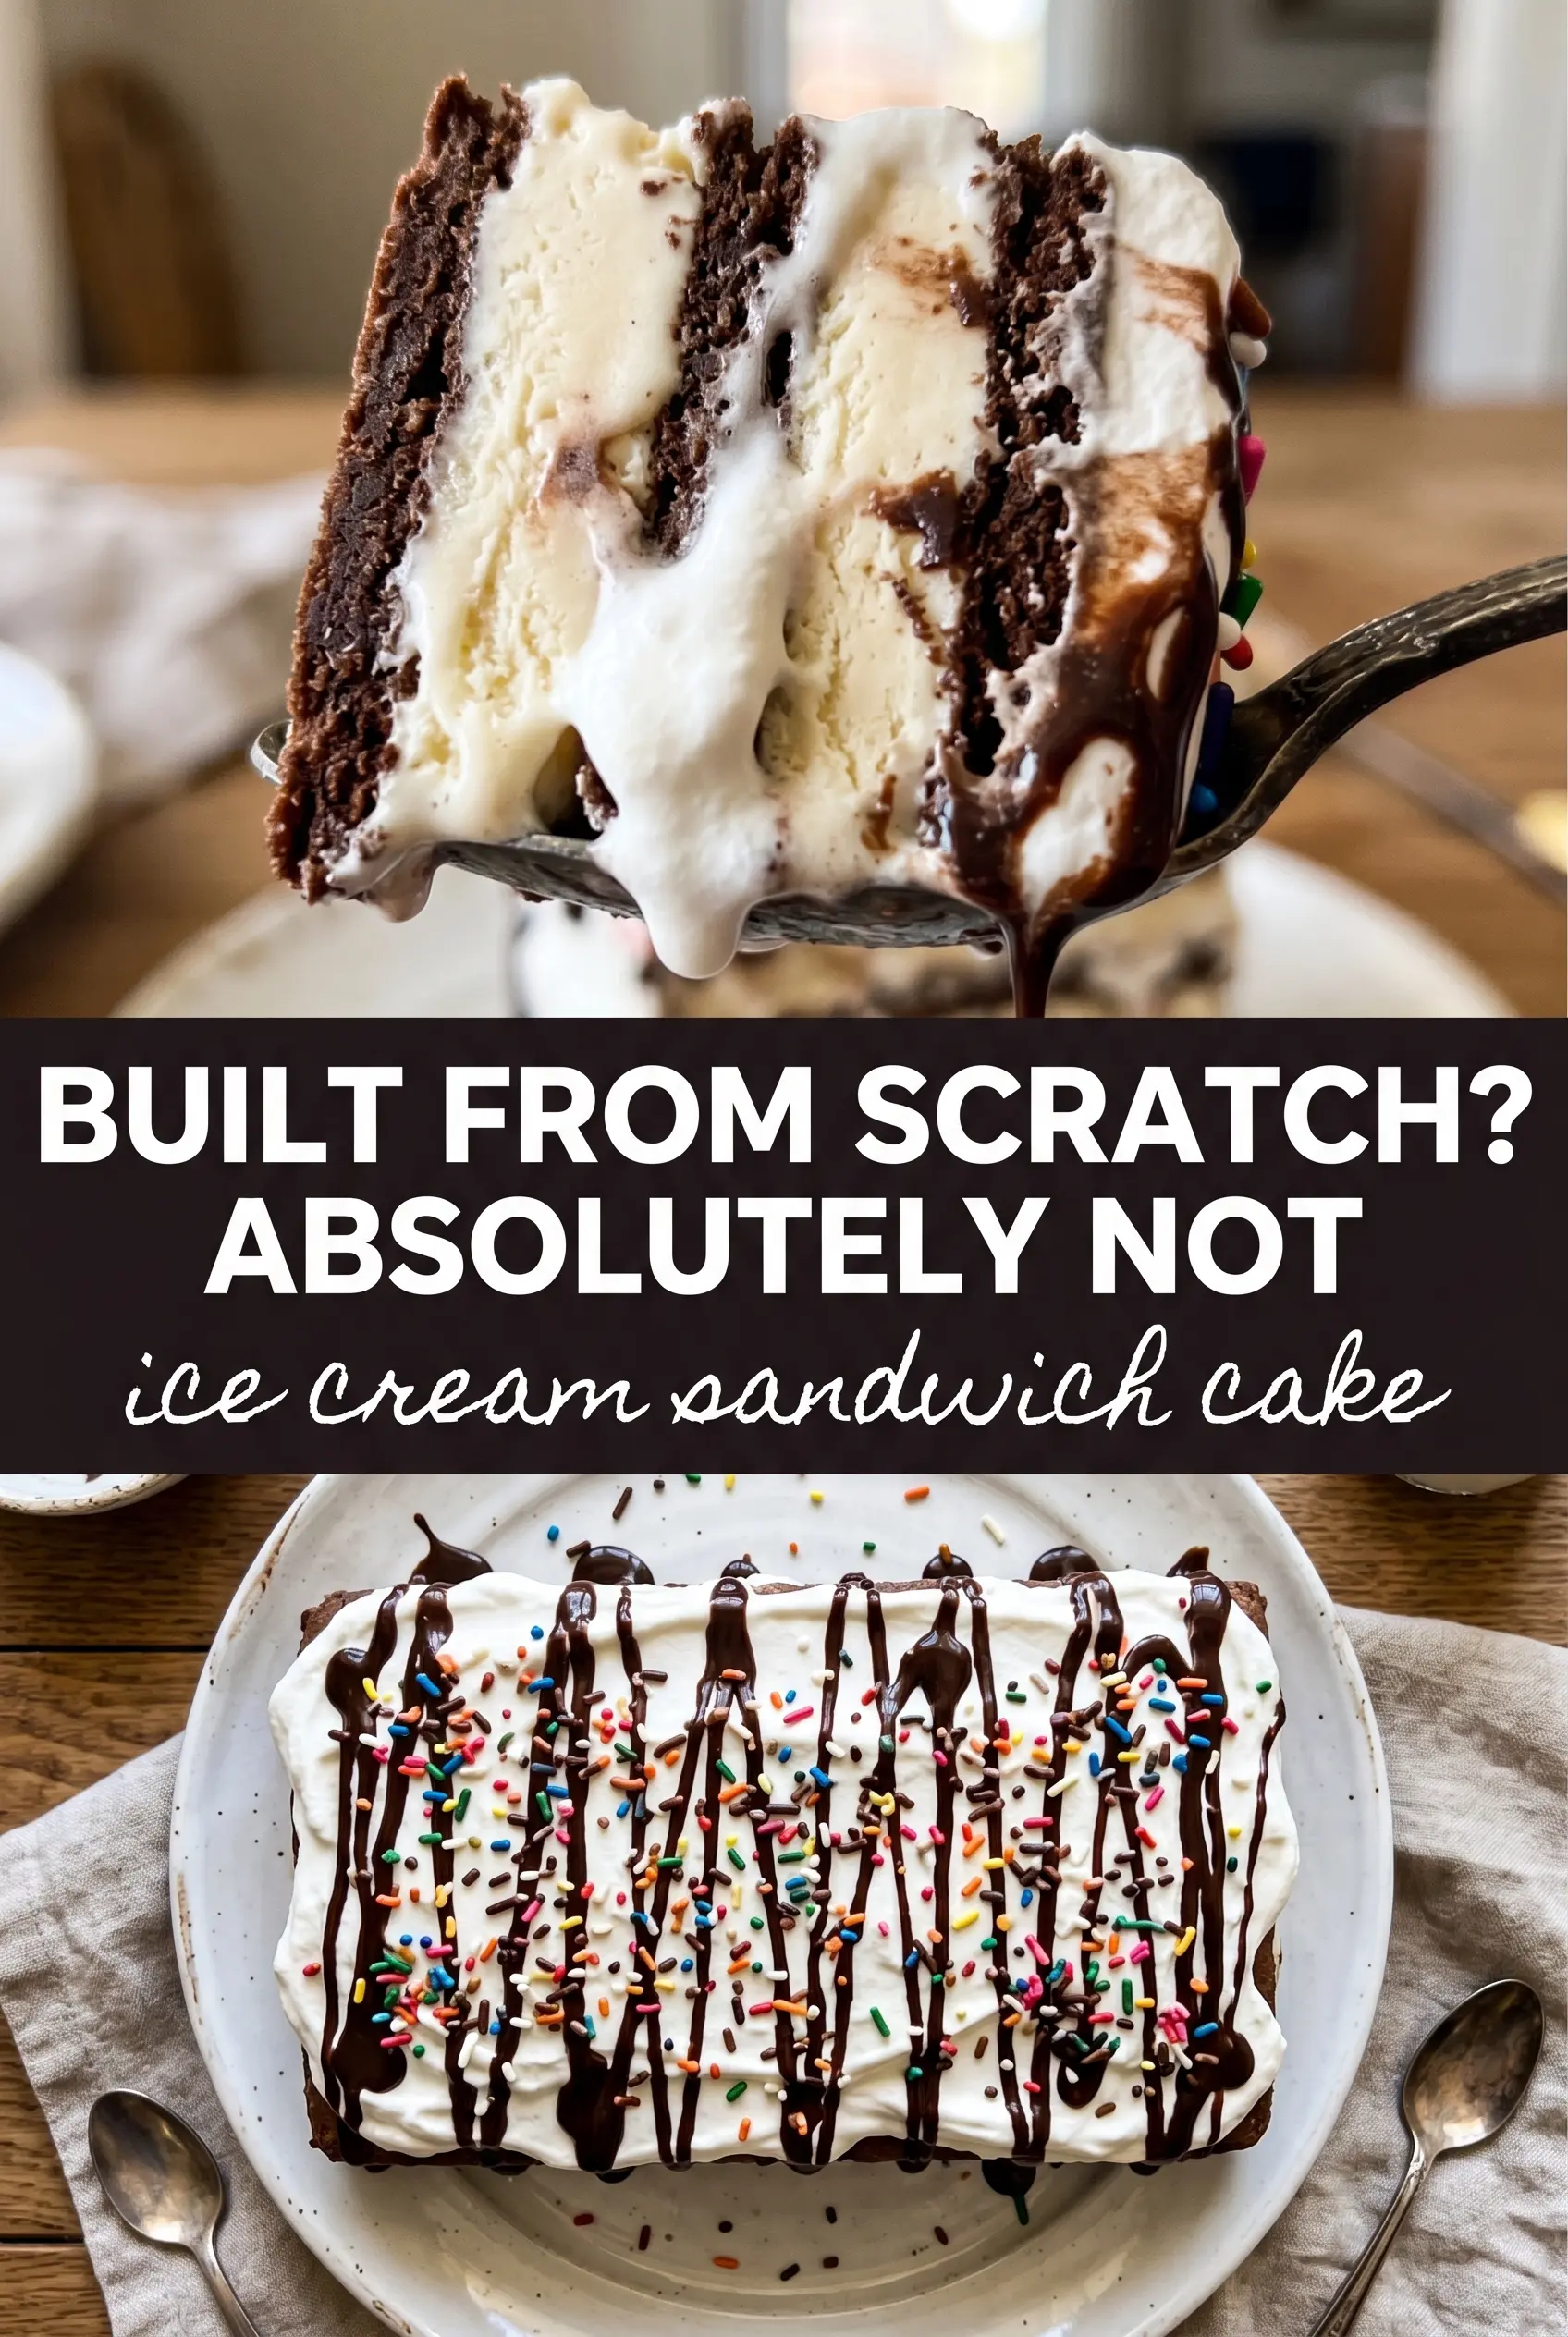
I was worried the layers would turn messy, but after 6 hours in the freezer it sliced into perfect squares. The fudge stayed thick, the caramel didn’t soak through, and everybody asked how I made it look so neat.
Love this no-bake ice cream sandwich cake? Save it to Pinterest for the birthdays and cookouts when you need a frozen dessert that layers fast and slices clean.
The Freeze Time That Keeps the Layers From Sliding
The mistake with ice cream sandwich cake is treating it like a dessert you can rush. The whipped topping needs time to set, and the sandwiches need time to soften just enough to cut without cracking. If you slice too early, the top layer drags and the filling smears instead of staying stacked.
Use a metal or glass 9×13 pan if you have one. Both help the cake freeze evenly and give you cleaner edges. When you spread the whipped topping, keep it in an even layer all the way to the corners so the sandwiches underneath don’t dry out in spots. The sauces should be drizzled, not dumped, or you’ll end up with puddles that freeze into hard streaks instead of ribbons.
- Ice cream sandwiches — The classic rectangular kind give you the neatest grid and the most stable layers. If yours are slightly smaller or larger, just adjust the count until the pan is fully covered.
- Whipped topping — Cool Whip stays fluffy and spreads easily straight from the fridge. Homemade whipped cream won’t hold the same structure after a long freeze, so it softens faster when sliced.
- Hot fudge sauce — This gives the cake its deep chocolate hit. Warm it just enough to pour smoothly, then let it cool for a minute so it doesn’t melt the whipped layer on contact.
- Caramel sauce — A thick bottled caramel works best here. Thin caramel tends to run into the sides and disappear into the whipped topping instead of staying visible.
- Sprinkles and Oreo crumbles — These are for texture and a little contrast on top. Add them after the final drizzle so they stay on the surface instead of sinking into soft topping.
What Each Ingredient Is Actually Doing in This Ice Cream Cake
- Crust or base layer (cookies, brownies, or cake) — This provides structure and texture contrast. A sturdy base keeps the whole cake from crumbling when served.
- Ice cream (the main event) — Choose quality ice cream or frozen yogurt. Soft-serve or premium ice cream works better than hard-packed store brands.
- Cake layer (optional but recommended) — A thin cake layer adds substance and keeps the cake from being all frozen texture. Make it thin so it doesn’t overpower the ice cream.
- Sauce or syrup layer (fudge, caramel, or fruit) — This adds flavor depth and prevents the cake from tasting one-dimensional. Freeze between layers so sauces stay distinct.
- Toppings (chocolate chips, cookies, candy, or nuts) — These add texture and visual appeal. Mix-ins stay crispy longer if frozen separately first.
- Frosting or whipped cream (optional topping) — This adds richness to the outside. Keep it simple or it overwhelms the cake.
- Freezing time (the patience that pays off) — Each layer needs time to set so they stay distinct when sliced. Rushing this step means layers muddy together.
- Storage and serving technique (thaw 5 minutes before slicing) — A brief thaw makes slicing clean and easy. Serve slices immediately for best texture.
Building the Cake Before It Melts in Your Hands
Set the First Layer Tight
Arrange the first layer of ice cream sandwiches snugly in the 9×13 pan, pressing them together so there aren’t gaps. If they’re loose, the filling can drop between them and make the cake uneven when sliced. Work fast, but don’t rush the fit; a tight base is what keeps the finished cake looking like a single slab instead of separate bars.
Spread and Drizzle Without Overworking It
Spread half the whipped topping over the sandwiches in a thin, even layer. A spatula works better than a spoon because it glides instead of dragging the cookies around. Drizzle half the hot fudge and caramel over the topping, then stop once you have visible ribbons across the surface. If you stir the sauces into the topping, you lose the clean layers that make each slice look intentional.
Finish the Top and Freeze Deep
Add the second layer of sandwiches, then cover them completely with the remaining whipped topping. Smooth it all the way to the edges so every piece gets the same frosty insulation. Drizzle on the rest of the fudge and caramel, then finish with sprinkles and Oreo crumbles before freezing at least 6 hours, or overnight if you want the cleanest cut. If the cake feels soft in the center, it needs more time.
How to Change the Toppings Without Losing the Structure
Make It Gluten-Free with the Right Sandwiches
Swap in gluten-free ice cream sandwiches if you need the dessert to work for everyone at the table. The texture will still hold, but some gluten-free brands soften a little faster, so give the cake the full overnight freeze for the neatest slices.
Dairy-Free Version That Still Slices Cleanly
Use dairy-free ice cream sandwiches, dairy-free whipped topping, and caramel and fudge sauces that are labeled dairy-free. The cake still sets up well, but the top layer may soften a little faster at room temperature, so keep it frozen until the moment you serve it.
Chocolate-Lover’s Version
Swap the caramel for extra fudge and use crushed chocolate sandwich cookies on top instead of sprinkles. That gives you a richer, more cocoa-forward cake, but it also reads heavier on the plate, so pair it with smaller slices.
Storage and Reheating
- Refrigerator: Not a good make-ahead fridge dessert; it softens fast and loses its shape within an hour or two.
- Freezer: Keeps well for up to 1 week when covered tightly with plastic wrap and foil. The cookies stay best in the first few days.
- Reheating: No reheating needed. Let it sit at room temperature for 5 to 10 minutes before slicing so the knife goes through cleanly instead of shattering the layers.
Answers to the Questions Worth Asking
Ice Cream Sandwich Cake
Ingredients
Equipment
Method
- Arrange 24 rectangular ice cream sandwiches in a single layer in a 9x13 pan, fitting them snugly with minimal gaps so each slice holds together.
- Spread half the whipped topping evenly over the sandwiches, using gentle, even pressure to create a flat surface.
- Drizzle half the hot fudge sauce and half the caramel sauce over the whipped topping, letting the sauces streak in different directions for a layered look.
- Arrange a second layer of ice cream sandwiches on top, aligning them over the first layer so the rows stay straight.
- Spread the remaining whipped topping over the top layer completely, covering edges so the cake is sealed before freezing.
- Drizzle the remaining hot fudge sauce and caramel sauce over the top, then add rainbow sprinkles and Oreo crumbles for decoration.
- Freeze at least 6 hours or overnight before slicing, so the ice cream sandwiches set into firm layers with clean cuts.


