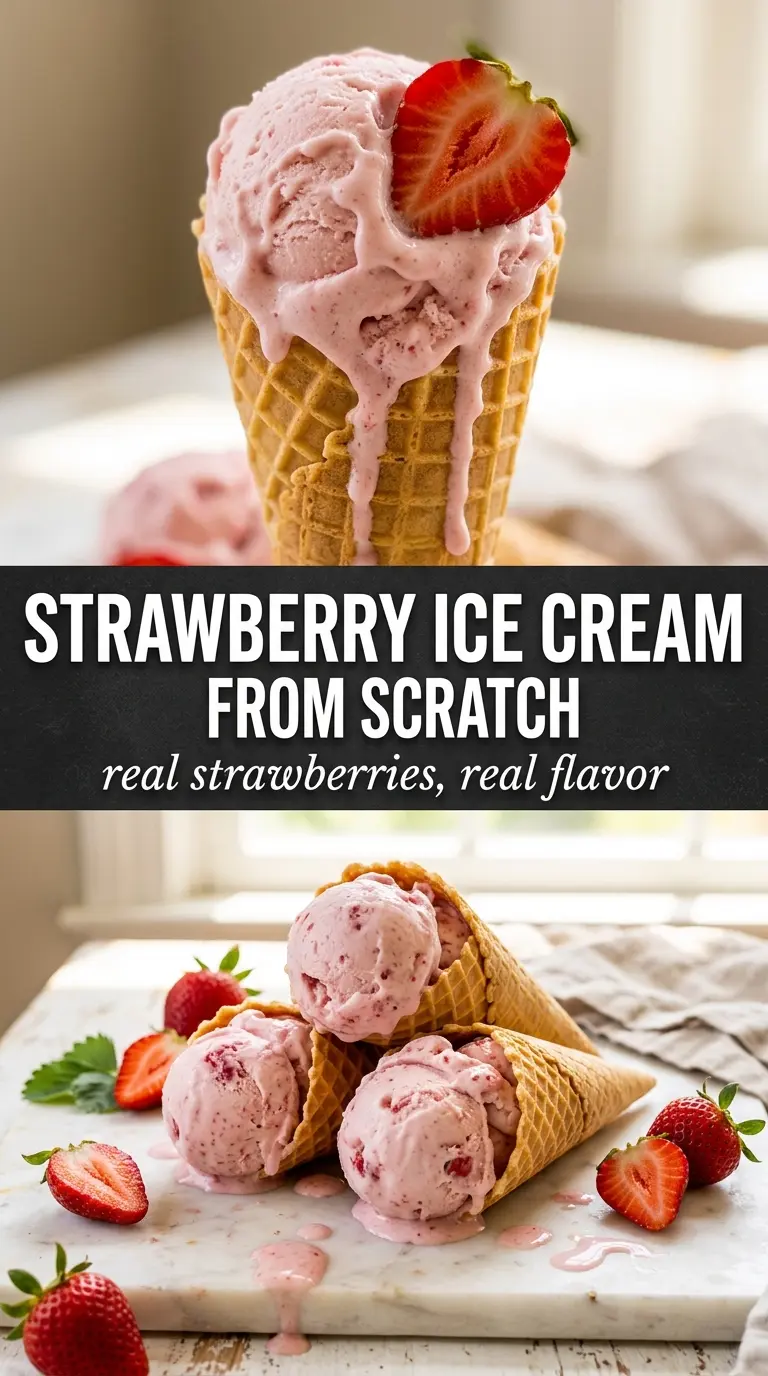
Scoops of homemade strawberry ice cream should taste like actual strawberries, not pink sugar with a hint of fruit. This version keeps the berry flavor front and center, with a creamy custard base that stays smooth and a real strawberry swirl that brings little pockets of bright, fresh fruit in every bite. The texture lands somewhere between plush and light, with enough body to scoop cleanly straight from the freezer.
The trick is building two parts separately: a cooked custard for richness and a macerated strawberry puree for clean, concentrated flavor. The strawberries get a short rest with sugar and lemon juice first, which pulls out their juices and sharpens the flavor before they ever meet the churn. The custard is cooked just until it coats a spoon, then chilled fully so the ice cream maker can do its job without fighting a warm base.
Below, I’ve included the details that matter most — how to keep the custard from scrambling, when to add the strawberries so the color stays vivid, and a few swaps if you need to work around what’s in your kitchen.
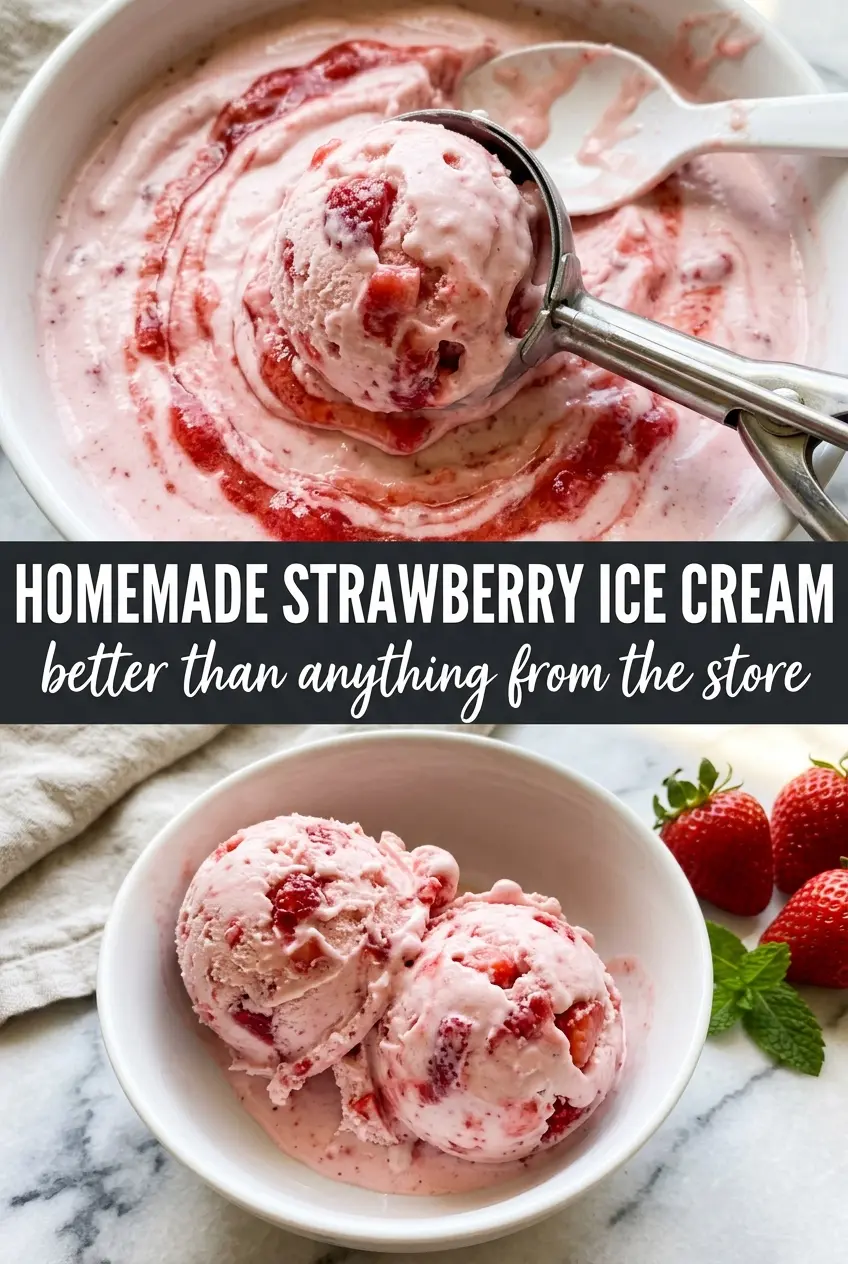
The custard turned out silky and the strawberry pieces stayed bright instead of disappearing into the base. I churned it for the full time, and after two hours in the freezer it scooped like a dream.
Save this homemade strawberry ice cream for the nights when you want a creamy churned dessert with real berry flavor in every scoop.
The Custard Can’t Be Rushed If You Want a Smooth Scoop
Most homemade ice cream problems start with the base. If the custard goes in the churn undercooked, it can freeze with a thin, icy texture; if it goes too far, it turns grainy or scrambled. The goal here is a base that lightly coats the back of a spoon and leaves a clear line when you drag a finger through it.
The other place people lose the texture is by adding the strawberry puree too early. Fruit brings water, and water is what makes ice cream hard and icy. Folding it in during the last few minutes of churning keeps the pieces distinct and helps the mixture freeze with a softer, creamier finish.
What the Strawberries, Cream, and Egg Yolks Each Do Here
- Fresh strawberries — These carry the flavor, color, and little bits of fruit that make this ice cream taste homemade. Frozen strawberries can work in a pinch, but thaw them first and drain any excess liquid so the base doesn’t get watered down.
- Sugar — It does more than sweeten. A portion of it pulls juice from the berries during maceration, and the rest helps the custard freeze with a softer texture instead of turning blocky in the freezer.
- Lemon juice — Just enough acidity wakes up the strawberries and keeps the flavor from tasting flat. Don’t skip it; the ice cream won’t taste lemony, but the berries will taste brighter.
- Heavy cream and whole milk — This is the richness balance. Heavy cream gives body, while whole milk keeps the finished ice cream from becoming too dense. Swapping in lower-fat milk makes the texture lean and icy.
- Egg yolks — They thicken the custard and give the ice cream that plush, scoopable body. There isn’t a true substitute that behaves the same way, which is why this style tastes deeper and smoother than a no-egg base.
- Vanilla and salt — Both are background support, but they matter. Vanilla rounds out the fruit, and salt keeps the sweetness from tasting one-note.
How to Keep the Custard Smooth and the Strawberry Swirl Bright
Macarating the Berries
Toss the sliced strawberries with sugar and lemon juice and let them sit long enough to get glossy and juicy. That rest gives you a stronger strawberry flavor than tossing raw berries straight into the churn. When you mash or blend them, leave some texture if you want little fruit pieces in the finished ice cream. Puree them completely if you want a smoother scoop.
Tempering the Yolks
Whisk the yolks and sugar until they look pale and slightly thickened, then slowly stream in the hot cream mixture while whisking constantly. If you dump the liquid in all at once, you’ll scramble the eggs instead of making custard. The slow pour warms the yolks gently and keeps the mixture silky.
Cooking to the Spoon-Coat Stage
Return everything to the saucepan and cook over medium-low heat, stirring constantly and scraping the bottom and corners. You’re watching for the mixture to thicken enough to coat a spoon and hold that line when you run a finger through it. If it starts steaming heavily or bubbling, pull the heat down; that’s the point where eggs can curdle fast.
Chilling Before Churning
Strain the custard, then stir in the vanilla and salt after it comes off the heat. Chill it completely before it goes into the ice cream maker. Warm base equals soft, slushy churn and a longer time in the machine, which usually means a weaker texture at the end.
Bringing in the Strawberry Puree
Add the berry mixture during the last few minutes of churning so it disperses without disappearing. If you add it too early, the fruit can break down too much and turn the whole batch muddy. At the end, the ice cream should look thick and softly peaked, with visible pink streaks and berry bits running through it.
Three Ways to Adjust This Batch Without Losing the Good Part
Dairy-Free Coconut Version
Use full-fat coconut milk in place of the cream and whole milk for a richer dairy-free base. The flavor shifts toward coconut, and the texture will be a little softer, but it still churns well if you chill the custard thoroughly before freezing.
No-Egg Philadelphia-Style Base
Skip the yolks and heat the cream, milk, sugar, vanilla, and salt just until the sugar dissolves. The result is lighter and a little icier, but the strawberry flavor comes through even more clearly. This version works best if you want a cleaner, fresher fruit finish.
Chunky Berry Pieces Instead of Puree
Mash the strawberries lightly instead of blending them smooth if you want bigger fruit bits in the finished ice cream. The tradeoff is a more rustic texture and the chance of small icy pockets around the fruit, so keep the pieces small and evenly sized for the best scoop.
Storage and Reheating
- Refrigerator: Store the churned base before freezing for up to 24 hours if needed, but the finished ice cream belongs in the freezer. Once frozen, it won’t hold in the fridge without melting.
- Freezer: Freeze in an airtight container with parchment pressed against the surface for up to 2 weeks for the best texture. After that, it’s still safe, but the berries can get icier and the flavor starts to fade.
- Reheating: Let it sit at room temperature for 5 to 10 minutes before scooping. If it’s rock hard, don’t microwave it for long bursts; that melts the edges before the center loosens.
Questions I Get Asked About This Recipe
Homemade Strawberry Ice Cream
Ingredients
Equipment
Method
- Toss sliced strawberries with 1/4 cup sugar and lemon juice, then let macerate for 30 minutes in the refrigerator.
- Mash or blend the strawberries into a chunky puree, then refrigerate until needed.
- Whisk egg yolks with the remaining 1/2 cup sugar until pale and thick.
- Heat heavy cream and whole milk in a saucepan over medium heat until steaming, then slowly whisk into the egg yolks.
- Return to the saucepan and cook over medium-low heat, stirring constantly, until thickened to coat the back of a spoon (170-175F).
- Strain the custard, then stir in vanilla and salt.
- Cool completely, then refrigerate at least 2 hours.
- Churn in an ice cream maker according to the manufacturer’s instructions.
- Add the strawberry puree in the last 5 minutes of churning.
- Transfer to a container and freeze at least 2 hours until firm.


