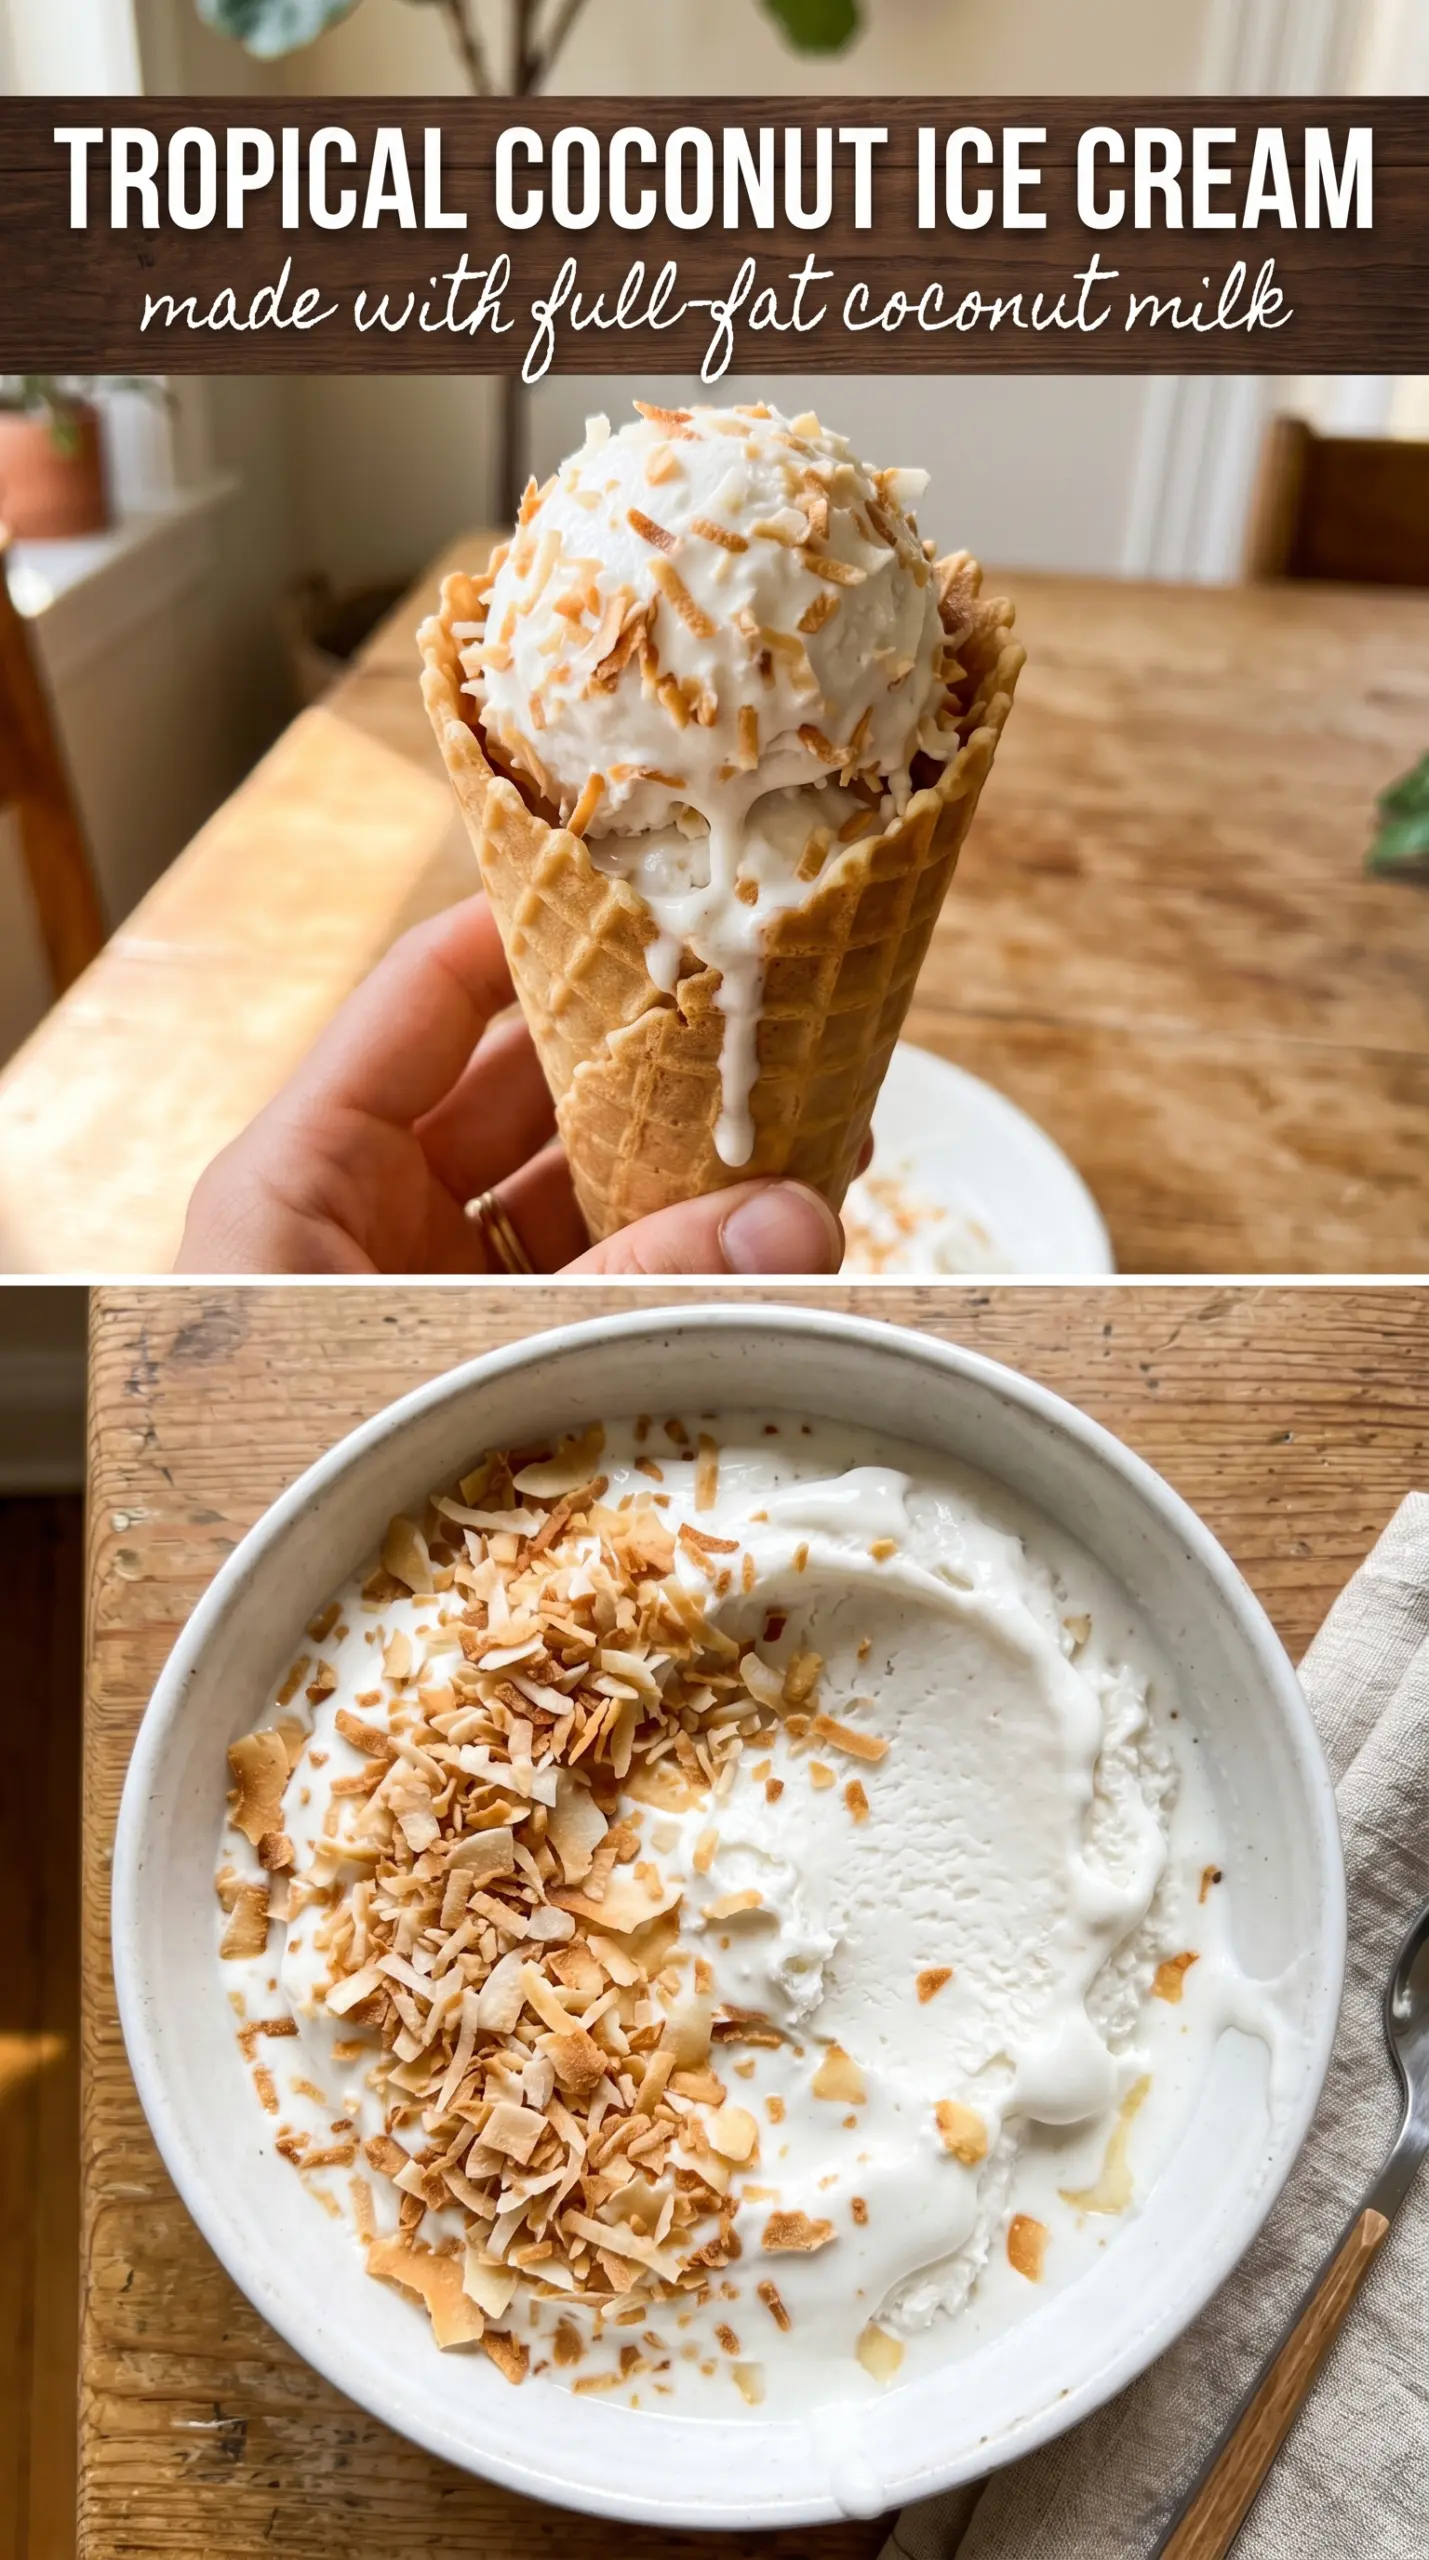
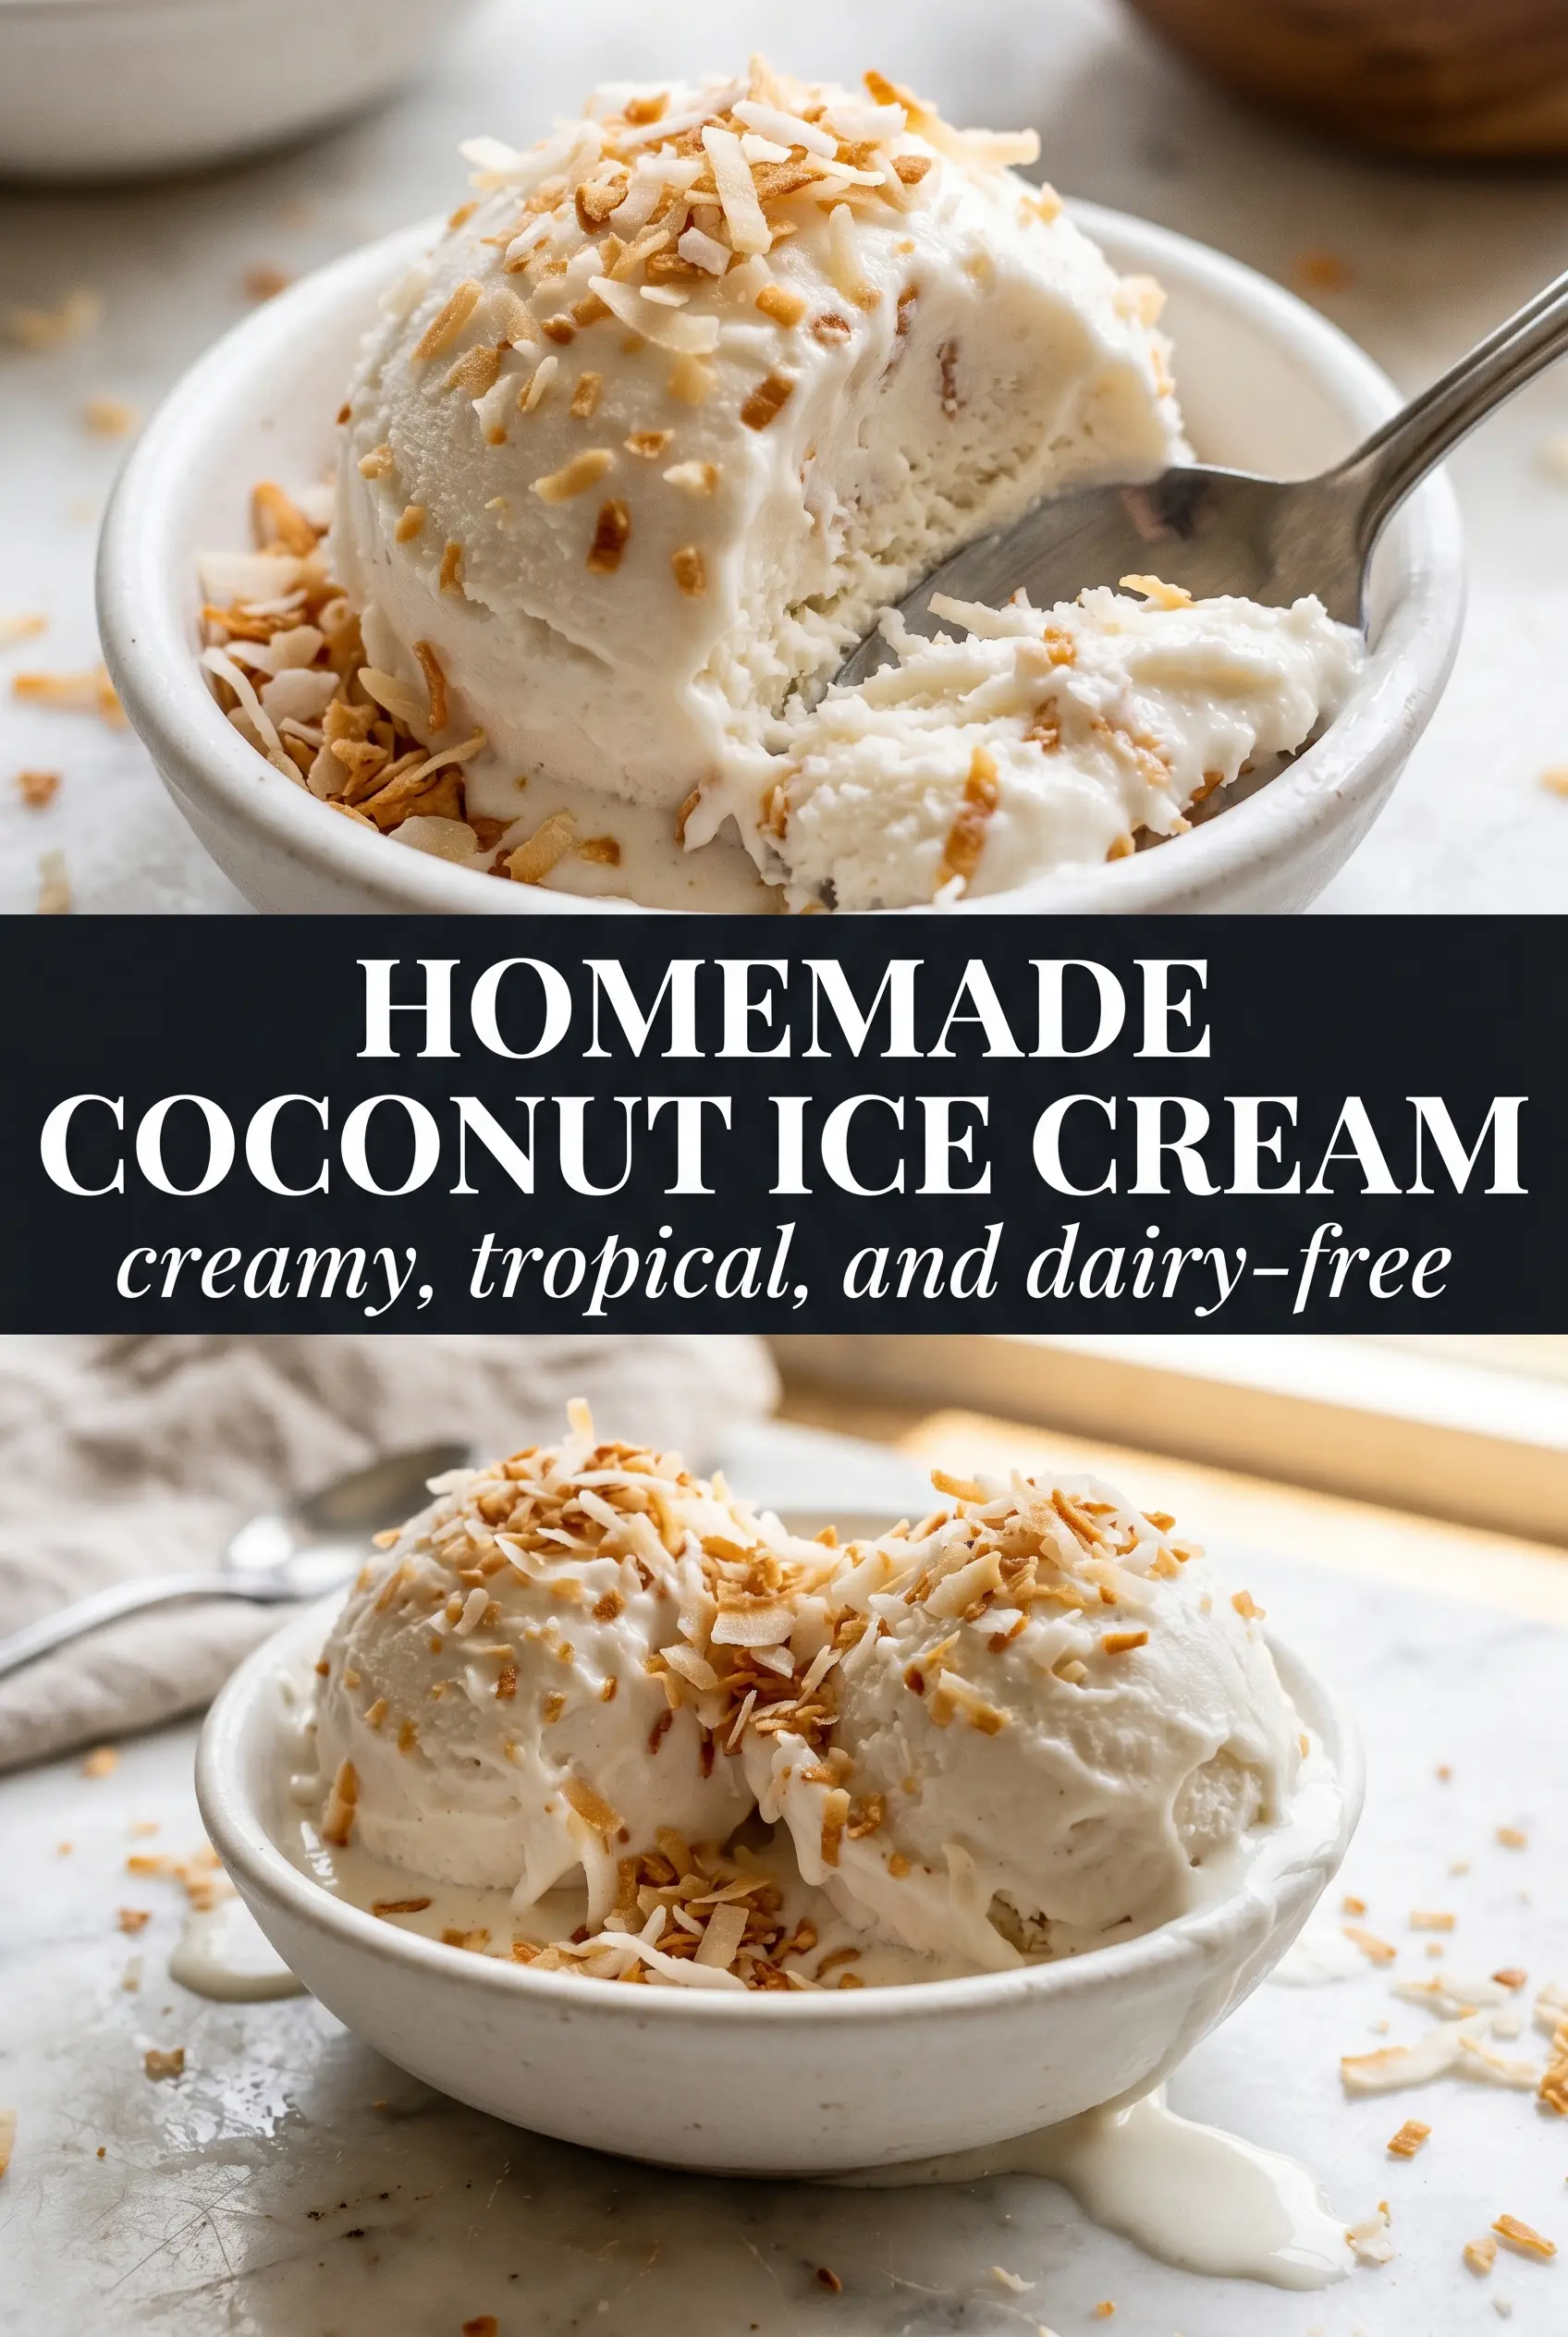
Silky coconut ice cream has a way of tasting richer than it looks. The base turns custardy and fragrant from full-fat coconut milk and egg yolks, then the toasted coconut folds through with little chewy bits that keep each spoonful from feeling flat. The finished texture lands somewhere between classic ice cream and a frozen coconut cream pie filling — dense, smooth, and full of real coconut flavor.
The trick is treating the coconut milk like dairy custard, not a shortcut base. You heat it just enough to dissolve the sugar, temper the yolks slowly so they don’t scramble, then cook the custard low and steady until it thickens at 175F. That gentle approach keeps the mixture glossy instead of grainy, which matters even more when you’re working with coconut milk, since it can separate if you rush it.
Below you’ll find the small details that make this ice cream churn well, freeze cleanly, and stay scoopable. The toasted coconut is folded in at the end so it keeps its texture, and the storage notes will help if you want to make it ahead for a dinner party or keep a batch tucked away in the freezer.
The custard came together smooth and the toasted coconut stayed crunchy in the best way. I chilled it overnight and it churned up thick enough to scoop after only a short freeze.
Creamy homemade coconut ice cream with toasted coconut flakes is the kind of freezer treat worth making ahead for a scoopable finish.
The Step That Keeps Coconut Custard From Turning Grainy
The biggest mistake with coconut ice cream is pushing the custard too hard on the stove. Coconut milk looks forgiving, but it can separate if it gets too hot too fast, and egg yolks will seize if the heat climbs before they’ve been tempered. Cook it over medium-low and stir constantly, especially around the edges of the pan where the mixture thickens first.
You want a custard that lightly coats the back of a spoon and reaches 175F, not a bubbling mixture that looks thick enough at the stove and turns eggy after chilling. Straining the base catches any little bits of cooked yolk before they end up in the freezer. That step is the difference between smooth ice cream and one with tiny curds hidden in every bite.
- Full-fat coconut milk — This is the backbone of the recipe. Light coconut milk won’t give you the same body or richness, and the ice cream will freeze harder and taste thinner. Shake the cans well before opening, then use the thickest, richest milk you can find.
- Egg yolks — They make the base creamy and help it churn into a softer scoop. There isn’t a real shortcut here if you want that custardy texture. If you need an egg-free version, you’ll need a different formula, not a simple swap.
- Coconut extract — A small amount wakes up the coconut flavor without making the ice cream taste artificial. If yours is strong, stay with the half teaspoon; if it’s mild, don’t double it. The full-fat coconut milk does most of the work.
- Toasted shredded coconut — Toast it until it’s deep golden and fragrant before folding it in. Untoasted coconut turns soft and a little chewy in the freezer, while toasted coconut keeps some bite and gives the finished ice cream texture.
What Each Ingredient Is Actually Doing in This Frozen Treat
- Base ingredient (cream, yogurt, or fruit) — This determines the texture and richness. Cream makes it scoopable; yogurt makes it tangy; fruit makes it refreshing.
- Sweetener (sugar or honey) — This prevents the mixture from freezing rock-solid and creates a smooth texture. Too much and it won’t freeze; too little and it’s icy.
- Egg yolks (if using custard method) — These create richness and a silky texture. Tempering is important so they don’t scramble.
- Thickener (cornstarch, gelatin, or egg) — This prevents ice crystals from forming and keeps the texture smooth instead of grainy.
- Flavoring (vanilla, chocolate, fruit, or spices) — Use quality flavorings because they’re essential to the taste. Dilute-tasting ice cream comes from cheap extract.
- Stabilizers (gum, gelatin, or dairy) — These keep the ice cream from becoming icy during storage. They prevent large ice crystals from forming.
- Mix-ins (nuts, chunks, or swirls) — These add texture and interest. Freeze-stable chocolate works better than regular chocolate, which gets hard.
- Proper chilling and churning (the technique) — This incorporates air and prevents ice crystals. An ice cream maker makes a huge difference in texture.
From Steaming Coconut Milk to a Churnable Base
Warming the Coconut Milk and Sugar
Combine the coconut milk and sugar in a saucepan and heat it until the sugar dissolves and the mixture just starts to steam. Don’t let it boil at this stage. You want the sugar fully dissolved so the base tastes smooth, not sandy, and the gentle heat helps the eggs temper more evenly in the next step.
Tempering the Yolks Without Scrambling Them
Whisk the yolks until smooth in a bowl, then drizzle in the hot coconut mixture slowly while whisking constantly. That gradual stream warms the yolks without cooking them into bits. If you dump the hot liquid in all at once, you’ll get sweet scrambled eggs instead of custard.
Cooking to the Right Thickness
Return everything to the saucepan and cook over medium-low heat, stirring constantly with a spatula or wooden spoon. The custard is ready when it reaches 175F and coats the back of the spoon in a thin, even layer. If it starts to steam heavily or bubble, pull it off the heat for a moment and keep stirring; once it curdles, there’s no fixing the texture.
Chilling, Churning, and Folding in Coconut
Strain the custard into a clean bowl, stir in the vanilla, coconut extract, and salt, then cool it completely before refrigerating. A warm base won’t churn properly and can leave the ice cream icy instead of dense. After at least 4 hours of chilling, churn it in your ice cream maker, then fold in the toasted coconut during the last couple of minutes so it stays distributed instead of sinking to the bottom.
How to Adapt This for Different Freezers and Different Eaters
Dairy-Free Coconut Ice Cream
This recipe is already dairy-free because the richness comes from coconut milk instead of cream. The only thing to watch is the ingredient label on your sweetened shredded coconut, since some brands add dairy-based flavorings. Keep everything else the same for a fully dairy-free dessert with a dense, creamy scoop.
Unsweetened Coconut for a Less Sweet Finish
If you want the coconut flavor to feel a little cleaner and less candy-like, swap the sweetened shredded coconut for unsweetened toasted coconut. The texture stays the same, but the finished ice cream tastes less sugary and a little more grown-up. If you make that swap, keep the custard sweetness as written so the base still freezes soft enough to scoop.
No Ice Cream Maker
You can freeze the custard in a shallow container and stir it every 30 to 45 minutes until it firms up, but the texture won’t be as smooth as churned ice cream. The manual stirring breaks up ice crystals, which helps, but it won’t match the airy body an ice cream maker creates. For the best result, freeze it in a metal pan and work quickly each time you stir.
Storage and Reheating
- Refrigerator: The custard base can sit covered for up to 2 days before churning. Stir it once before it goes into the machine if any coconut solids separate on top.
- Freezer: Finished ice cream keeps well for about 2 weeks. Press parchment or plastic wrap directly on the surface before covering the container to limit ice crystals.
- Reheating: Ice cream doesn’t need reheating, but it does need a short sit on the counter before scooping. Let it rest 5 to 10 minutes so the edges soften first; forcing a spoon through it straight from the freezer can make even a good batch seem hard and icy.
Answers to the Questions Worth Asking
Homemade Coconut Ice Cream
Ingredients
Equipment
Method
- Heat the full-fat coconut milk and granulated sugar in a saucepan over medium heat until the sugar dissolves and the mixture steams, about 2–4 minutes. You should see a gentle simmer and no grainy sugar left at the bottom.
- Whisk the egg yolks until smooth in a bowl, about 30–60 seconds. Keep whisking until the yolks look slightly lighter and uniform.
- Slowly whisk the hot coconut milk into the egg yolks, pouring in a thin stream to prevent scrambling. The mixture should thicken slightly as it comes together.
- Return everything to the saucepan and cook over medium-low heat, stirring constantly, until the custard reaches 175F and coats the back of a spoon, about 6–8 minutes. A finger-drawn line on the spoon should hold its shape.
- Strain the custard into a clean container to remove any tiny bits, then stir in vanilla extract, coconut extract, and salt. Mix until fully combined and the custard looks smooth and glossy.
- Cool the custard completely, then refrigerate at least 4 hours until thoroughly chilled. The surface should feel cold and the container should be no longer warm to the touch.
- Churn the chilled custard in an ice cream maker until it reaches soft-serve thickness, about 20–30 minutes. The texture should look like thick, aerated coconut ice cream.
- Fold in the toasted shredded sweetened coconut in the last 2 minutes of churning so the flakes distribute through the base. You should see toasted shreds suspended throughout, not clumped.
- Transfer to a freezer-safe container and freeze until firm, about 2–4 hours. The ice cream should scoop cleanly with minimal melting at the edges.


