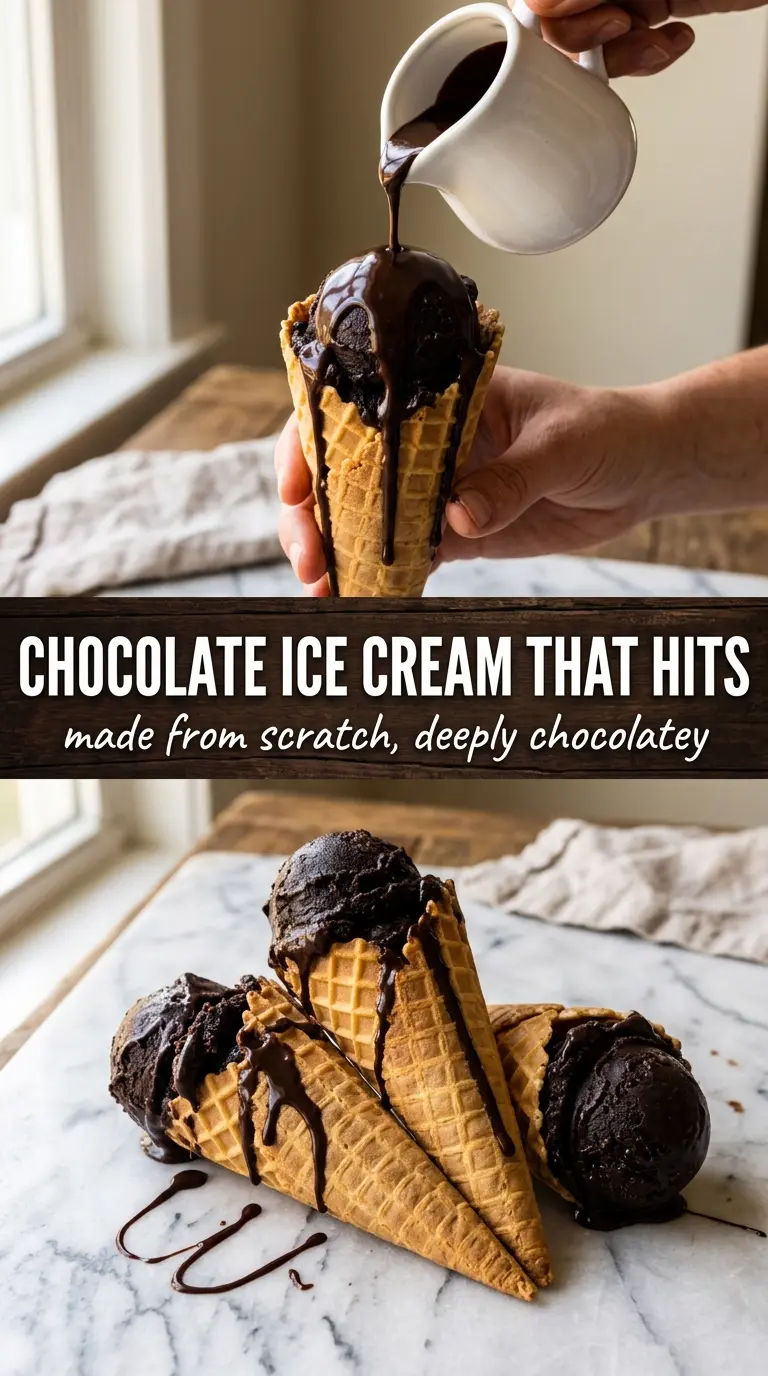
Deep, fudgy chocolate ice cream earns its place fast when the texture lands between silky custard and dense scoop-shop richness. The cocoa comes through first, then the dark chocolate steps in and gives the base that darker, more intense finish you can’t get from cocoa alone. Every spoonful should taste cold, clean, and full of chocolate instead of milky sweetness.
The part that matters most is the custard. Whisking the hot chocolate cream into the yolks slowly keeps the eggs from scrambling, and cooking the base just until it coats the back of a spoon gives you that velvety body without turning it into sweet scrambled eggs. Straining the custard catches any tiny bits before they have a chance to show up in the finished ice cream.
Below, I’ve laid out the small details that make this version work — from the cocoa bloom to the freezing step that keeps the texture smooth instead of icy. There’s also a simple note on storage, because homemade chocolate ice cream is at its best when you handle the churned base the right way after it comes out of the machine.
The custard chilled up thick and the chocolate flavor stayed bold even after freezing. I used the full overnight chill, and the texture turned out creamy instead of icy — my husband said it tasted like the good stuff from an old-school creamery.
Save this homemade chocolate ice cream for the days when you want a dark, custardy scoop with real cocoa depth and no icy aftertaste.
The Custard Step That Keeps Chocolate Ice Cream Smooth
Chocolate ice cream turns grainy when the base gets too hot or the yolks hit the pan too fast. The cure is patience during the tempering stage, because the yolks need to warm gradually before they go back into the saucepan. Once the custard is on the heat, the line between perfect and overcooked is thin, so watch for the moment it thickens enough to coat a spoon without turning pasty.
- Whisk the cocoa with part of the sugar first. That helps it disperse instead of floating in dry clumps and gives you a darker, more even chocolate base.
- Add the chopped dark chocolate while the cream is still hot. It should melt completely and disappear into the mixture, leaving no grainy bits behind.
- Cook over medium-low heat, not high. High heat pushes the yolks too far and gives you a scrambled texture instead of a smooth custard.
- Strain the finished base. Even if it looks perfect in the pot, this step catches any tiny cooked bits and makes the final ice cream feel cleaner on the tongue.
What Each Ingredient Is Actually Doing in This Ice Cream
- Heavy cream — This is what gives the ice cream its plush body and keeps the churned base from tasting thin. Lower-fat dairy will freeze harder and taste less luxurious.
- Whole milk — It loosens the base just enough so the custard cooks evenly and churns cleanly. Don’t swap in skim milk here; you’ll lose too much richness.
- Granulated sugar — Sugar does more than sweeten. It keeps the ice cream softer after freezing, which matters in a recipe this chocolate-heavy because cocoa can taste blunt if the sweetness is too low.
- Unsweetened cocoa powder — This is where the deep chocolate backbone comes from. Use a good-quality natural cocoa if you want a clean, bold chocolate note; Dutch-process will taste smoother and darker, but both work.
- Dark chocolate — The chopped chocolate intensifies the flavor and gives the finished ice cream a denser, more fudgy character than cocoa alone can deliver. Choose something around 60% to 70% cacao for the best balance.
- Egg yolks — They build the custard base and give the ice cream its thick, scoopable texture. There isn’t a good substitute if you want this exact style.
- Vanilla and salt — Vanilla rounds out the chocolate, and salt keeps it from tasting flat. That little bit of salt matters more than people think in a dessert this rich.
Chilling, Churning, and Freezing Without Losing the Texture
Blooming the Cocoa
Whisk the cocoa with a portion of the sugar before it goes into the saucepan, then add the cream and milk and heat until steaming. This helps the cocoa dissolve instead of staying dusty or clumpy, and it gives the ice cream a fuller chocolate taste. If you rush this part, you’ll end up chasing little cocoa lumps around the pan later.
Tempering the Yolks
Whisk the yolks with the rest of the sugar until they look lighter and thicker, then stream in the hot chocolate mixture while whisking constantly. That gradual heat shift protects the eggs and keeps the custard silky. If the mixture ever looks streaky or curdled at this stage, stop and whisk harder before it goes back into the pot.
Cooking to the Right Thickness
Return the mixture to the saucepan and cook over medium-low heat, stirring constantly, until it reaches 175F and coats the back of a spoon. It should leave a clean line when you swipe a finger through the custard. If you keep cooking past that point, the yolks tighten too much and the base loses its smooth, creamy feel.
Chilling Before the Churn
Strain the custard, stir in the vanilla and salt, then cool it over an ice bath before refrigerating it for at least four hours or overnight. Cold base equals better churning and a smaller ice crystal structure. If you churn warm custard, the machine struggles and the finished ice cream freezes up less evenly.
Freezing the Finished Ice Cream
Churn the fully chilled base until it looks like soft serve, then move it to a freezer container and freeze until firm. Don’t stop too early; it should hold shape but still look a little elastic when it leaves the machine. If you pack it down before churning finishes, you’ll trap a loose, slushy texture that never firms up right.
Make It Darker and More Intense
Use a darker chocolate in the 70% range and keep the sugar as written. The result is less sweet and more bittersweet, with a deeper cocoa finish that reads almost like frozen ganache.
Dairy-Free Version
Swap in full-fat coconut milk for the cream and whole milk, and use a dairy-free dark chocolate. The texture will still be creamy, but it picks up a light coconut note and won’t taste as neutral as the original.
Egg-Free Shortcut
This recipe is built around custard, so leaving out the yolks changes the whole texture. If you need an egg-free version, use an ice cream base designed without eggs instead of trying to patch this one with starch alone.
Storage and Reheating
- Refrigerator: Store the custard base up to 2 days before churning if needed. Once frozen, it should go in the freezer, not the fridge.
- Freezer: Homemade chocolate ice cream keeps well for about 2 weeks with a tight lid pressed against the surface. After that, it can develop ice crystals and lose some of its creamy edge.
- Reheating: There’s no reheating here; let the ice cream sit at room temperature for 5 to 10 minutes before scooping. If you try to force it straight from the freezer, you’ll crack the scoop and miss the smooth texture you worked for.
Questions I Get Asked About This Recipe
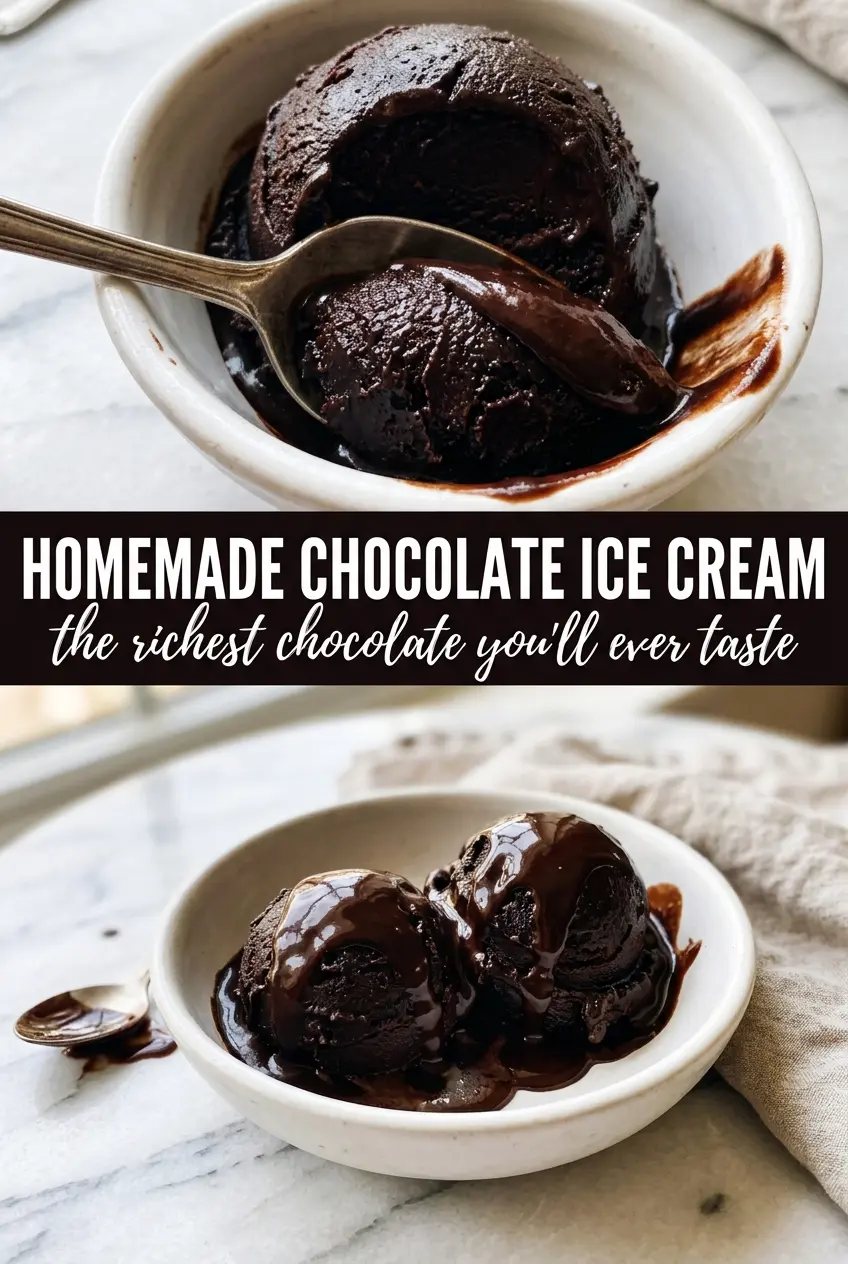
Homemade Chocolate Ice Cream
Ingredients
Equipment
Method
- Whisk unsweetened cocoa powder with 1/4 cup granulated sugar, then add heavy cream and whole milk to a saucepan and heat over medium while whisking until steaming (about 3–5 minutes).
- Add finely chopped dark chocolate and whisk until fully melted and smooth, keeping the mixture at a gentle simmer (about 1–2 minutes).
- Whisk egg yolks with the remaining 1/2 cup granulated sugar until pale, about 1–2 minutes, for a lighter texture.
- Slowly whisk the hot chocolate cream into the yolks in a thin stream to temper without scrambling (about 1 minute).
- Return the mixture to the saucepan and cook over medium-low heat, stirring constantly, until the custard coats the back of a spoon (175F), about 8–10 minutes.
- Strain the custard through a fine mesh sieve, then stir in vanilla extract and salt to fully combine and smooth the texture.
- Cool completely over an ice bath, stirring occasionally, until no longer warm to the touch (about 15–20 minutes).
- Refrigerate at least 4 hours or overnight to chill thoroughly, then churn in an ice cream maker and freeze until firm (about 2–4 hours).


