Homemade apple cider turns into something deep, fragrant, and a little luxurious when the apples have time to simmer down with whole spices and orange. The finished drink tastes like apple first, then cinnamon, clove, and citrus in the background, with a round sweetness that store-bought cider usually never quite gets right. It’s the kind of recipe that makes the whole kitchen smell like the mug you want in your hands.
The best part is that you don’t need to peel or core the apples. The skins give the cider its rich color, and the cores bring a little natural body from the pectin, which helps the final drink feel fuller after straining. Using a mix of sweet and tart apples matters too; a single variety can taste flat, while a blend gives you brightness, depth, and enough natural apple flavor to carry the spices without turning it into a cinnamon drink.
Below, I’ve included the technique that keeps the cider flavorful instead of watery, plus a few swaps and storage notes if you want to make it ahead for a crowd.
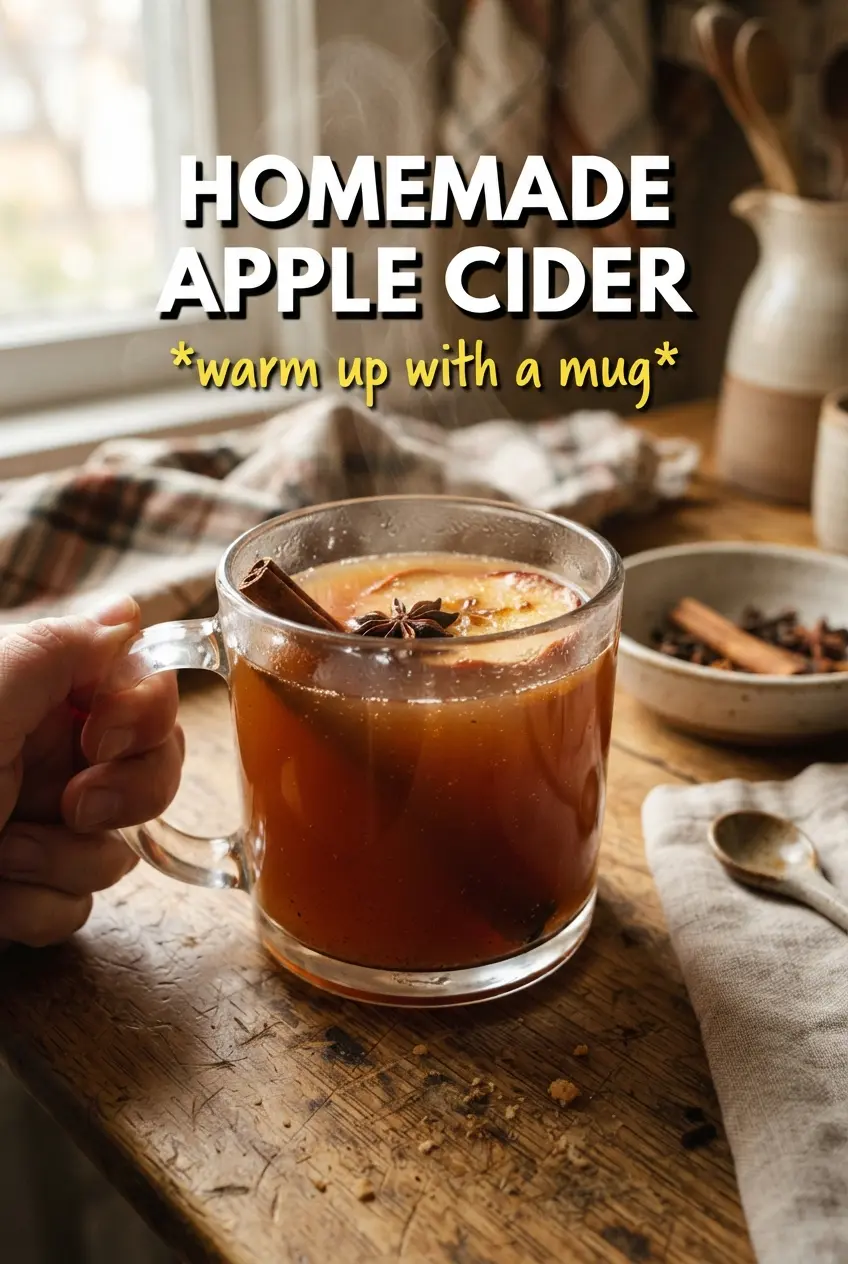
I loved how the cider thickened a little after the apples broke down, and the orange slices kept it from tasting one-note. I strained it twice and it came out smooth, warm, and perfect for serving in a mug with a cinnamon stick.
Save this homemade apple cider for the days when you want a spiced drink that fills the house with cinnamon, orange, and slow-simmered apple flavor.
The Part That Keeps Homemade Cider from Tasting Flat
The biggest mistake with apple cider is rushing it. If the apples don’t simmer long enough, the liquid tastes thin and the spices just sit on top instead of melting into the apple flavor. The long uncovered simmer does two things at once: it extracts flavor from the fruit and spices, and it reduces the liquid just enough that the finished cider tastes round instead of watery.
Leaving the apples unpeeled and untrimmed gives you more flavor and a deeper golden color. The mash-and-simmer step matters too. Once the apples are soft enough to fall apart, pressing them with a potato masher breaks open more fruit and releases the last bit of flavor trapped inside. Straining after that gives you a smooth drink without losing the body that came from the cooked fruit.
What Each Ingredient Is Doing in the Pot

- Apples — This is where the cider gets its actual flavor, not just sweetness. A mix of sweet and tart apples keeps the drink balanced; all sweet apples can taste soft and one-note, while all tart apples can lean sharp. Honeycrisp, Fuji, and Granny Smith together give you enough depth that the spices don’t take over.
- Cinnamon sticks, cloves, and star anise — Whole spices are the right move here because they infuse slowly and stay clean-tasting after two hours on the stove. Ground spices would muddy the cider and make straining more annoying. If you only have cinnamon, use it, but the cloves and star anise add the layered warmth that makes this taste like real cider.
- Orange slices — The citrus brightens the apple flavor and keeps the pot from tasting heavy. Slice the orange thin enough that the oils release into the simmering liquid, but not so thin that the rind turns bitter before the cider is done.
- Brown sugar or maple syrup — I prefer to add this at the end because apples vary so much in sweetness. Brown sugar gives a deeper caramel note, while maple syrup softens the edges and makes the cider taste a little richer. Start with less than you think you need, then adjust after straining.
- Vanilla extract — Vanilla goes in at the end, not at the start, so it stays fragrant instead of cooking off. It doesn’t make the cider taste like dessert; it rounds the spice and makes the apple flavor feel smoother.
Building the Flavor Before You Strain
Starting with the Whole Fruit
Put the apples, spices, and orange slices into your largest pot and add just enough water to cover. If you drown the fruit in water, the cider tastes weak and takes longer to reduce. You want the apples mostly submerged, not swimming. Bring it up to a boil first, then lower the heat right away so the fruit softens gently instead of turning to bitter, broken-down mush.
The Long Uncovered Simmer
Let the pot simmer uncovered for about two hours, stirring now and then. The liquid should smell intensely of apple and spice, and the apples should collapse when you press them with a spoon. If the heat is too high, the bottom can catch and the cider can pick up a cooked, slightly scorched note, so keep it at a low, steady simmer. A gentle bubble is enough.
Mashing for More Apple Flavor
Once the apples are very soft, mash them with a potato masher and keep simmering for 30 minutes more. This step pulls more flavor into the liquid and gives the cider a fuller body. Don’t skip the mash just because the pot already smells good; the cider gets noticeably better after the fruit breaks down. If the liquid looks a little cloudy at this stage, that’s normal and exactly what you want before straining.
Straining and Finishing the Cider
Strain the mixture through a fine-mesh sieve, pressing on the pulp to get every last drop of liquid. That pressure matters because a lot of flavor sits trapped in the cooked fruit. Stir in the brown sugar or maple syrup and the vanilla while the cider is still warm, then taste and adjust. Serve it hot with fresh cinnamon sticks and orange slices so it smells as good as it tastes.
How to Adapt This Cider for Different Crowds and Different Pantries
Maple-Sweetened Cider
Swap the brown sugar for maple syrup if you want a softer, woodsy sweetness that blends into the spices. It won’t taste as caramel-like, but it does give the cider a smoother finish and works especially well if your apples are already very sweet.
Naturally Gluten-Free and Dairy-Free
This cider is already both gluten-free and dairy-free as written, which makes it an easy one to serve to a mixed crowd. The only thing to double-check is your spices if you buy them from a bulk bin or flavored blend; keep it to single ingredients so you know exactly what’s in the pot.
Bigger-Batch Cider for a Party
This scales up well as long as you keep the apple-to-water balance close to the original. Use a pot with plenty of room so the cider can simmer uncovered and reduce properly. If you crowd the pot, the fruit steams more than it simmers, and the flavor stays thin.
Spice-It-Down Version
If cloves or star anise are too strong for your taste, cut them back and lean harder on cinnamon and orange. You’ll lose some depth, but the cider will taste cleaner and more apple-forward. This is the version I’d serve to kids or anyone who prefers a softer spice profile.
Storage and Reheating
- Refrigerator: Store in a sealed container for up to 5 days. The spice flavor deepens a little as it sits.
- Freezer: Freeze for up to 3 months in freezer-safe containers, leaving some space for expansion. Thaw overnight in the refrigerator before reheating.
- Reheating: Warm gently on the stove over low heat until steaming, not boiling. Boiling can make the flavor taste harsher and can push the spice too far.
Answers to the Questions Worth Asking
Apple Cider
Ingredients
Equipment
Method
- Do not peel or core the apples so the skins add color and the cores add pectin.
- Place the quartered apples, cinnamon sticks, cloves, star anise, and orange slices in a large pot.
- Add enough water to cover everything and bring to a boil.
- Reduce heat to a gentle simmer, keep it uncovered, and simmer for 2 hours until the apples are very soft and the liquid is flavorful, stirring occasionally.
- Mash the apples with a potato masher and simmer for 30 more minutes to deepen flavor.
- Strain the mixture through a fine mesh sieve and press the pulp to extract all the liquid.
- Stir in the brown sugar (or maple syrup) and vanilla, then taste and adjust sweetness to your preference.
- Serve the cider warm with additional cinnamon sticks and orange slices for garnish.