
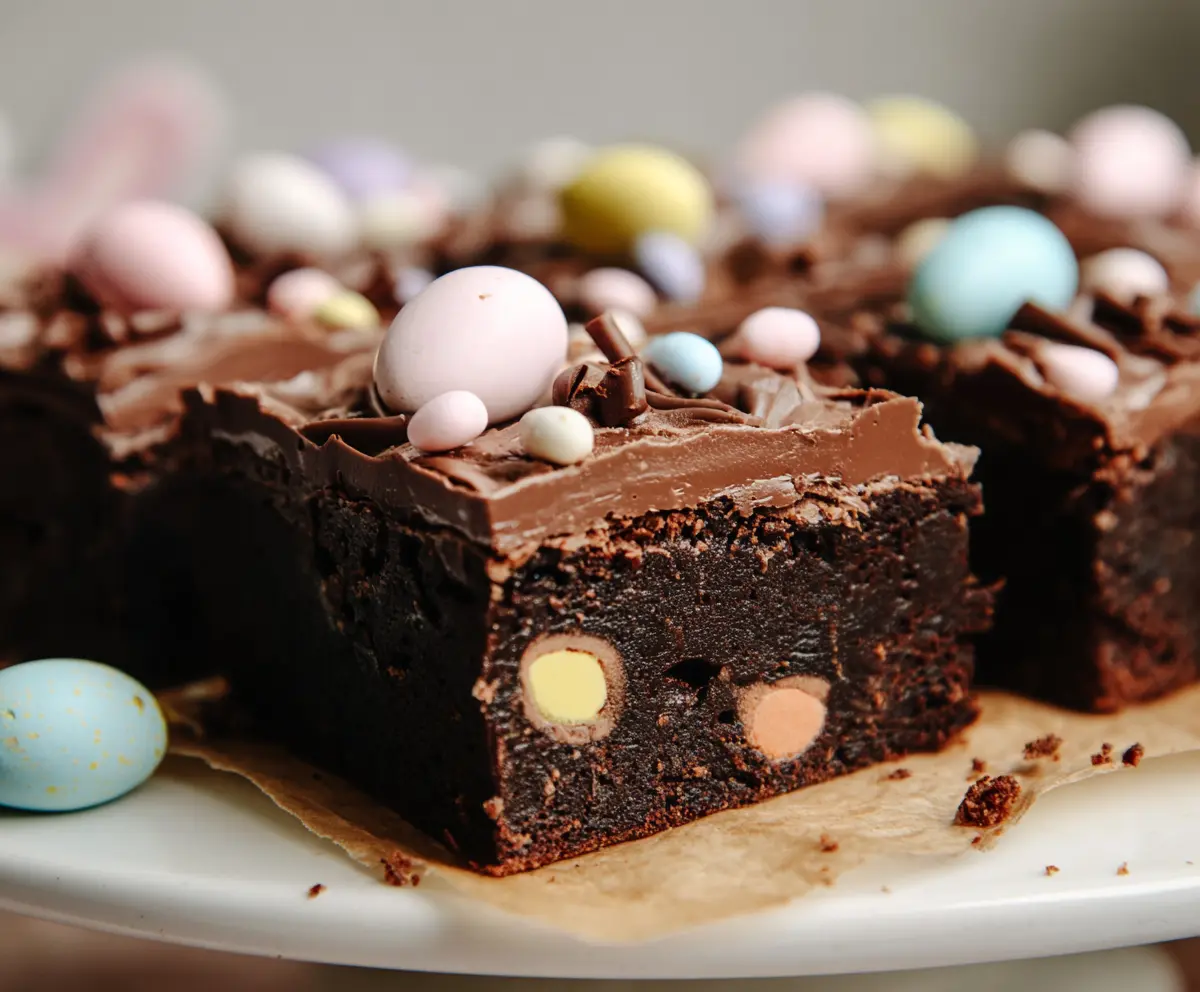
These Frosted Mini Egg Easter Brownies are a fun treat! Rich chocolate brownies are topped with colorful mini eggs that add a crunch and a splash of springtime cheer.
Who can resist a brownie with candy on top? I feel like a kid again when I bite into these! They’re great for sharing or just keeping all to yourself—no judgment here! 😉
Making them is super easy. Just bake the brownies, frost them, and sprinkle those mini eggs on top. Perfect for celebrating Easter or just brightening up any day!
Key Ingredients & Substitutions
Dark Chocolate: The heart of these brownies! Use good quality dark chocolate with at least 60% cocoa for a rich flavor. If you’re a milk chocolate lover, you can swap in milk chocolate, but the richness may vary.
Unsalted Butter: This gives your brownies a nice, moist texture. If you’re dairy-free, coconut oil or vegan butter works well as substitutes, maintaining the moisture and flavor.
Caster Sugar: This sugar dissolves easily, helping to retain a fudgy texture. You can use regular granulated sugar if you don’t have caster sugar, but the brownies may be slightly less smooth.
Eggs: They provide structure and moisture. If you’re vegan, try using flaxseed meal or applesauce (1/4 cup per egg) as substitutes to bind the ingredients.
Mini Candy-Coated Eggs: These are fun for topping! You can switch to chocolate chips or other candy-coated chocolates for similar sweetness and color. My favorite alternative is caramel-filled eggs for a gooey surprise!
How Can I Make Sure My Brownies Are Fudgy and Not Overbaked?
To achieve that perfect fudgy texture, follow a few key tips. First, keep an eye on the baking time. Start checking around the 25-minute mark. Remember, the brownies will continue to cook a bit after they’re out of the oven.
- Insert a skewer or toothpick into the center. It should come out with some moist crumbs but not wet batter.
- Avoid overmixing when combining the dry ingredients. This keeps the texture light. Fold gently to combine.
- Let them cool completely before slicing. This helps set the fudgy middle!
How to Make Frosted Mini Egg Easter Brownies
Ingredients You’ll Need:
For the Brownie Mixture:
- 200g (7 oz) dark chocolate, chopped
- 175g (3/4 cup) unsalted butter
- 325g (1 2/3 cups) caster sugar
- 130g (1 cup) plain flour
- 3 large eggs
- 2 tbsp cocoa powder
- 1 tsp vanilla extract
- 1/2 tsp salt
For the Add-ins:
- 100g white chocolate chunks or chips
- 150g mini candy-coated chocolate eggs (e.g., Cadbury Mini Eggs), plus extra for decoration
Optional Topping:
- Icing sugar, for dusting
How Much Time Will You Need?
This delightful recipe takes about 15 minutes to prepare and an additional 25-30 minutes to bake. You’ll want to let the brownies cool before cutting them, so set aside roughly 1 hour for that as well. Total time: around 1 hour and 45 minutes until they’re ready to serve. Enjoy the festivities!
Step-by-Step Instructions:
1. Prepare Your Oven and Tin:
Start by preheating your oven to 170°C (340°F). While that’s warming up, grease and line a square baking tin (about 20cm/8-inch) with parchment paper to prevent the brownies from sticking.
2. Melt the Chocolate and Butter:
In a heatproof bowl, combine the chopped dark chocolate and unsalted butter. Place this bowl over a pan of simmering water (this is called the double boiler method). Stir gently until the mixture is smooth and melted. Once done, remove it from the heat and let it cool just a little.
3. Whisk Sugar and Eggs:
In a large mixing bowl, whisk together the caster sugar and large eggs until the mixture appears pale and is well combined. Mix in the vanilla extract for a lovely flavor.
4. Combine Chocolate Mixture:
Now, gently fold the melted chocolate and butter mixture into the egg and sugar mixture until it’s all fully blended. Make sure to combine until no streaks of chocolate are visible!
5. Mix in Dry Ingredients:
Sift the plain flour, cocoa powder, and half a teaspoon of salt into the wet mixture. Use a spatula to fold everything together carefully. Remember, don’t overmix – you want your brownies to stay fudgy!
6. Add White Chocolate and Eggs:
Stir in the white chocolate chunks and half of the mini candy-coated eggs. This will give your brownies delightful pockets of sweetness!
7. Bake the Brownies:
Pour the brownie batter into your prepared tin and spread it evenly. Bake in the preheated oven for 25-30 minutes. Keep an eye on them, and remember – the top should be set, and when you insert a skewer into the center, it should come out with some moist crumbs (not wet batter).
8. Decorate with Mini Eggs:
As soon as you take the brownies out of the oven, gently press the remaining mini candy eggs into the warm surface. This decorates and adds extra color to your brownies!
9. Cool and Slice:
Allow the brownies to cool completely in the tin. This might take about 30 minutes. Once cool, remove them and slice into squares. Trust me; the smell will be irresistible!
10. Optional: Dust with Icing Sugar:
If you’d like, sprinkle some icing sugar over the brownies for a pretty, frosted look. They’re now ready to impress your family and friends!
Enjoy your festive and delicious Frosted Mini Egg Easter Brownies, perfect for any celebration!
Can I Use Milk Chocolate Instead of Dark Chocolate?
Absolutely! While dark chocolate gives a richer flavor, using milk chocolate will create a sweeter brownie. Just be mindful that the texture might be a bit softer, so keep an eye on the baking time.
What Should I Do If I Don’t Have Caster Sugar?
No problem! You can substitute granulated sugar for caster sugar. Simply pulse granulated sugar in a blender for a few seconds to make it finer, or use it as it is—just know the texture might be slightly different.
How Should I Store Leftover Brownies?
Store any leftovers in an airtight container at room temperature for up to 3 days. If you want to keep them longer, you can refrigerate them for up to a week or freeze for 2-3 months. Just make sure to layer them with parchment paper to prevent sticking!
Can I Make These Brownies Gluten-Free?
Yes, you can! Substitute the plain flour with a gluten-free all-purpose flour blend. Make sure it contains xanthan gum for the best results! Follow the rest of the recipe as directed.


