Velvety eggnog ice cream lands with the same warm spice notes you expect from a glass of eggnog, only colder, denser, and smoother in a way that makes one scoop turn into two. The custard base keeps it rich without becoming heavy, and the nutmeg carries through in every bite instead of disappearing into the background. It tastes festive, but the texture is what keeps people coming back for another bowl.
The key is treating it like a real custard, not just a sweetened dairy mixture. Tempering the yolks slowly keeps the base silky, and cooking it only to 175°F gives you enough body without scrambling the eggs. I also strain the custard before chilling so any tiny cooked bits never make it into the churn.
Below you’ll find the exact points that matter most: how to keep the custard smooth, why the spice timing matters, and the small rum-and-nutmeg finish that makes this frozen dessert taste layered instead of flat.
The custard stayed silky and the nutmeg came through without being overpowering. I let it chill overnight, and it churned into the creamiest eggnog ice cream I’ve made at home.
Like this creamy eggnog ice cream? Save it for the holidays when you want a spiced frozen dessert with a custard base and a hint of rum.
The Custard Step That Keeps Eggnog Ice Cream Silky
Eggnog already carries sugar, dairy, and spice, so the biggest mistake is rushing the custard and ending up with a grainy base. The yolks need gentle heat to thicken the mixture, but the eggnog can scorch faster than plain milk because of its sugar content. Keep the burner on medium-low and stir continuously, especially around the corners of the pan where custard likes to catch.
When the base reaches 175°F, it should coat the back of a spoon and leave a clean line when you swipe a finger through it. Go much higher and the yolks tighten up into tiny bits that won’t churn out smooth. If the mixture looks slightly thin at first, that’s fine; the ice cream maker and the freezer will finish the job.
What Each Ingredient Is Doing in the Bowl
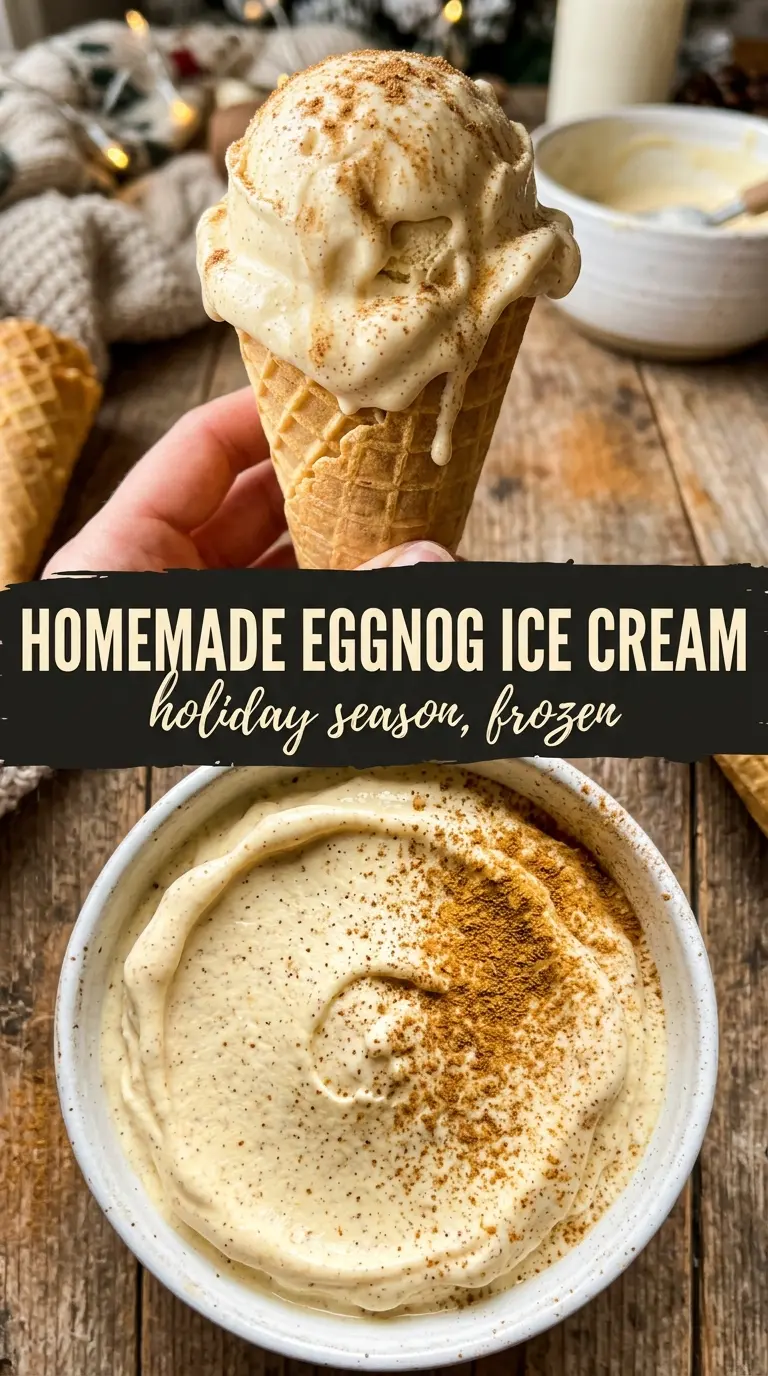
- Store-bought eggnog — This brings the signature holiday spice and sweetness in one move. A thicker, richer eggnog makes a richer ice cream, so use the best carton you can find if you want the flavor to stand out.
- Heavy cream — Cream softens the eggnog and gives the churned ice cream a smoother, less icy finish. You can swap in half-and-half in a pinch, but the texture will be lighter and a little less plush.
- Egg yolks — These are what turn the base into custard and keep the final ice cream velvety. There isn’t a clean substitute here if you want the same body, though store-bought eggnog with a richer egg content helps support them.
- Nutmeg and cinnamon — The spice blend should taste warm, not dusty. Freshly grated nutmeg is worth it here because it gives the finished ice cream a brighter, more fragrant top note than pre-ground alone.
- Rum or bourbon — This is optional, but even a small amount keeps the ice cream a touch softer and adds depth. If you skip it, the recipe still works; if you use it, add it after straining so the alcohol stays aromatic instead of cooking off.
Chilling, Churning, and the Freeze That Sets the Texture
Tempering the Yolks
Whisk the egg yolks and sugar until they look a shade lighter and a little thickened. Then drizzle in the hot eggnog mixture slowly while whisking the whole time. That gradual stream matters; dump it in too fast and you’ll get scrambled yolks instead of a smooth custard.
Cooking the Base
Return the mixture to the saucepan and stir without stopping as it heats. You’re looking for a slightly thicker coating on the spoon and a temperature of 175°F, not a boil. If the custard starts steaming hard or bubbling at the edges, pull it back from the heat and keep stirring off the burner for a moment.
Straining and Flavoring
Pour the cooked custard through a fine-mesh strainer before adding the vanilla, spices, rum, and salt. Straining catches any tiny bits of egg that formed during cooking and leaves you with a base that churns up smoother. Add the spice right after straining so the heat blooms it into the custard instead of leaving it flat.
Chilling Before Churning
The base needs to be fully cold before it goes into the ice cream maker, and four hours is the minimum. Overnight is even better because it gives the nutmeg time to settle in and the custard time to fully relax. If you churn a warm base, the machine struggles and the finished ice cream turns soft and coarse.
Freezing to Scoop
After churning, pack the ice cream into a freezer container and freeze until firm. Press a piece of parchment or plastic wrap directly on the surface if you want to limit ice crystals. It’s scoopable once set, but the flavor gets even better after a few more hours in the freezer.
How to Adjust the Spice, Booze, and Base for Your Crowd
Dairy-Free Eggnog Version
Use a thick dairy-free eggnog and full-fat coconut cream in place of the heavy cream. The texture will be a little less custardy and a little more coconut-forward, but it still churns into a rich frozen dessert if the base is well chilled.
No-Alcohol Version
Skip the rum or bourbon and add an extra splash of vanilla if you want a little more depth. You’ll lose the subtle warmth and the softer texture that alcohol brings, but the ice cream will still taste festive and balanced.
Extra-Spiced Holiday Batch
For a stronger spice note, add a pinch more nutmeg or a tiny pinch of clove. Keep it restrained; eggnog ice cream should taste warmly spiced, not like mulled cider.
Storage and Reheating
- Refrigerator: Not applicable once churned; the base can be refrigerated up to 2 days before churning, and it often tastes better after an overnight chill.
- Freezer: Freeze in an airtight container for up to 2 weeks for the best texture. After that, it will still be safe, but the flavor and creaminess start to fade.
- Reheating: Not needed. For the best scoop, let the container sit at room temperature for 5 to 10 minutes before serving so the custard softens without melting around the edges.
Answers to the Questions Worth Asking
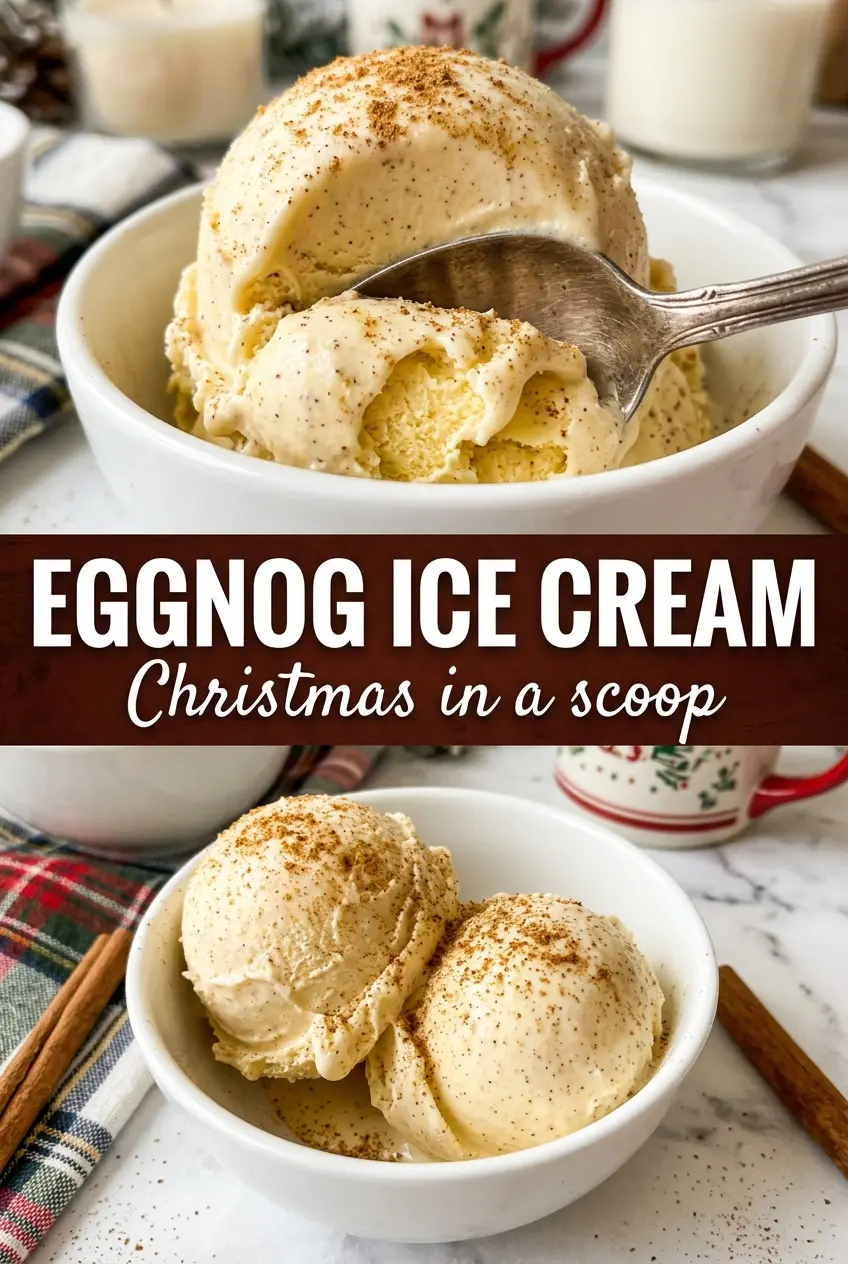
Eggnog Ice Cream
Ingredients
Equipment
Method
- Heat the store-bought eggnog and heavy cream in a saucepan over medium heat until steaming, with wisps of steam rising from the surface.
- Whisk the hot eggnog-cream mixture slowly into the egg yolks beaten with granulated sugar, drizzling in a thin stream to prevent scrambling.
- Return the mixture to the saucepan and cook over medium-low heat, stirring constantly, until the custard reaches 175°F and coats the back of a spoon.
- Strain the custard into a clean container, then stir in vanilla extract, nutmeg, cinnamon, rum or bourbon if using, and salt until fully blended.
- Cool completely, then refrigerate at least 4 hours (cover once cool) so the custard is cold before churning.
- Churn the chilled custard in an ice cream maker until thick and creamy, following the machine’s typical cycle.
- Transfer to a freezer-safe container and freeze until firm.
- Grate fresh nutmeg over each serving right before eating for the brightest aroma.


