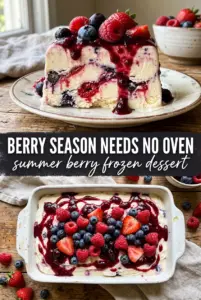
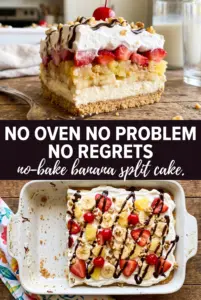
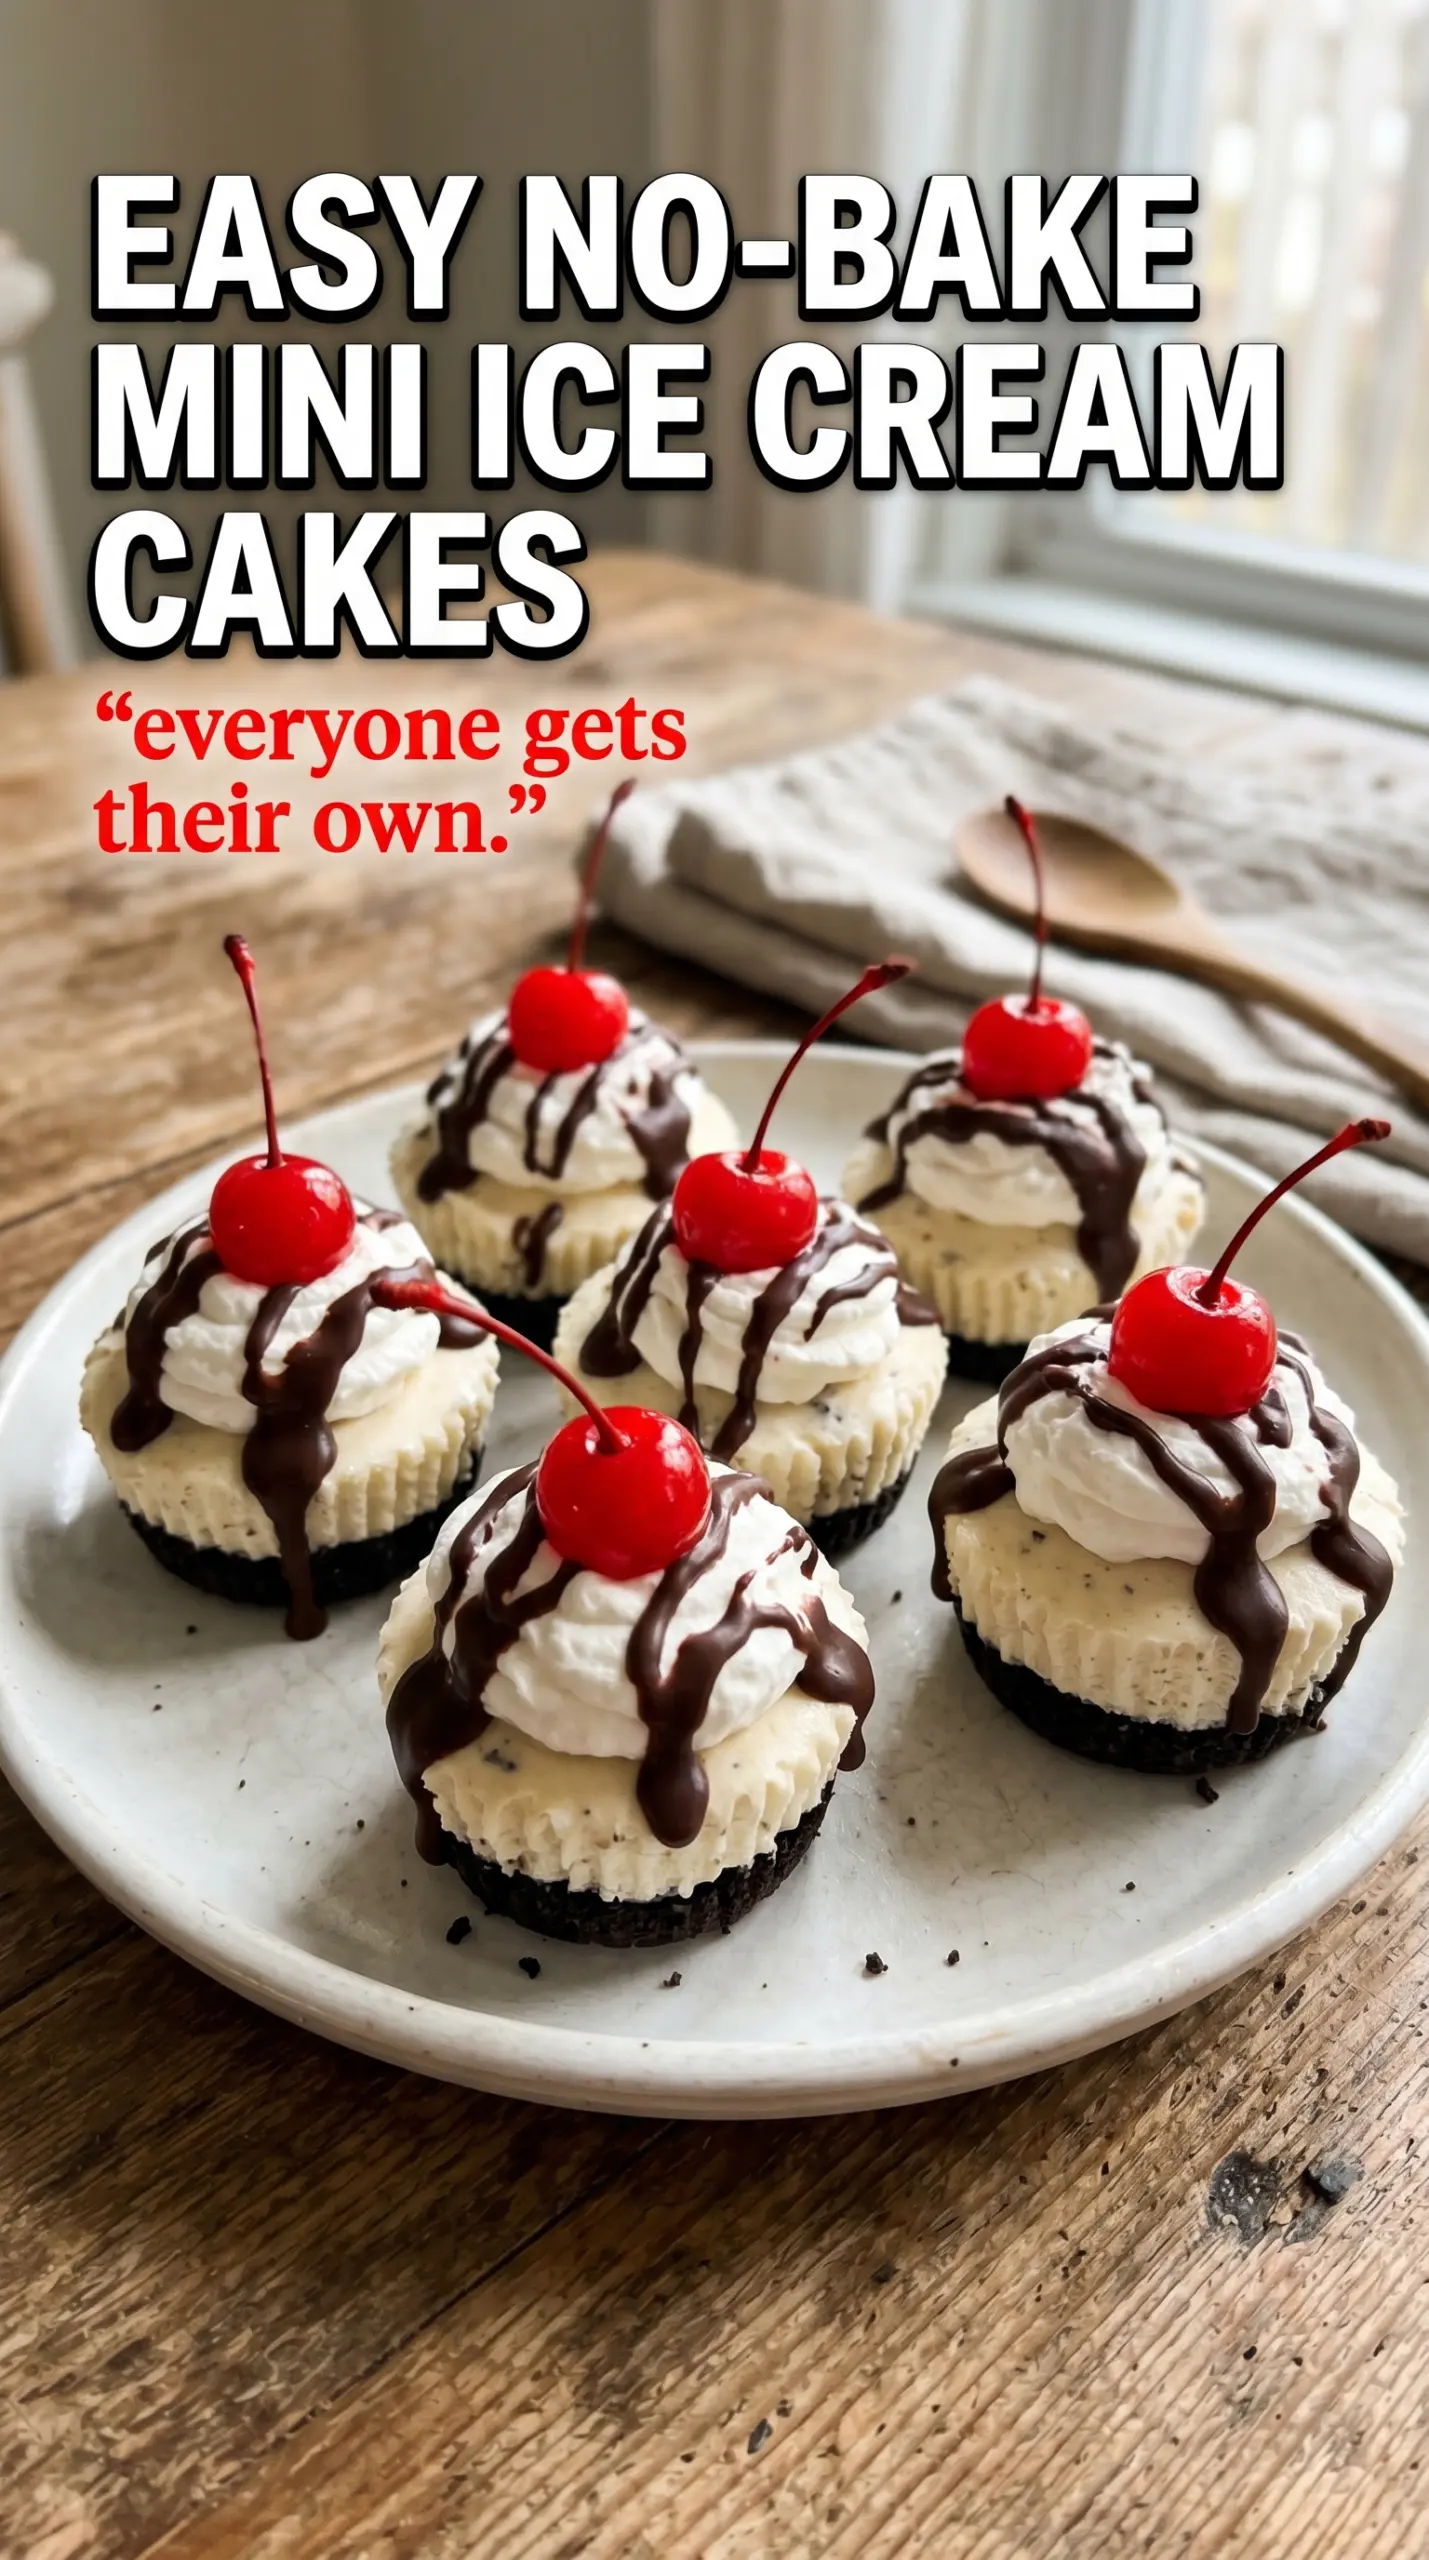
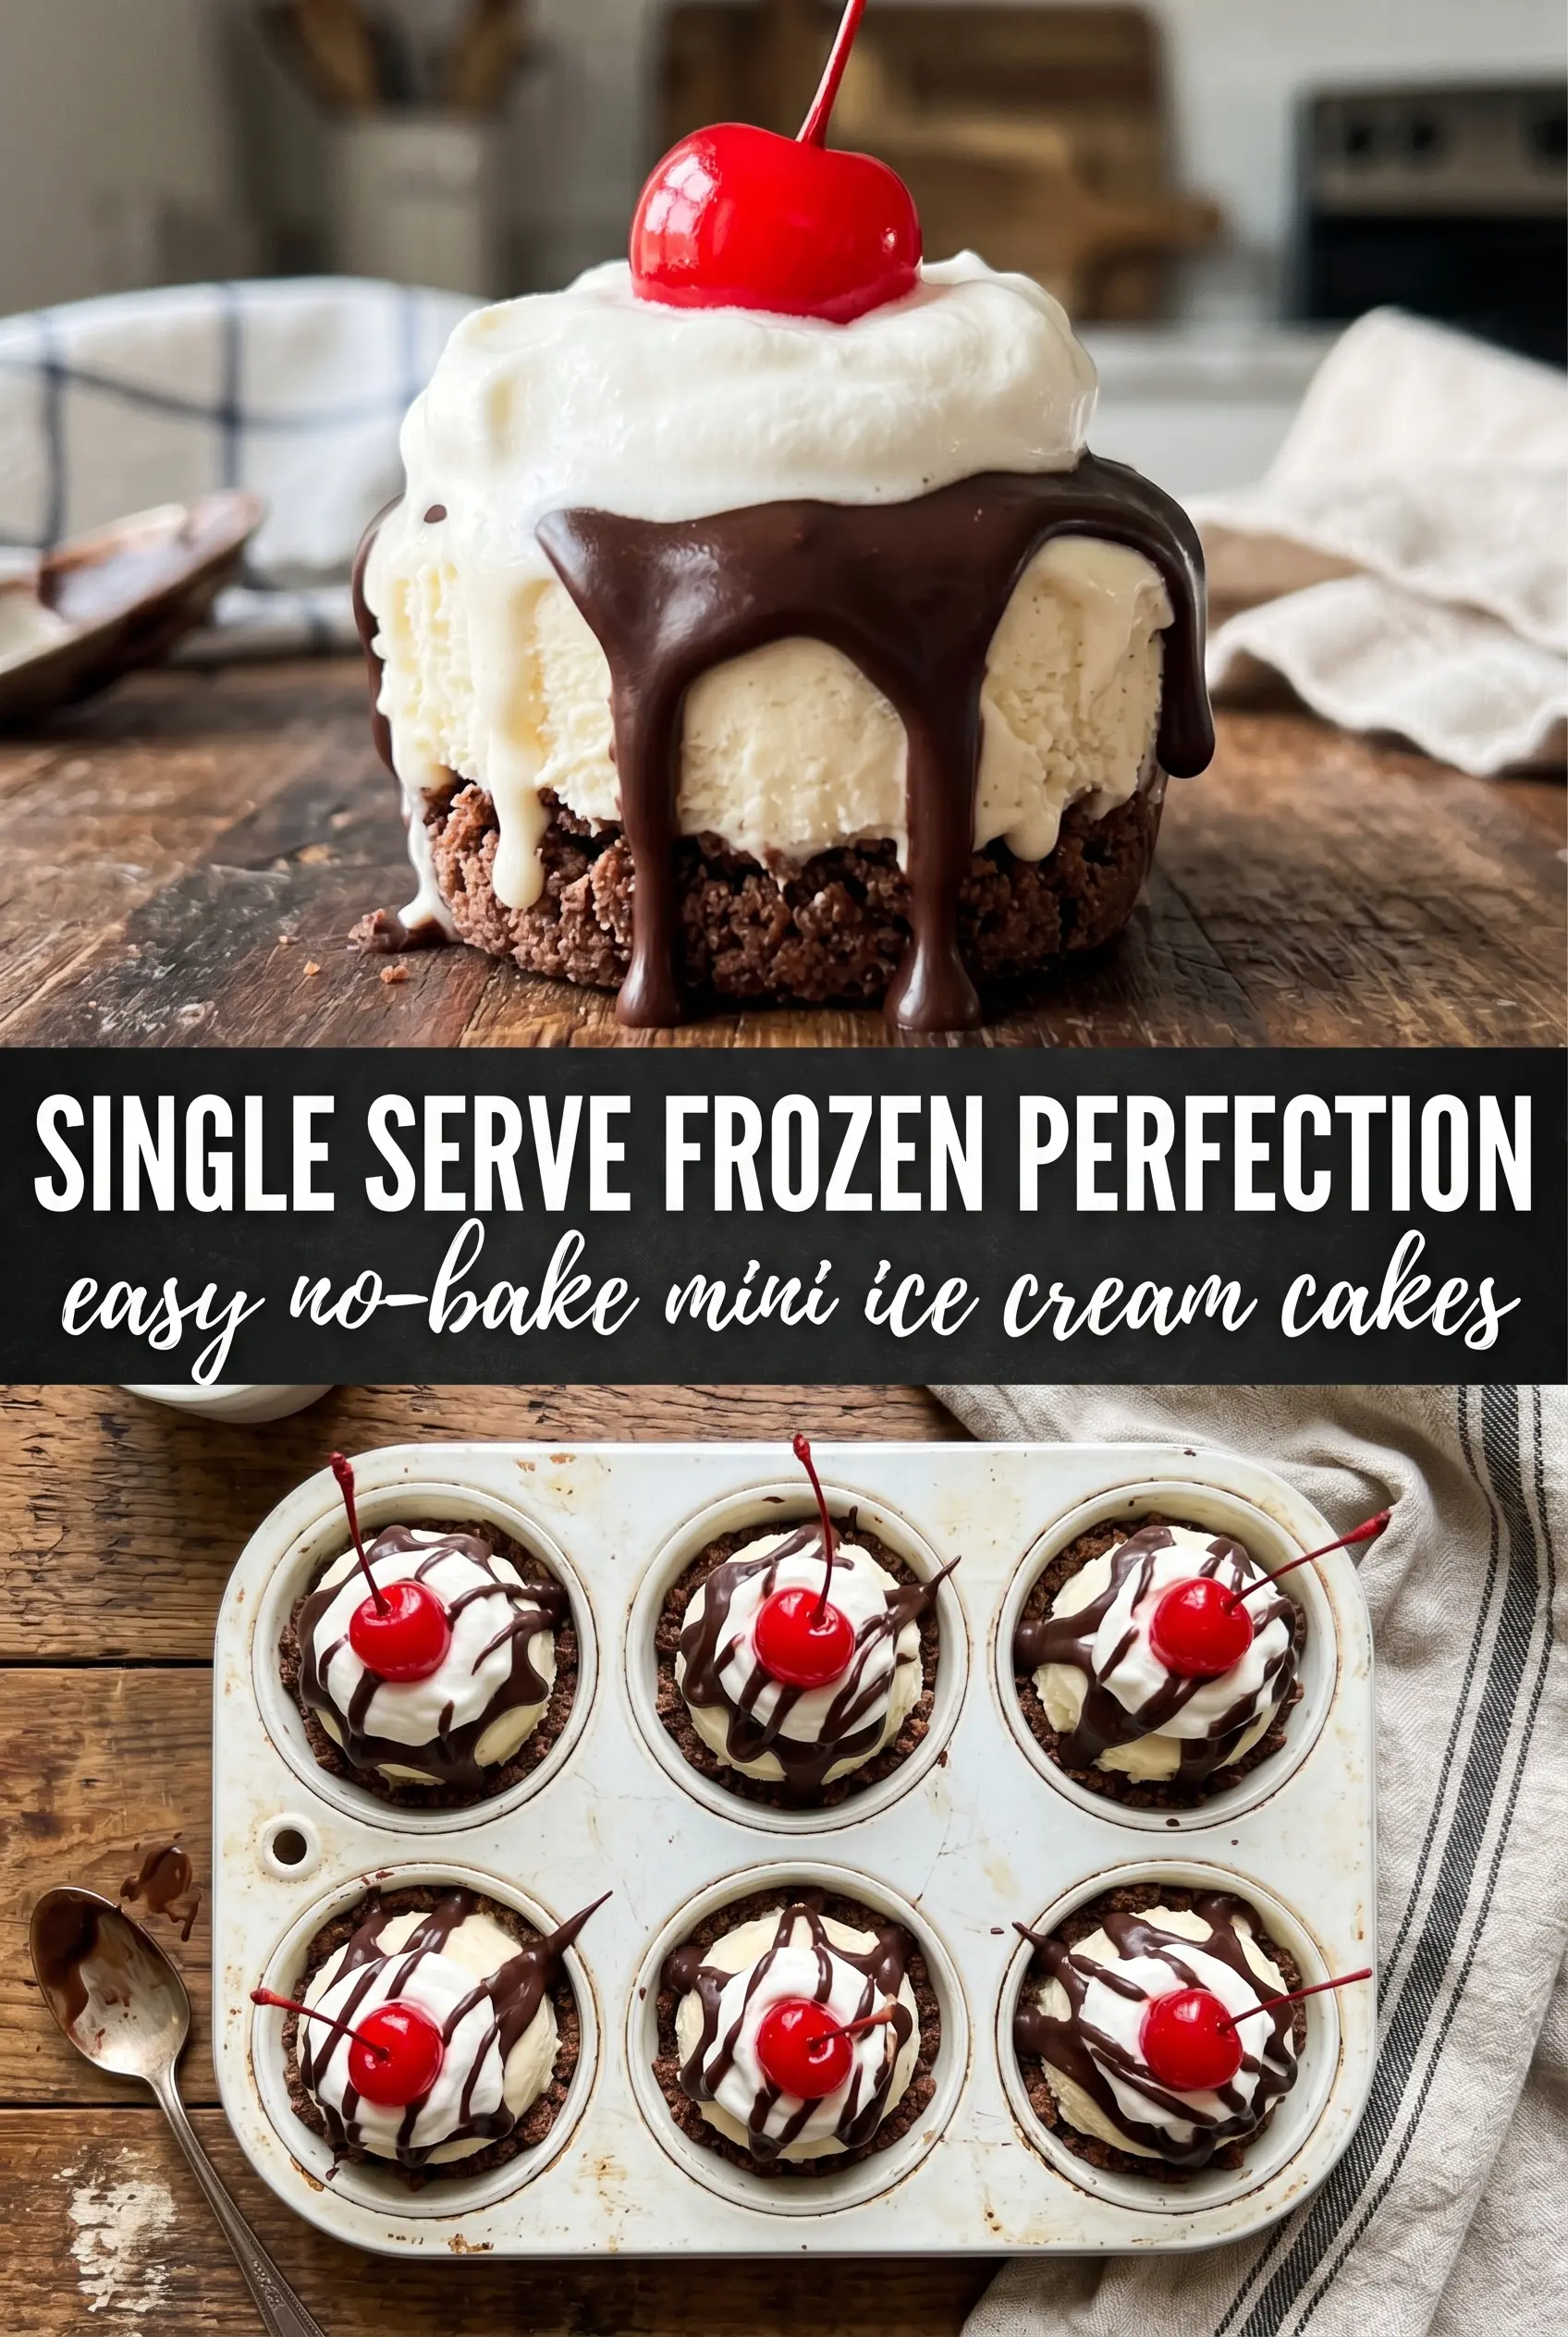
These easy no-bake mini ice cream cakes hit the sweet spot between nostalgic birthday dessert and practical make-ahead treat. Each little cake has a crunchy Oreo base, a smooth scoop of softened ice cream, and a cloud of whipped topping on top, so every bite gives you cold creaminess against a firm cookie crust. They look festive enough for a party, but the real win is how neatly they portion out in a muffin tin.
The trick is keeping each layer distinct. The Oreo crust needs a hard press before it goes into the freezer so it doesn’t crumble when you peel away the liner later. The ice cream should be softened just enough to scoop and spread without melting into a puddle, and the final freeze gives the cakes the structure they need to hold up when you decorate them. Use a flavor that tastes great on its own, because the toppings stay simple and let the ice cream do the talking.
Below, I’ve included the timing that keeps the layers clean, plus a few swaps if you want to change the flavor, make them gluten-free, or prep them for a birthday table.
The Oreo base stayed crunchy even after freezing, and the ice cream layer peeled out cleanly once I let them sit for a minute. My kids thought they were bakery-made little birthday cakes.
Save these mini ice cream cakes for birthdays, cookouts, and the days when you want a make-ahead dessert with a crunchy Oreo crust.
The Freezer Time That Keeps the Layers Separate
The part that trips people up with mini ice cream cakes is rushing the freezer time. If the crust doesn’t firm up first, the buttered crumbs smear into the ice cream layer and you lose that clean base. If the ice cream goes in too soft, it turns glossy and dense instead of staying light enough to slice and peel from the liner.
Think in stages. A short freeze after pressing in the crust gives it enough grip to hold the next layer. The longer freeze after filling the cups is what turns these from soft scoops in paper cups into little cakes that release cleanly. That final hour after the whipped topping goes on matters too, because it lets the top settle into the cake instead of sliding off when you move them.
What the Oreo Crust, Ice Cream, and Toppings Are Each Doing
- Oreos — These make the crust without any baking, and the filling gives the crumbs enough structure once you add melted butter. Generic chocolate sandwich cookies work too, but Oreos stay the most reliable because they crush fine and set into a firmer base.
- Melted butter — This is the glue that keeps the crust from turning sandy. If you use less, the crust falls apart when you peel the liner; if you use much more, it gets greasy and soft at the edges.
- Ice cream — Any flavor works, but pick one you’d happily eat plain. Premium ice cream scoops more cleanly and stays creamier after freezing, while lower-cost brands can freeze a little harder and need a few extra minutes on the counter before serving.
- Whipped topping — This gives you a stable finish that holds up better than freshly whipped cream in the freezer. If you want to pipe it into swirls, thaw it just enough to spread without collapsing.
- Cupcake liners — Don’t skip these. They’re what make the cakes easy to unmold, and parchment-style liners usually release the cleanest if you want the bottoms to look neat.
Press, Freeze, Scoop, and Freeze Again
Building the Oreo Base
Mix the crushed Oreos and melted butter until every crumb looks damp, then divide the mixture evenly into the liners. Press it down firmly with the back of a spoon or a small measuring cup until the surface looks packed and even. If the crust is loose now, it will crumble later. Freeze it for 15 minutes so the butter can set before the ice cream goes on.
Scooping the Ice Cream Layer
Let the ice cream soften just until it’s scoopable and spreadable. You want it pliable, not soupy. Add it to each cup and smooth it to just below the rim so there’s still room for the topping later. If the ice cream is too soft, it will melt into the crust and make the layers muddy instead of distinct.
Freezing Until Firm
Freeze the filled cups for about 3 hours, or until the centers feel solid when you press gently on top. That full freeze gives you the clean slice-and-peel finish people expect from an ice cream cake. If your freezer runs warm, give them a little longer. Don’t add the whipped topping early or it can slide around before the ice cream sets.
Finishing With the Toppings
Pipe or dollop the whipped topping on once the cakes are firm, then decorate quickly with sprinkles, mini Oreos, or fruit. Return them to the freezer for 1 more hour so the topping sets enough to survive handling. Peel off the liners right before serving for the best look and the cleanest edges.
Three Ways to Make These Mini Cakes Fit the Occasion
Chocolate-and-vanilla birthday version
Use chocolate ice cream in half the cups and vanilla in the other half, then top with rainbow sprinkles. It gives you a classic party mix without extra work, and the contrast makes the tray look more festive than matching flavors end to end.
Gluten-free crust swap
Swap in gluten-free chocolate sandwich cookies and keep the rest of the method exactly the same. The texture stays close to the original, though some gluten-free cookies are a little more delicate, so press the crust firmly and freeze it well before adding the ice cream.
Dairy-light option
Use a non-dairy ice cream and a dairy-free whipped topping, then check that your cookie crumbs don’t contain milk solids if you’re avoiding dairy strictly. The cakes still freeze and peel well, but the flavor depends more heavily on the ice cream you choose, so pick one with a rich vanilla or chocolate base.
Fruit-topped summer tray
Top the finished cakes with sliced strawberries, raspberries, or cherries instead of candies. Fruit cuts through the sweetness and gives the frozen dessert a fresher finish, but it’s best added right before serving so the juices don’t bleed into the whipped topping.
Storage and Reheating
- Refrigerator: Not recommended. These soften fast and lose their shape within minutes.
- Freezer: Store in an airtight container for up to 2 weeks. Wrap them well if you want to protect the whipped topping from freezer burn.
- Reheating: No reheating needed. Let each mini cake sit at room temperature for 5 to 10 minutes before serving so the crust and ice cream soften just enough to bite cleanly.
Questions I Get Asked About This Recipe
Easy No-Bake Mini Ice Cream Cakes
Ingredients
Equipment
Method
- Line a standard 12-cup muffin tin with cupcake liners to hold each individual mini ice cream cake.
- Combine crushed Oreo cookies with melted butter, then place 2 tablespoons into each liner and press down firmly to form an even crust layer.
- Freeze the crusts for 15 minutes to set before adding ice cream.
- Scoop softened ice cream into each cup over the Oreo crust, filling to just below the rim so the tops have room for whipped topping.
- Smooth the tops and freeze for 3 hours until very firm for clean slices when unmolded.
- Pipe or dollop whipped topping on each mini cake to create a thick, creamy layer.
- Decorate each with rainbow sprinkles, mini Oreos, or fruit for a festive finish.
- Freeze 1 more hour, then peel off the liners before serving so the Oreo base remains visible at the bottom.