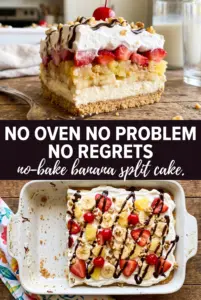
Golden wafer crust, cheesecake ice cream, and a glossy berry topping make this frozen dessert the kind of pan that disappears fast. The crust stays crisp enough to slice cleanly, the filling freezes into a smooth, creamy layer, and the berries on top bring the bright, jammy finish that keeps each bite from feeling heavy.
What makes this version work is the balance. The cream cheese gets beaten smooth before anything cold goes in, which keeps the filling from turning lumpy. The sweetened condensed milk adds body without needing a stovetop custard, and the softened ice cream folds in more evenly than you’d get if you tried to stir in hard scoops. The berry topping is cooked just long enough for the juices to thicken, then cooled completely so it sits on top instead of melting into the cream layer.
Below you’ll find the little details that matter most, from keeping the crust tight in the pan to getting a topping that slices cleanly after freezing. If you’ve ever had a frozen dessert slump as soon as you cut it, this method fixes that.
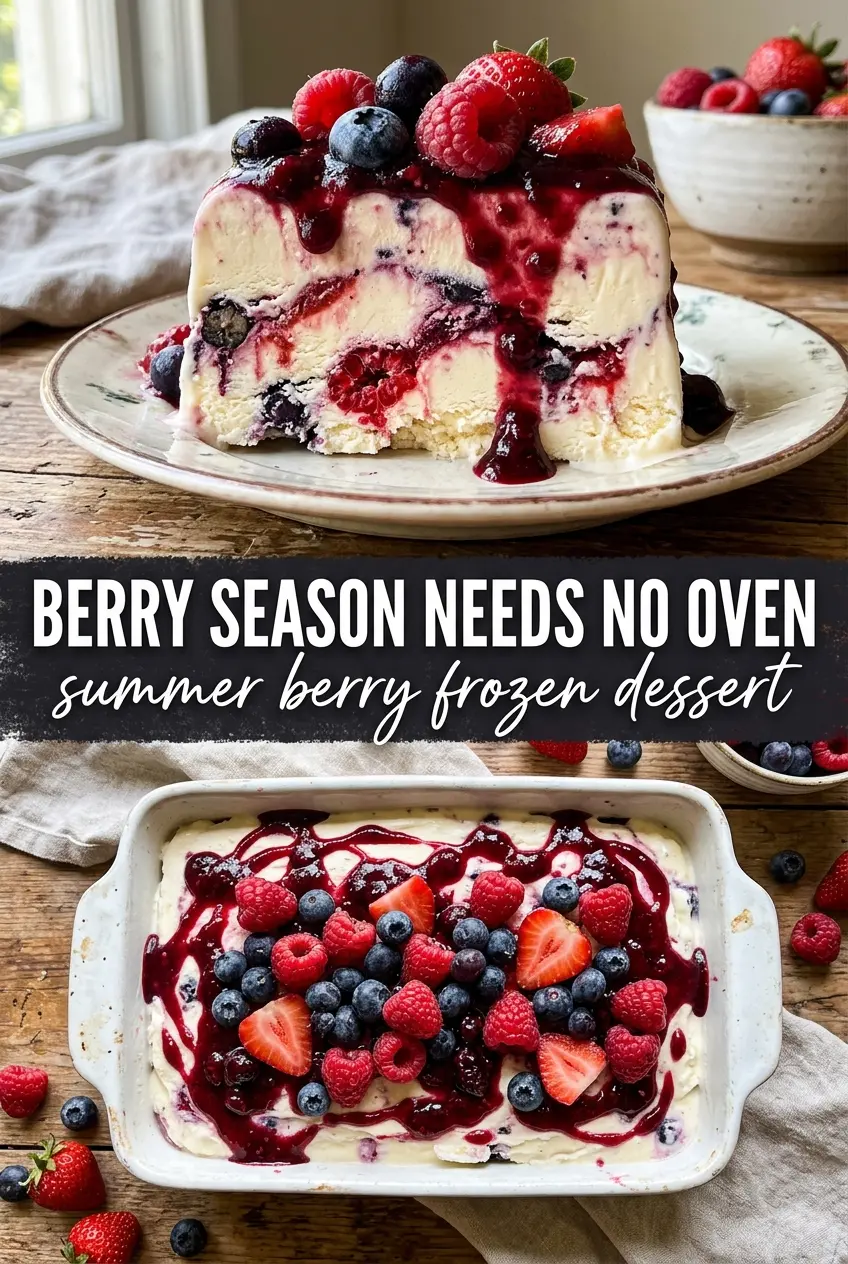
The berry layer set up beautifully and didn’t slide off when I sliced it. I loved that the crust stayed crisp even after two days in the freezer.
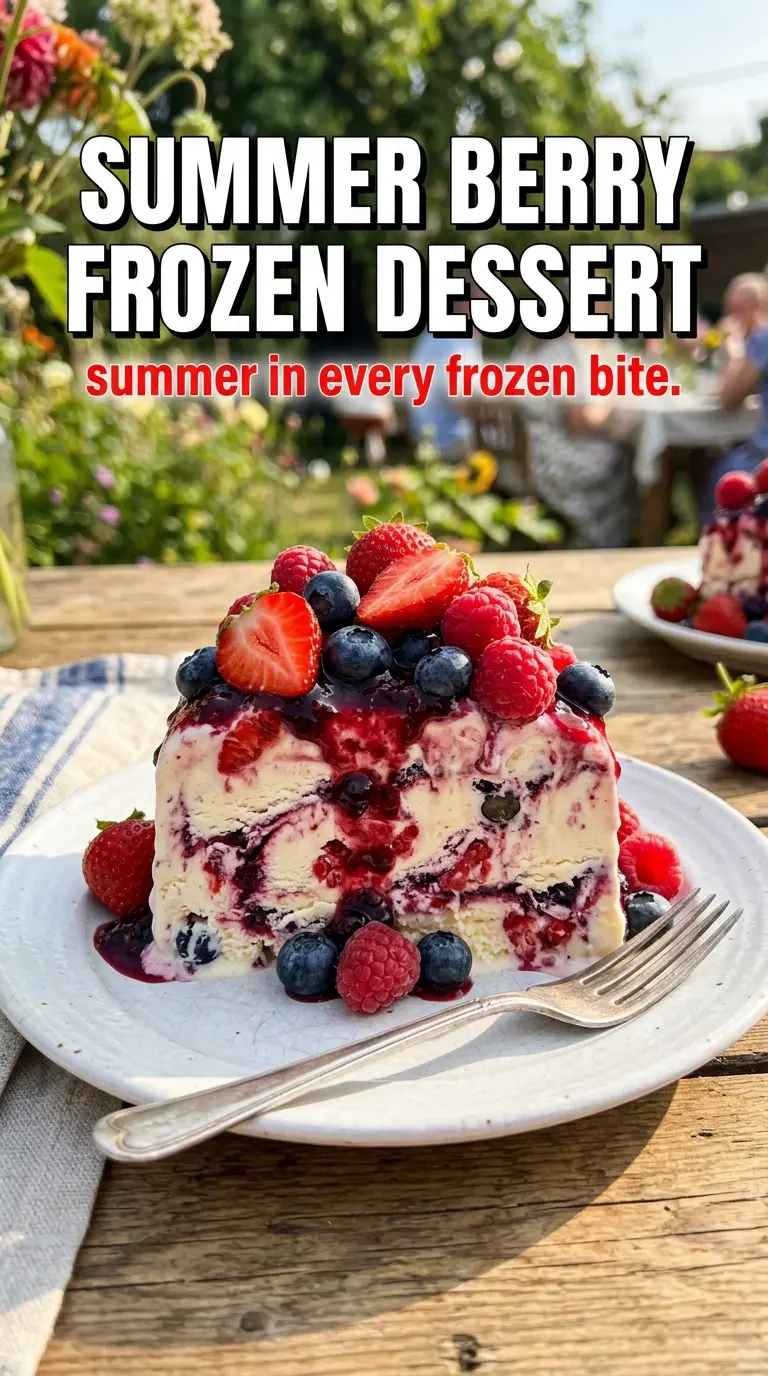
Love that creamy cheesecake layer and glossy mixed berry topping? Save this Summer Berry Frozen Dessert for the next time you need a make-ahead frozen treat with clean slices and real berry flavor.
The Reason the Berry Topping Stays on Top Instead of Sinking In
The biggest failure with frozen layered desserts is a topping that turns runny and disappears into the cream layer. That happens when the fruit mixture goes on while it’s still warm or under-thickened. Here, the cornstarch slurry gives the berries enough body to hold their shape, and cooling the compote all the way down keeps the frozen filling from softening before the top layer sets.
The other thing that matters is the freeze time between layers. The cheesecake base needs enough time to firm up before the berries go on, or the juices will tint the filling and muddy the clean white layer underneath. If you’ve ever had a frozen dessert look great in the pan but fall apart on the plate, the fix is patience between steps, not more sugar or more ice cream.
What Each Ingredient Is Doing in This Frozen Dessert
- Nilla wafers — They crush into a tender, lightly sweet crust that tastes like a classic icebox dessert. Graham crackers work, but they bring a stronger, more obvious flavor and a drier crumb.
- Butter — This is what locks the crust together after freezing. Melt it fully and press the crumbs firmly into the pan so the base doesn’t crumble when you lift the first square.
- Cream cheese — It gives the filling that cheesecake tang and helps the layer freeze with structure instead of turning airy and loose. Softening it completely before beating is non-negotiable if you want a smooth filling.
- Sweetened condensed milk — This is the sweetener and the binder. It keeps the filling creamy without whipping in extra air, which helps the dessert slice cleanly after a long freeze.
- Vanilla ice cream — Use a good vanilla you’d happily eat on its own, because it carries the whole middle layer. Let it soften just enough to fold in, not melt into soup, or the filling can freeze icy.
- Mixed fresh berries — Strawberries, blueberries, and raspberries give a mix of texture and color. Fresh berries are worth it here because they hold their shape better than thawed frozen berries, which release too much liquid.
- Cornstarch slurry — It thickens the berry juices fast without turning the topping cloudy or gummy. Dissolving it in water first keeps lumps out of the compote.
Building the Layers Without Melting the Middle
Pressing the Crust
Mix the crushed wafers with the melted butter until every crumb looks damp, then press the mixture into the bottom of a 9×13 pan in an even layer. A flat-bottomed measuring cup helps pack it down tightly, which matters because a loose crust falls apart under the frozen filling. Freeze it for the full 15 minutes so it firms before the cream layer goes in.
Whipping the Cheesecake Base
Beat the cream cheese until it’s completely smooth before adding the condensed milk. If you rush this part, you’ll end up with tiny lumps that never disappear once the ice cream is folded in. Fold in the softened vanilla ice cream gently so the mixture stays thick and creamy instead of turning thin and slushy.
Freezing the Cream Layer
Spread the filling over the chilled crust and smooth the top with an offset spatula. The layer should look even from edge to edge, because any peaks or ridges will show through after freezing. Give it the full 4 hours; if it still feels soft in the center, the berry topping will sink and bleed into it.
Cooking and Cooling the Berries
Cook the berries with the sugar, lemon juice, and cornstarch slurry just until the juices bubble and thicken, about 5 minutes. The compote should look glossy and lightly jammy, not stiff like pie filling. Cool it completely before spreading it on top, since warm fruit is the fastest way to ruin the clean layers.
Finishing the Freeze
Spread the cooled compote over the frozen filling and return the pan to the freezer for at least 2 more hours. This second freeze is what turns the dessert sliceable. If you try to serve it too soon, the berry layer will smear and the cream layer will slump at the cut edge.
Three Ways to Change the Pan Without Breaking the Dessert
Make it dairy-free
Use a dairy-free vanilla ice cream, a plant-based cream cheese, and a butter substitute that’s meant for baking. The texture will be a little softer after freezing, but it still slices well if you let it firm fully between layers.
Swap the berry mix
Blackberries, cherries, or sliced peaches all work if you keep the same total amount of fruit. Juicier fruit may need an extra minute on the stove, while softer fruit should be cooked just until it gives up its juices and thickens.
Make it gluten-free
Use gluten-free vanilla cookies in place of the Nilla wafers and crush them finely before mixing with butter. The crust will still hold together, but press it firmly so it freezes into a tight base instead of a sandy one.
Make it sweeter and richer
If you want a more dessert-shop style finish, add a thin layer of whipped cream between the filling and the berries after the cream layer firms up. It adds softness and a lighter bite, but it also makes slicing messier, so freeze it extra long before serving.
Storage and Reheating
- Refrigerator: Keep leftovers covered in the freezer, not the fridge. The dessert softens quickly and loses its clean layers if it sits warm.
- Freezer: It holds well for up to 2 weeks when wrapped tightly. After that, the berries can start to ice over and the crust gets drier at the edges.
- Reheating: No reheating is needed. For the best slices, let the pan sit at room temperature for 10 to 15 minutes before cutting, then use a sharp knife dipped in hot water and wiped dry between cuts.
Answers to the Questions Worth Asking
Summer Berry Frozen Dessert
Ingredients
Equipment
Method
- Combine crushed Nilla wafers and melted butter, then press firmly into a 9x13 pan. Freeze uncovered for 15 minutes until set and cold.
- Beat the cream cheese until smooth, then blend in sweetened condensed milk. Fold the mixture into softened vanilla ice cream until uniform.
- Spread the cheesecake ice cream over the chilled crust in an even layer. Freeze for 4 hours until firm enough to hold its shape.
- Simmer mixed berries, sugar, lemon juice, and the cornstarch slurry for 5 minutes, stirring often, until thickened and glossy. Remove from heat and cool completely to prevent melting the ice cream layer.
- Spread the cooled berry compote over the frozen cheesecake layer. Freeze for 2 more hours until scoopable, then serve.