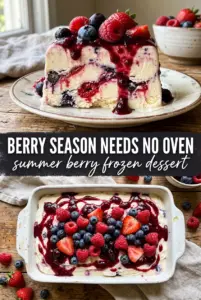
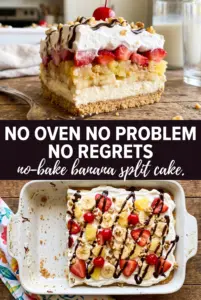
Golden graham cracker crust, a creamy banana layer, juicy pineapple, and a cloud of whipped topping turn this no-bake banana split cake into the kind of dessert people hover around before dinner is even cleared away. It tastes like a banana split crossed with an icebox cake, but it slices cleanly, travels well, and doesn’t demand any oven time at all.
The key is keeping the layers cool, dry, and distinct. The pineapple has to be drained well or it seeps into the cream cheese layer and softens the crust. The bananas go in after the pineapple so they’re cushioned and less likely to brown too quickly, and the long chill gives everything time to set into neat, chilled squares instead of a sloppy pile on the plate.
Below, I’ll walk you through the one step that keeps the crust from turning sandy, the ingredient swaps that still give you that banana split feel, and the little storage trick that keeps the topping looking fresh after a day in the fridge.
The pineapple was drained enough that the crust stayed crisp, and after 4 hours in the fridge the slices held their shape instead of sliding apart. My family asked for the pan to be brought back out after dinner.
Like this banana split icebox cake? Save it for the next potluck when you want a chilled dessert with creamy layers, fresh bananas, and a classic sundae finish.
The Pineapple Layer Is What Keeps This Dessert from Going Flat
Most banana split-style desserts lean on sweetness and softness, then turn watery after a few hours. This one stays brighter because the pineapple brings acidity and a little lift, which keeps the cream cheese layer from tasting heavy. The catch is moisture control. If that crushed pineapple is even a little wet, it will slide into the crust and blur the layers before the dessert has a chance to set.
The other place people go wrong is rushing the chill. The whipped topping needs time to firm up the whole pan, and the bananas need that cold rest to settle into the cream without turning mushy at the first slice. Four hours is the minimum. Overnight is even better if you want the cleanest squares.
What Each Layer Is Actually Doing Here
- Graham cracker crumbs and butter — This is your base, and the butter is what helps it pack tightly enough to slice. If you want a firmer crust, press it down with the bottom of a measuring cup and chill it for 10 minutes before adding the filling.
- Cream cheese — This gives the dessert structure and keeps it from tasting like sweet whipped topping spread over crumbs. Softened cream cheese is nonnegotiable; if it’s still cool in the center, the filling turns lumpy no matter how long you beat it.
- Powdered sugar — It sweetens the cream layer without the graininess you’d get from granulated sugar. That smooth texture matters because this layer sits under fruit and whipped topping, where any grit shows up fast.
- Crushed pineapple — The flavor punch is part of the banana split feel, but the texture only works if it’s well drained. Press it in a sieve or against the side of the can until it stops dripping; that one step protects the crust and keeps the slices neat.
- Whipped topping — This is what gives the cake its old-school icebox-cake finish and helps the top spread evenly without deflating the layers underneath. Homemade whipped cream can work, but it softens faster and won’t hold as long if you’re making the cake ahead.
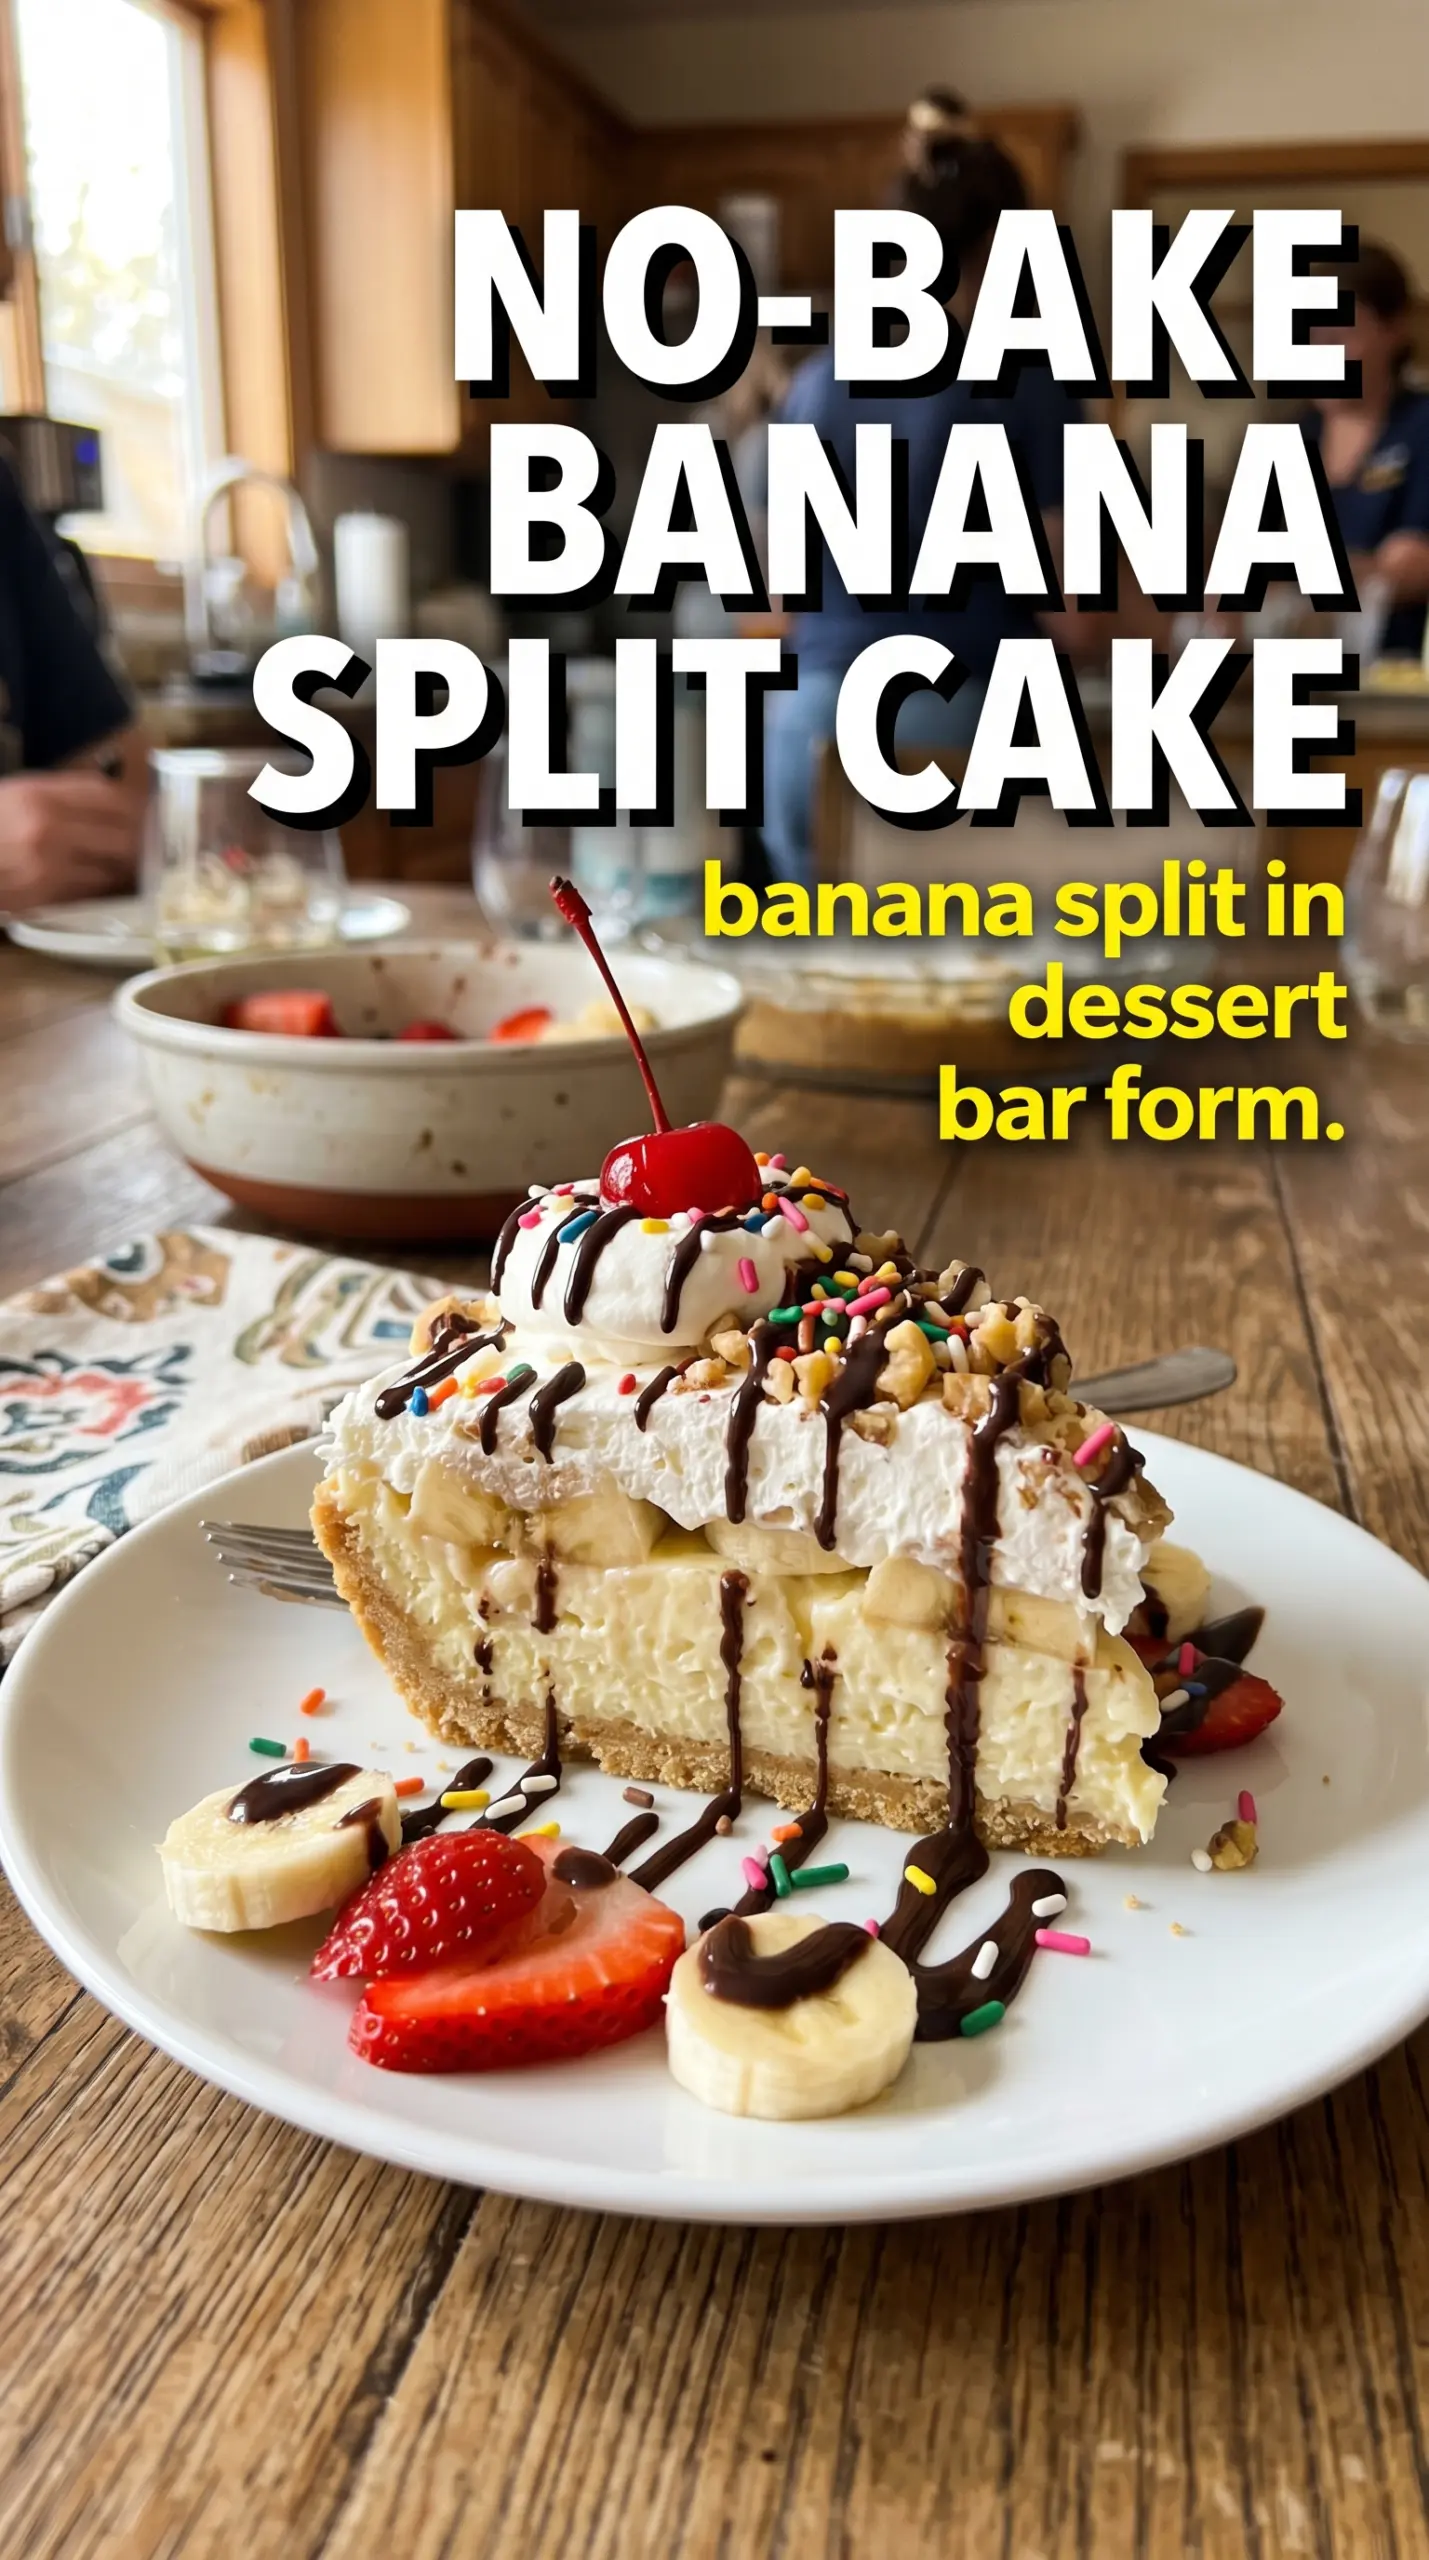
- Bananas, cherries, walnuts, and syrup — These are the sundae toppings that make the dessert read as banana split instead of generic layered cake. Slice the bananas just before layering so they stay fresh-looking, and add the syrup at the end so it stays decorative instead of soaking in.
Building the Layers So the Cake Slices Cleanly
Pressing the Crust Until It Holds
Mix the graham crumbs with the melted butter until every crumb looks coated and slightly damp, then press the mixture firmly into a 9×13 pan. The crust should feel compact, not loose or sandy, because that’s what keeps it from crumbling when you serve it. If it seems oily, the crumbs were too fine or the butter was a little too warm. A quick chill in the fridge gives it a head start before the filling goes in.
Beating the Cream Layer Smooth
Beat the softened cream cheese and powdered sugar until the mixture is completely smooth and pale. Stop and scrape the bowl once or twice; little lumps of cream cheese don’t disappear later, they just hide under the fruit and show up in the slice. Spread this layer gently over the crust so you don’t drag crumbs into it. A small offset spatula helps keep the layer even without tearing the base.
Adding Fruit Without Flooding the Pan
Spread the drained crushed pineapple over the cream layer first, then arrange the banana slices over that. The pineapple acts like a buffer so the bananas aren’t sitting directly against the tangy cream cheese, and it helps the fruit feel balanced instead of one-note sweet. Pat the banana slices dry if they look glossy or wet. That small step keeps the top from getting slippery once the whipped topping goes on.
Finishing with the Toppings
Spread the whipped topping all the way to the edges, then scatter on the cherries and walnuts. Drizzle the chocolate and caramel syrup just before serving so the top stays bright and the drips look clean. If you add the syrup too early, it sinks into the whipped topping and loses that sundae look. Chill the finished pan for at least 4 hours before cutting it into squares with a sharp knife wiped clean between slices.
How to Adapt This Dessert Without Losing the Banana Split Feel
Dairy-Free Version
Use a dairy-free cream cheese and a non-dairy whipped topping with a stable texture. The filling won’t taste exactly the same as the original, but the chilled, creamy bite still works well. Check that your alternative topping holds up after several hours in the fridge, because some brands soften faster than others.
Gluten-Free Crust Swap
Use gluten-free graham-style crumbs or crushed gluten-free vanilla wafers in place of the standard crumbs. Vanilla wafers give you a sweeter, softer base, while gluten-free grahams keep the flavor closer to the original. Keep the butter amount the same and press the crust firmly so it doesn’t crumble when sliced.
Make It Less Sweet
Cut the powdered sugar back slightly and lean harder on the fruit and nuts for contrast. The dessert will taste less like a classic icebox cake and more like a fresh banana split, which some people prefer. Don’t reduce the sugar too aggressively or the cream layer loses body and tastes flat against the pineapple.
Storage and Reheating
- Refrigerator: Store covered for up to 3 days. The bananas will soften a bit by day two, but the layers still hold well if the pineapple was drained properly.
- Freezer: I don’t recommend freezing this dessert. The whipped topping and bananas turn icy and watery when thawed, and the texture changes enough that the slices won’t look or taste the same.
- Reheating: No reheating needed. Serve it straight from the fridge, and use a sharp knife wiped clean between cuts so the filling doesn’t smear across the top.
Answers to the Questions Worth Asking

No-Bake Banana Split Cake
Ingredients
Equipment
Method
- Combine graham cracker crumbs and melted butter, then press firmly into a 9x13 pan to form an even base with no loose spots.
- Press again with the bottom of a measuring cup to compact the crust, then place the pan in the fridge while you mix the filling.
- Beat cream cheese and powdered sugar until smooth, then spread the mixture over the crust to create a thick, even layer.
- Spread well drained crushed pineapple over the cream cheese layer, spreading to the edges without leaving large puddles.
- Arrange sliced bananas over the pineapple in a single, even layer so every slice shows banana pieces.
- Spread whipped topping to cover completely, smoothing the surface so the toppings won’t sink.
- Top with maraschino cherries and chopped walnuts, then drizzle with chocolate syrup and caramel syrup and finish with any remaining drizzle lines visible on top.
- Refrigerate at least 4 hours before slicing, until fully set and firm enough to cut clean squares.