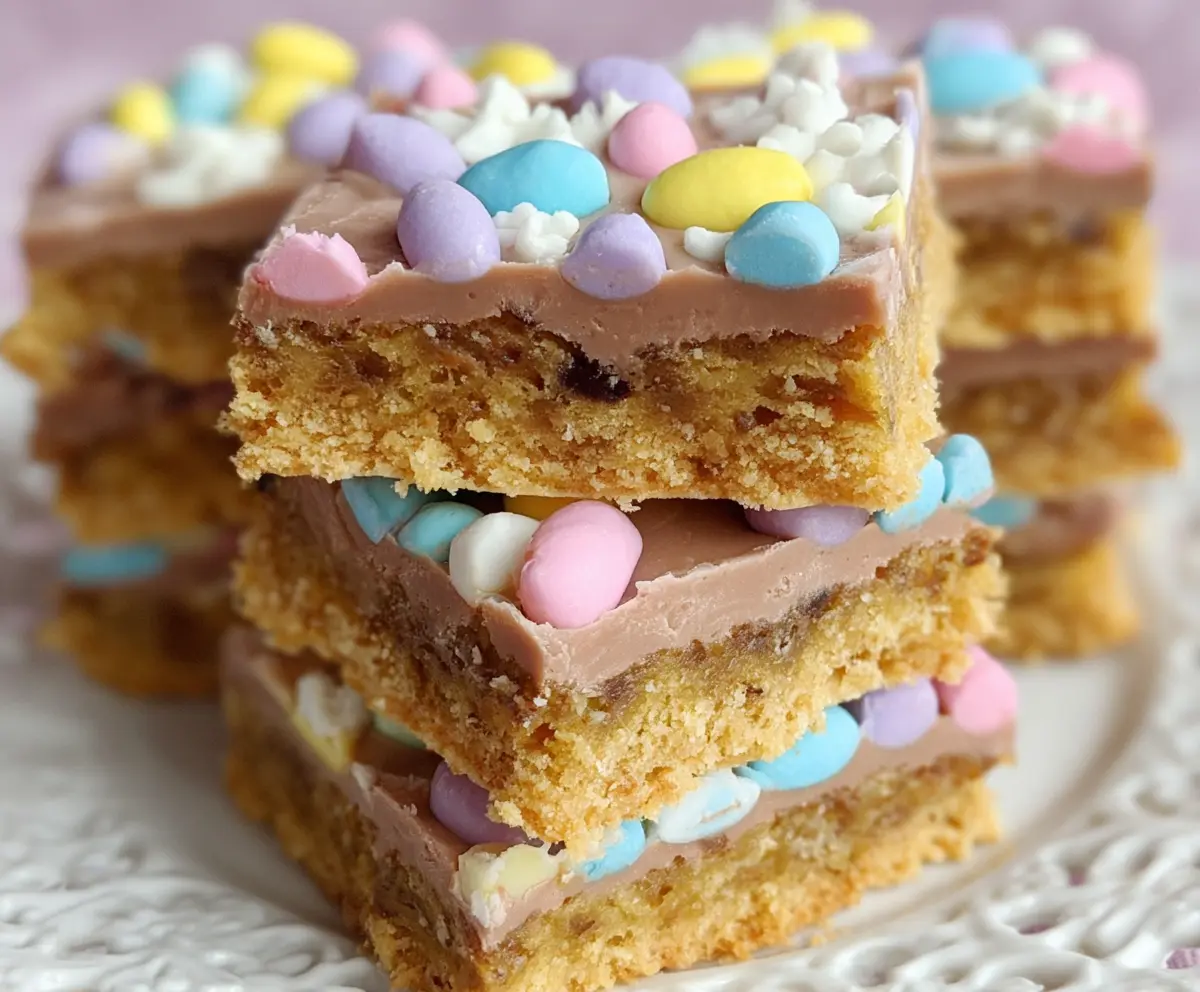
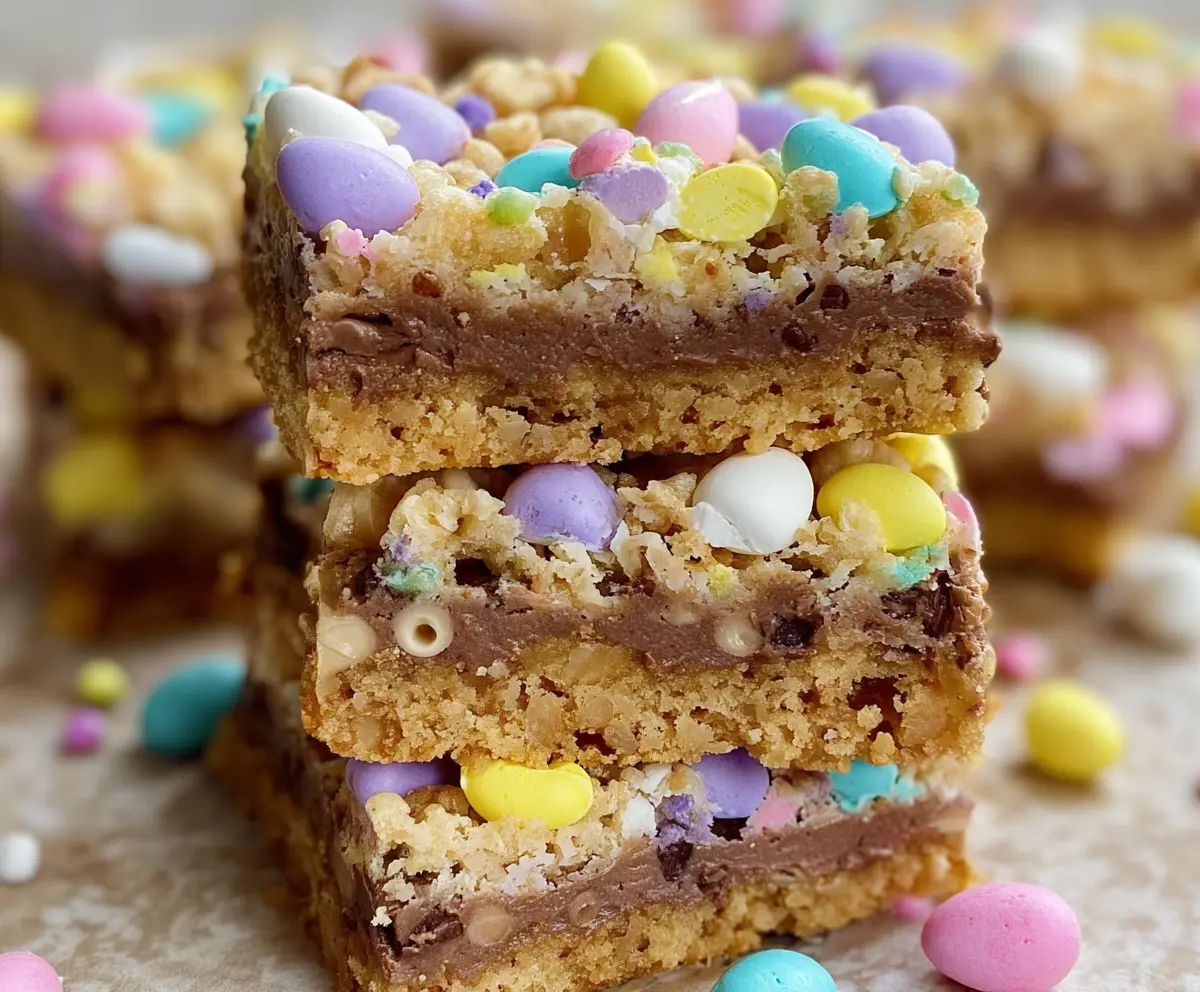
These Easter Goody Bars are a fun and colorful treat loaded with yummy marshmallows, chocolate, and crispy cereal. A perfect way to celebrate springtime sweetness!
Making these bars is quick and easy—just mix, press, and cut! I love how they brighten up any gathering. They definitely bring smiles, especially when topped with sprinkles! 🌈
Key Ingredients & Substitutions
All-purpose flour: This is the base for your bars, giving them structure. If you’re looking for a gluten-free option, try using a 1:1 gluten-free flour blend.
Butter: Unsalted butter gives great flavor and moisture. If you’re in a pinch, you can substitute with margarine or coconut oil, but the taste may vary slightly.
Sugars: Granulated and brown sugar together add both sweetness and chewiness. You can swap in coconut sugar or even a sugar substitute if you prefer less sweetness.
Easter candy-coated chocolates: These are fun for topping! If you can’t find them, try using any colorful chocolate candies or even chopped nuts for a different crunch.
Chocolate chips: Mini chocolate chips melt beautifully. Regular-sized chips can work too, or you might opt for white chocolate chips for a different flavor.
How Do You Perfectly Mix the Dough?
Getting the dough right is crucial for your bars. You want a fluffy mixture, which means creaming the butter and sugars properly. Here’s how:
- Beat the butter with both sugars on medium speed until it’s light and fluffy—this usually takes about 2-3 minutes.
- Add eggs one at a time; mix well after each addition. This helps incorporate air, making your bars soft.
- When adding dry ingredients, mix on low until just combined to avoid overmixing, which can make your bars tough.
How to Make Easter Goody Bars
Ingredients You’ll Need:
For the Base:
- 2 cups all-purpose flour
- 1/2 teaspoon baking soda
- 1/4 teaspoon salt
- 1 cup unsalted butter, softened
- 3/4 cup granulated sugar
- 3/4 cup brown sugar, packed
- 1 teaspoon vanilla extract
- 2 large eggs
- 1 1/2 cups mini chocolate chips or chocolate chunks
For Topping:
- 1 cup Easter candy-coated chocolate eggs, roughly chopped
- 1/2 cup chocolate frosting (store-bought or homemade)
- Optional: small white candy pieces or sprinkles for decoration
How Much Time Will You Need?
This recipe will take about 15 minutes to prep and about 20-25 minutes to bake. After baking, allow the bars to cool completely, which usually takes about 30 minutes or so. If you include chill time, plan for an additional 30 minutes to set the frosting. Altogether, you’re looking at about 1 hour and 15 minutes from start to finish, plus any extra time you need for cooling.
Step-by-Step Instructions:
1. Preheat and Prepare the Pan:
First, preheat your oven to 350°F (175°C). While it’s warming up, grease a 9×9 inch baking pan and line it with parchment paper. Make sure to leave some overhang so it’s easier to lift the bars out later!
2. Mix the Dry Ingredients:
In a medium bowl, whisk together the all-purpose flour, baking soda, and salt. This step helps ensure even distribution of the leavening agent and salt. Set this bowl aside for now.
3. Cream the Butters and Sugars:
In a large mixing bowl, beat together the softened unsalted butter, granulated sugar, and brown sugar until the mixture is light and fluffy. This should take about 2-3 minutes and gives your bars a nice texture!
4. Add Eggs and Vanilla:
Next, add the eggs one at a time, taking care to beat well after each addition. Then, mix in the vanilla extract until everything is well combined and smooth.
5. Combine Wet and Dry Mixtures:
Now it’s time to bring everything together! Gradually add the flour mixture into your butter mixture, stirring just until everything is combined. Be careful not to overmix—it’s okay if there are a few small lumps.
6. Fold in the Chocolate:
Gently fold in the mini chocolate chips or chunks, spreading the delicious chocolaty goodness throughout the batter.
7. Spread into the Pan:
Press the cookie dough evenly into the prepared baking pan, making sure it’s smooth on top.
8. Bake:
Pop your pan into the oven and bake for about 20-25 minutes. You’ll know it’s done when the edges are golden brown and a toothpick inserted in the center comes out clean. Keep an eye on it to prevent over-baking!
9. Cool Completely:
Remove the pan from the oven and let it cool completely in the pan on a wire rack. This helps maintain the bars’ texture and flavor.
10. Frost the Bars:
Once your bars are cool, spread the chocolate frosting evenly over the top of your cookie base. This adds a delicious chocolatey layer!
11. Decorate:
Time to make them festive! Sprinkle the chopped Easter candy-coated chocolate eggs (and any optional decorations like small white candy pieces or sprinkles) on top. Press them gently into the frosting so they stick.
12. Set in the Fridge:
To get your frosting nice and set, refrigerate the bars for about 30 minutes. This will make cutting them into squares much easier!
13. Serve and Enjoy!
Once set, lift the bars out of the pan using the parchment paper overhang and cut them into squares. Enjoy your scrumptious Easter Goody Bars with friends and family!
Can I Use Gluten-Free Flour for This Recipe?
Yes, you can substitute all-purpose flour with a 1:1 gluten-free flour blend. This will help maintain the structure of the bars while making them gluten-free. Just be sure to choose a blend that includes xanthan gum for the best results!
What Can I Use Instead of Easter Candy-Coated Chocolates?
If you can’t find Easter candy-coated chocolates, feel free to use any colorful candy, like M&M’s or chopped chocolate bars. You could also opt for chopped nuts or dried fruit for a different texture!
How Should I Store Leftover Easter Goody Bars?
Store any leftovers in an airtight container at room temperature for up to 3 days, or in the fridge for about a week. For longer storage, you can freeze the bars by wrapping them in plastic wrap and placing them in a freezer-safe container for up to 3 months.
Can I Make These Bars Dairy-Free?
Absolutely! You can use dairy-free butter or coconut oil as a substitute for unsalted butter. Additionally, be sure to choose dairy-free chocolate chips and frosting to keep the recipe completely dairy-free.


