Silky dairy-free vanilla ice cream is one of those desserts that should taste simple and end up feeling special. This version turns out smooth, creamy, and clean-tasting, with enough body to scoop neatly instead of freezing into an icy block. The vanilla stays front and center, and the coconut base gives it richness without reading coconut-heavy if you use a good extract.
The trick is in the balance. Full-fat coconut milk brings the fat you need for a creamy mouthfeel, while a little arrowroot or tapioca starch helps the base thicken just enough before it hits the freezer. Coconut oil adds a softer texture after churning, which matters a lot when you’re skipping dairy. If you’ve ever made non-dairy ice cream that froze hard or tasted flat, this method fixes both problems.
Below, I’ve included the small details that matter most: how to keep the base from feeling greasy, what to expect after churning, and a few smart swaps if you want to adjust the sweetness or make it even more vanilla-forward.
The texture was shockingly creamy after the full chill, and it scooped cleanly instead of turning icy like my last dairy-free batch. The vanilla flavor stayed nice and pure even after freezing overnight.
Save this dairy free vanilla ice cream for the nights when you want a scoopable, creamy vegan dessert without the icy texture.
The Part That Keeps Non-Dairy Ice Cream Creamy Instead of Icy
Most dairy-free ice cream goes wrong for one of two reasons: it’s either too lean, or it isn’t given enough time to chill before churning. Coconut milk needs fat to mimic dairy, and it also needs to be fully cold so the ice cream maker can work efficiently. If the base is warm or only half-chilled, the churn stays loose and the finished texture gets grainy after freezing.
The starch matters more than it looks like it should. Arrowroot or tapioca thickens the base just slightly as it heats, which gives the ice cream a little more structure and helps it resist that thin, watery finish. You’re not making pudding here. You’re just giving the mixture enough body to freeze into something smooth.
- Full-fat coconut milk — This is the backbone of the recipe. Light coconut milk won’t give you the same richness, and the ice cream will freeze harder and taste flatter.
- Arrowroot or tapioca starch — Either one works for thickening. Arrowroot gives a cleaner finish; tapioca can make the base a touch silkier. Whisk it in before heating so it dissolves evenly.
- Coconut oil — This softens the final scoop and helps the frozen texture stay closer to traditional ice cream. Don’t skip it unless you want a firmer, colder bite.
What Each Ingredient Is Actually Doing in the Freezer

- Granulated sugar or maple syrup — Sugar does more than sweeten. It keeps the ice cream from freezing rock-hard. Granulated sugar gives the cleanest vanilla flavor, while maple syrup adds a deeper note and a slightly softer set.
- Pure vanilla extract — Use a vanilla you’d actually taste on its own. This is a simple recipe, so the vanilla carries the whole dessert. If you want a more pronounced vanilla bean look and flavor, scrape in seeds from one pod and keep the extract for backup.
- Salt — It sharpens the vanilla and keeps the coconut from tasting one-note. A tiny amount goes a long way here.
Heating, Chilling, and Churning Without Breaking the Base
Whisking the Base Smooth
Start with a cold saucepan if you can, then whisk the coconut milk, sugar, starch, vanilla, salt, and coconut oil until everything looks fully combined. The starch should disappear into the liquid without any little white streaks left behind. If it looks grainy at this stage, keep whisking before the heat goes on. Any clumps now will show up later in the churned ice cream.
Thickening Just Enough on the Stove
Warm the mixture over medium heat and keep whisking the whole time. You’re watching for the sugar to dissolve and the base to thicken just slightly; it should coat the spoon a bit more than it did at the start, but it won’t turn into custard. If it starts to boil hard, pull it back right away. Overheating can make the coconut taste heavy and can push the starch past its best texture.
Cooling Before the Ice Cream Maker
Set the pan in an ice bath and cool it completely before refrigerating. That first cooling step keeps the mixture from staying warm in the center, which is where a lot of dairy-free bases fail. Then chill it for at least 4 hours, or overnight if you can. A fully cold base churns faster and turns out smoother.
Churning and Freezing to Scoopable Texture
Churn according to your machine’s instructions until the ice cream looks like soft-serve and holds ridges from the paddle. It should be thick, pale, and fluffy, not sloshy. Transfer it to a freezer-safe container and freeze until scoopable, about 2 hours. If you freeze it too long and it gets very firm, let it sit at room temperature for a few minutes before scooping instead of trying to force the spoon through it.
How to Adjust the Sweetness, Fat, and Flavor Without Losing the Creaminess
Maple-Sweetened Vanilla
Swap the granulated sugar for maple syrup if you want a deeper, more rounded sweetness. The flavor shifts a little warmer, and the finished ice cream may freeze slightly softer, which some people actually prefer straight from the freezer.
Oat Milk Version
You can use full-fat oat milk creamer in place of part of the coconut milk if you want less coconut flavor. Keep at least one can of full-fat coconut milk in the mix so the base still has enough fat to churn creamy instead of icy.
Vanilla Bean Upgrade
For a more classic vanilla bean look, add the seeds from one vanilla bean to the saucepan and keep the extract in the recipe. You’ll get the speckled appearance and a more layered vanilla taste without changing the texture.
Storage and Reheating
- Refrigerator: The base can be chilled up to 2 days before churning. Once frozen, the ice cream should be stored in the freezer, not the fridge.
- Freezer: It keeps well for about 2 weeks with a piece of parchment pressed against the surface. After that, it can get a little more brittle and icy around the edges.
- Reheating: Let it sit at room temperature for 5 to 10 minutes before scooping. Don’t microwave it unless you want the edges to melt before the center softens.
Answers to the Questions Worth Asking
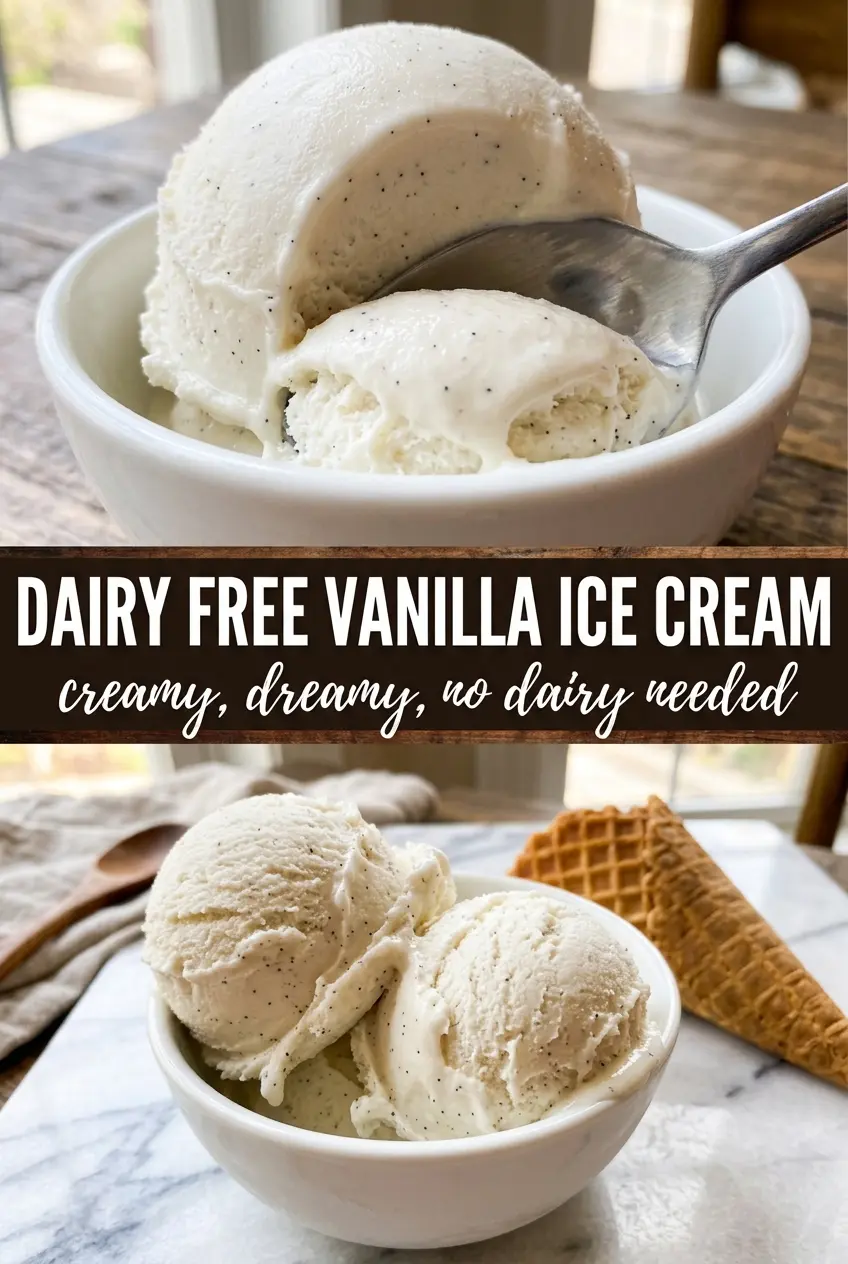
Dairy Free Vanilla Ice Cream
Ingredients
Equipment
Method
- Whisk full-fat coconut milk, granulated sugar (or maple syrup), arrowroot or tapioca starch, pure vanilla extract, salt, and coconut oil together in a saucepan until evenly combined.
- Heat over medium heat, whisking constantly, until the sugar dissolves and the mixture thickens very slightly, about 5 minutes.
- Cool the mixture completely over an ice bath to bring it down quickly for a smoother churn.
- Refrigerate until cold and set, at least 4 hours.
- Churn the chilled mixture in an ice cream maker according to the manufacturer’s instructions until it reaches a soft-serve consistency.
- Freeze until scoopable, about 2 hours, so the texture firms up for clean scoops.


