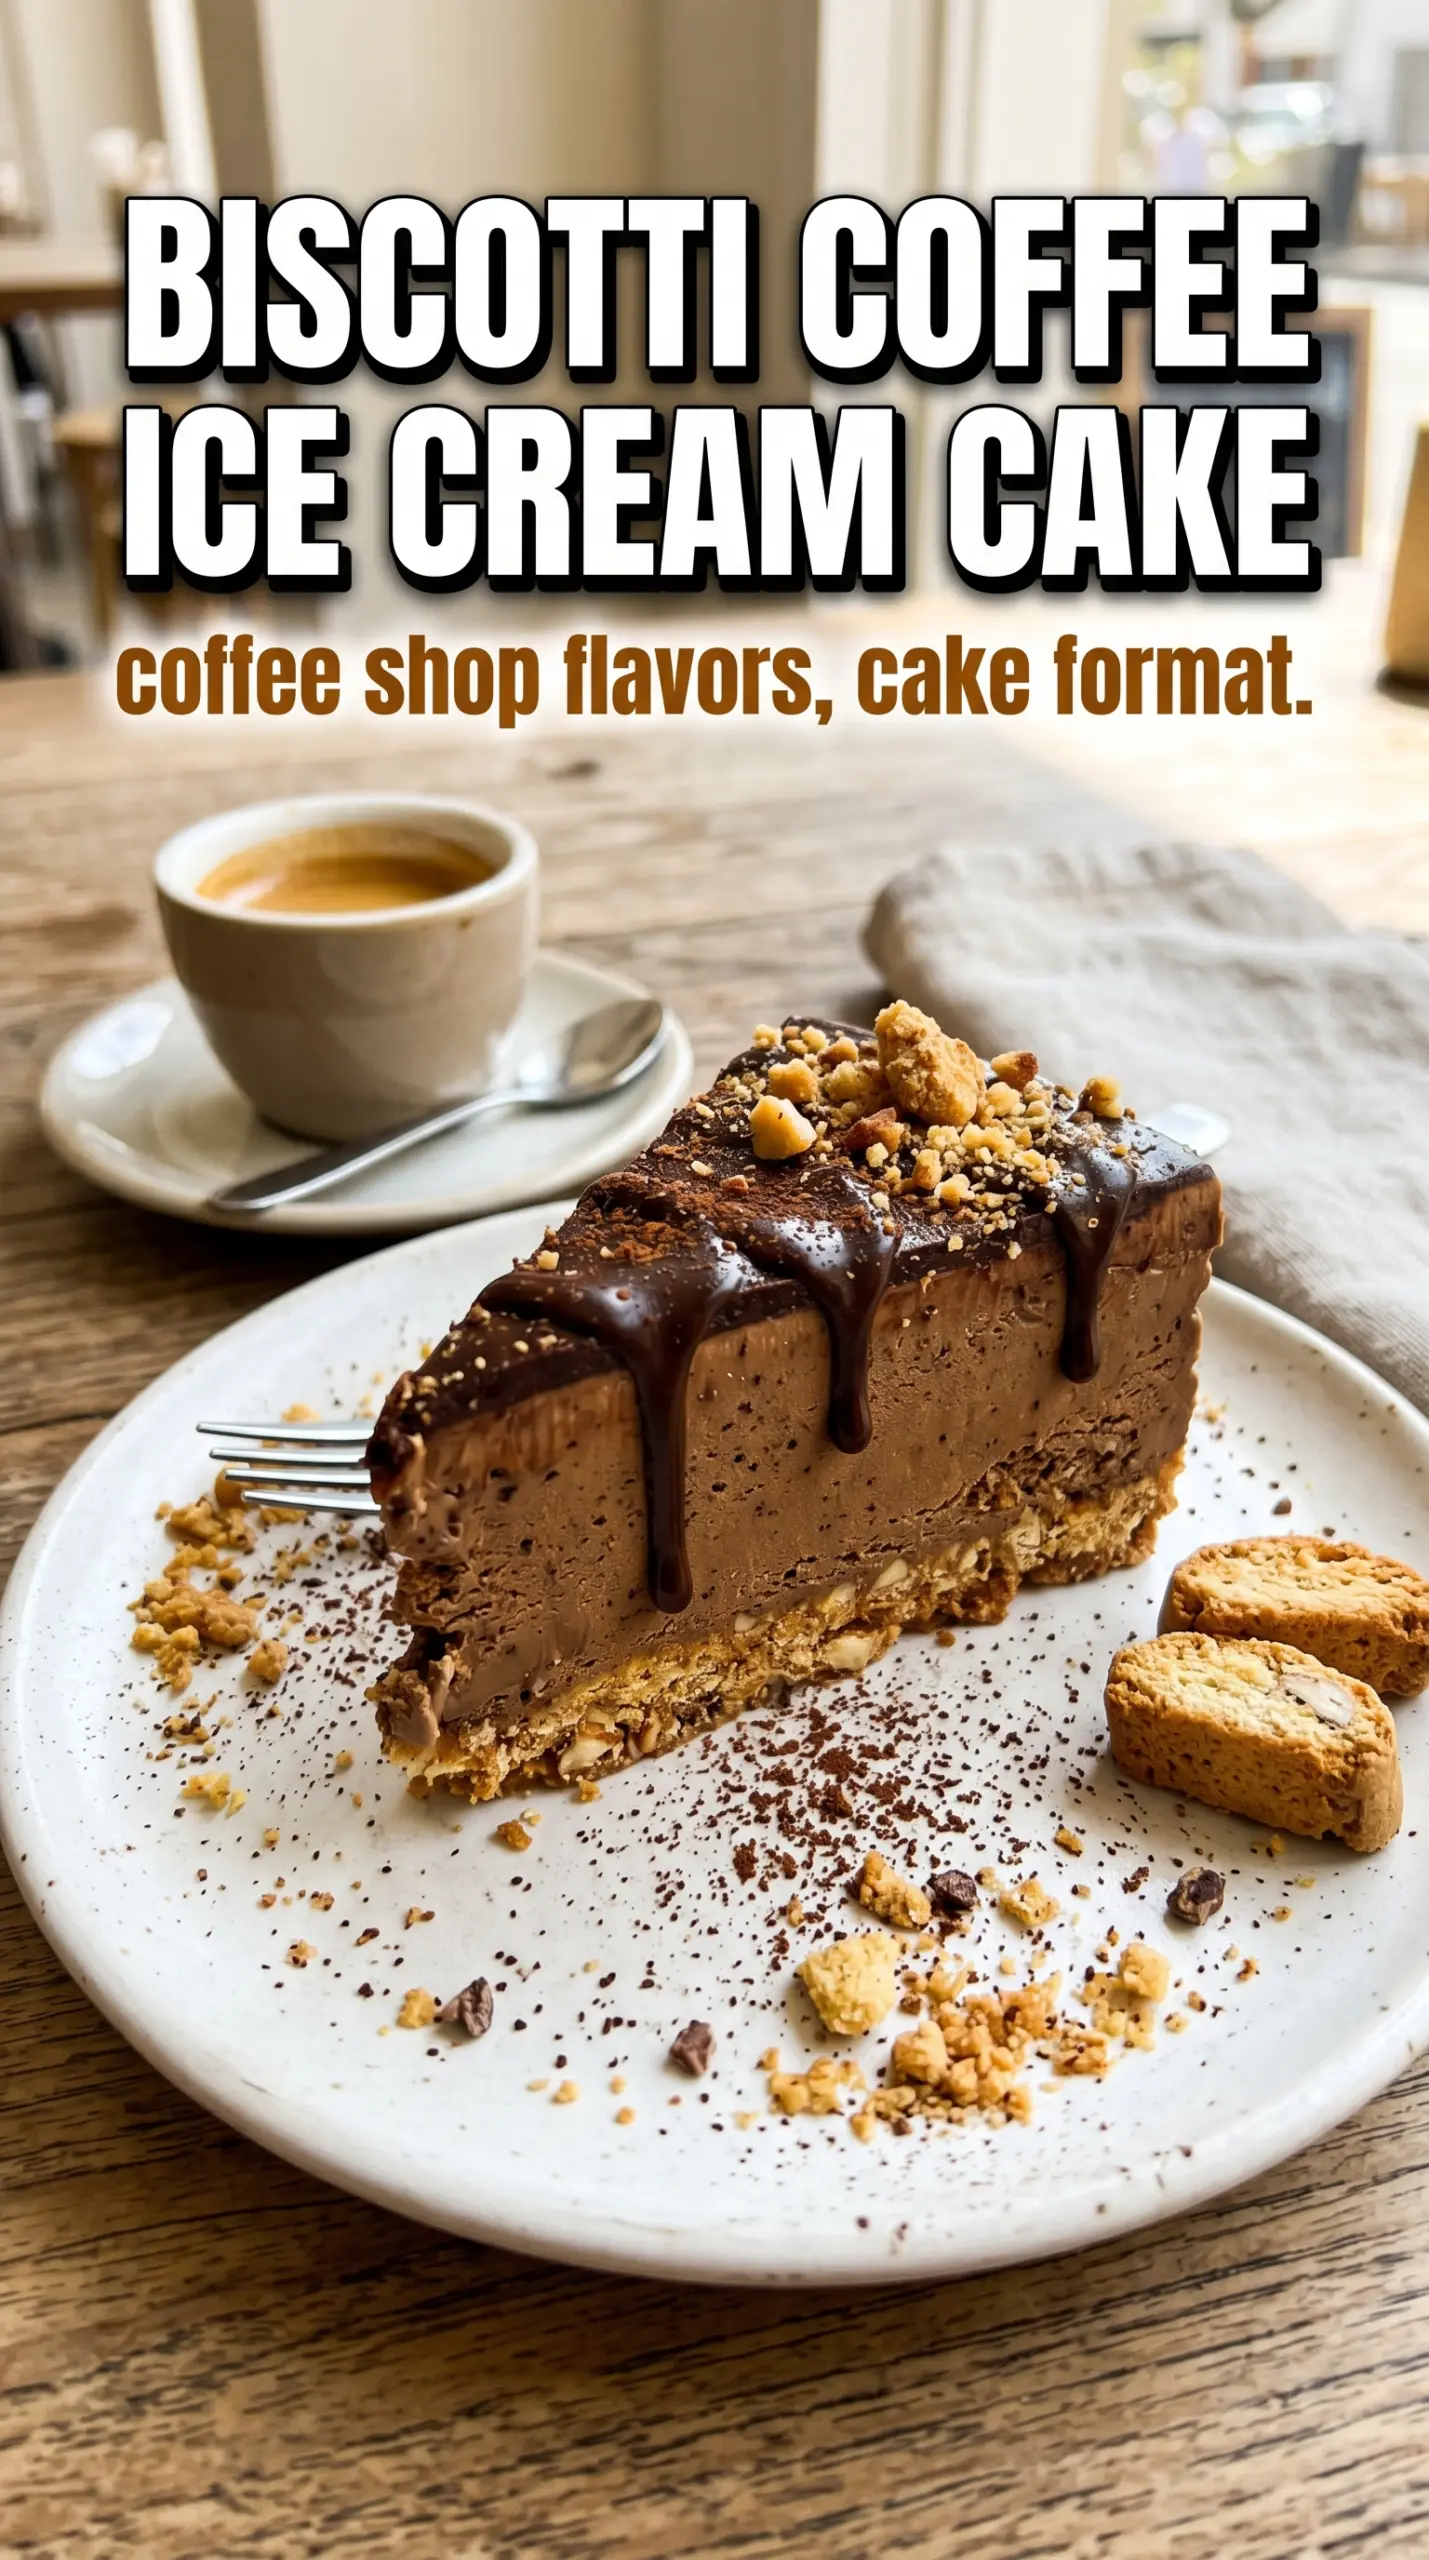
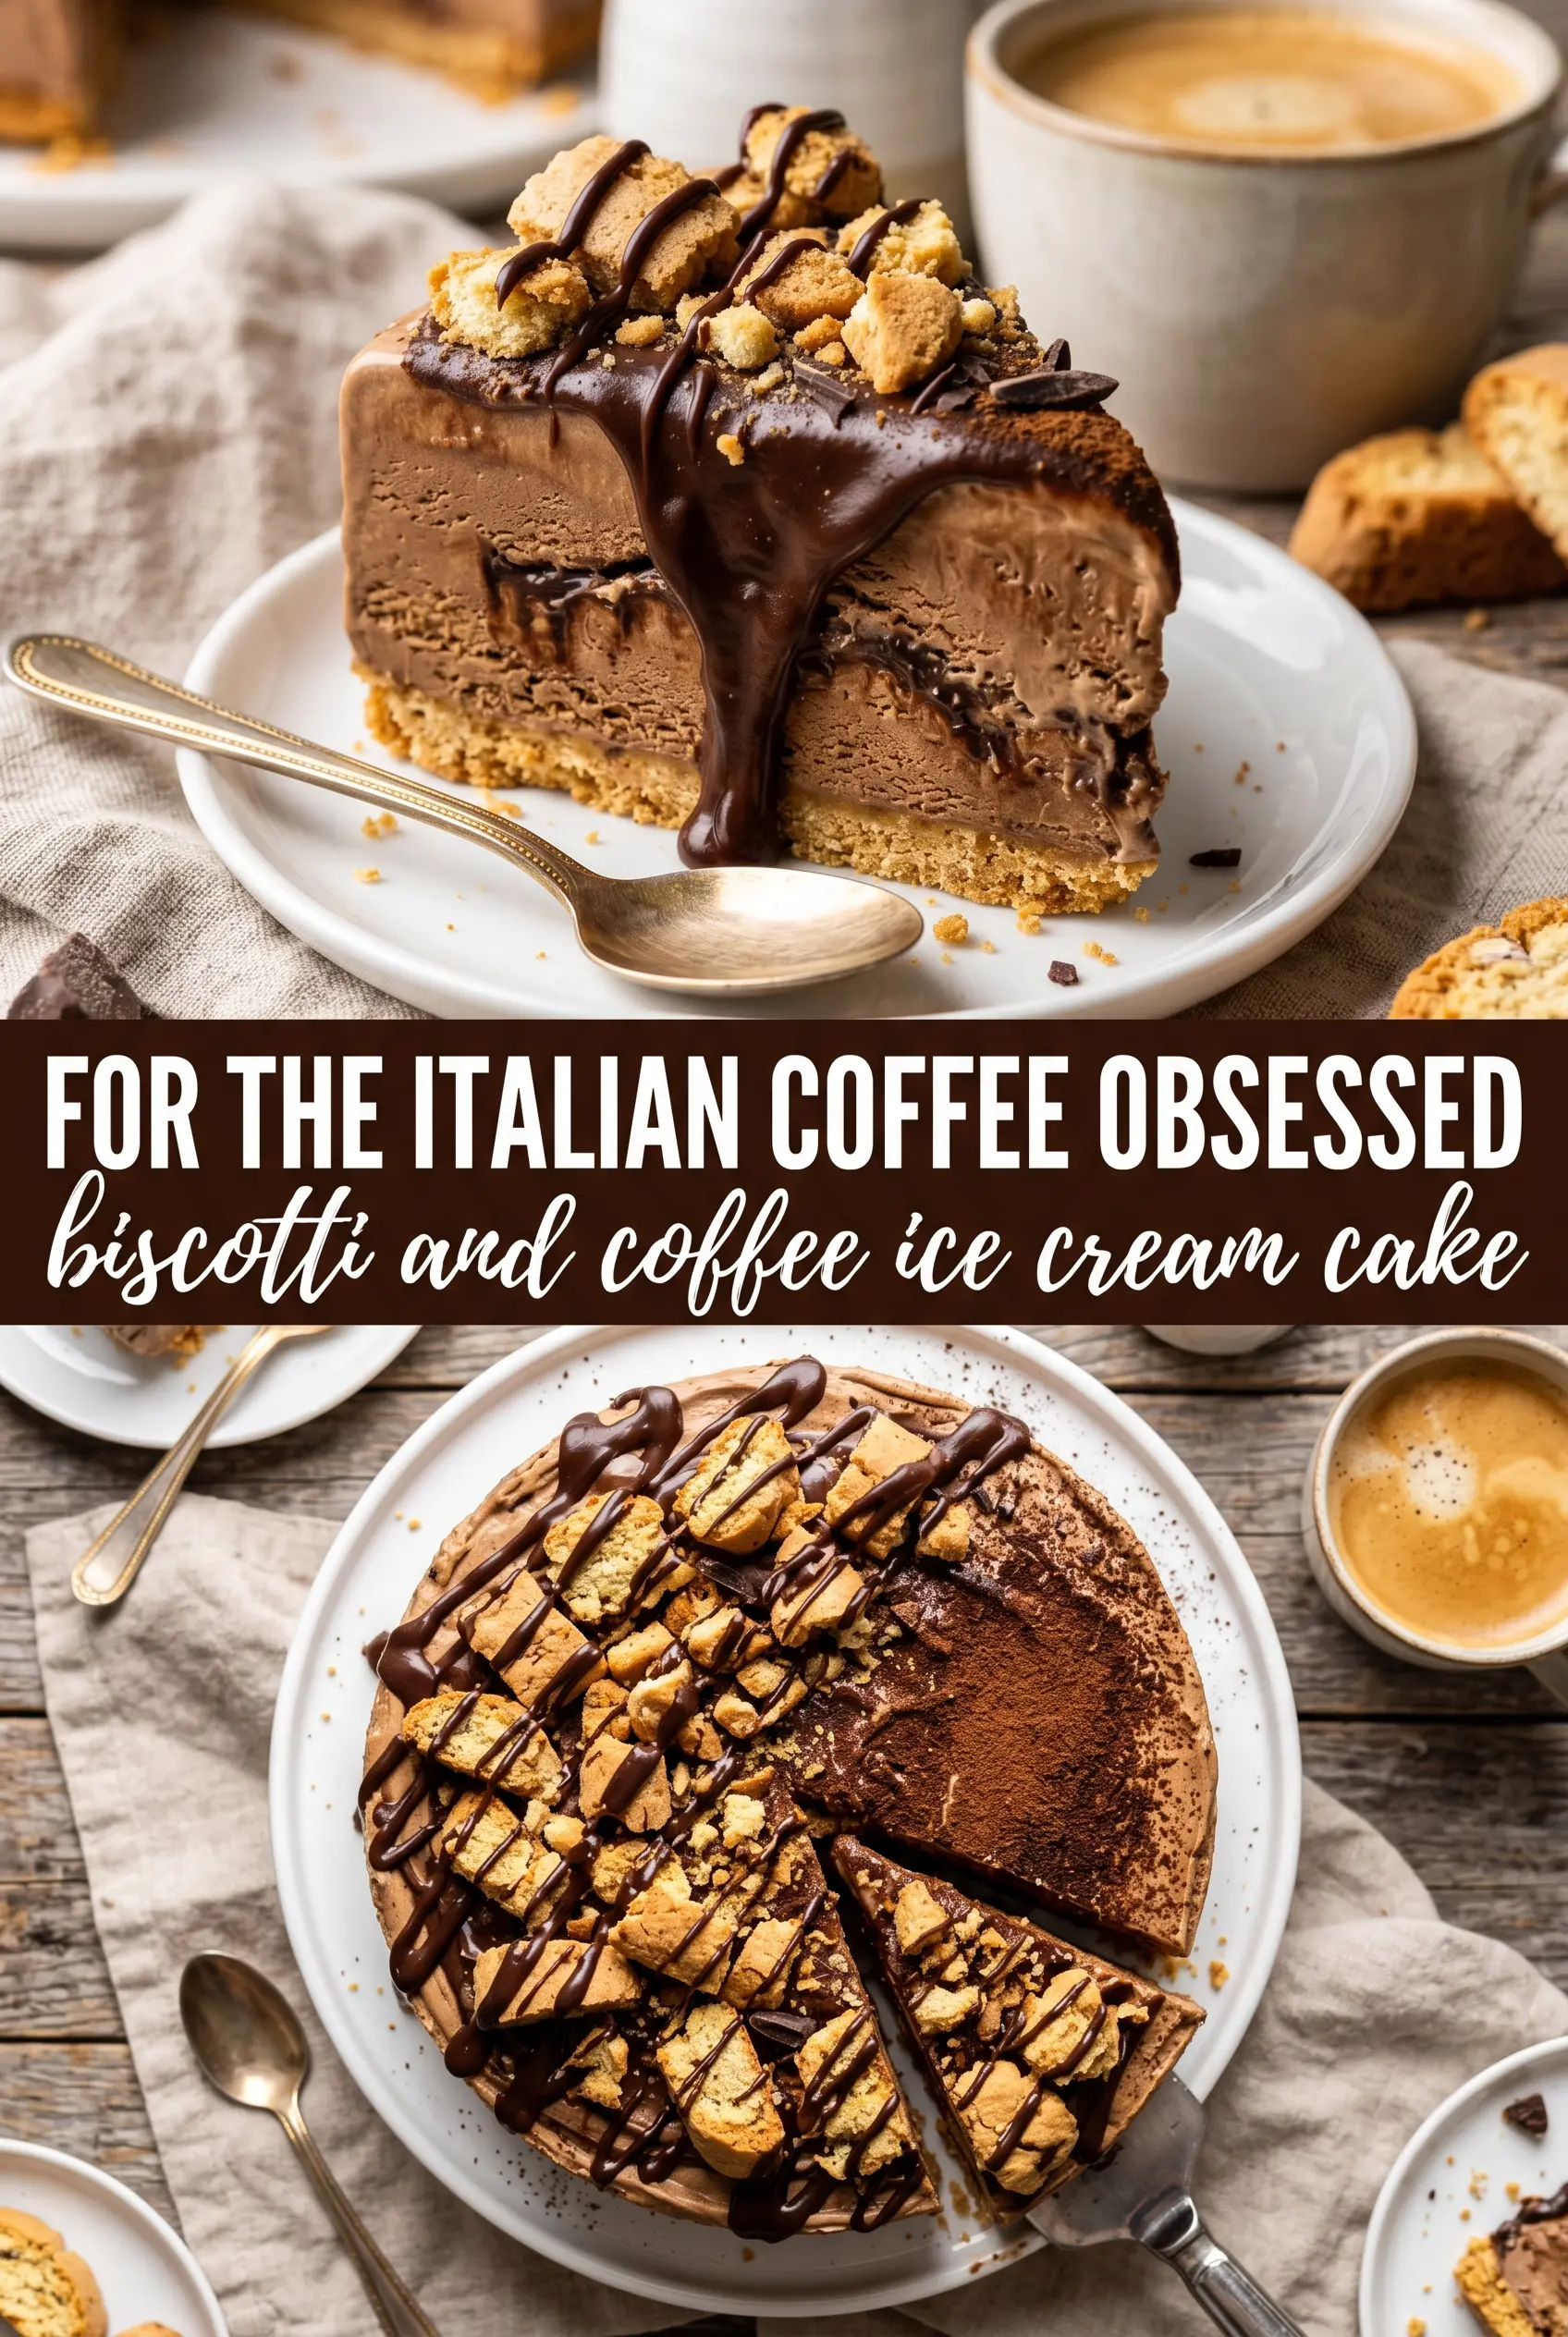
Crushed biscotti and coffee ice cream make a frozen cake that eats like a cross between an elegant semifreddo and a coffeehouse dessert case favorite. The crust stays nutty and crisp, the center freezes into a smooth sliceable layer, and the cocoa on top gives each bite a dry, grown-up finish that keeps the sweetness in check.
The part that makes this version work is the biscotti crust. A lot of frozen dessert crusts turn soft in the freezer, but finely crushed almond biscotti hold their texture better than graham crackers and bring their own toasted flavor. Brushing the crust with espresso before the ice cream goes in deepens the coffee note without making the base soggy, and the long final freeze is what keeps the slices clean instead of slumping at the plate.
Below, I’ll walk you through the small details that matter most, including how soft the ice cream should be before spreading, why the cocoa goes on after the whipped cream, and the easiest way to get tidy slices when it’s time to serve.
The biscotti crust stayed crunchy even after freezing overnight, and the espresso brushed on top gave the whole cake a deeper coffee taste instead of just sweetness.
Love the crunchy biscotti crust and espresso-soaked coffee layer? Save this frozen cake for the next dinner party when you want an Italian-style dessert that slices beautifully.
The Part Most Frozen Cakes Get Wrong: A Crust That Stays Crisp
The crust is doing more than holding the dessert together. It needs enough butter to pack firmly, but not so much that it turns greasy and dense after freezing. Finely crushed almond biscotti gives you that balance: dry enough to stay crisp, rich enough to taste like part of the dessert instead of a filler base.
The other mistake is skipping the espresso brush. That thin layer adds a coffee accent right under the ice cream, which makes the whole cake taste more layered. If you pour it on instead of brushing lightly, the crust can turn patchy and soft, especially around the edges.
What Each Ingredient Is Actually Doing in This Cake
- Almond biscotti — These give the crust its signature crunch and toasted almond flavor. Finely crush them so they press together cleanly; big chunks make the base crumble when you slice it.
- Melted butter — This binds the crumbs without needing an egg or baking step. Use enough to make the mixture feel like damp sand, but stop once it holds when squeezed.
- Coffee ice cream — This is the heart of the cake, so buy a brand you’d happily eat by the scoop. Let it soften until it’s spreadable, not melty, or you’ll lose the clean layers.
- Espresso or strong cold brew — Brushed onto the crust, it deepens the coffee flavor without watering down the texture. Espresso gives the strongest hit, but cold brew works well if that’s what you have.
- Whipped cream — The light top layer balances the dense ice cream below. Spread it gently so you don’t dig into the frozen center.
- Cocoa powder — Dust it on top for a bittersweet finish that keeps the dessert from tasting flat. Sift it for an even layer; unsifted cocoa can leave muddy clumps.
- Chocolate-dipped biscotti — These are the finishing touch and they reinforce the almond-biscotti theme. Add them at the end so the chocolate stays neat and the cookies keep their crunch.
Building the Layers So the Cake Slices Cleanly
Pressing the Biscotti Base
Mix the crushed biscotti, melted butter, and sugar until the crumbs look evenly moistened, then press them firmly into the bottom of a 9-inch springform pan. Use the bottom of a measuring cup to compact the crust into an even layer, especially around the edges where loose crumbs tend to collect. The first 15-minute freeze matters because it sets the butter before the espresso goes on.
Brushing and Freezing the Coffee Center
Brush the chilled crust lightly with espresso or strong cold brew. You want a thin coating, not a puddle. Spread the softened coffee ice cream over the crust and smooth the top with an offset spatula or the back of a spoon. If the ice cream is too firm, it will tear the crust; if it’s too soft, it will melt into the base instead of sitting in a clean layer. Freeze it until solid, about 4 hours, before adding the topping.
Finishing with Cream and Cocoa
Once the ice cream layer is fully firm, spread or pipe the whipped cream across the top. Dust generously with cocoa powder through a fine sieve so the surface looks even and polished. Add the chocolate-dipped biscotti last, then freeze the cake again for at least 2 hours. That final rest is what lets the slices hold their shape when you release the springform ring.
Three Ways to Adapt the Biscotti Coffee Ice Cream Cake
Make It Dairy-Free Without Losing the Creamy Slice
Use dairy-free coffee ice cream and a plant-based whipped topping, then swap in vegan butter for the crust. The texture stays close to the original, though the flavor will be a little less rich and the top may freeze slightly firmer, so let it sit for 8 to 10 minutes before slicing.
Turn Down the Coffee for a Milder Dessert
If you want a softer coffee flavor, use vanilla ice cream and brush the crust with a smaller amount of espresso. You’ll lose some of the deep mocha intensity, but the biscotti and cocoa still keep the dessert elegant and layered.
Gluten-Free Version
Use gluten-free almond biscotti for both the crust and the garnish. The rest of the recipe stays the same, and almond-based gluten-free biscotti usually behave well because they crush and hold together much like the original.
Storage and Reheating
- Refrigerator: Not recommended. This cake softens fast and loses its layered texture in the fridge.
- Freezer: Wrap the assembled cake tightly and freeze up to 1 week for the best texture. After that, the crust can start to pick up freezer flavor.
- Reheating: No reheating needed. For clean slices, let the cake sit at room temperature for 8 to 12 minutes before cutting with a warm knife wiped dry between slices.
Answers to the Questions Worth Asking
Crushed Biscotti and Coffee Ice Cream Cake
Ingredients
Equipment
Method
- Combine crushed almond biscotti, melted butter, and sugar, then press firmly into a 9-inch springform pan to form an even layer. Freeze for 15 minutes.
- Brush the frozen biscotti crust with espresso or strong cold brew so the surface looks evenly coated.
- Spread the softened coffee ice cream over the crust, smooth the top, and return the cake to the freezer for 4 hours so it firms up.
- Pipe or spread whipped cream over the fully frozen cake, creating an even cap with visible swirls.
- Dust generously with unsweetened cocoa powder through a fine sieve for a thin, even brown layer.
- Arrange the chocolate-dipped biscotti on top, placing them so they sit against the cocoa-dusted surface for a decorative pattern.
- Freeze for 2 more hours before releasing from the springform pan and serving, so the slice holds together with crisp layers.