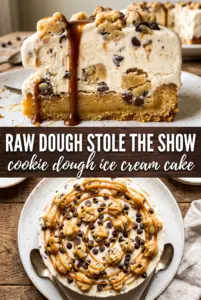
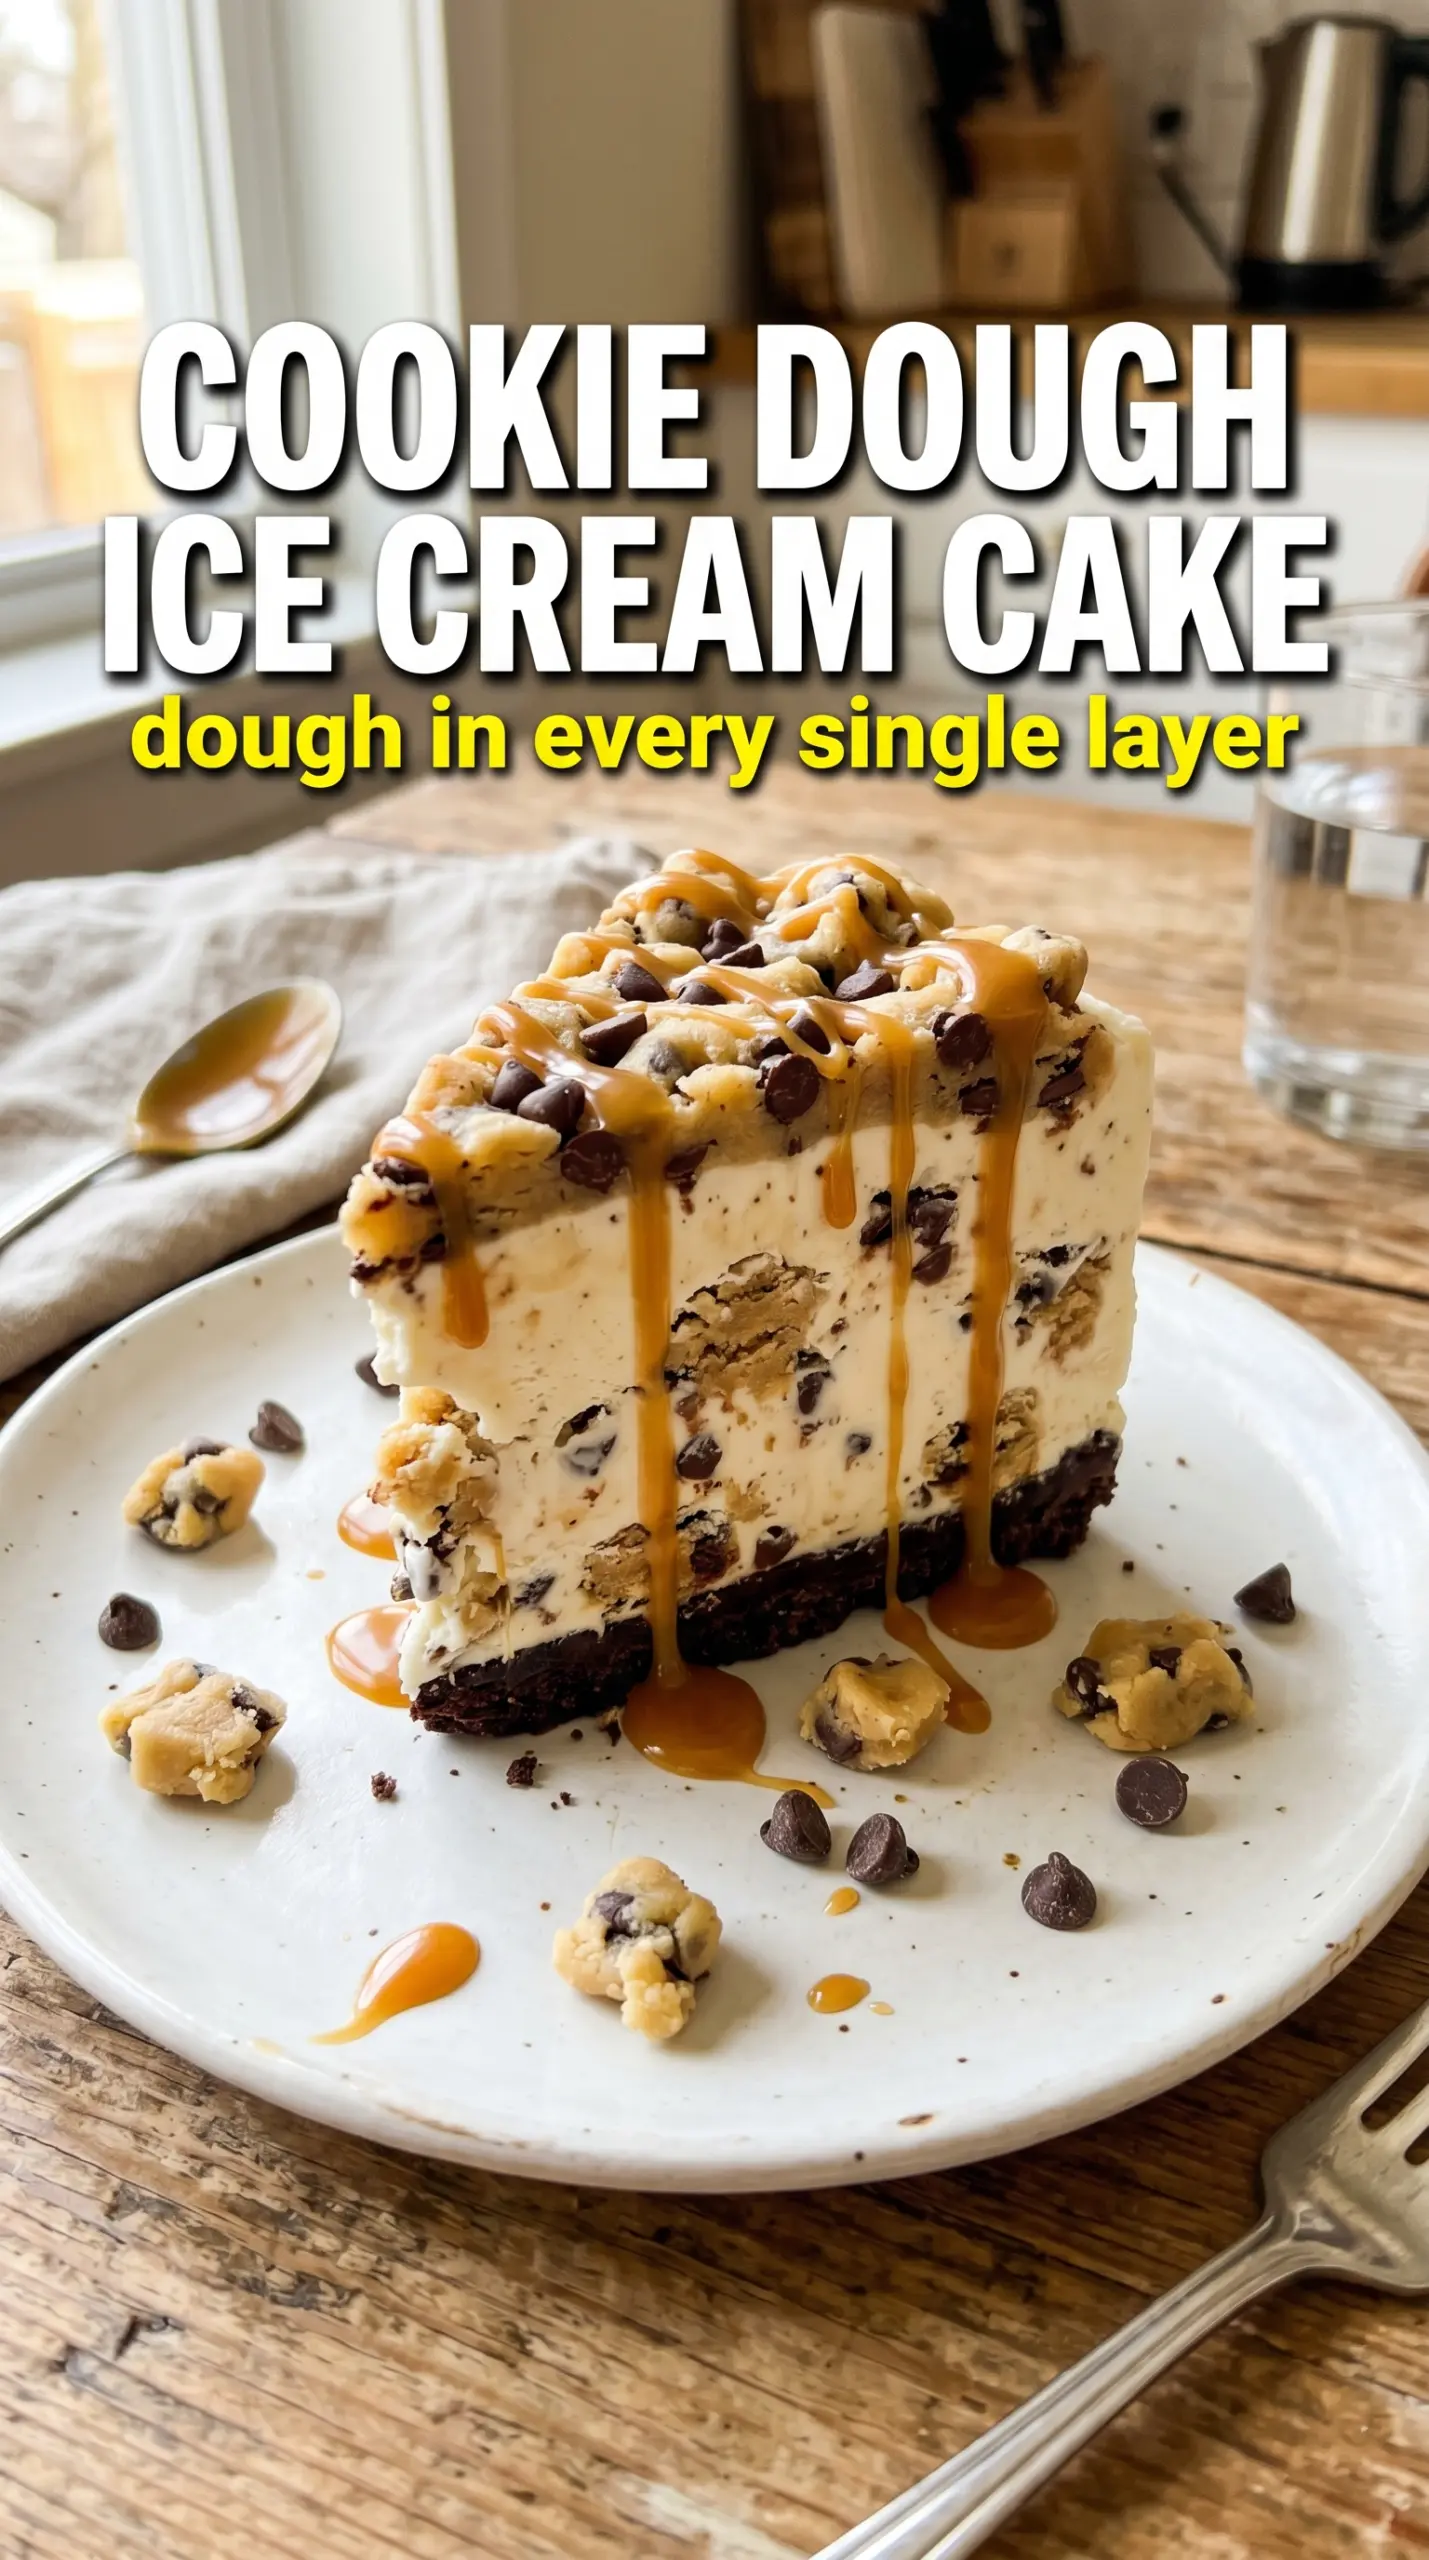
Cookie dough ice cream cake is the kind of dessert that disappears in neat, suspiciously fast slices. You get a baked chocolate chip cookie base that stays chewy at the edges, a thick layer of vanilla ice cream packed with edible cookie dough bites, and a chocolate ganache top that firms into a clean shell when it hits the cold cake. Every bite gives you something different: creamy, fudgy, cold, and just a little bit messy in the best way.
The part that makes this version work is the layering. The cookie base gets baked first so it can cool into a sturdy foundation, which keeps the ice cream from turning the whole dessert into a puddle. The edible cookie dough goes straight into softened ice cream so it stays visible and soft instead of freezing into pebbles. Then the ganache goes on after the cake has had time to firm up, so it settles into an even top instead of sinking through the middle.
Below, I’ll show you how to keep the layers distinct, how to get a clean slice, and what to change if you want to make this ahead for a birthday or swap in a different flavor.
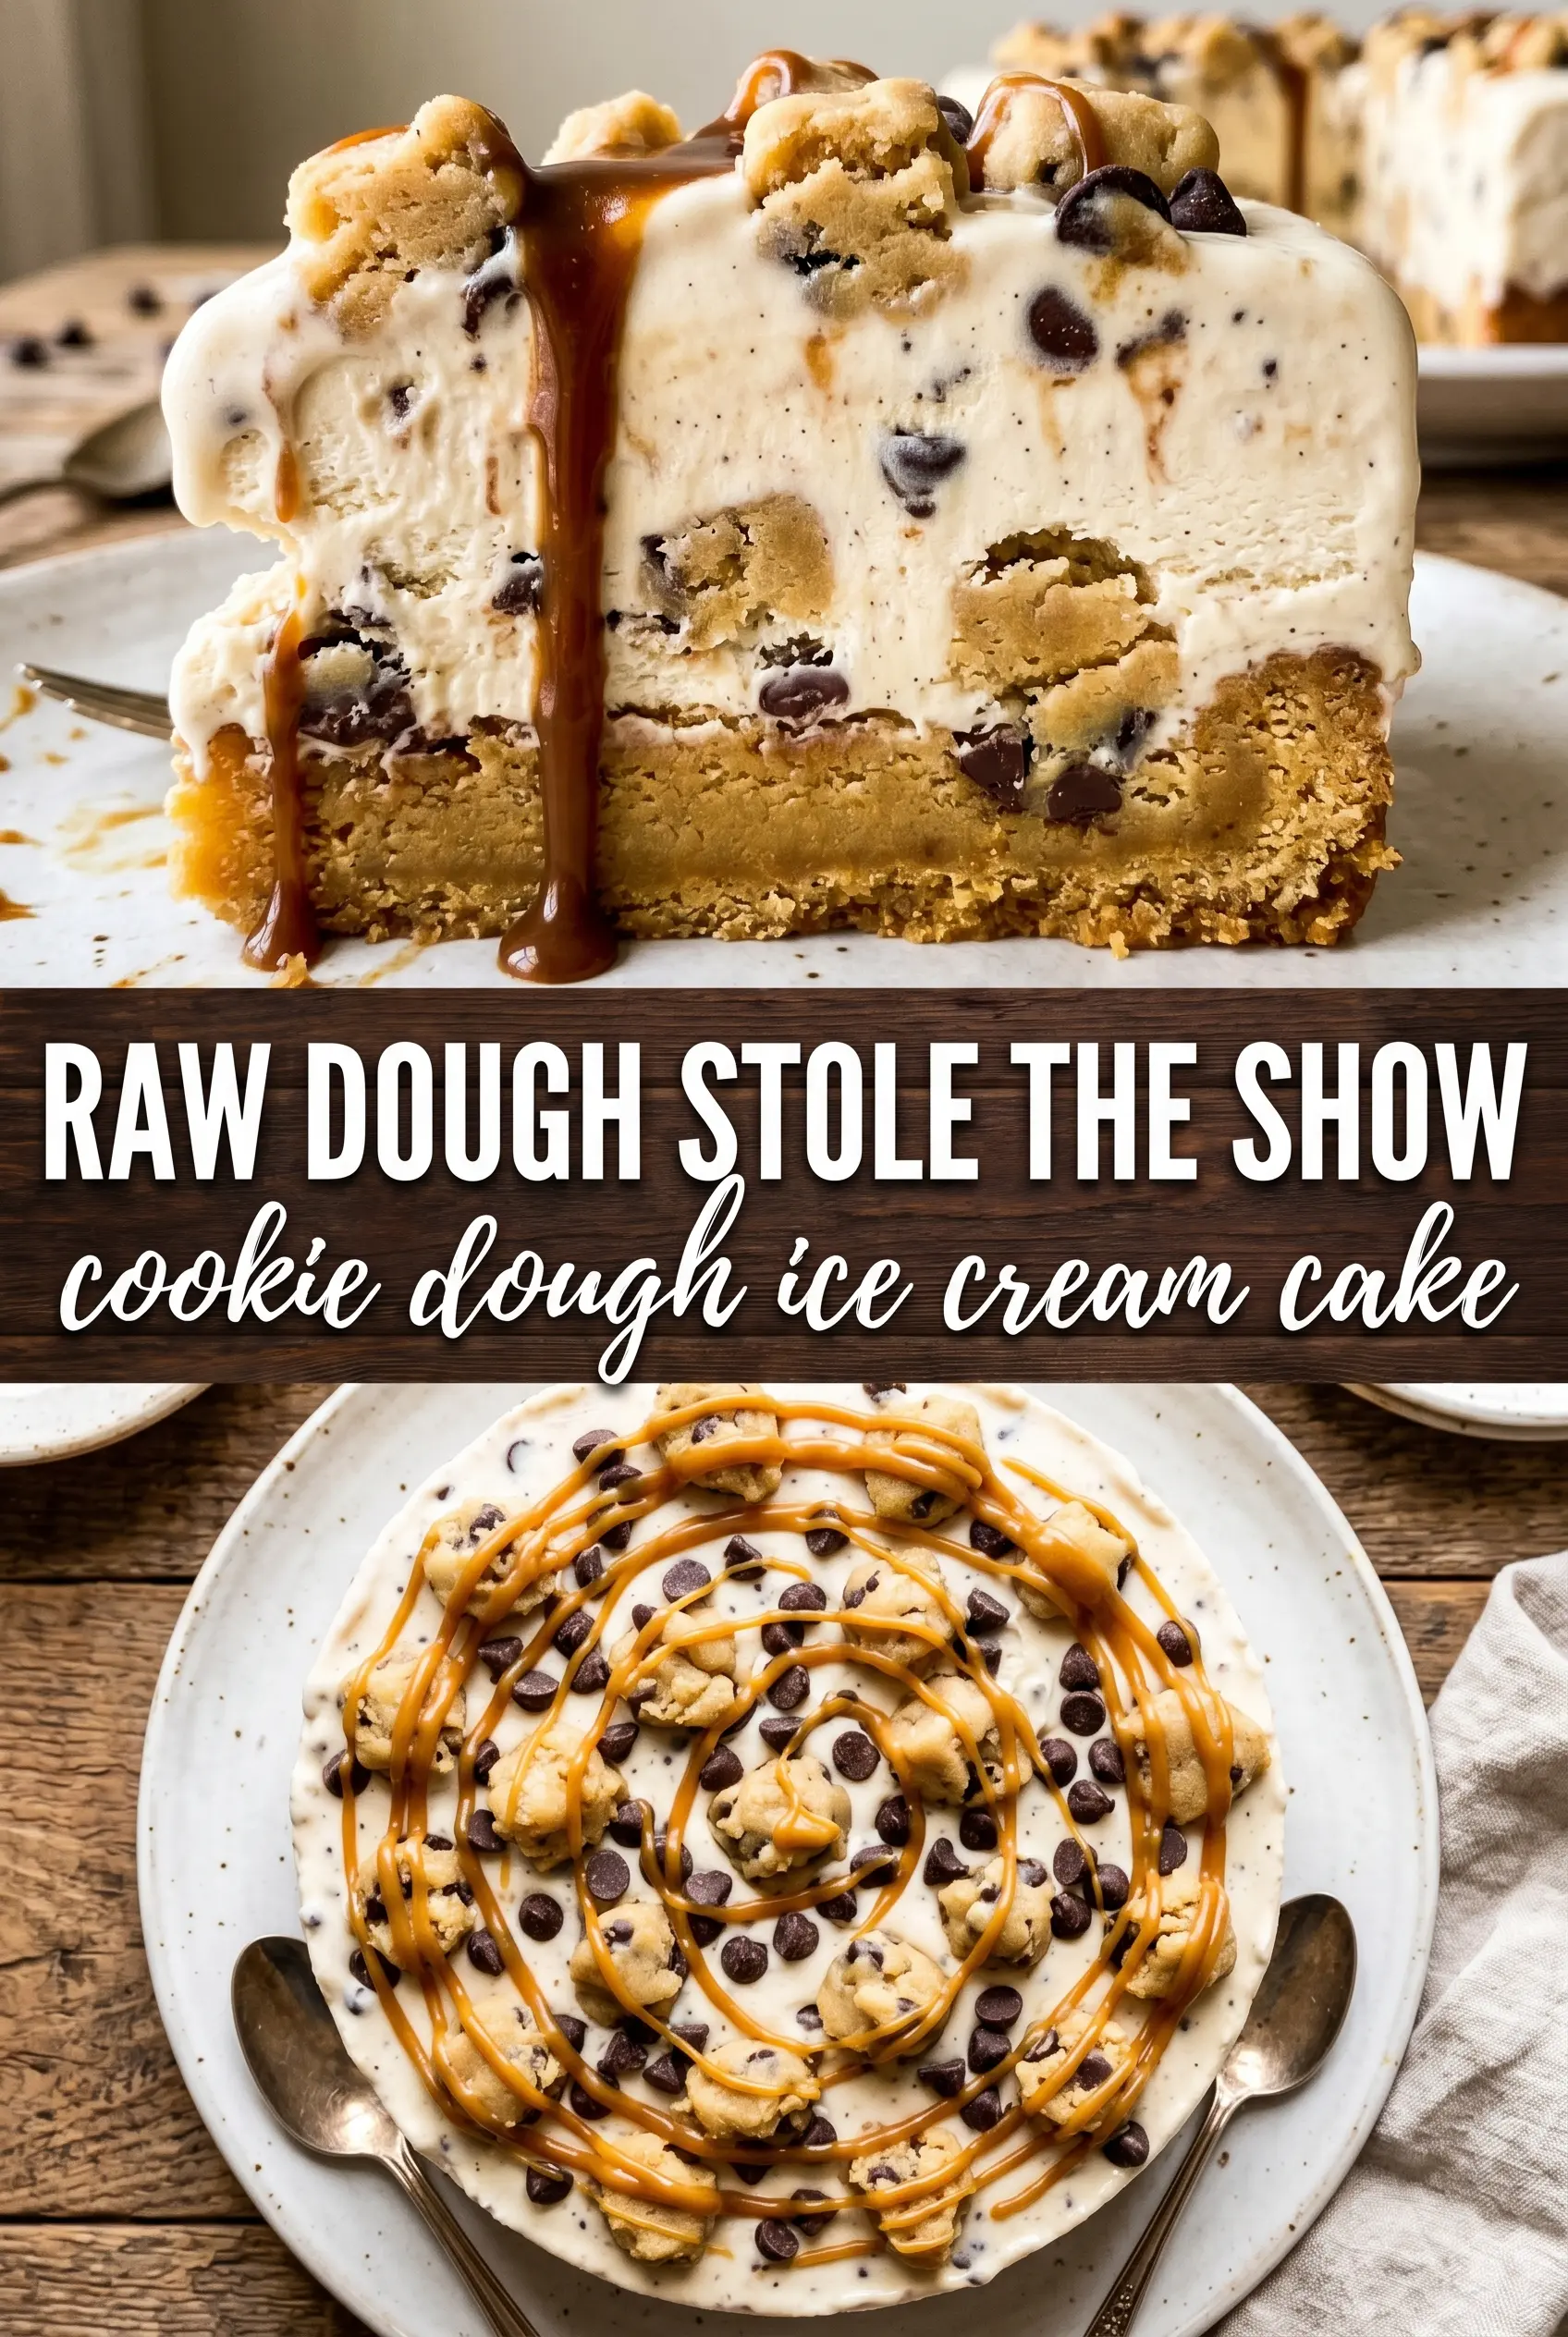
The cookie layer baked up sturdy but still soft, and the cookie dough bites stayed chewy even after freezing overnight. The ganache set beautifully on top and made slicing much easier than I expected.
Like this cookie dough ice cream cake? Save it for birthdays, summer parties, and the freezer dessert that slices cleanly after a long chill.
Why the Ice Cream Layer Needs to Be Soft, Not Melted
The mistake that ruins this kind of dessert is starting with ice cream that’s either rock hard or half melted. If it’s too firm, you’ll tear up the cookie base trying to spread it. If it’s too melted, the layer turns soupy and seeps into the cake instead of sitting on top of it. The sweet spot is softened just enough that a spoon can fold the cookie dough bites through it and the mixture still mounds when you spread it.
The other thing that matters is timing. The cookie base needs to be completely cool before anything cold touches it, and the ganache goes on only after the ice cream layer has frozen solid. That’s how you get those clean layers in the slice instead of a cake that blurs together when you cut it.
- Refrigerated cookie dough — This gives you a bakery-style base with almost no extra effort. Bake it just until the edges are set and the center is no longer glossy; overbaking turns the foundation dry and brittle once it freezes.
- Vanilla ice cream — A classic vanilla base keeps the cookie dough flavor front and center. Use a good full-fat ice cream if you can, because lower-fat versions freeze harder and taste icier in a dessert like this.
- Edible cookie dough bites — These are the texture payoff. Chop them if they’re large so they distribute evenly through the ice cream, and use a true edible dough, not raw cookie dough meant for baking.
- Chocolate ganache — Ganache sets into that glossy top layer that makes the cake feel finished. If you use it warm, it should be pourable but not hot enough to melt the ice cream underneath.
What Each Ingredient Is Actually Doing in This Ice Cream Cake
- Crust or base layer (cookies, brownies, or cake) — This provides structure and texture contrast. A sturdy base keeps the whole cake from crumbling when served.
- Ice cream (the main event) — Choose quality ice cream or frozen yogurt. Soft-serve or premium ice cream works better than hard-packed store brands.
- Cake layer (optional but recommended) — A thin cake layer adds substance and keeps the cake from being all frozen texture. Make it thin so it doesn’t overpower the ice cream.
- Sauce or syrup layer (fudge, caramel, or fruit) — This adds flavor depth and prevents the cake from tasting one-dimensional. Freeze between layers so sauces stay distinct.
- Toppings (chocolate chips, cookies, candy, or nuts) — These add texture and visual appeal. Mix-ins stay crispy longer if frozen separately first.
- Frosting or whipped cream (optional topping) — This adds richness to the outside. Keep it simple or it overwhelms the cake.
- Freezing time (the patience that pays off) — Each layer needs time to set so they stay distinct when sliced. Rushing this step means layers muddy together.
- Storage and serving technique (thaw 5 minutes before slicing) — A brief thaw makes slicing clean and easy. Serve slices immediately for best texture.
How to Layer It So the Cake Stays Sliceable
Baking the Cookie Base
Press the cookie dough evenly into a springform pan so the base bakes at the same rate all the way across. Pull it when the edges are set and lightly browned and the center looks cooked through but still soft. It will firm up as it cools, and that matters here because a dry cookie base is hard to slice once frozen. Let it cool completely in the pan before you add anything cold.
Building the Ice Cream Layer
Let the vanilla ice cream soften on the counter until it spreads easily, then fold in the edible cookie dough bites. Don’t stir it so hard that the ice cream turns loose and glossy; you want thick, scoopable ice cream with the bites suspended throughout. Spread it over the cooled cookie base and smooth the top with an offset spatula or the back of a spoon. If the base is even a little warm, stop and chill it first or the layer will start to slide.
Setting the Cake Before the Ganache
Freeze the assembled cake until it’s completely firm through the center. This is the step that protects the shape, and it’s the reason the ganache can sit on top instead of disappearing into the ice cream. The top should feel hard to the touch and not give when you press lightly in the center. Once it’s firm, pour the ganache over the surface and tilt the pan just enough to spread it into a smooth shell.
Finishing With Whipped Cream and Toppings
Let the ganache set before piping the whipped cream on top. If you add the cream too soon, it sinks and leaves a greasy streak in the chocolate. Scatter the mini chocolate chips and extra cookie dough bites over the whipped cream while the surface is still slightly tacky so they stick in place. Give the cake one final freeze before releasing the springform ring and slicing with a sharp knife warmed in hot water.
How to Adapt This for Different Freezers, Parties, and Diets
Gluten-Free Cookie Dough Ice Cream Cake
Use a gluten-free refrigerated cookie dough for the base and certified gluten-free edible cookie dough bites. The cake still slices the same way, but the texture of the base can be a touch more delicate, so let it cool and chill fully before layering.
Dairy-Free Version
Swap in dairy-free vanilla ice cream and a dairy-free whipped topping, then use a dairy-free chocolate ganache made with coconut cream and dairy-free chocolate. The cake will still freeze beautifully, though the ganache may set a little softer than the classic version.
Birthday Cake Upgrade
Add rainbow sprinkles to the whipped cream topping and use extra cookie dough bites around the edge for a more celebratory look. You can also press a thin ring of mini chips into the sides of the cake right after unmolding for a cleaner party presentation.
Storage and Reheating
- Refrigerator: This cake doesn’t belong in the fridge for long; it softens fast. If you need to hold it briefly before serving, keep it chilled just until slicing, then move it back to the freezer.
- Freezer: It freezes well for up to 1 week with the springform ring removed and the cake wrapped tightly. For the best texture, press a piece of parchment against any cut surfaces before wrapping so the ice cream doesn’t get icy.
- Reheating: There’s no reheating here. Let the cake sit at room temperature for 8 to 12 minutes before slicing so the knife can pass through the ganache and ice cream cleanly without cracking the top.
Questions I Get Asked About This Recipe
Cookie Dough Ice Cream Cake
Ingredients
Equipment
Method
- Heat oven to 350F and bake the refrigerated cookie dough in a 9-inch springform pan for 12-15 minutes until set. Let it cool completely before assembling.
- Fold edible cookie dough bites into softened vanilla ice cream until evenly distributed. Spread the mixture over the cooled cookie base in an even layer.
- Freeze the layered cake for 4 hours until completely firm. This makes the ganache layer pour cleanly without melting through.
- Pour chocolate ganache over the top of the frozen cake and smooth to the edges. Freeze for 1 hour until the ganache sets.
- Pipe whipped cream on top, then scatter mini chocolate chips and extra cookie dough bites. Freeze for 2 more hours before releasing and slicing.