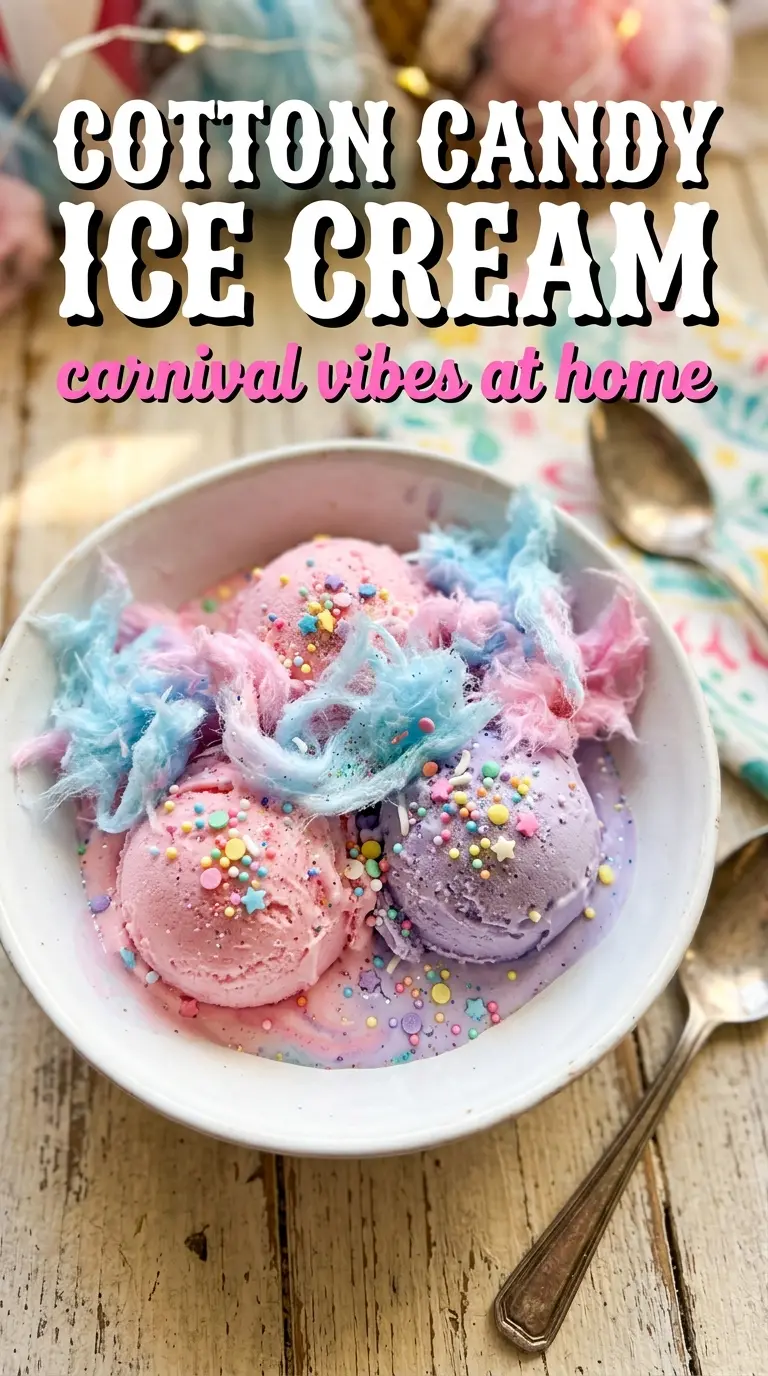
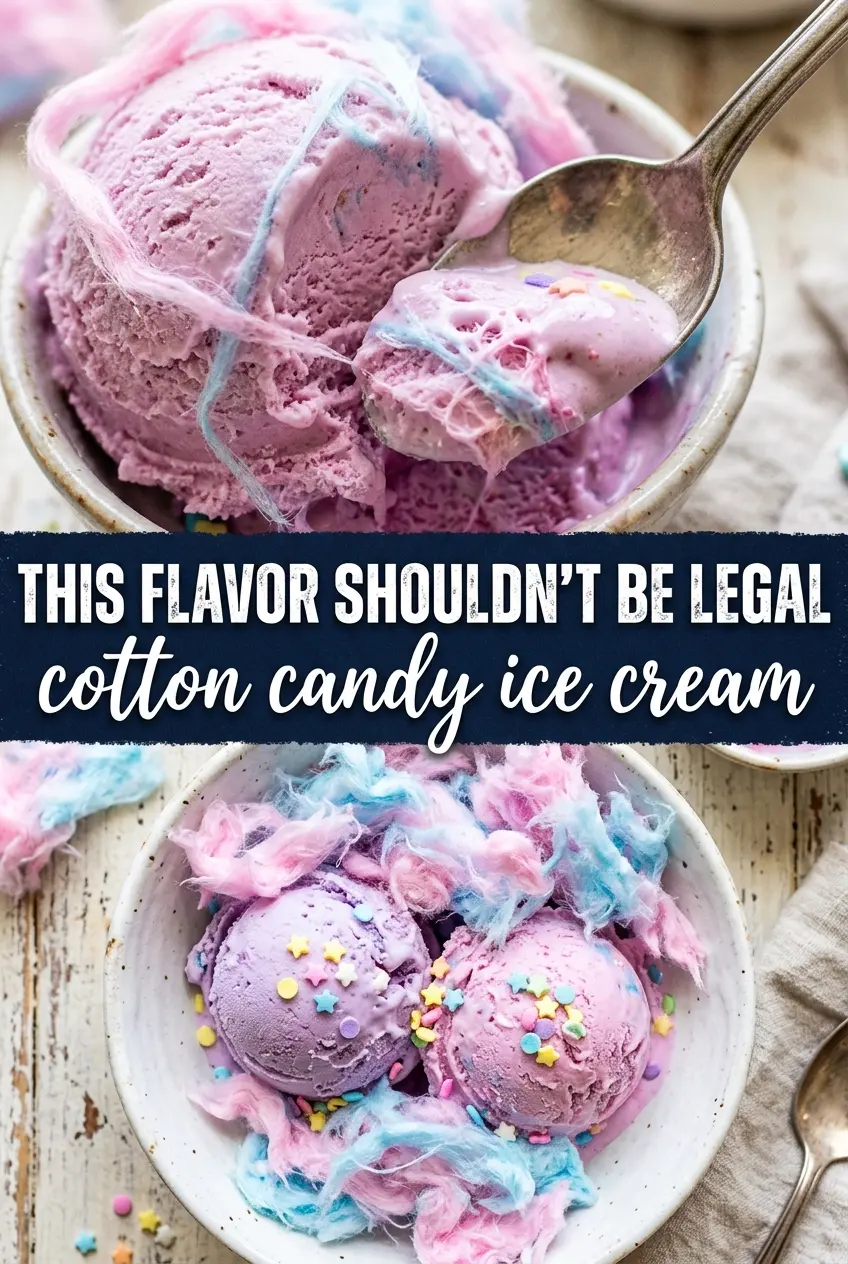
Vivid swirls of pink and blue cotton candy ice cream make this one a little playful and a lot memorable. The base turns out smooth and rich, with that unmistakable carnival sweetness running through every spoonful, and the color swirl gives it the kind of bakery-case look that makes people reach for a bowl before dinner is even over.
What makes this version work is the custard base. Egg yolks give it body, heavy cream keeps it plush, and the milk keeps it from becoming too dense. The cotton candy flavoring goes in after cooking, which keeps the flavor bright instead of dulling it on the stove, and splitting the base lets you build those fun pink-and-blue ribbons without muddying the colors.
Below, I’ve included the little details that matter most: how to keep the custard smooth, when to add the coloring, and the easiest way to get a swirl that actually looks like a swirl instead of one flat pastel scoop.
The custard stayed silky and the pink-blue swirl looked just like the pictures. I used a little less coloring than I expected and it still came out bright, and the cotton candy flavor held up after freezing.
Save this cotton candy ice cream for the day you want bold pink-and-blue swirls and that nostalgic carnival flavor in every scoop.
The Custard Step That Keeps Cotton Candy Ice Cream Smooth
Cotton candy ice cream can go grainy fast if the custard gets too hot. Egg yolks thicken between 170°F and 175°F, and once you push past that range, the texture starts to get a little scrambled instead of creamy. Pull the pan as soon as it coats the back of a spoon and leaves a clean line when you drag a finger through it.
Straining matters here. It catches any tiny bits of cooked egg before they have a chance to freeze into the finished ice cream, which is exactly the difference between a polished custard and one with little rough patches. The flavoring goes in after cooking because heat can flatten candy-style extracts, and the salt keeps the sweetness from tasting one-note.
What Each Ingredient Is Doing in the Bowl
- Heavy cream — This is what gives the ice cream its rich, scoopable body. You need the fat for a plush texture, so don’t swap in a lighter cream and expect the same result.
- Whole milk — The milk keeps the base from becoming overly dense. Half-and-half works in a pinch, but the finished ice cream will be heavier and less clean on the palate.
- Egg yolks — Yolks make the custard stable and silky. They also help the ice cream freeze with a softer, more scoopable texture instead of a hard, icy slab.
- Cotton candy flavoring — This is the ingredient that carries the whole idea. Use a flavoring or extract meant for frozen desserts or baking, since cheap oil-based candy flavor can turn harsh or fade during freezing.
- Pink and blue food coloring — Gel coloring gives you the brightest swirls with only a tiny amount, which keeps the base from thinning out. Liquid coloring works, but you’ll need more of it and the color usually reads softer.
How to Build the Swirl Without Losing the Color
Warming the Dairy
Heat the cream and milk until steaming, not boiling. You want heat climbing from the pan, not a bubbling edge, because boiling dairy can scorch and leave a cooked taste behind. Whisk the hot dairy into the egg yolks slowly so the eggs warm up without turning into little strands.
Thickening the Custard
Return the mixture to the saucepan and cook it low and steady until it reaches 175°F. Stir constantly and scrape the bottom and corners of the pan, since those are the first places the custard can catch. If the mixture starts to look lumpy, pull it off the heat at once and strain it immediately.
Coloring and Chilling
Divide the finished custard into two bowls and tint one pink and the other blue. Add the coloring in tiny amounts; it deepens more after freezing, so you want it a shade brighter than the final scoop. Chill both bases completely before churning, because warm custard will churn slowly and can freeze with a coarse texture.
Creating the Swirl
Churn the colors separately for the cleanest swirls, or layer them during the freeze step if you’re working without two separate batches. If you mix them too much, the result turns pastel and flat instead of striped. Stop swirling while the colors are still distinct enough to show up after freezing, then cover the surface and freeze until firm.
Dairy-Free Coconut Version
Swap the cream and milk for full-fat coconut milk and coconut cream. The texture stays rich, but the flavor picks up a light coconut note that sits underneath the cotton candy flavor instead of fighting it. Use the same custard method if you’re comfortable with egg yolks, or skip the yolks and churn the chilled base for a lighter, less custard-like result.
No-Churn Shortcut
If you want to skip the custard, whip sweetened condensed milk with cold cream, then fold in the flavoring and coloring. You’ll lose a little of the custard depth, but the result freezes faster and still gives you a soft, scoopable texture. Keep the swirl gentle so the colors stay visible.
Stronger Carnival Flavor
If your cotton candy extract is mild, add it in small increments after the custard chills. Cold temps mute sweetness, so a base that tastes a touch too bold before churning usually lands right after freezing. Don’t add too much at once or the flavor turns candy-like in a synthetic way.
Storage and Reheating
- Refrigerator: Keep the churned base chilled for up to 24 hours before freezing if needed. After that, the flavor starts to flatten a bit.
- Freezer: This freezes well for about 2 weeks in a tightly sealed container with parchment pressed onto the surface. It’s best within the first few days, when the swirls still look brightest.
- Reheating: Let it sit at room temperature for 5 to 10 minutes before scooping. Don’t microwave ice cream unless you want melted edges and a hard-to-serve center.
Questions I Get Asked About This Recipe
Cotton Candy Ice Cream
Ingredients
Equipment
Method
- Heat the heavy cream and whole milk in a saucepan over medium heat until steaming, then whisk slowly into the egg yolks that have been beaten with the granulated sugar. Keep whisking to prevent scrambling and look for a smooth, glossy mixture.
- Return the mixture to the saucepan and cook, stirring constantly, until it reaches 175F. The custard should coat the back of a spoon and leave a clear path when you run a finger through it.
- Strain the custard into a bowl, then whisk in the cotton candy flavoring or extract, vanilla extract, and salt. Mix until fully incorporated and evenly fragrant.
- Divide the custard into two bowls and add pink food coloring to one and blue food coloring to the other. Stir until the colors are vivid and consistent throughout.
- Chill both bowls completely in the refrigerator before churning. The base should feel fully cold to the touch before you proceed.
- Churn the pink and blue bases separately in an ice cream maker. Stop when the texture looks like soft-serve with thick, scoopable ribbons.
- Freeze until firm, layering colors if you want a blue-pink swirl. You should see distinct swirls once it hardens, with no liquid pooling on top.
- Top the finished cotton candy ice cream with cotton candy right before serving. Aim for a small tuft that stays perched on the center for a carnival look.


