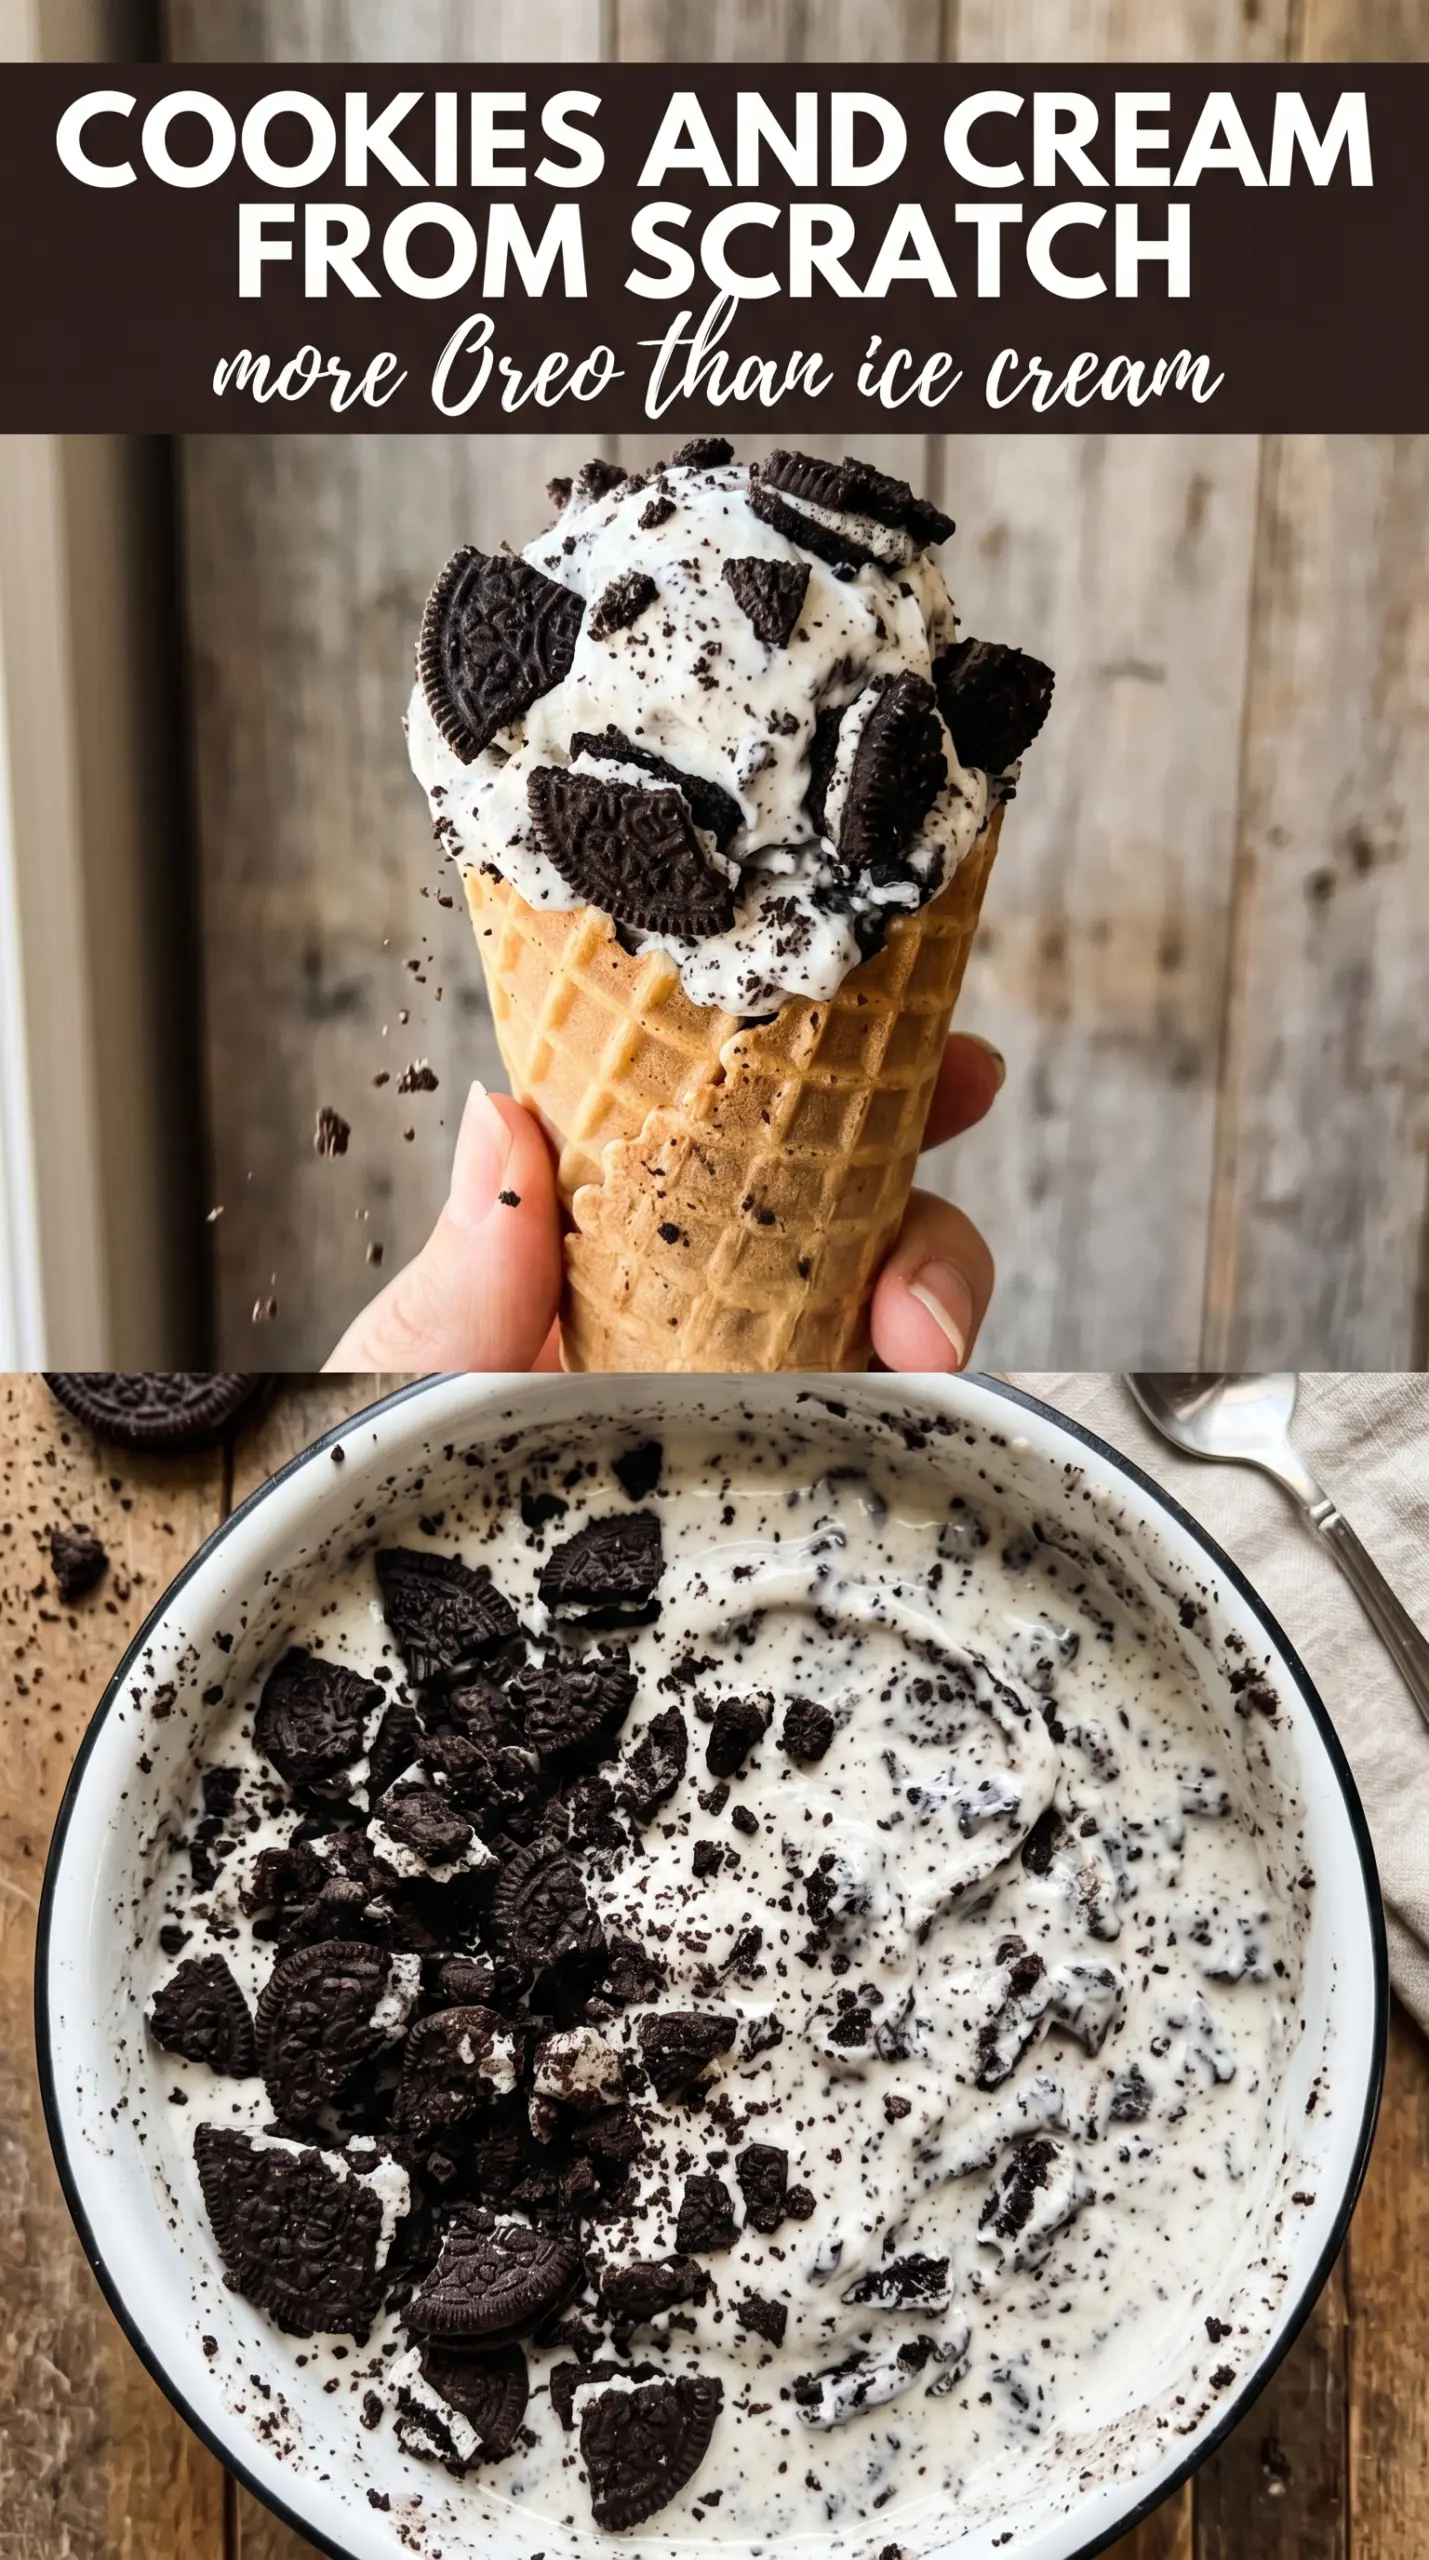
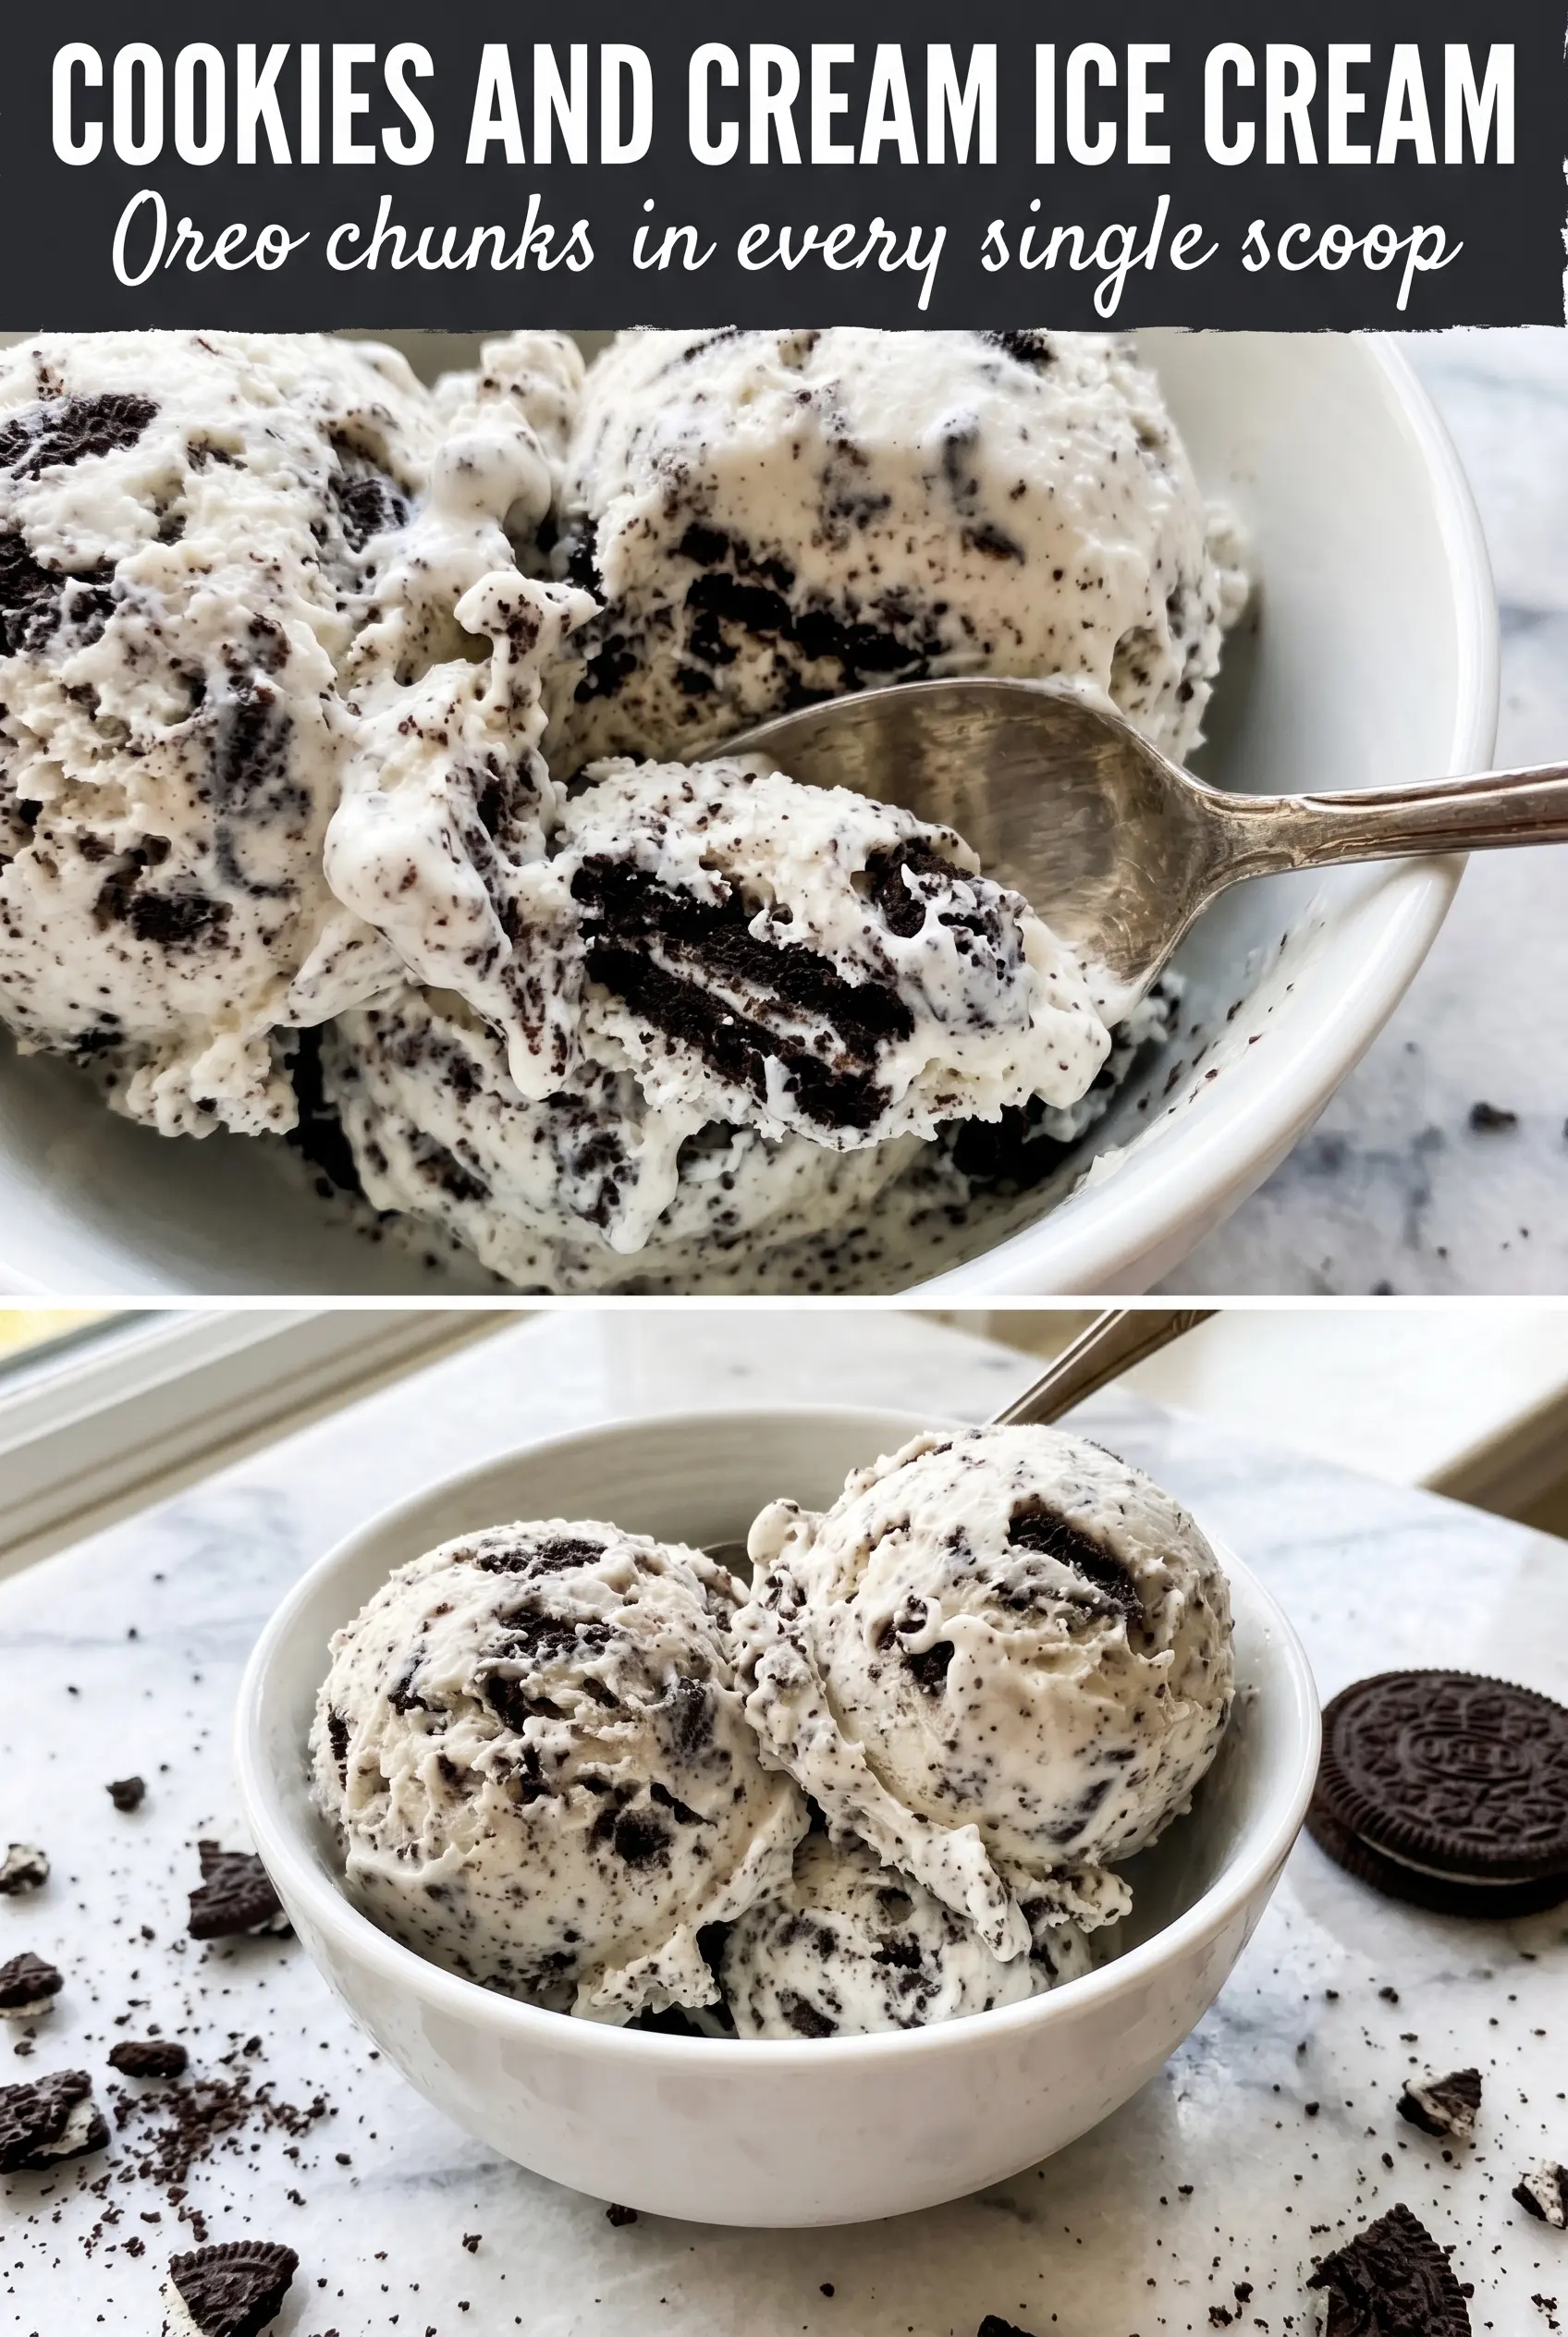
Cookies and cream ice cream lands with that exact mix of cold creaminess and cookie crunch that makes it impossible to stop at one scoop. The vanilla custard base stays pale and smooth, while the crushed chocolate sandwich cookies bring little pockets of bitterness, sweetness, and crunch in every bite. When it’s done right, you get a clean scoop with dark cookie pieces scattered all the way through instead of a muddy gray base.
The part that makes this version work is the custard. Heating the dairy first, then whisking it slowly into the yolks, keeps the eggs from scrambling and gives the ice cream that dense, velvety body you expect from a good homemade batch. Cooking it to 175°F thickens it enough to coat a spoon without turning eggy, and chilling it fully before churning gives you a smoother freeze and better texture in the machine.
Below, I’ve included the one thing that matters most for keeping the custard silky, plus the timing trick for adding the cookies so some pieces stay bold and chunky while others melt just enough to streak the base.
The custard came out unbelievably smooth, and adding the cookies at the end kept them from turning soggy. My kids kept sneaking spoonfuls before it even finished freezing.
Save this cookies and cream ice cream for the nights when you want thick vanilla custard, real cookie chunks, and a scoop that holds its shape.
The Custard Has to Reach the Right Point Before It Ever Hits the Freezer
Ice cream gets grainy when the custard is undercooked, and it tastes flat when the base never thickens enough to carry the cream and sugar properly. For this recipe, 175°F is the sweet spot. That’s hot enough to cook the yolks and give you body, but not so hot that the eggs curdle.
The other trap is rushing the cooling. A warm base churns poorly and freezes into a looser, icier texture. Once you strain it, chill it until it’s fully cold all the way through. If you want the cleanest scoop and the smoothest churn, give it the full rest in the fridge.
What the Cookies, Yolks, and Cream Each Bring to the Bowl
- Heavy cream — This is where the rich mouthfeel comes from. You need the fat here; it gives the ice cream that plush texture and helps keep the base from freezing hard. I wouldn’t swap it for half-and-half unless you’re okay with a lighter, icier result.
- Whole milk — It loosens the custard just enough so it churns well. Lower-fat milk works in a pinch, but the finished ice cream won’t feel as full on the tongue.
- Egg yolks — These are the reason the base turns custardy instead of icy. They emulsify the dairy and give the ice cream a smoother, denser scoop. There isn’t a true shortcut here if you want classic churned texture.
- Chocolate sandwich cookies — Crush them roughly, not to dust. Big and small pieces give the best mix of crunch and creamy streaks. If you crush them too fine, they melt into the base instead of staying distinct.
- Vanilla extract — Don’t skip it or reduce it. Vanilla is what makes the milk-and-cookie combo taste round instead of one-note. Use a good extract if you have it.
How to Turn the Base Into Ice Cream Without Scrambling the Yolks
Heating the Dairy
Warm the cream and milk until they’re steaming and just beginning to move around the edges. You don’t want a full boil. If the dairy gets too hot, it can shock the yolks later and make the custard lumpy before it even goes back to the stove.
Tempering the Eggs
Whisk the sugar and yolks together first, then slowly stream in the hot dairy while whisking constantly. That slow pour matters. It raises the temperature of the yolks gradually, which keeps them smooth instead of turning them into bits of scrambled egg.
Cooking the Custard
Return the mixture to the saucepan and stir over medium-low heat until it reaches 175°F and lightly coats a spoon. Pull it the moment it thickens; if you chase a thicker texture on the stove, you’ll go straight into curdled territory. If the custard looks a little foamy, that’s fine. If it starts to look curdy, the heat was too high and it needs to be strained immediately.
Chilling, Churning, and Adding the Cookies
Strain the custard, stir in the vanilla and salt, then chill it completely before it goes into the ice cream maker. During churning, add the crushed cookies in the last 2 minutes so they stay recognizable. If you add them too early, they break down and stain the base gray instead of giving you those clean cookie pieces.
Dairy-Free Cookies and Cream
Use full-fat canned coconut milk in place of the cream and milk, then keep the yolks. The texture will be a little softer and the coconut flavor will show through, but the custard still freezes into a scoopable dessert with plenty of cookie contrast.
No-Churn Shortcut
Skip the custard and churn step by folding crushed cookies into sweetened whipped cream with a little vanilla. It’s faster and lighter, but you lose the dense, custardy finish that makes this version stand out. Freeze it in a loaf pan until firm.
Extra-Chunky Cookie Pieces
Break 6 to 8 cookies into larger pieces and fold them in at the very end instead of crushing everything evenly. You’ll get bigger bites of cookie throughout the ice cream, which is great if you want stronger crunch and a more obvious cookies-and-cream look.
Storage and Freezing
- Refrigerator: The custard base can be chilled up to 2 days before churning. It should stay covered so it doesn’t pick up fridge smells.
- Freezer: The finished ice cream keeps well for about 2 weeks. After that, the cookies can lose some crunch and the texture starts to get a little harder.
- Reheating: Not applicable. For serving, let the container sit at room temperature for 5 to 10 minutes so the scoops release cleanly instead of shattering the top.
Answers to the Questions Worth Asking
Cookies and Cream Ice Cream
Ingredients
Equipment
Method
- Heat heavy cream and whole milk in a saucepan until steaming, then turn off the heat. Visual cue: tiny bubbles and steam should rise around the edges.
- In a bowl, whisk egg yolks with granulated sugar until smooth. Visual cue: the mixture should lighten slightly and look glossy.
- Slowly whisk the steaming milk mixture into the egg yolk mixture to temper the eggs. Visual cue: the custard should thicken a bit but remain pourable.
- Return everything to the saucepan and cook over medium-low heat, stirring constantly, until the custard reaches 175F. Visual cue: it should coat the back of a spoon and hold a line when you draw a finger through it.
- Strain the custard through a fine mesh sieve, then stir in vanilla extract and salt. Visual cue: you should have a very smooth, creamy base.
- Cool completely at room temperature, then refrigerate at least 4 hours. Visual cue: the custard will look colder and noticeably thicker.
- Churn the chilled custard in an ice cream maker according to the manufacturer’s instructions. Visual cue: it should turn into soft-serve consistency.
- During the last 2 minutes of churning, add roughly crushed chocolate sandwich cookies. Visual cue: add them gradually so some stay chunky while some dissolve slightly for a cookies-and-cream swirl effect.
- Transfer the churned ice cream to a container and freeze until firm. Visual cue: it should scoop with a dense, sliceable texture after freezing.


