Thick Oreo crust, creamy cookies-and-cream ice cream, and a cloud of whipped ganache-style topping make this ice cream cake the kind of dessert people remember after the plates are cleared. The contrast is part of the appeal: dark, crunchy base below, pale, speckled filling in the middle, and a snowy top with cookie crumbles and sprinkles that slice cleanly into a dramatic black-and-white dessert.
What makes this version work is the order. The crust gets frozen first so it stays tight under the ice cream, and the ice cream layer softens just enough to spread without melting into the pan. The topping is whipped cream stabilized with powdered sugar, which gives you a lighter finish than frosting and keeps the whole cake from feeling heavy after a rich frozen center.
Below, I’ve included the small details that matter: how soft the ice cream should be before you spread it, why a springform pan makes the cleanest release, and the easiest way to get neat slices without the filling dragging across the crust.
The crust held its shape and the ice cream layer stayed creamy instead of icy. I let it sit out for 8 minutes before slicing, and the layers came out neat with no cracking.
Like this Oreo ice cream cake? Save it to Pinterest for birthdays, parties, and the kind of dessert table that needs a clean black-and-white showstopper.
The Crust Has to Be Frozen Before the Ice Cream Goes In
The most common mistake with an ice cream cake like this is skipping the first freeze. A buttery Oreo crust that goes straight into the ice cream layer can shift, crumble, and muddy the bottom of the cake instead of staying as a firm base. Fifteen minutes in the freezer gives the butter time to set so the crust acts like a shell instead of cookie sand.
The other thing worth respecting is the texture of the ice cream. It should be soft enough to spread without tearing the crust, but not melted enough to run into the edges of the pan. If it starts looking glossy and slumpy, it’s gone too far. Work quickly and use an offset spatula or the back of a spoon to nudge it into an even layer.
- The springform pan — This isn’t just a convenience. It’s what lets you release the cake without inverting it and risking a broken edge.
- The first freeze on the crust — Short, but important. It gives the base enough structure to stay distinct under the ice cream.
- Softened ice cream — Set it out just until it spreads. If it’s soupy, the cake loses height and the layers blur together.
What the Oreos, Cream, and Vanilla Are Each Doing Here
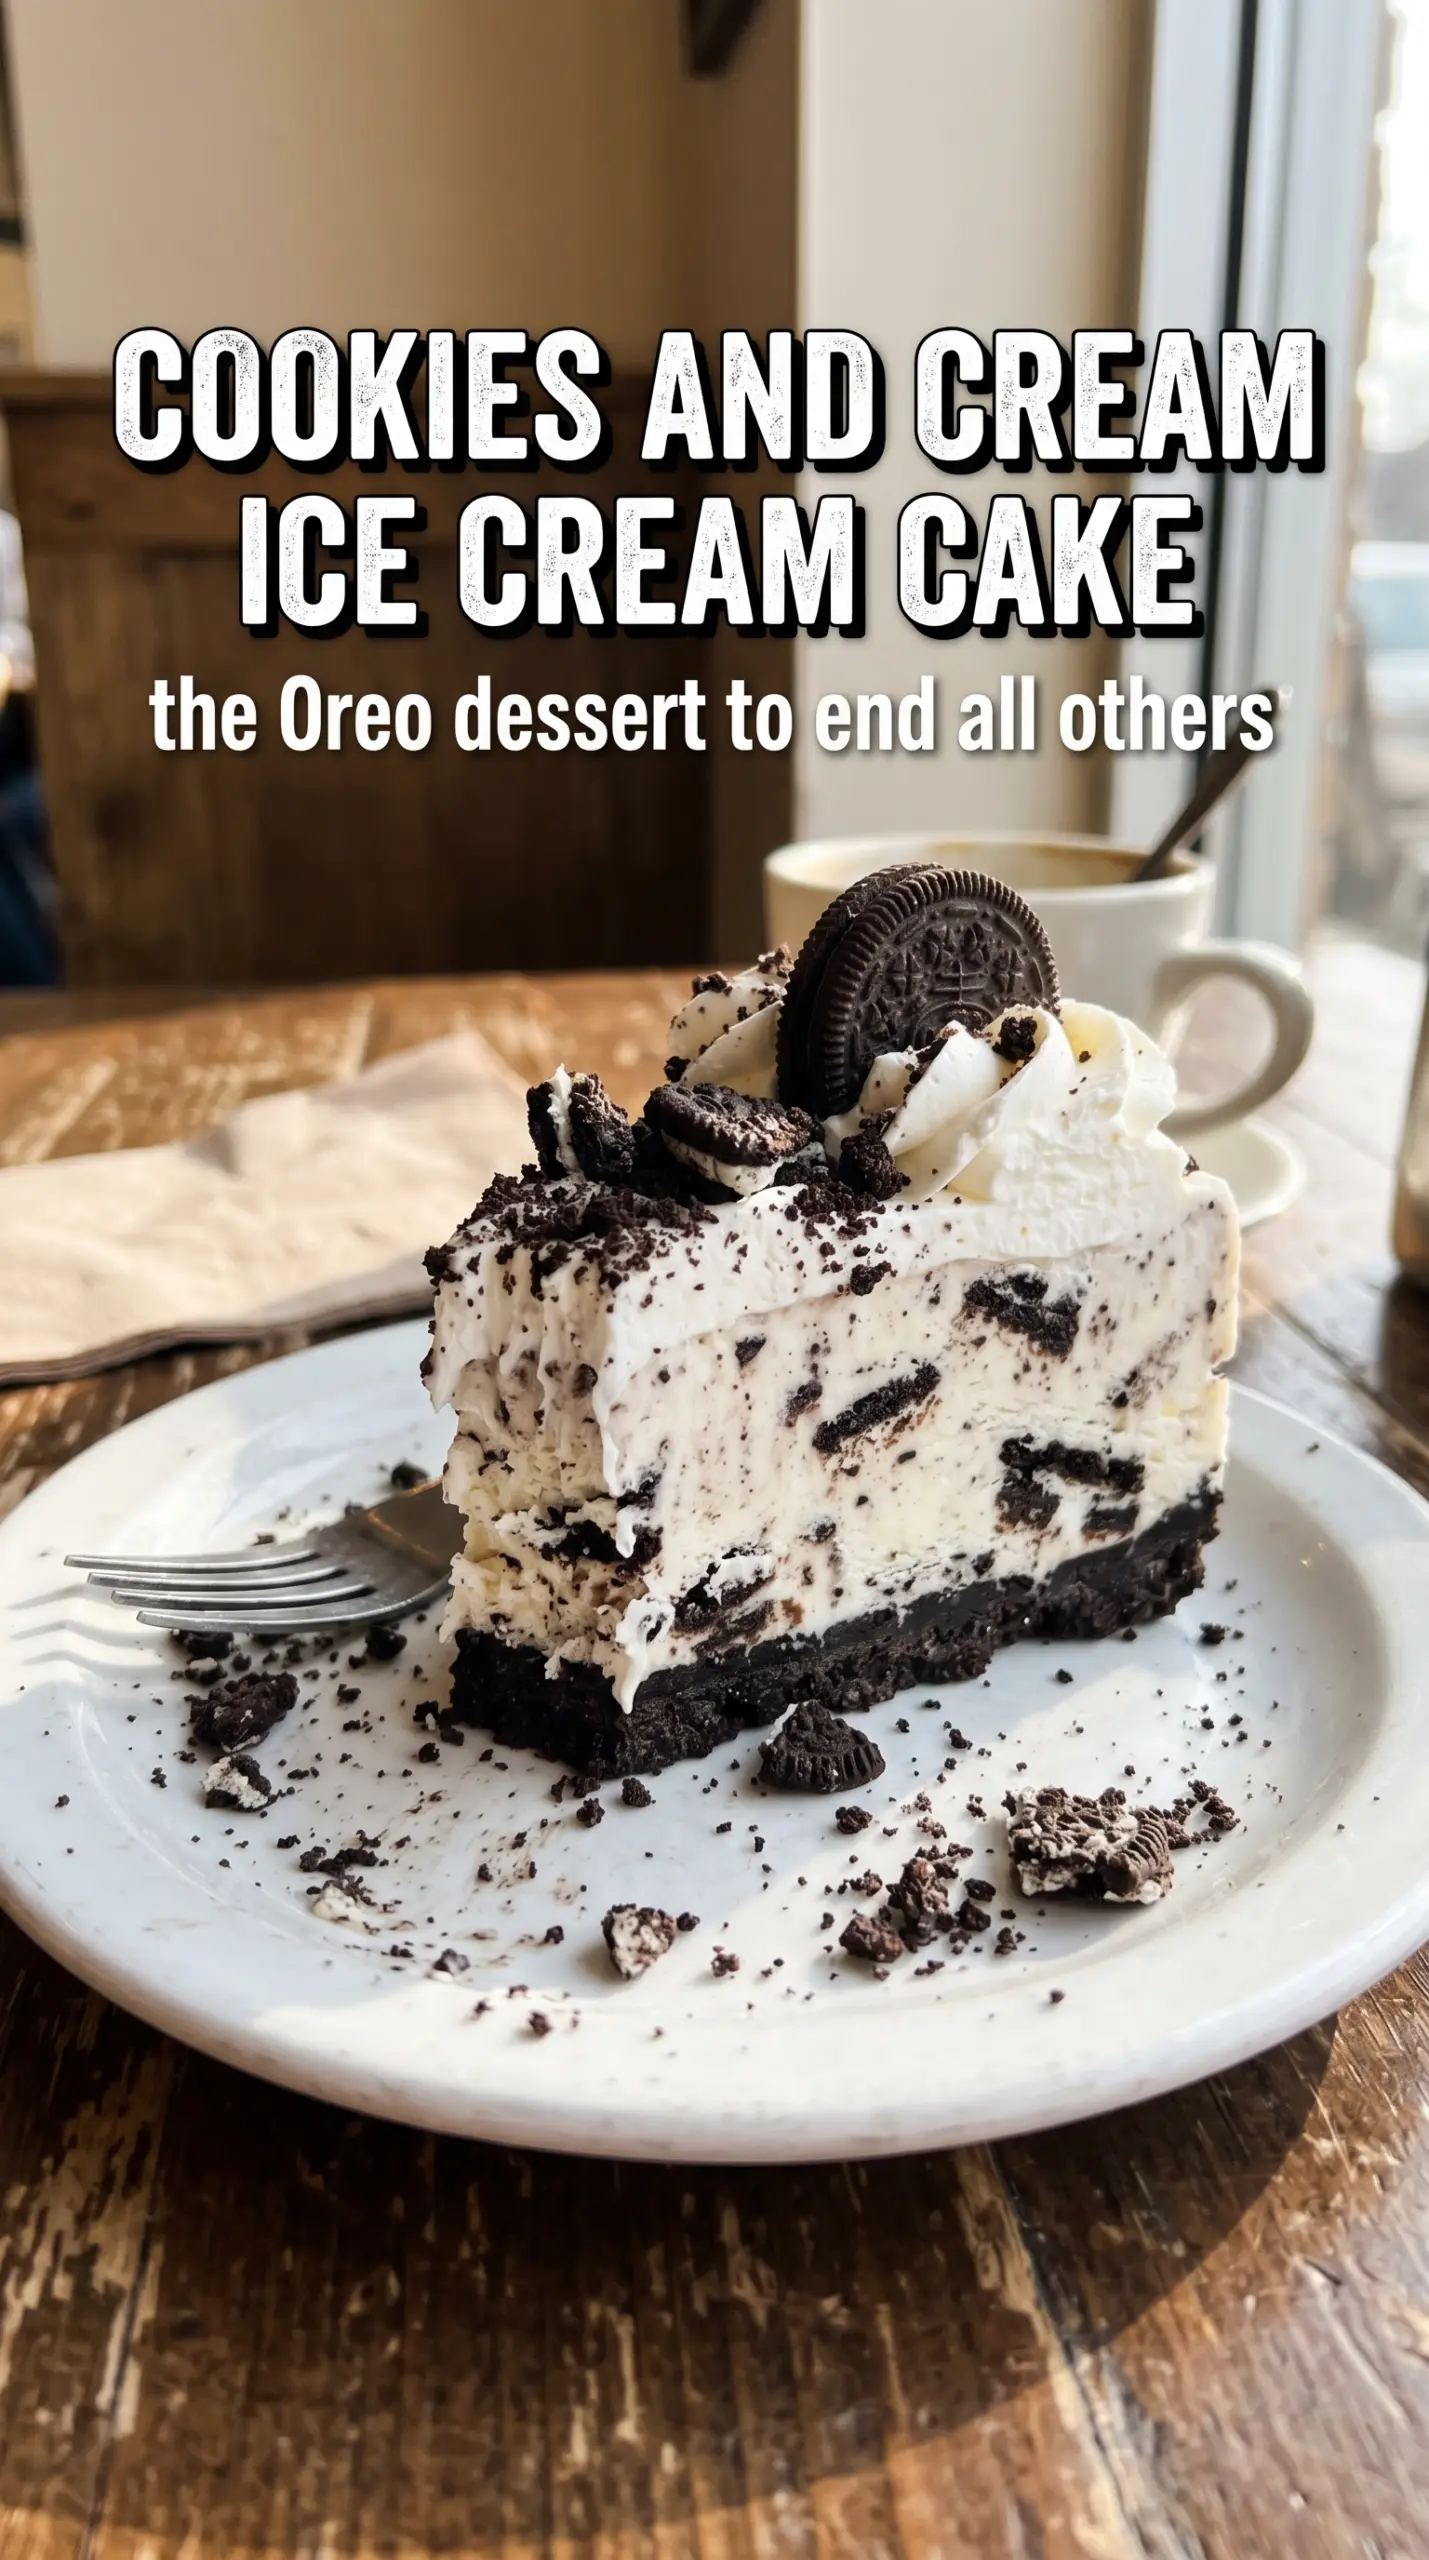
- Oreos — The cookies do double duty here: crushed into the crust for structure, then scattered on top for crunch. Generic chocolate sandwich cookies work in a pinch, but regular Oreos give the right dark color and flavor contrast.
- Unsalted butter — This is what binds the crust. Melted butter coats the cookie crumbs evenly, and unsalted keeps the sweetness from tipping over the edge.
- Cookies and cream ice cream — This is the heart of the cake, so buy a brand you actually like eating from the carton. Cheaper ice cream can freeze harder and taste icy, which shows up once the cake sits out for slicing.
- Heavy whipping cream — Whips into a light top layer that cuts cleanly and won’t feel dense against the ice cream. Don’t substitute half-and-half here; it won’t hold the same shape.
- Powdered sugar and vanilla — The sugar stabilizes the whipped cream a bit, and the vanilla rounds out the dairy flavor so the topping tastes finished instead of plain.
- Black and white sprinkles — Optional, but they echo the cake’s colors and make the top look intentional even if the Oreo crumbs fall unevenly.
Building the Layers Without Letting Them Melt Together
Pressing the Oreo Base
Crush 24 Oreos finely, then mix them with the melted butter until the crumbs look evenly damp, like dark wet sand. Press the mixture firmly into a 9-inch springform pan, pushing it all the way to the edges so the first slice has a clean wall to cut against. Freeze it for 15 minutes before you add anything else. If the base feels loose, it wasn’t packed tightly enough.
Spreading the Ice Cream Layer
Let the cookies-and-cream ice cream soften on the counter until it’s spreadable but still thick. Spoon it over the frozen crust in sections so you don’t drag crumbs into the filling, then smooth it into an even layer. Freeze for 3 hours, or until it’s firm enough that a light touch leaves only a shallow mark. If it’s still soft in the center, the whipped topping will sink into it.
Whipping the Top
Beat the heavy cream, powdered sugar, and vanilla just until stiff peaks form and the cream holds its shape when you lift the beaters. Stop there. Overwhipped cream turns grainy fast and won’t spread cleanly. Smooth it over the frozen ice cream in an even layer, then sprinkle on the remaining crushed Oreos and black-and-white sprinkles while the topping is still soft enough to catch them.
Freezing for a Clean Slice
Let the finished cake freeze for at least 2 more hours, though longer is fine if you need to make it ahead. Before serving, run a knife under hot water, wipe it dry, and cut with one confident stroke. That little bit of heat keeps the layers from cracking and gives you the cleanest black-and-white slices.
How to Adapt This Cake for Different Crowds and Different Diets
Make it dairy-free
Use a dairy-free cookies-and-cream ice cream and swap in a coconut-based whipping topping that holds peaks. The flavor stays close, but the texture will be a little softer once sliced, so give it an extra freeze time before serving.
Use a different cookie crust
Chocolate graham crackers or chocolate wafer cookies work if you want a less sweet base. You’ll lose the familiar Oreo flavor, but the cake will still slice well as long as the crumbs are fine and the butter is mixed through evenly.
Make it ahead for a party
This cake is built for advance prep. Assemble it the day before, keep it covered in the freezer, and add the sprinkles right before serving if you want them to stay crisp and bright.
Storage and Reheating
- Refrigerator: Don’t store this in the fridge. It needs the freezer to hold its shape, and the layers will slump fast at refrigerator temperature.
- Freezer: Wrap the cake well and keep it frozen for up to 1 week for the best texture. After that, the crust starts to taste drier and the ice cream can pick up freezer flavor.
- Reheating: There’s no reheating here. Set the cake out at room temperature for 5 to 10 minutes before slicing so the knife goes through cleanly without shattering the crust.
Answers to the Questions Worth Asking
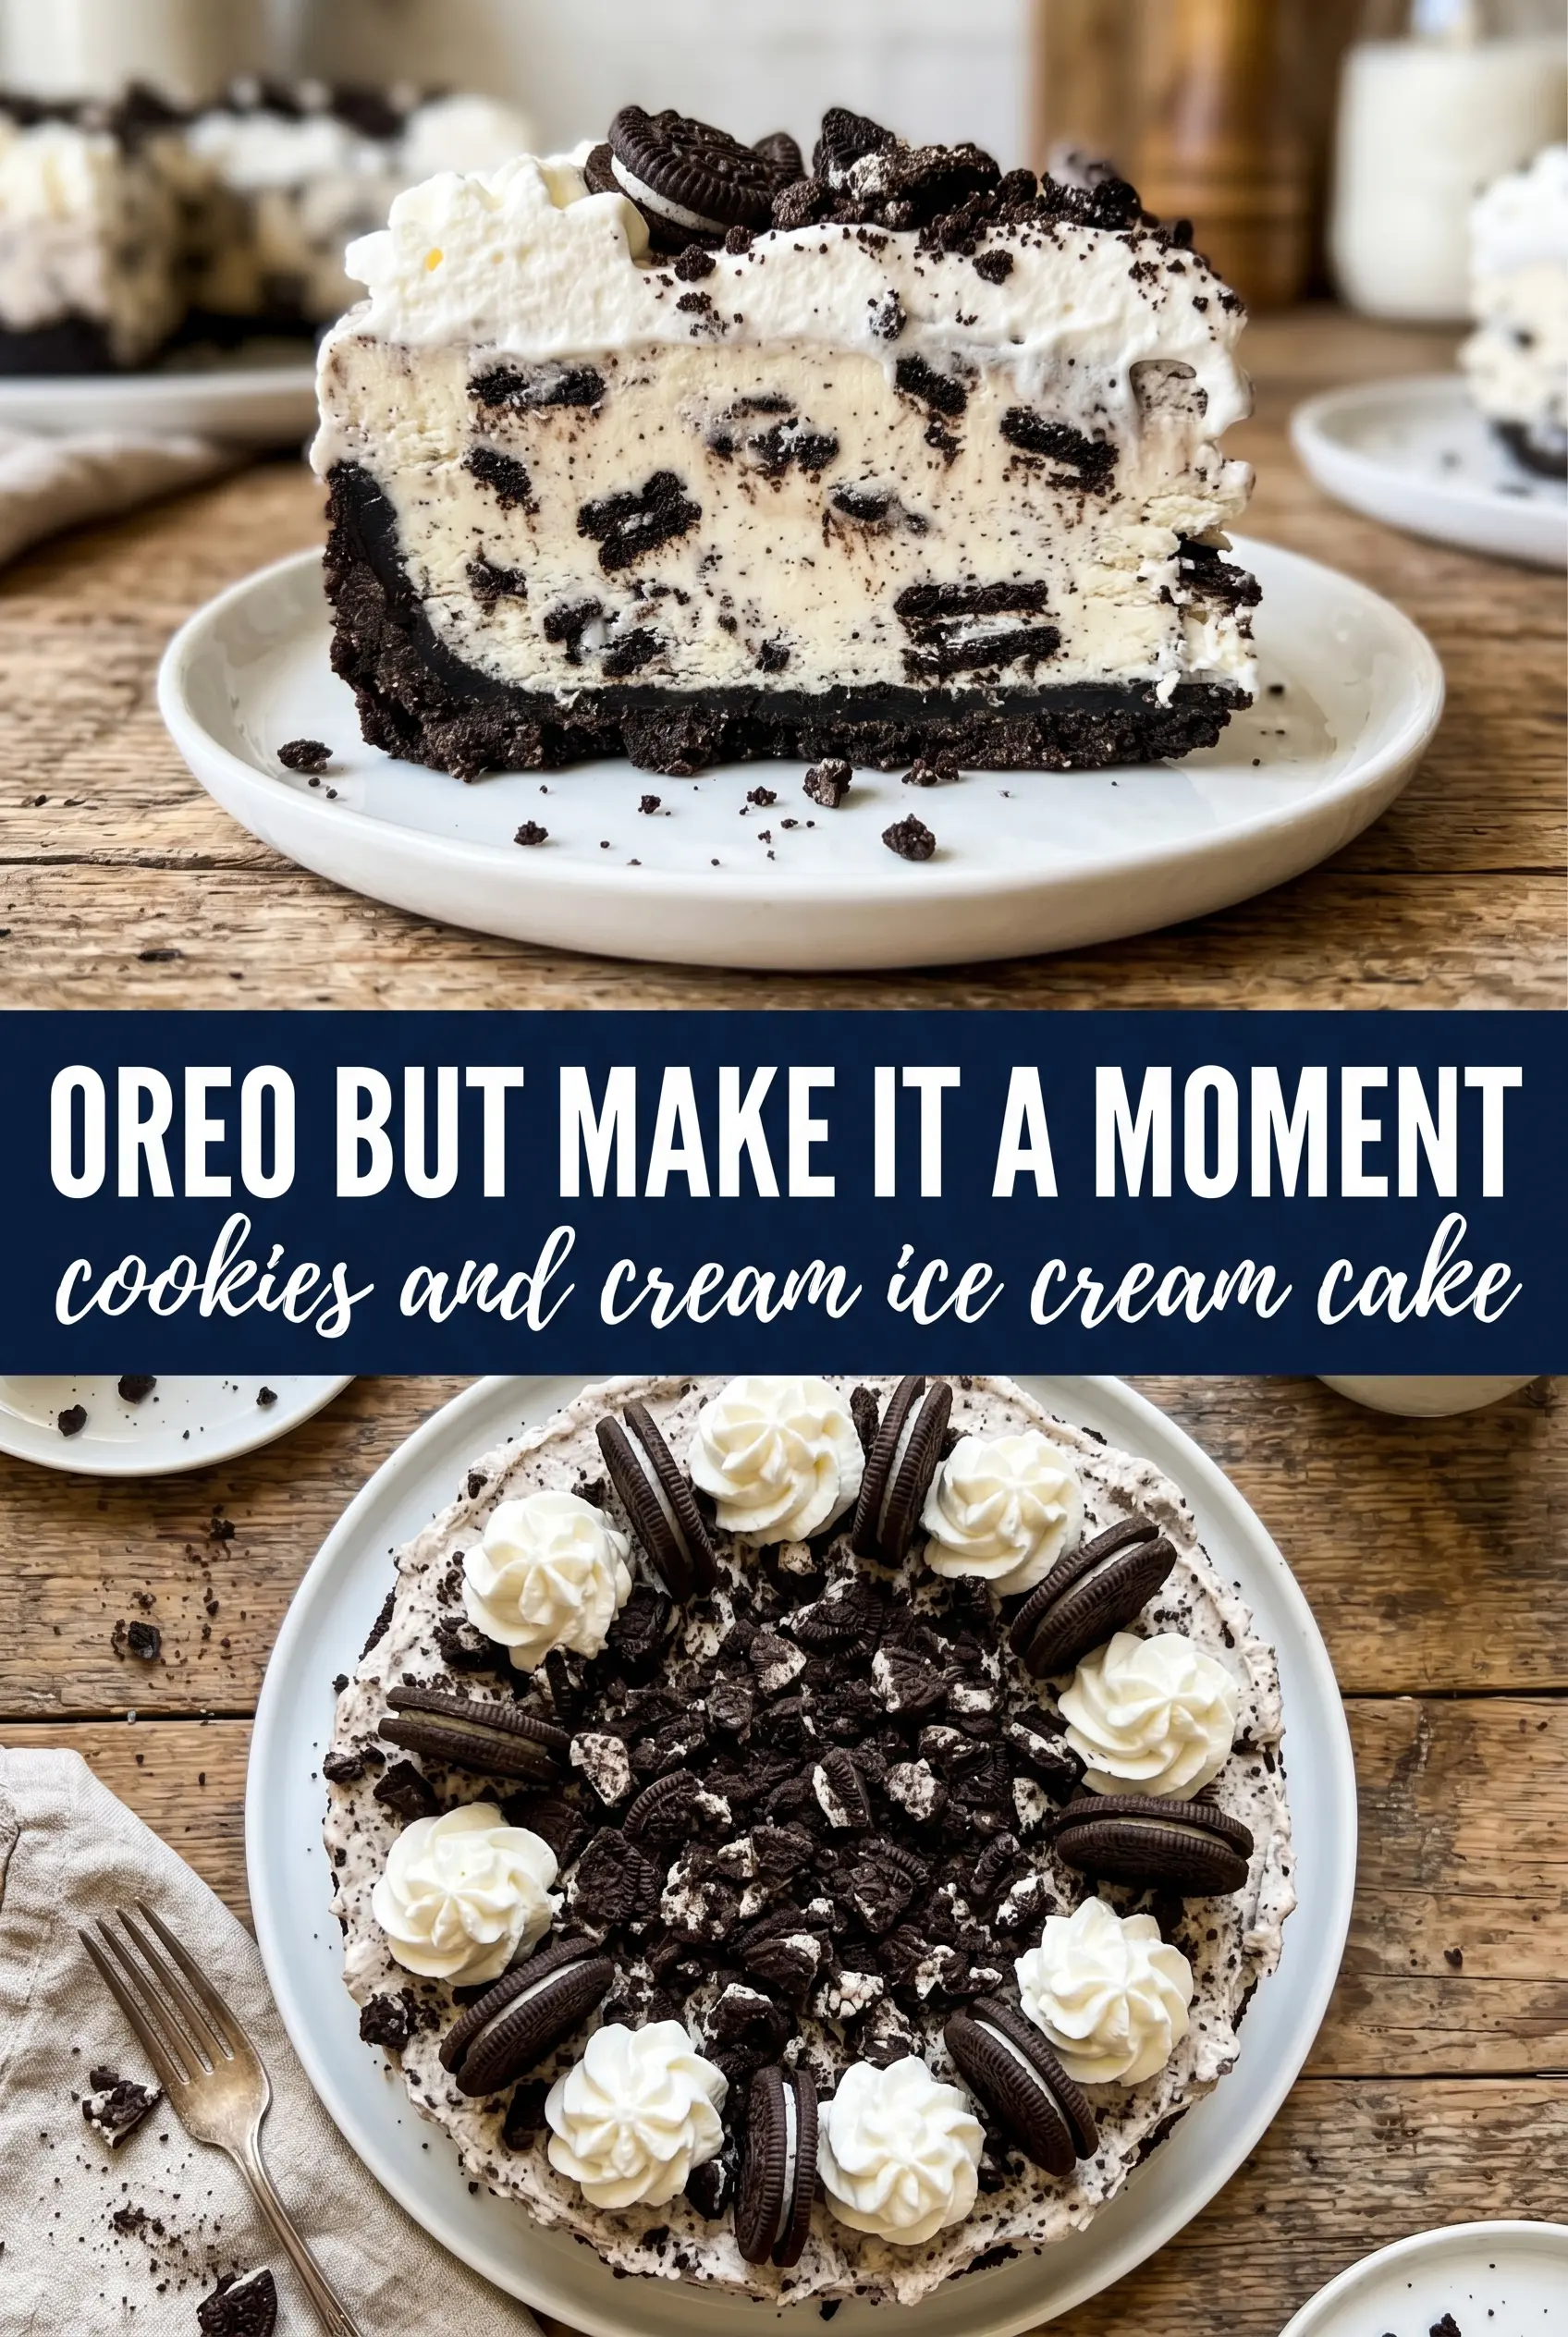
Cookies and Cream Ice Cream Cake
Ingredients
Equipment
Method
- Combine 24 crushed Oreos with melted butter and mix until the crumbs look evenly coated. Press the mixture firmly into a 9-inch springform pan to form a tight, even crust.
- Freeze the crust for 15 minutes until firm to the touch, so it holds when layered.
- Spread softened cookies and cream ice cream over the frozen crust in an even layer, smoothing the top with a spatula for clean slices. Freeze for 3 hours until set.
- Whip heavy cream, powdered sugar, and vanilla extract until stiff peaks form. The mixture should hold clear ridges when the whisk is lifted, looking thick and glossy.
- Spread the whipped cream over the frozen ice cream layer, covering it fully and smoothing the surface. Crush the remaining 12 Oreos and scatter them over the whipped layer for a speckled top.
- Freeze the cake for at least 2 more hours, until solid enough to slice. Decorate with black and white sprinkles, then release from the springform pan and serve.


