Intense coffee ice cream, a crisp Oreo crust, and a glossy dark chocolate ganache make this cake land somewhere between diner nostalgia and a polished dinner-party dessert. It slices cleanly after a proper freeze, with that crackly chocolate top giving way to a cold, creamy center that tastes deep and grown-up instead of sugary or flat.
The trick is in the temperature and the layers. A frozen crust keeps the filling from soaking in and turning muddy, softened ice cream spreads without tearing the crust, and the ganache goes on just warm enough to pour but not so hot that it melts the whole cake beneath it. That final freeze matters more than it looks like it should; it’s what gives you neat slices instead of a collapsing mess on the plate.
Below, you’ll find the timing that keeps each layer distinct, the one substitution that still gives you a strong coffee flavor, and a few ways to dress this up without losing the clean, bold look of the finished cake.
The ganache set up with that thin crackly top I was hoping for, and the coffee ice cream stayed creamy instead of icy after slicing. My husband asked if I could make it again for his birthday instead of a regular cake.
Like the bold coffee layer and dark chocolate finish? Save this coffee ice cream cake for birthdays, dinner parties, or any night that calls for a frozen dessert with real espresso depth.
Why the Layers Stay Clean Instead of Melting Together
This cake only works when each layer gets its own cold start. If you spread ice cream onto a crust that hasn’t been frozen, the crumbs loosen and the filling starts slipping before it ever has a chance to set. The same goes for the ganache. It needs to be pourable, not hot, so it settles into a smooth top instead of drilling into the ice cream and making a mess of the surface.
The springform pan matters here because it gives you a clean release without prying at the sides. That’s what keeps the crust intact and the slices neat. If your cake tends to lean or crumble when unmolding frozen desserts, the problem is usually impatience, not the recipe. Give every layer the time it needs to firm up before moving on.
What the Oreo Crust, Coffee Ice Cream, and Ganache Each Do
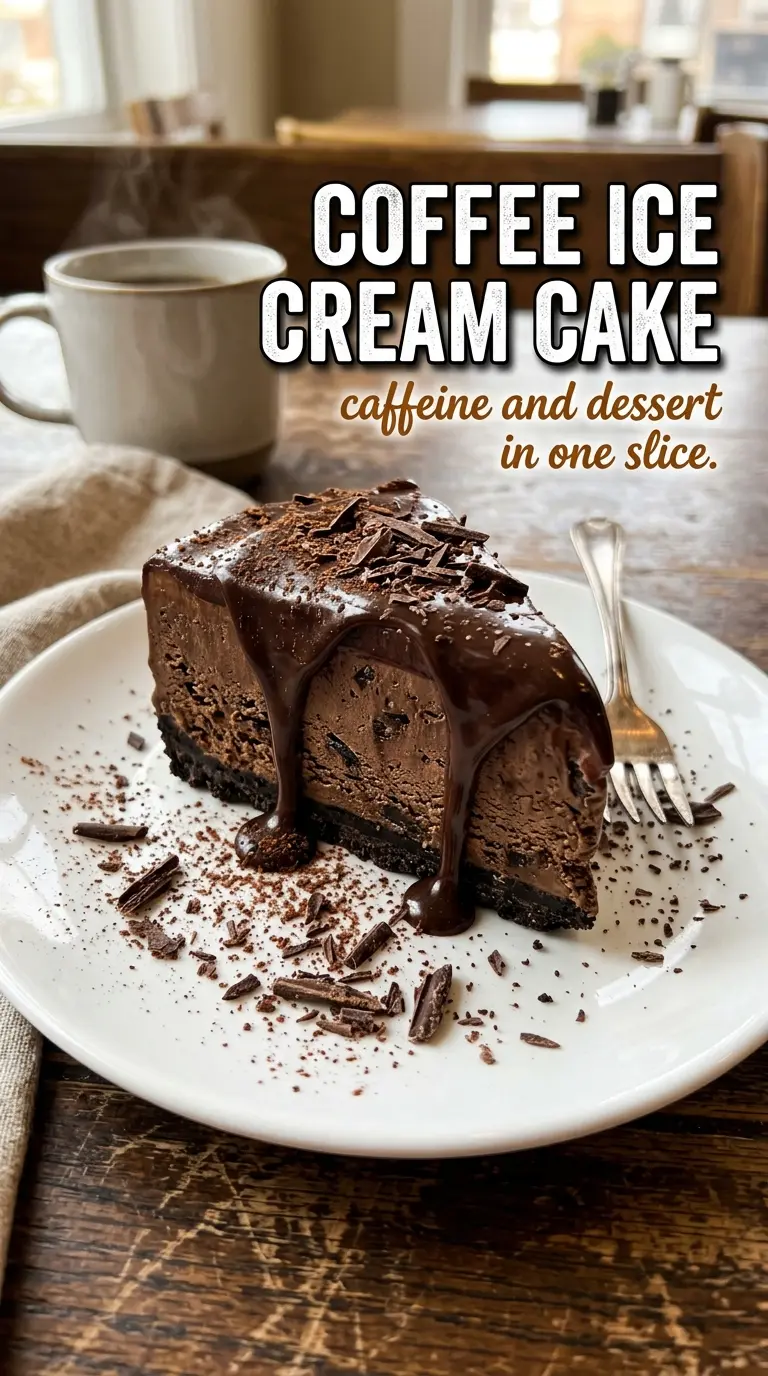
- Oreo cookies — The chocolate cookie base brings bitterness and crunch, which keeps the dessert from reading too sweet. You don’t need to remove the filling; it helps bind the crumbs and deepens the chocolate flavor.
- Butter — This is what turns loose crumbs into a crust that slices cleanly. Melted butter is enough; there’s no need to overdo it, or the base will turn greasy instead of firm.
- Coffee ice cream — Use the best coffee ice cream you can find. Since it’s the center of the cake, weak coffee flavor will fade once the ganache and crust are in the mix. Soften it just until spreadable. If it’s melted, the texture gets airy and unstable when refrozen.
- Dark chocolate ganache — This is the contrast that makes the whole cake taste polished. A thinner ganache pours more easily, but it still needs enough chocolate to set into a sliceable layer. If yours is too warm, let it cool until it thickens slightly before pouring.
- Whipped cream — Pipe it after the ganache firms up so the swirls hold their shape. Store-bought whipped topping works if you want a sturdier garnish, but fresh whipped cream gives a lighter finish.
- Chocolate-covered espresso beans — These add crunch and a sharper coffee note. Chop them only if you want a more delicate finish; left whole, they give the cake a bolder look and a little pop of texture on top.
Building the Base and Freezing Each Layer at the Right Time
Pressing the Crust
Mix the crushed Oreos with melted butter until every crumb looks evenly moistened, then press the mixture firmly into the bottom of a 9-inch springform pan. Use the bottom of a measuring cup to compact it so the crust holds together when sliced. If the crumbs seem loose, they need a little more pressure, not more butter. Freeze the crust for 15 minutes before adding anything else.
Spreading the Coffee Ice Cream
Let the coffee ice cream soften on the counter just until it spreads without resistance. It should scoop and smooth easily, but it shouldn’t be slushy. Spoon it over the cold crust and work from the center outward so you don’t pull up the crumbs. Smooth the top with an offset spatula, then freeze for 4 hours until it’s solid all the way through.
Pouring the Ganache
Warm the ganache until it’s fluid and glossy, then let it cool a minute if it feels hot to the touch. Pour it over the frozen ice cream layer and tilt the pan gently so it blankets the surface. If the cake starts to soften underneath, the ganache is too warm. Stop and let it cool a bit more before continuing.
Finishing and Serving
Freeze the ganache-topped cake for 1 hour until the top is firm enough to handle. Pipe the whipped cream around the top, scatter on the espresso beans, and dust lightly with cocoa powder. Give it one more hour in the freezer before slicing. For the cleanest cuts, dip a sharp knife in hot water and wipe it dry between slices.
How to Adapt This Coffee Ice Cream Cake Without Losing Its Character
Dairy-Free Version That Still Freezes Firm
Use dairy-free coffee ice cream, vegan butter for the crust, and a coconut-based or dairy-free dark chocolate ganache. The texture will be a little softer once sliced, but the flavor stays bold and the cake still holds its shape after a proper freeze.
Mocha Version With a Deeper Chocolate Note
Mix a little cocoa powder into the softened ice cream before spreading it into the pan, or use a mocha ice cream if that’s what you have. That pulls the cake closer to a coffee-shop mocha flavor, though it softens the pure coffee sharpness a bit.
Gluten-Free Crust Swap
Use certified gluten-free chocolate sandwich cookies in place of the Oreos. The crust behaves almost the same, so the swap is easy and keeps the dessert friendly for guests who can’t eat wheat.
Storage and Reheating
- Refrigerator: Don’t store this in the fridge. It softens too quickly and loses the clean frozen texture that makes the cake work.
- Freezer: Wrap leftover slices tightly and freeze for up to 2 weeks. The crust stays best when the cake is well sealed, since exposed cookie crumbs can pick up freezer smell.
- Reheating: No reheating needed. Let a frozen slice sit at room temperature for 5 to 10 minutes before serving so the knife goes through cleanly and the ice cream isn’t rock hard.
Questions I Get Asked About This Recipe
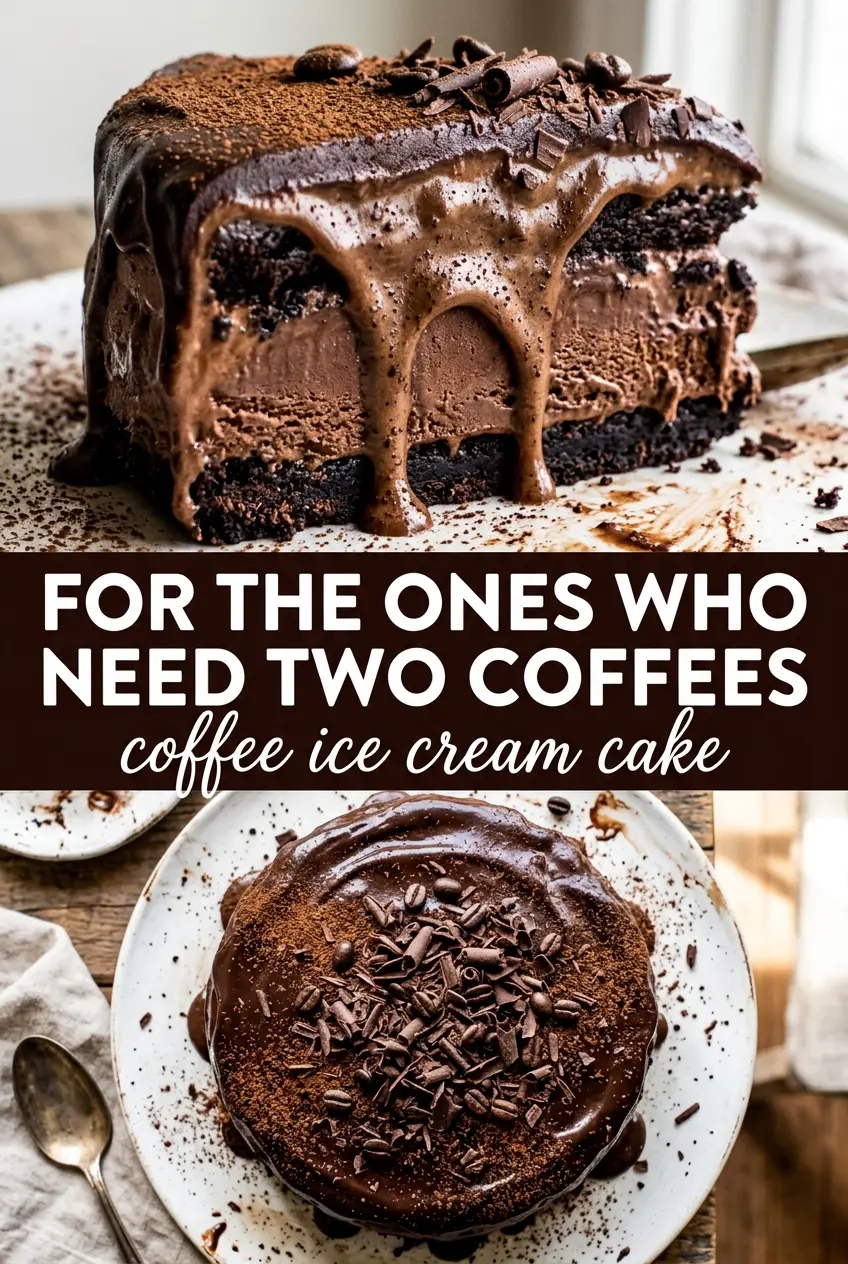
Coffee Ice Cream Cake
Ingredients
Equipment
Method
- Combine crushed Oreos and melted butter until the mixture looks evenly sandy. Press it firmly into a 9-inch springform pan, then freeze for 15 minutes while the layer firms up.
- Spread the softened coffee ice cream over the frozen crust and smooth the top with a gentle, even layer. Return to the freezer and freeze for 4 hours until set.
- Pour dark chocolate ganache over the top and tilt the pan so it covers evenly. Freeze for 1 hour until the ganache is firm to the touch.
- Pipe whipped cream decoratively over the ganache so the design sits cleanly on top. Scatter chocolate-covered espresso beans on the whipped cream and dust lightly with cocoa powder.
- Freeze the cake for 1 more hour to ensure the slices hold their shape. Slice and serve straight from the freezer for the cleanest texture.


