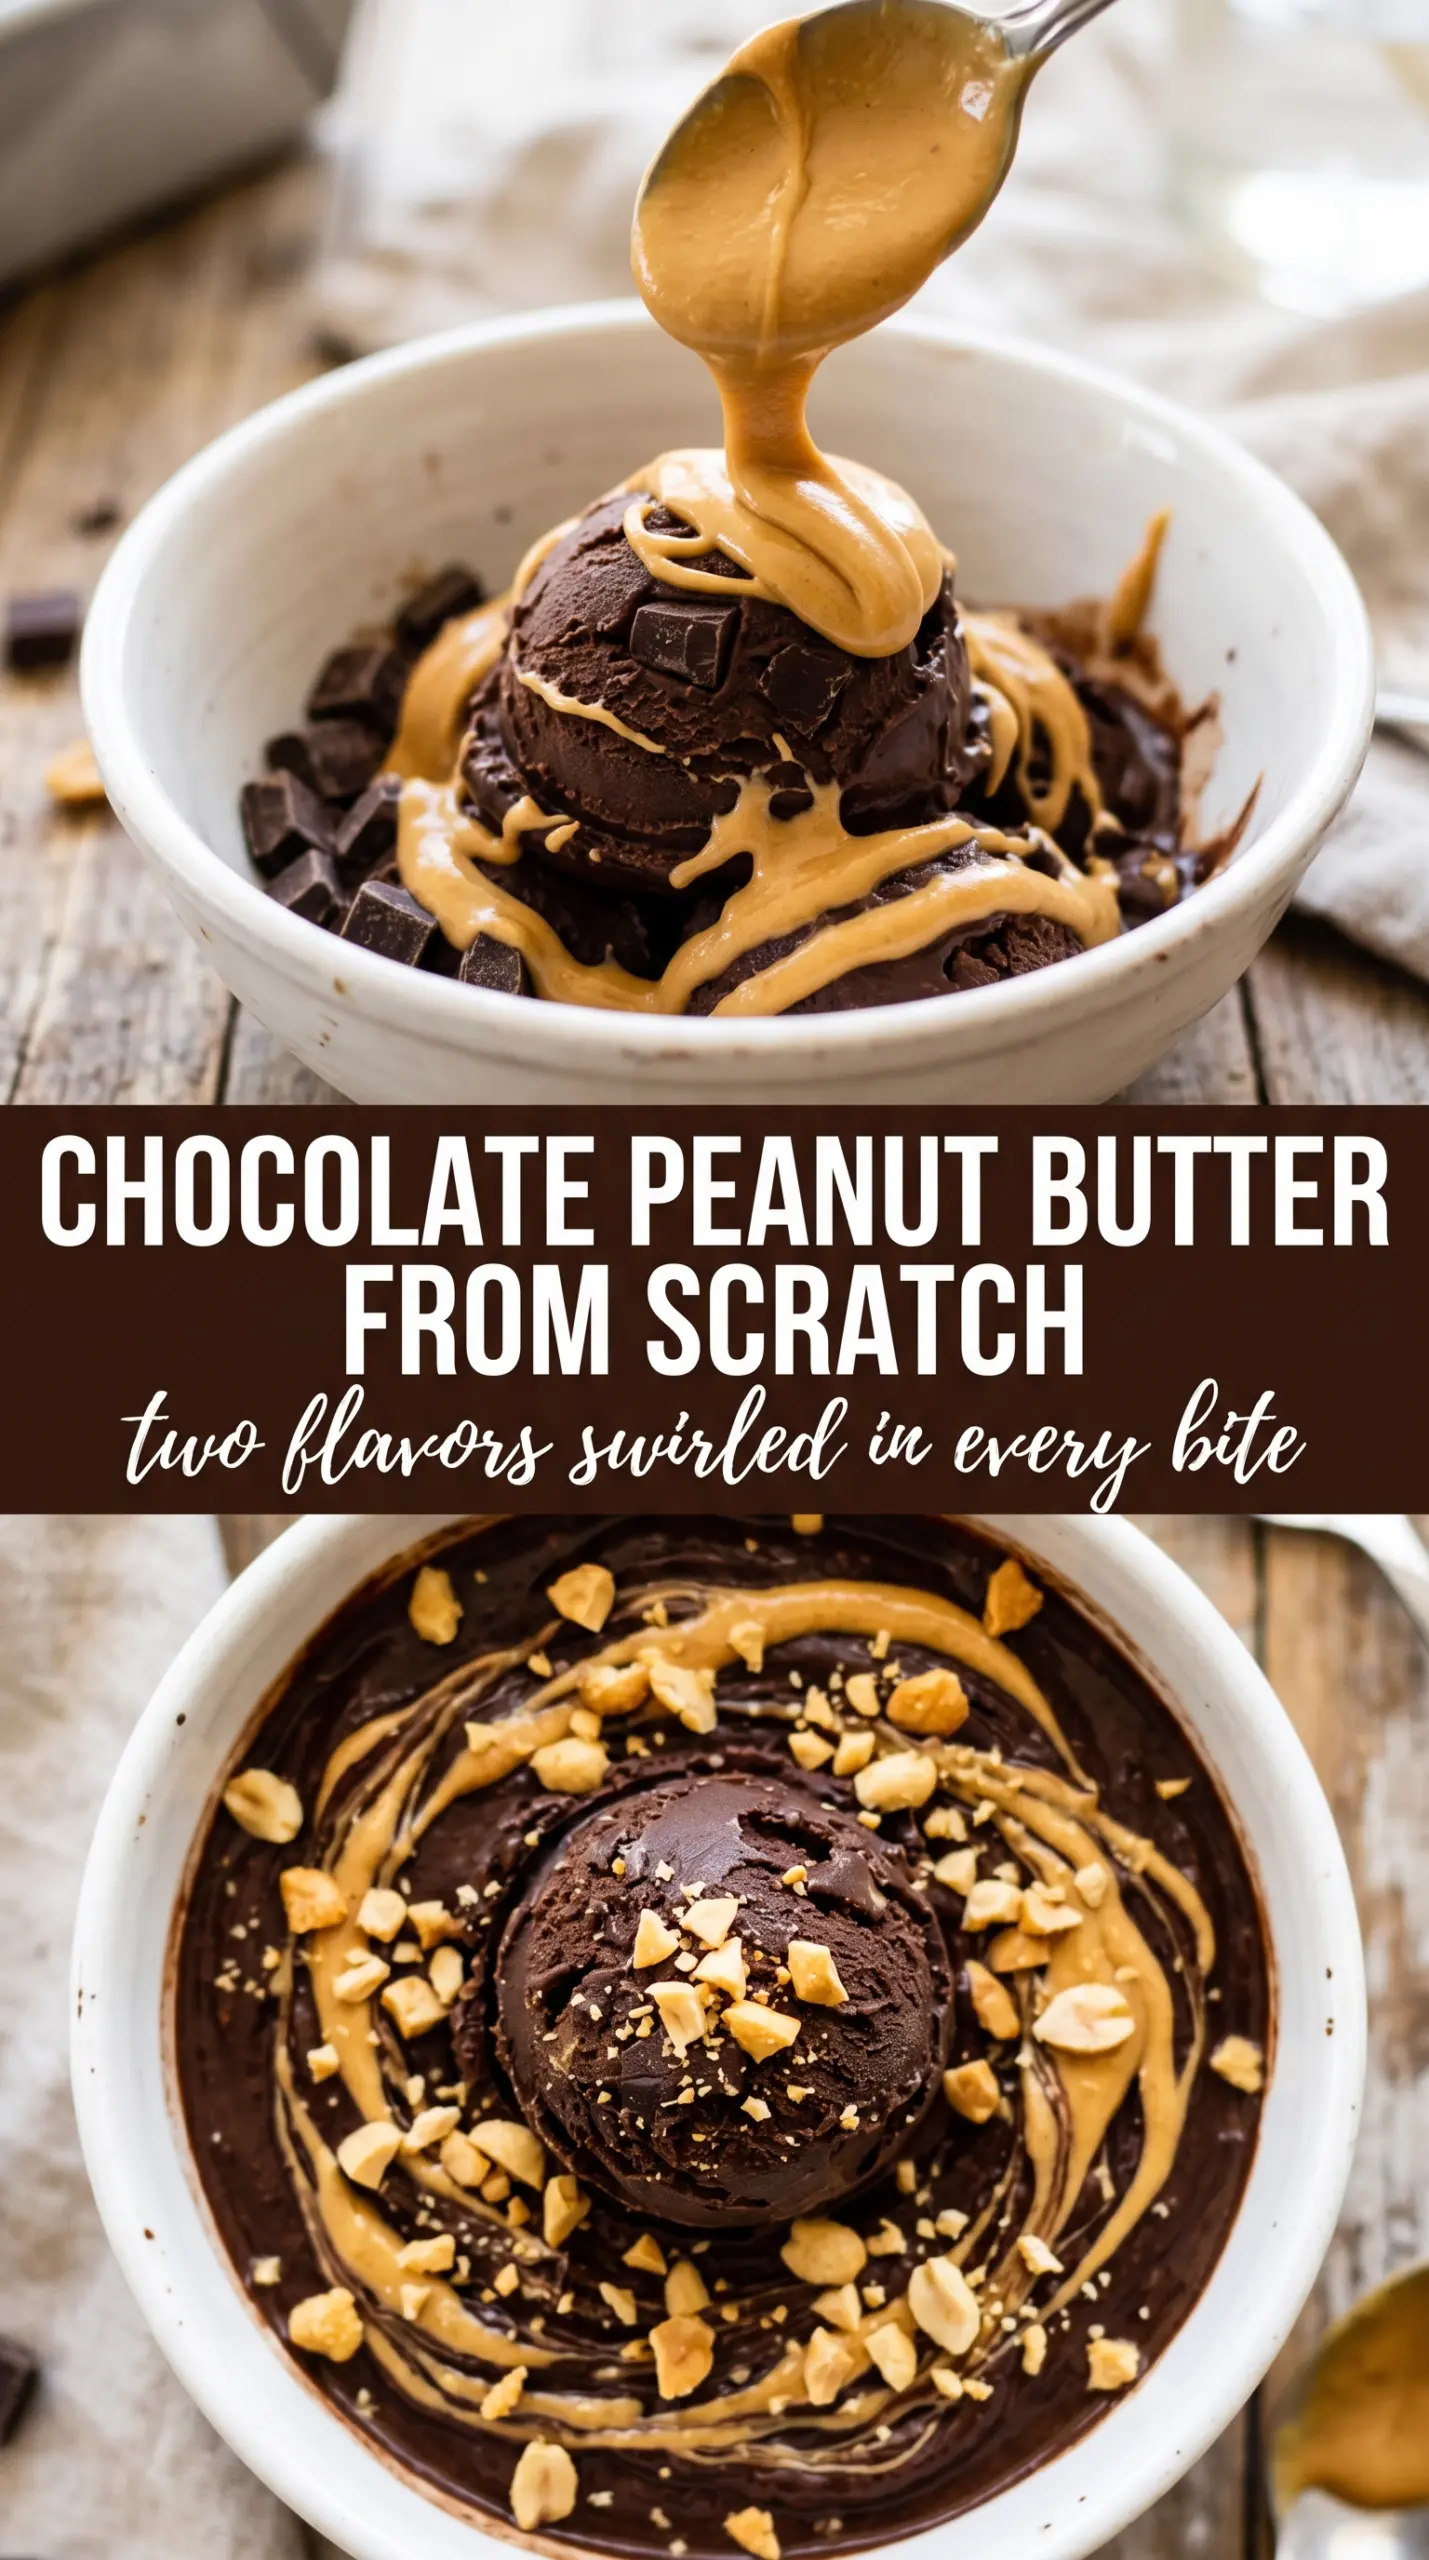
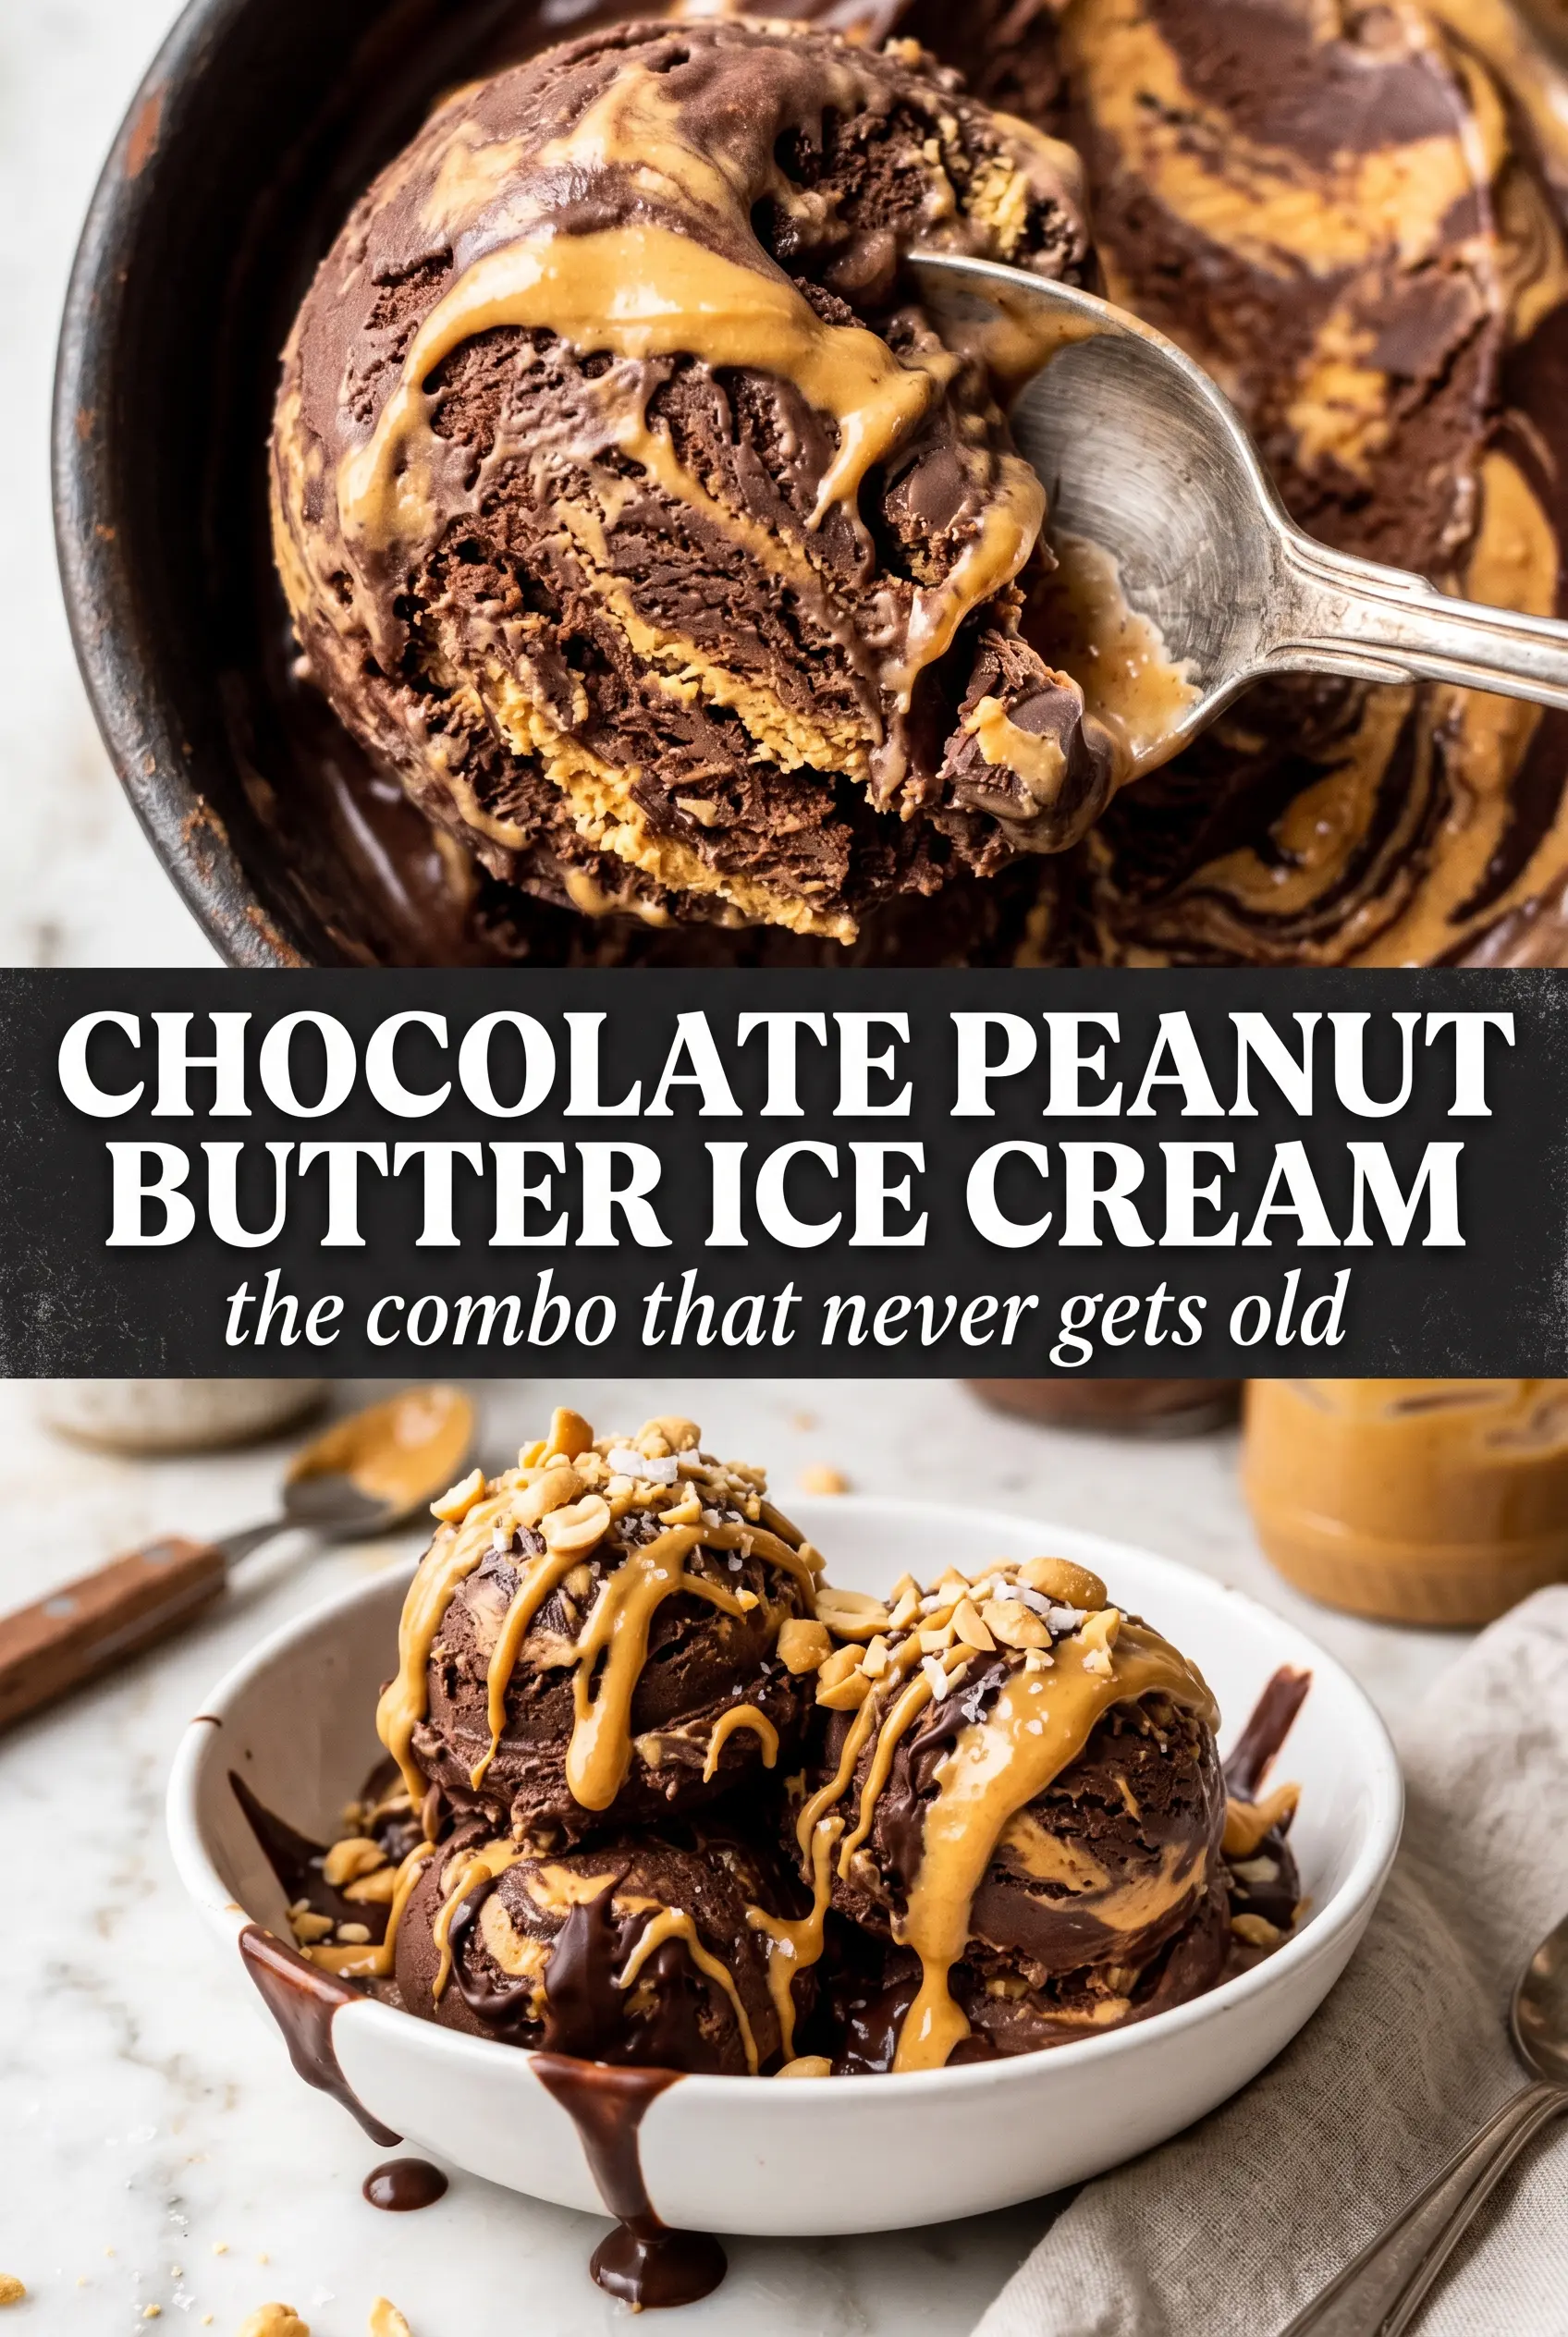
Deep chocolate ice cream with thick ribbons of peanut butter running through every scoop is the kind of dessert that disappears fast, even when you think you’ve made enough. The chocolate base lands rich and custardy instead of icy, and the peanut butter stays distinct in those golden swirls instead of blending into the mix. That contrast is what makes each bite memorable.
This version works because the cocoa gets whisked into the dairy first, which keeps the chocolate flavor full and smooth before the custard even starts. A little chopped dark chocolate melts into the base for extra depth, and the egg yolks give the finished ice cream a dense, scoopable body that holds up to the peanut butter ribboning. Warming the peanut butter just enough to pour is the other important piece — too thick and it clumps, too hot and it melts the ice cream into muddy streaks.
The custard froze up creamy and the peanut butter stayed in those thick ribbons instead of disappearing. I served it after dinner and everybody kept digging for the peanut butter streaks.
Chocolate Peanut Butter Ice Cream with silky custard and thick peanut butter ribbons is the one to keep for late-night scoops.
Why the Custard Needs Gentle Heat Before the Peanut Butter Goes In
The biggest mistake with homemade ice cream is rushing the custard. If the heat climbs too fast, the yolks scramble on the bottom of the pan before the base thickens evenly. Here, the goal is a smooth custard that coats the back of a spoon and reaches 175F, not a bubbling pudding. That temperature gives you body without turning the eggs grainy.
Straining the base after cooking isn’t busywork. It catches any tiny bits of egg that formed along the way and leaves you with a silkier churned texture. Once the custard is fully chilled, the ice cream maker can do its job without fighting a warm base, and that is what helps the finished scoop hold those peanut butter ribbons instead of collapsing into a soft, melty mess.
What Each Ingredient Is Actually Doing in This Ice Cream
- Heavy cream and whole milk — This is the balance that gives the base richness without making it greasy. All cream makes the texture heavy; all milk makes it thin and more icy. Stick with both for the cleanest scoop.
- Unsweetened cocoa powder and dark chocolate — Cocoa brings the deep chocolate backbone, while the chopped chocolate melts into the custard for a fuller, rounder taste. Use a good dark chocolate here because it shows up in the final flavor. This is where cheap chocolate can taste flat.
- Egg yolks — They build the custard body and keep the ice cream creamy after freezing. There isn’t a real substitute if you want the same dense, scoopable texture.
- Creamy peanut butter — Warmed peanut butter gives you the swirl. Natural peanut butter can work if it’s fully stirred and smooth, but the classic shelf-stable style stays silkier when drizzled.
- Vanilla and salt — Vanilla rounds out the chocolate, and salt keeps the whole thing from tasting one-note. Don’t skip the salt; it sharpens the peanut butter and makes the chocolate taste deeper.
Building the Base Without Scrambling the Yolks
Heating the Chocolate Dairy
Whisk the cocoa into the cream and milk first so it dissolves before the heat gets high enough to tighten the dairy. Bring the mixture just to steaming, then add the chopped chocolate and whisk until it disappears into the base. If you see dry cocoa floating at the edges, keep whisking for another minute; that’s the difference between a smooth base and one with gritty pockets.
Tempering the Eggs
Whisk the egg yolks and sugar until pale and a little thickened. Then slowly stream in the hot chocolate mixture while whisking constantly. The goal is to warm the yolks gradually, not shock them. If you dump the hot liquid in all at once, you’ll get sweet chocolate scrambled eggs instead of custard.
Cooking to Custard Stage
Return everything to the saucepan and cook over medium-low heat, stirring constantly and scraping the bottom and corners. The custard is ready at 175F and should lightly coat a spoon. If it starts to steam hard or bubble around the edges, pull it back; the last few degrees happen fast. Strain it, stir in the vanilla and salt, and chill it completely before churning.
Layering in the Peanut Butter Swirl
Churn the ice cream until it reaches soft-serve thickness, then layer it into a freezer container with drizzles of warm peanut butter between each layer. Use a knife or skewer to make a few loose swirls. Don’t overmix here or you’ll lose the contrast. You want visible ribbons, not a uniform tan base.
Use almond butter for a different swirl
Almond butter gives you a slightly drier, nuttier ribbon that reads less like a candy bar and more like a grown-up ice cream. Warm it until pourable the same way you would the peanut butter, but expect a thinner swirl with a softer finish.
Make it dairy-free with full-fat coconut milk
Use full-fat coconut milk in place of the cream and milk, and swap in a dairy-free dark chocolate. The texture will be a little softer and the coconut note will show, but the custard-style richness still comes through if you chill it well before churning.
Skip the churn if you only have a freezer
You won’t get the same airy finish, but you can pour the chilled base into a shallow pan and stir it every 30 minutes until it firms up. Add the peanut butter ribbons during one of the last stirs so they stay visible instead of disappearing into the base.
Add chopped peanut butter cups for a Reese’s-style finish
Fold in a handful of chopped peanut butter cups at the end of churning if you want more bite and a candy-shop feel. Add them late so they stay evenly distributed instead of sinking to the bottom.
Storage and Reheating
- Refrigerator: Not recommended; this is best frozen. The churned base will soften and lose its structure in the fridge.
- Freezer: Store in a tightly sealed container for up to 2 weeks for the best texture. Press parchment directly on the surface if you want to prevent ice crystals.
- Reheating: Let the container sit at room temperature for 5 to 10 minutes before scooping. If it’s rock hard, the issue is usually overfreezing or a too-cold freezer, not the recipe.
Questions I Get Asked About This Recipe
Chocolate Peanut Butter Ice Cream
Ingredients
Equipment
Method
- Whisk cocoa powder into the heavy cream and whole milk until smooth. Heat over medium until steaming with small bubbles around the edges, then whisk until the mixture looks glossy.
- Add the chopped dark chocolate to the hot dairy mixture. Whisk until fully melted and smooth with no visible chocolate bits.
- Whisk the egg yolks and granulated sugar in a separate bowl until the mixture turns pale. Keep whisking until it looks slightly thicker and lighter in color.
- Slowly whisk the hot chocolate cream into the egg yolk mixture. Drizzle in gradually so the eggs don’t scramble, watching for a smooth, uniform custard.
- Return the custard to a saucepan and cook until it reaches 175°F. Stir constantly, and stop when it coats a spoon.
- Strain the custard to remove any bits. Add vanilla extract and salt, then whisk until combined and the surface looks even.
- Cool the custard completely at room temperature. You should see it thicken slightly as it cools, then it will look ready to chill.
- Refrigerate the custard for at least 4 hours. It should feel cold throughout with a fully chilled texture.
- Churn the chilled custard in an ice cream maker until it reaches a soft-serve consistency. The ice cream should look aerated and thicker, holding soft peaks.
- Layer the churned ice cream into a container and drizzle warmed peanut butter between each layer. Swirl with a knife to create thick ribbons, leaving visible streaks throughout.
- Freeze at least 2 hours until firm. The surface should be set and scoopable with defined swirls.


