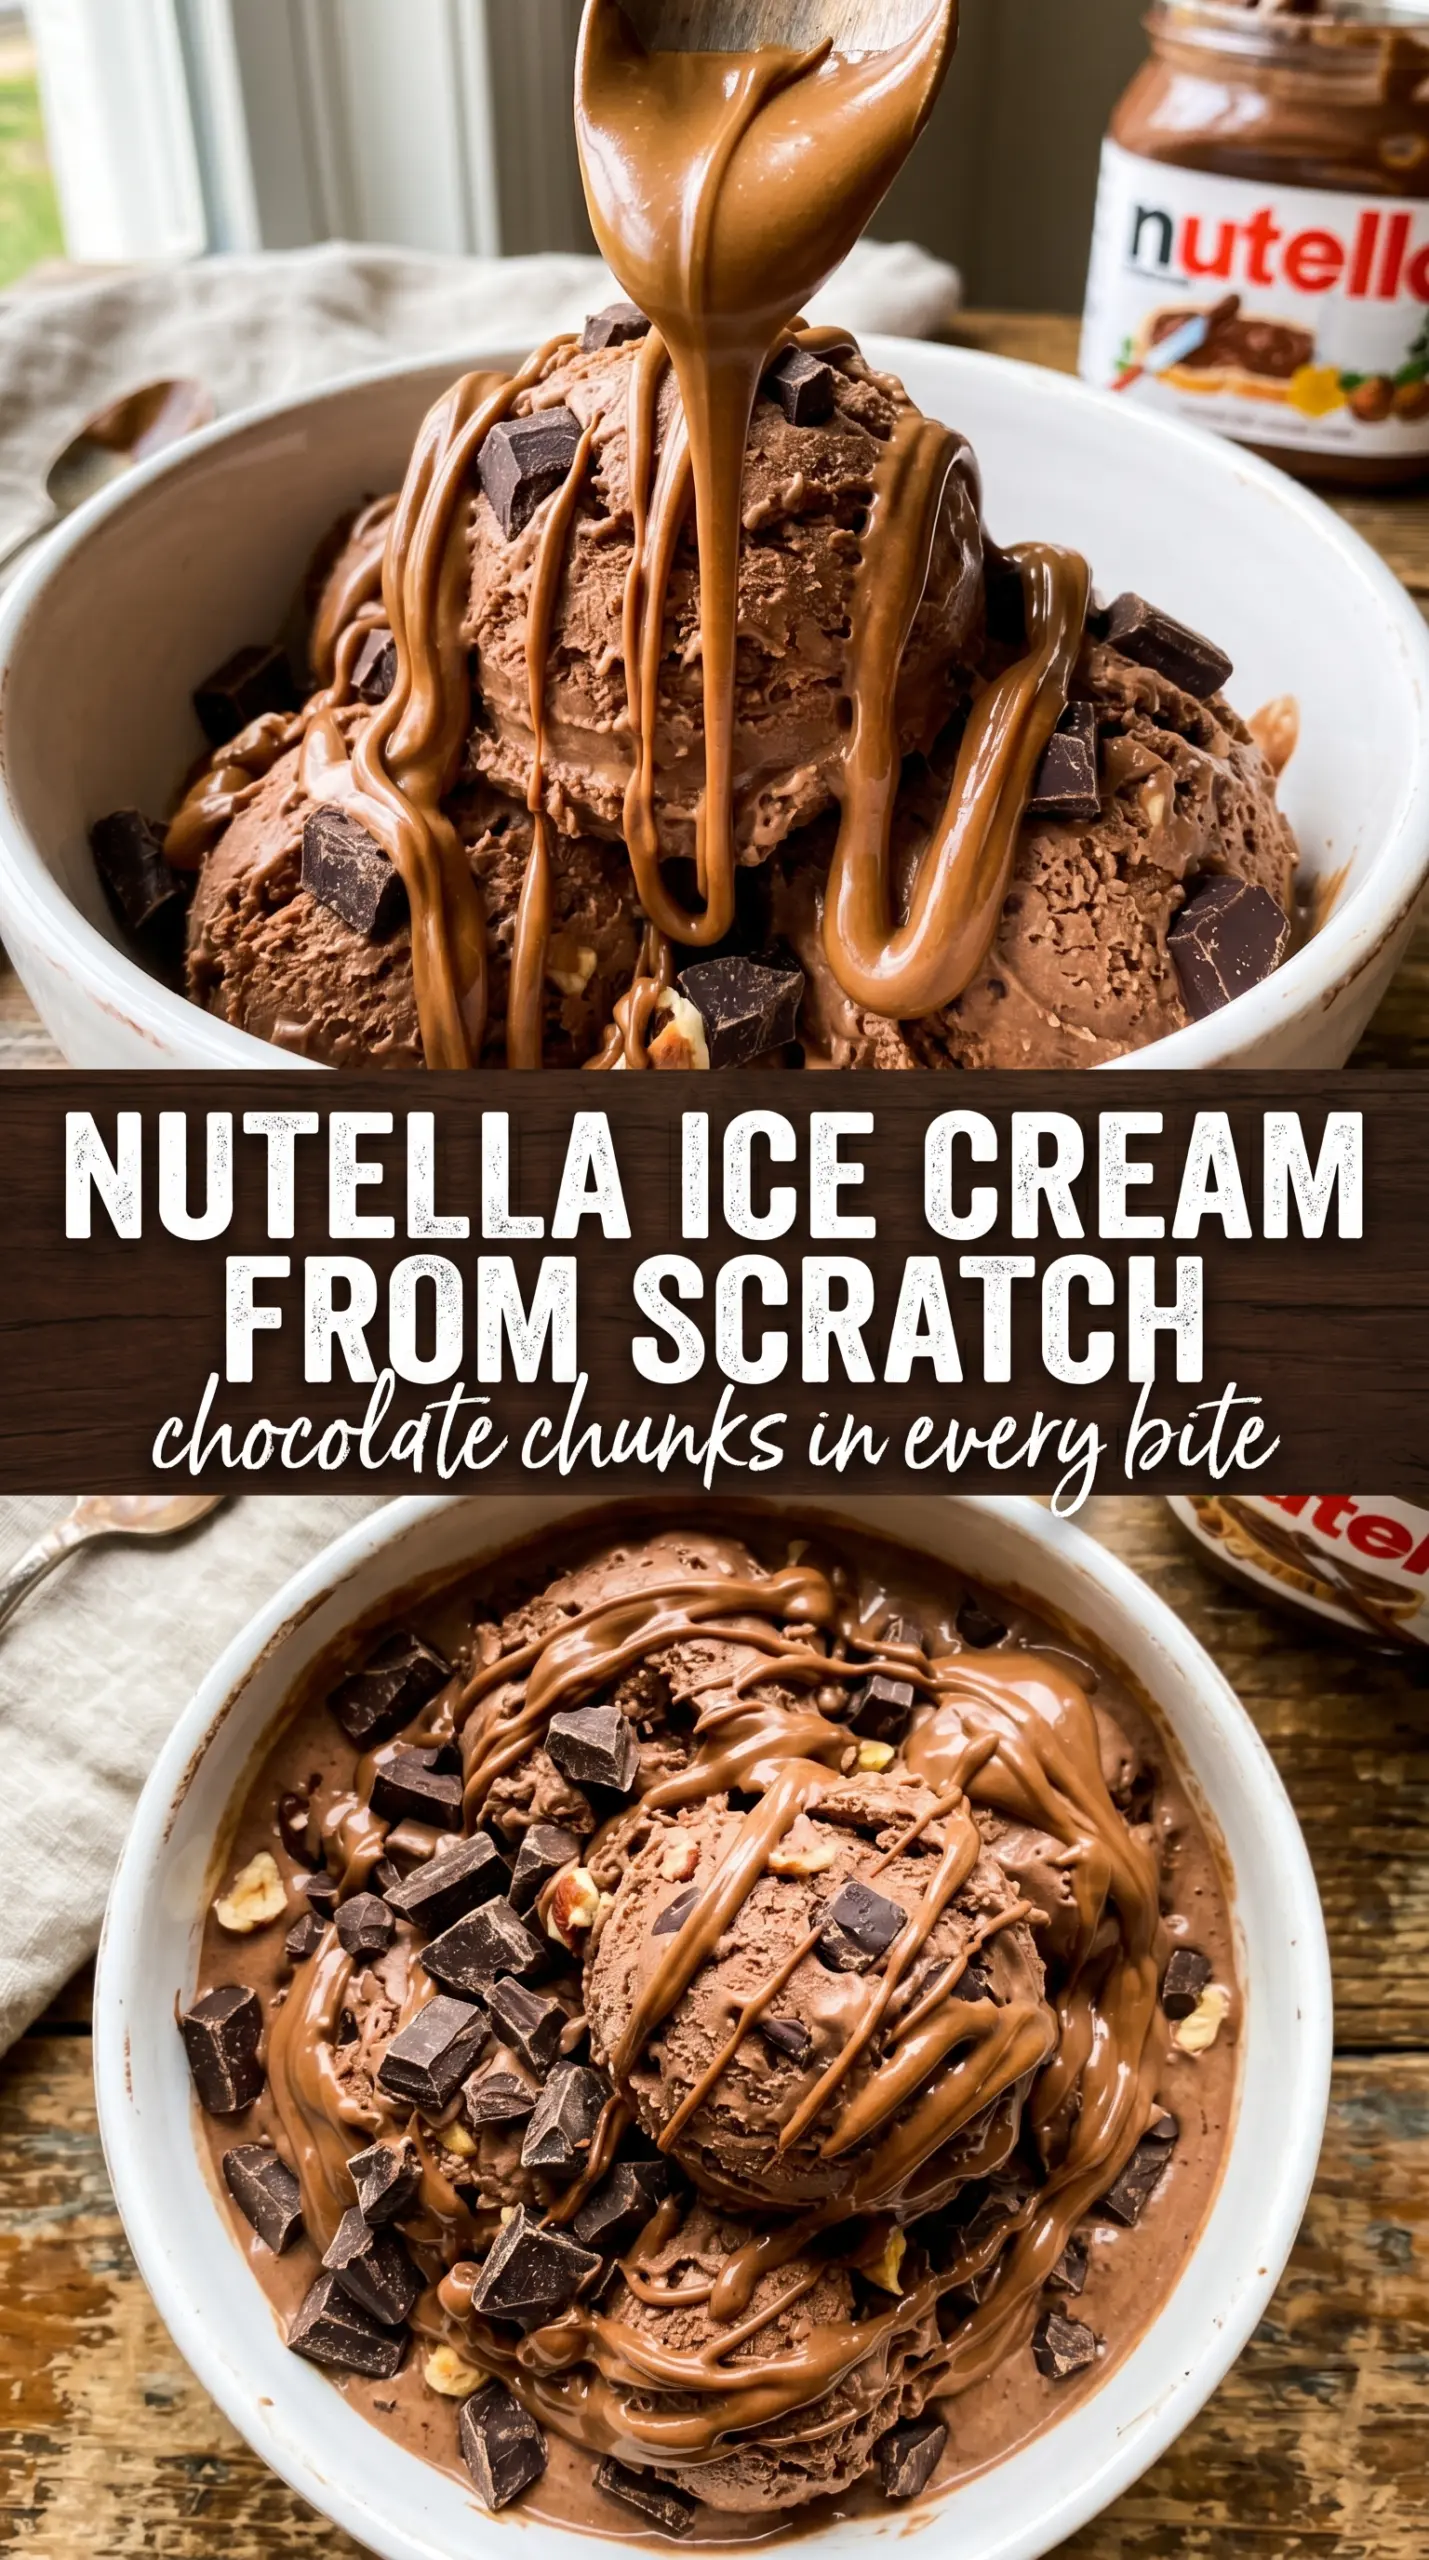
Chocolate Chunk Nutella Ice Cream lands with that first spoonful of cold, creamy hazelnut richness and keeps getting better as the dark chocolate chunks crack through the softness. The texture matters here: it’s smooth and scoopable, but not airy or icy, with just enough thickness to carry the Nutella flavor all the way through. A little swirl of extra Nutella on top gives each scoop a glossy ribbon of flavor instead of burying everything in sweetness.
This version works because the Nutella gets loosened before it hits the whipped cream, which keeps the base silky and easy to fold together. Sweetened condensed milk brings the sweetness and the structure, so you don’t need an ice cream machine or a custard base. The salt is small but important; it pulls the chocolate and hazelnut notes forward instead of letting the dessert taste flat.
Below, you’ll find the exact way to keep the base light without deflating it, plus the small detail that keeps the chocolate chunks evenly spread instead of sinking.
The Nutella stayed smooth all the way through, and the chocolate chunks didn’t turn icy. I let it freeze overnight and it scooped like a real ice cream, not a frozen block.
Like this Chocolate Chunk Nutella Ice Cream? Save it to Pinterest for the nights when you want a no-churn dessert with deep hazelnut flavor and plenty of chocolate in every scoop.
The Part That Keeps No-Churn Ice Cream Creamy Instead of Icy
The biggest mistake in no-churn ice cream is overmixing the whipped cream once the condensed milk goes in. You want to fold, not beat, because the air in the cream is what gives this dessert a soft scoop straight from the freezer. If you stir aggressively, the base tightens up and the final texture gets dense instead of plush.
Warming the Nutella first matters more than it sounds. Cold Nutella can clump into little ribbons that never fully disappear, and those pockets can freeze into hard, grainy streaks. Loosening it with the condensed milk before folding makes the whole mixture uniform, which is what gives every bite the same smooth chocolate-hazelnut flavor.
- Whipping cream to stiff peaks — Stop as soon as the cream holds shape on the whisk. Soft peaks won’t support the freezer texture, and if you overwhip, the ice cream base can turn grainy when you fold it.
- Sweetened condensed milk — This is what keeps the ice cream scoopable without a machine. Don’t swap in regular milk; it doesn’t provide the same sweetness or structure.
- Warmed Nutella — Warm it just enough to loosen, not make it hot. Hot Nutella can melt the whipped cream and flatten the base.
- Dark chocolate chunks — Chips work fine, but chopped chocolate gives better texture because the edges stay irregular and break with more crunch.
What Each Ingredient Is Actually Doing in This Frozen Treat
- Base ingredient (cream, yogurt, or fruit) — This determines the texture and richness. Cream makes it scoopable; yogurt makes it tangy; fruit makes it refreshing.
- Sweetener (sugar or honey) — This prevents the mixture from freezing rock-solid and creates a smooth texture. Too much and it won’t freeze; too little and it’s icy.
- Egg yolks (if using custard method) — These create richness and a silky texture. Tempering is important so they don’t scramble.
- Thickener (cornstarch, gelatin, or egg) — This prevents ice crystals from forming and keeps the texture smooth instead of grainy.
- Flavoring (vanilla, chocolate, fruit, or spices) — Use quality flavorings because they’re essential to the taste. Dilute-tasting ice cream comes from cheap extract.
- Stabilizers (gum, gelatin, or dairy) — These keep the ice cream from becoming icy during storage. They prevent large ice crystals from forming.
- Mix-ins (nuts, chunks, or swirls) — These add texture and interest. Freeze-stable chocolate works better than regular chocolate, which gets hard.
- Proper chilling and churning (the technique) — This incorporates air and prevents ice crystals. An ice cream maker makes a huge difference in texture.
Building the Base Without Deflating the Cream
Whipping the Cream to the Right Point
Start with cold cream and a cold bowl if you can. Whip until the cream holds firm peaks that stand upright when you lift the whisk. If the peaks flop over, it’s not ready; if it starts looking dry or curdled, you’ve gone too far and the finished ice cream will feel less smooth. Stop the mixer the moment the texture looks thick, glossy, and stable.
Making the Nutella Mixture Silky
Whisk the warm Nutella into the condensed milk with the vanilla and salt until it looks completely smooth and one color. Any streaks left behind will show up later in the frozen base, so take the time to blend it fully now. This is the point where the dessert gets its flavor foundation, so scrape the bowl well and check the bottom, where thicker Nutella likes to hide.
Folding and Freezing
Add the Nutella mixture to the whipped cream in two additions and fold gently from the bottom of the bowl upward. You’re looking for a uniform mousse-like base with no white streaks, but stop as soon as it’s combined. Fold in the chocolate chunks, transfer everything to the loaf pan, and swirl the top with extra Nutella. Freeze it uncovered for the first hour if your freezer runs humid, then cover once the surface has firmed up so condensation doesn’t bead on top.
Three Ways to Make This Chocolate Chunk Nutella Ice Cream Work for Your Kitchen
Dairy-Free Version
Use a full-fat coconut whipping cream and a dairy-free condensed milk alternative. The texture will still freeze creamy, but you’ll pick up a faint coconut note that softens the pure Nutella flavor. This version works best if you keep the chocolate chunks dark and unsweetened so the whole bowl doesn’t skew too sweet.
Extra Chocolate, Less Sweet
If you want the chocolate to read darker and less dessert-like, replace half the Nutella swirl on top with melted bittersweet chocolate. You’ll lose a little of the signature hazelnut sweetness, but the flavor becomes deeper and more grown-up, especially with chopped chocolate instead of chips.
Nut-Free Swap
Use a chocolate spread made from sunflower seeds or another nut-free spread with a similar texture. The result won’t taste exactly like Nutella, but you’ll still get the same no-churn structure and a rich chocolate base that freezes smoothly.
Storage and Reheating
- Refrigerator: Not recommended; this ice cream will melt and lose its structure within minutes.
- Freezer: Keep tightly covered for up to 2 weeks for the best texture. After that, it can pick up freezer flavor and the top may ice over.
- Reheating: Let the container sit at room temperature for 5 to 10 minutes before scooping. If it’s rock hard, don’t microwave it; that melts the edges and leaves the center frozen.
Answers to the Questions Worth Asking
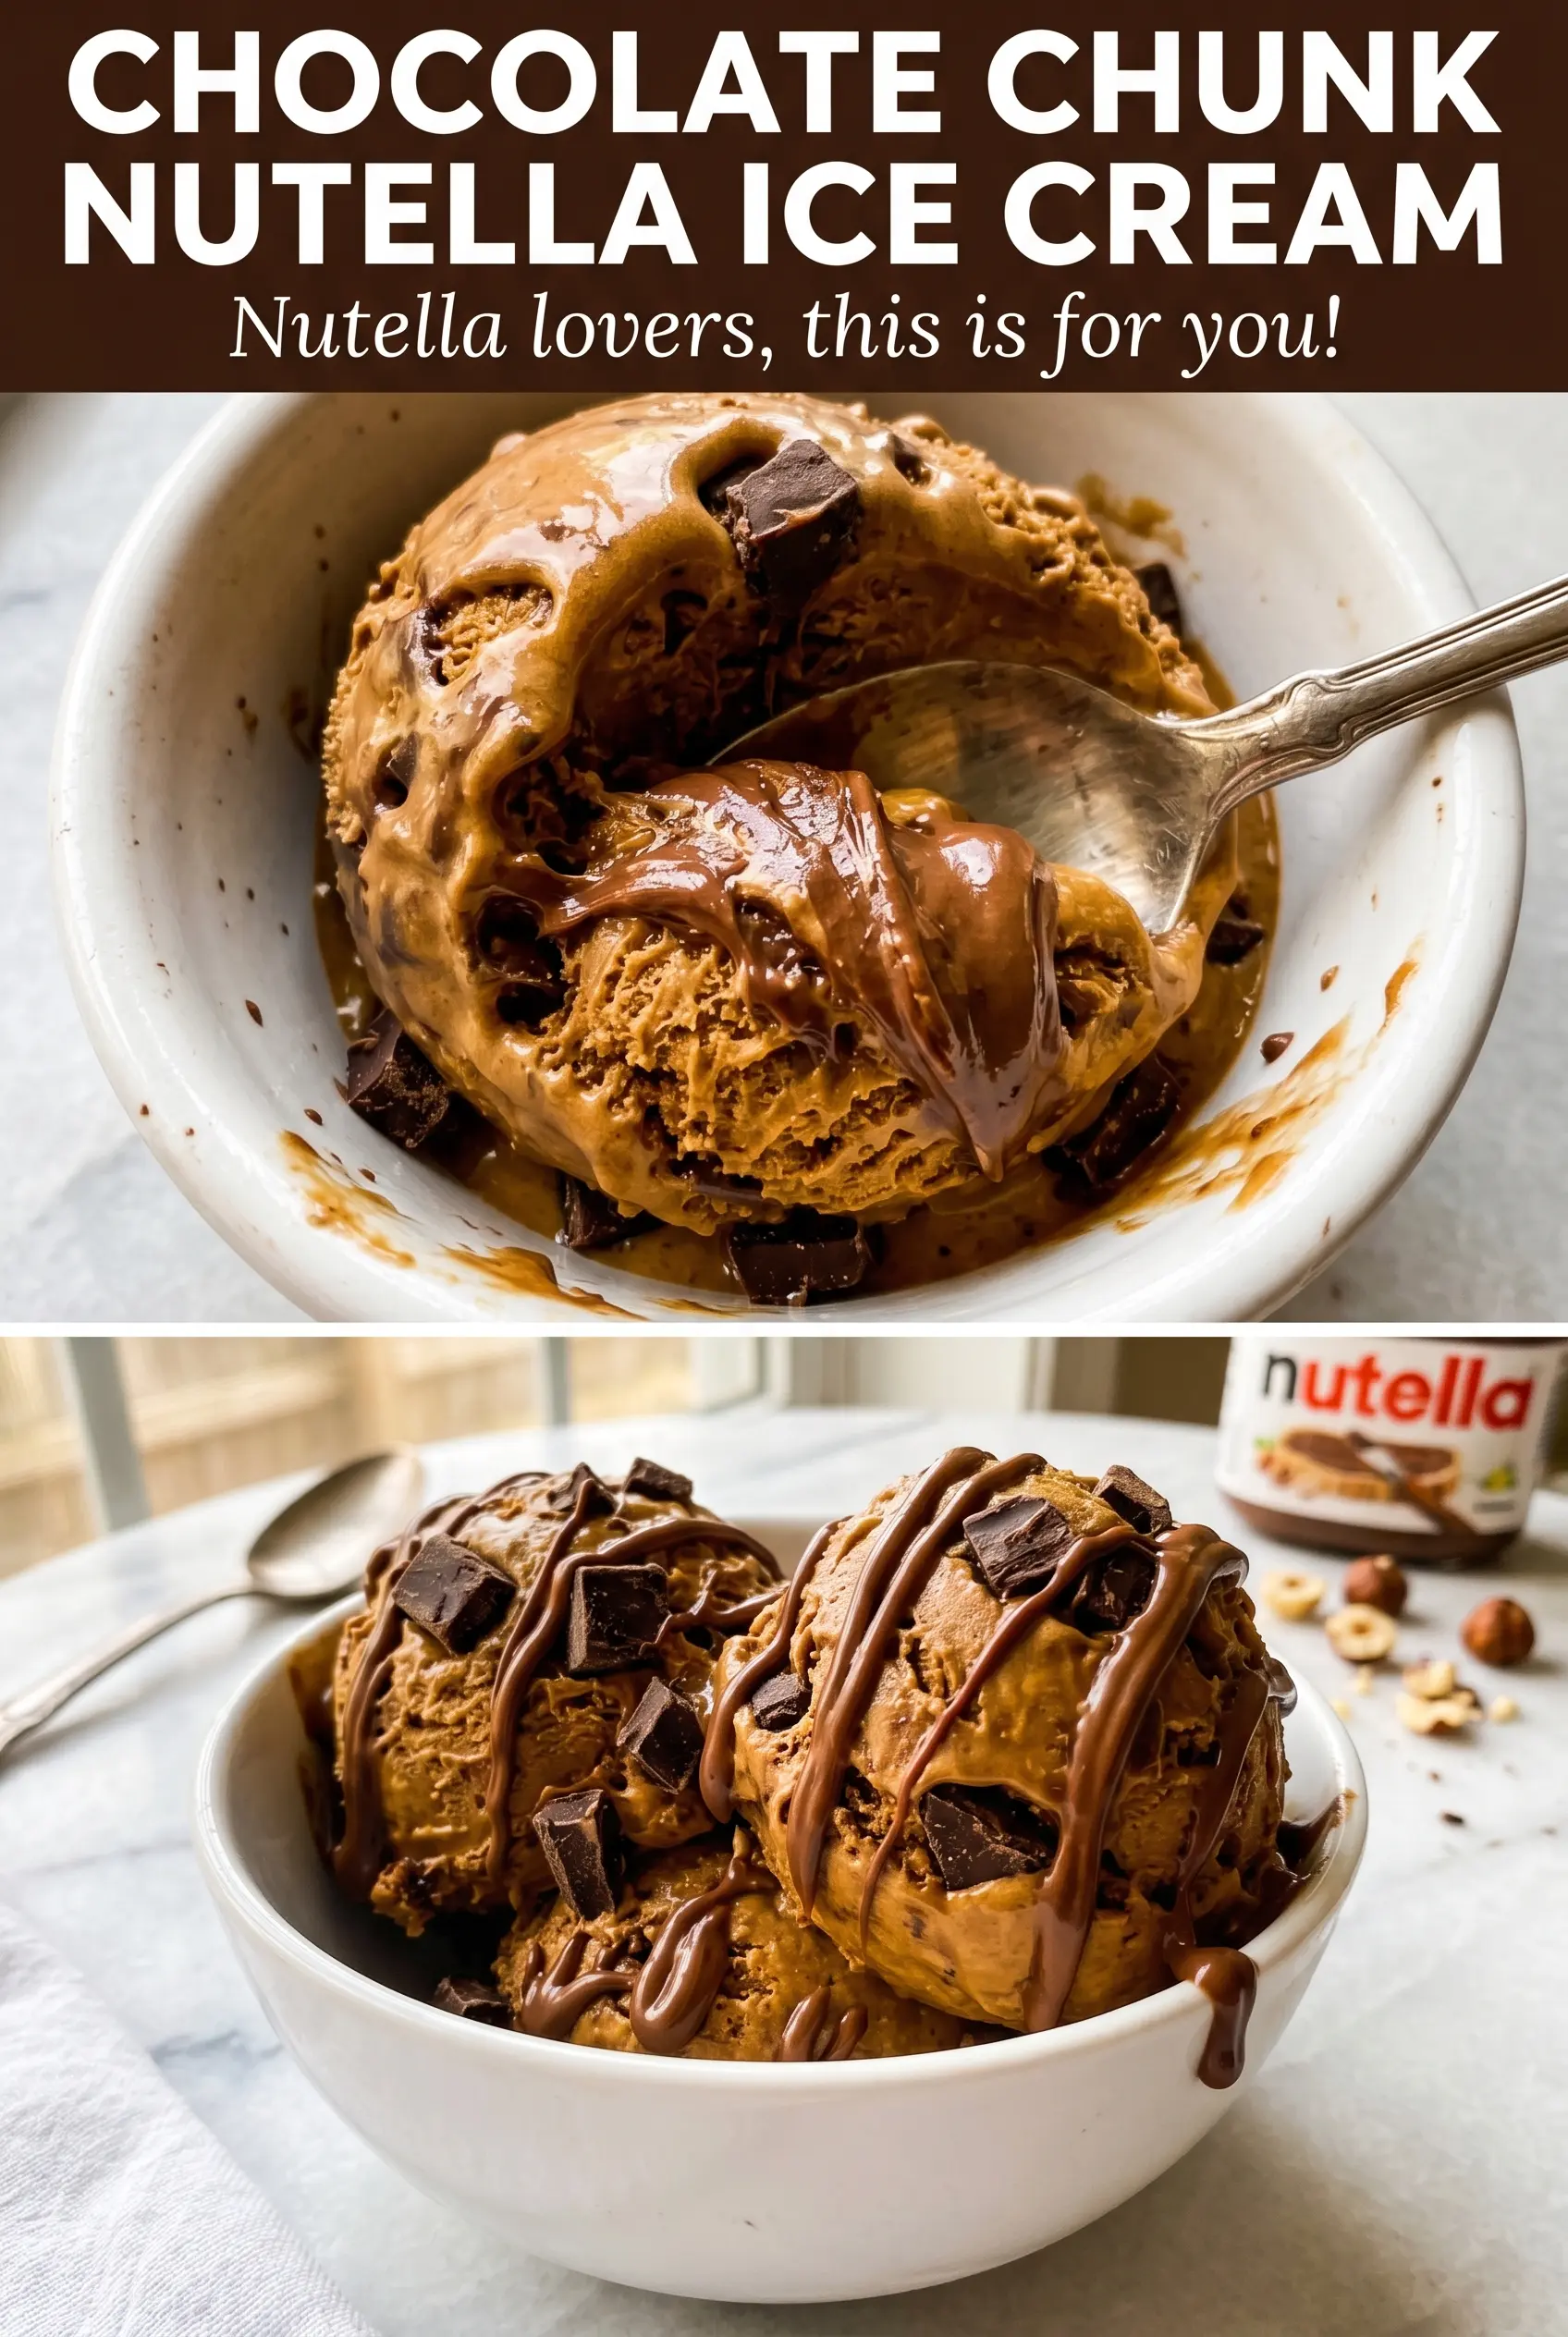
Chocolate Chunk Nutella Ice Cream
Ingredients
Equipment
Method
- Whip heavy cream in a stand mixer to stiff peaks, scraping the sides as needed so the mixture holds a tall, creamy peak when the beaters are lifted.
- Whisk sweetened condensed milk, warmed Nutella, vanilla extract, and salt until smooth and glossy, with no streaks of condensed milk remaining.
- Gently fold the Nutella mixture into the whipped cream until just combined, stopping as soon as the mixture looks uniform to keep it airy.
- Fold in dark chocolate chunks or chips evenly so they’re distributed throughout without breaking up the whipped base.
- Transfer the mixture to a 9x5 loaf pan and drizzle extra Nutella on top, then swirl with a knife to create ribboned streaks.
- Freeze at 0°F for at least 6 hours or overnight until firm, so the ice cream slices cleanly and scoops without collapsing.


