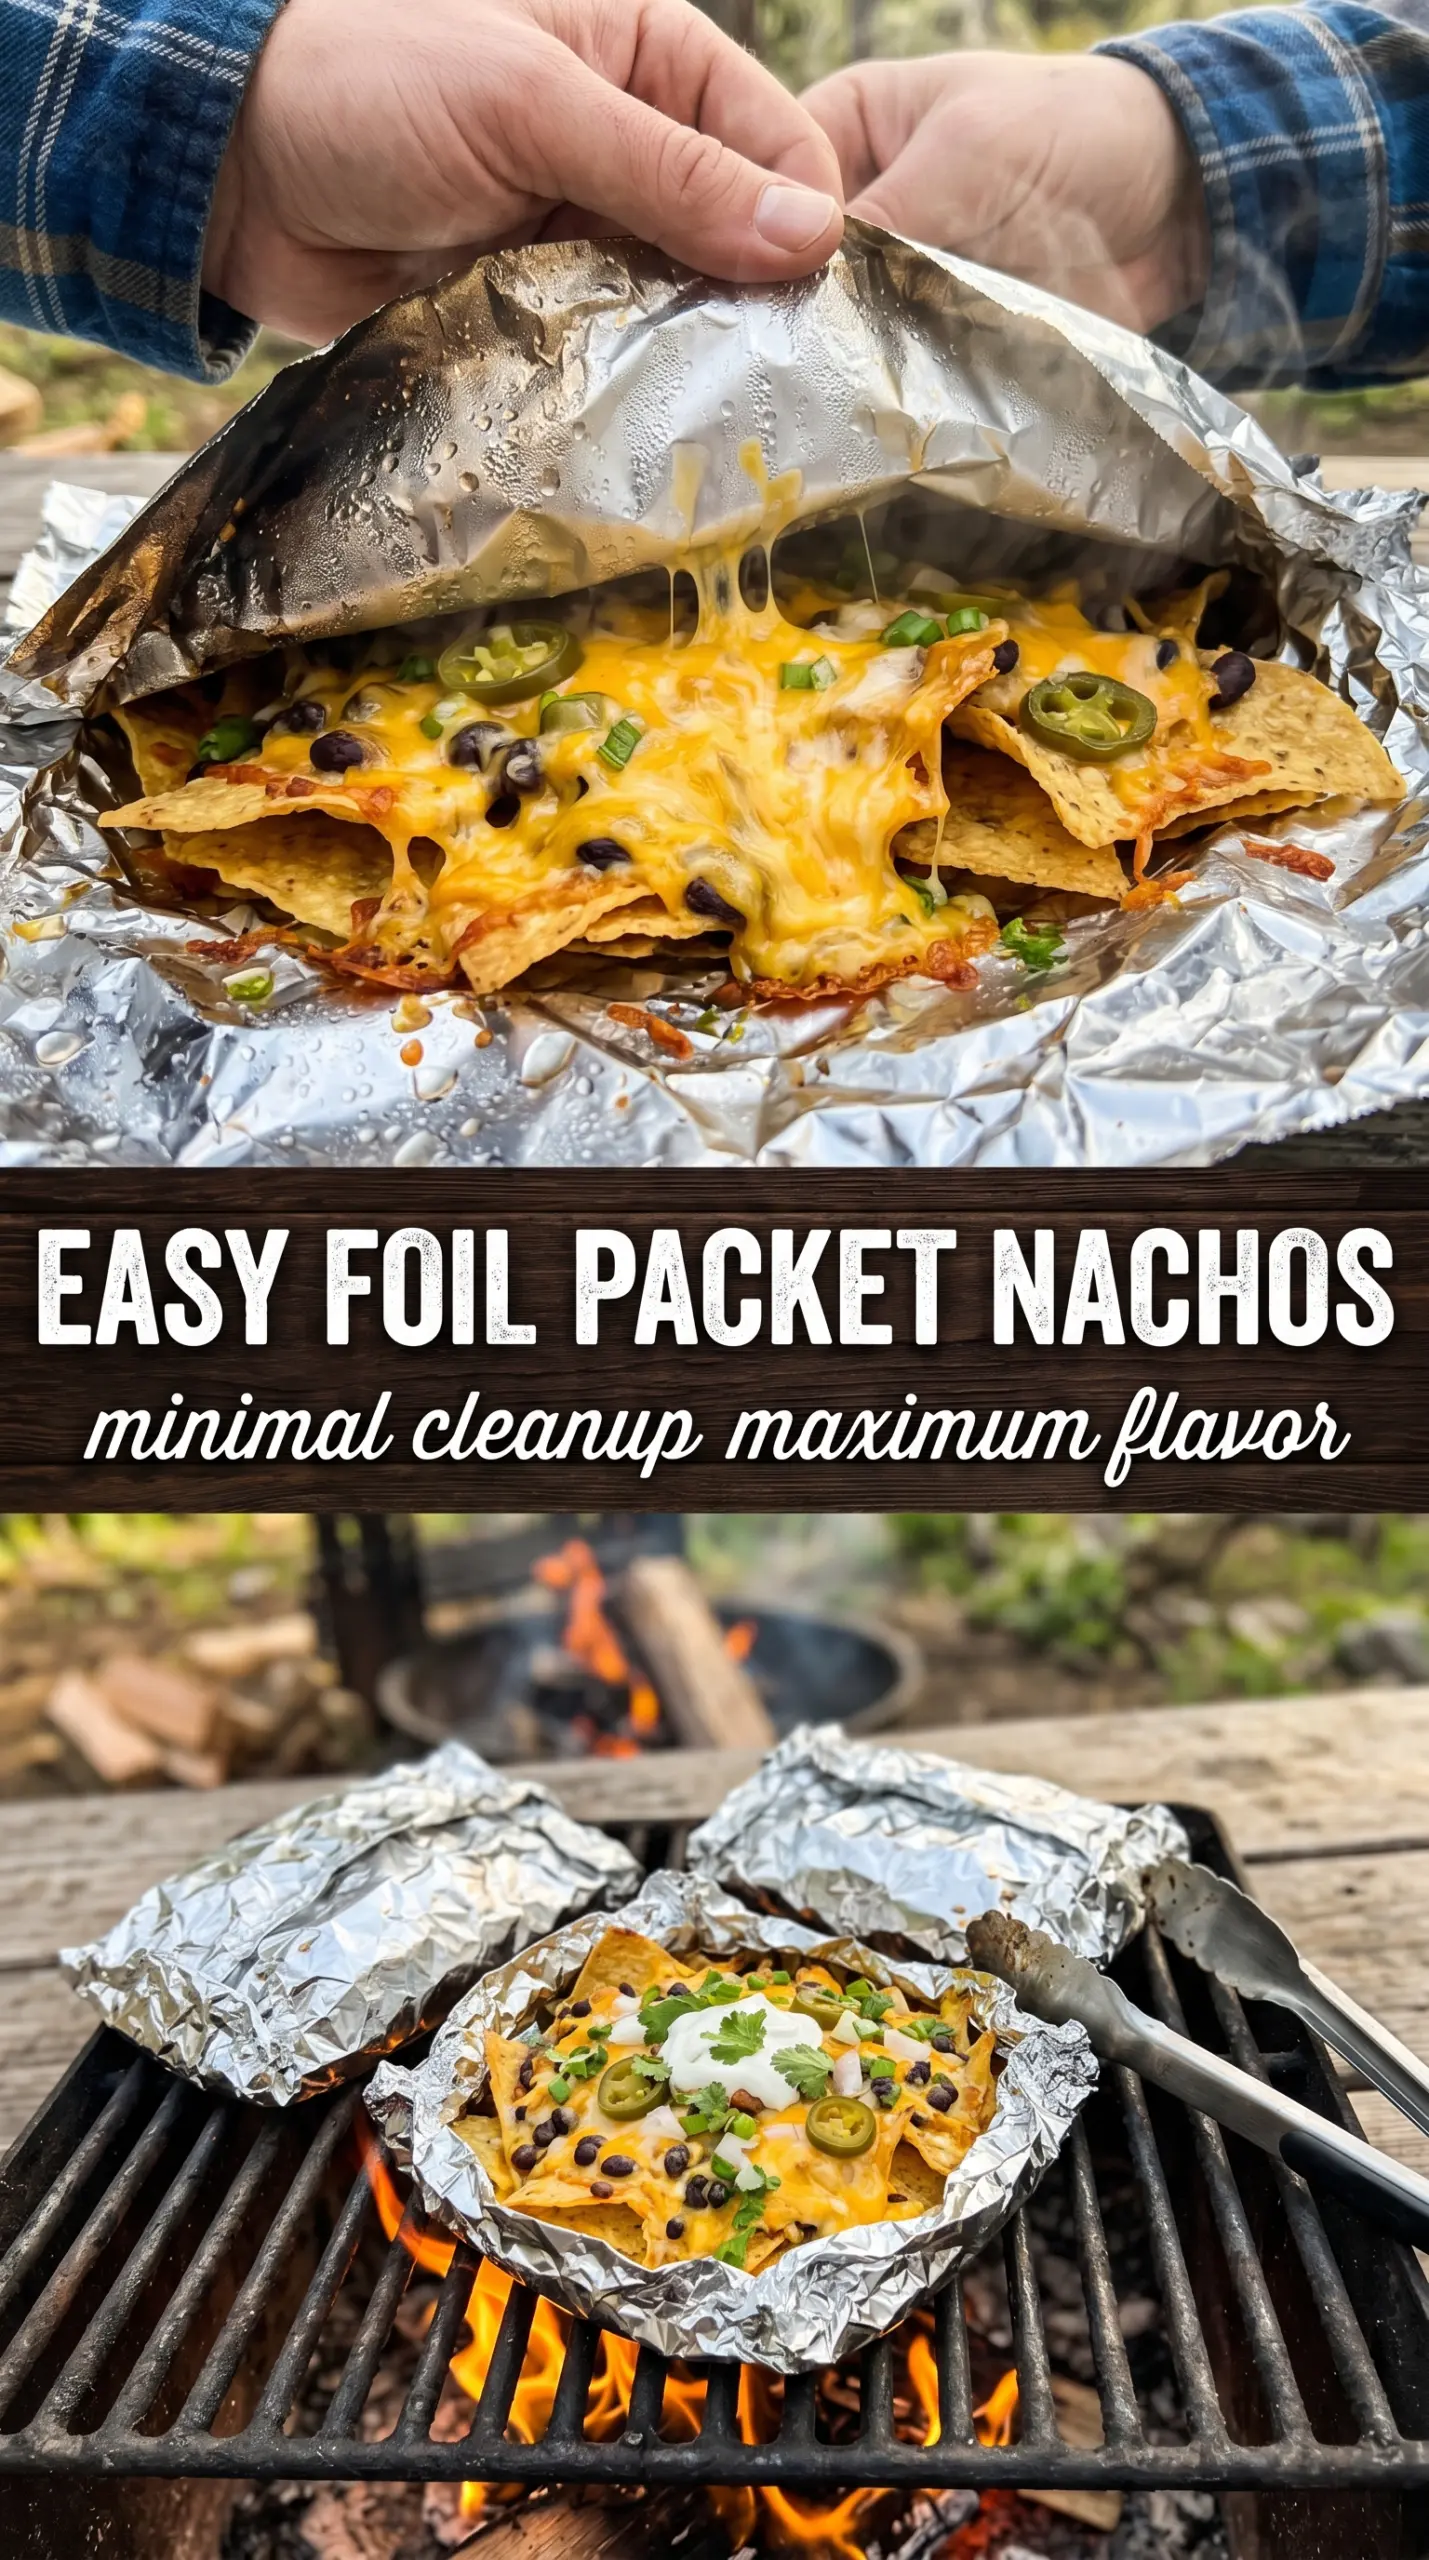
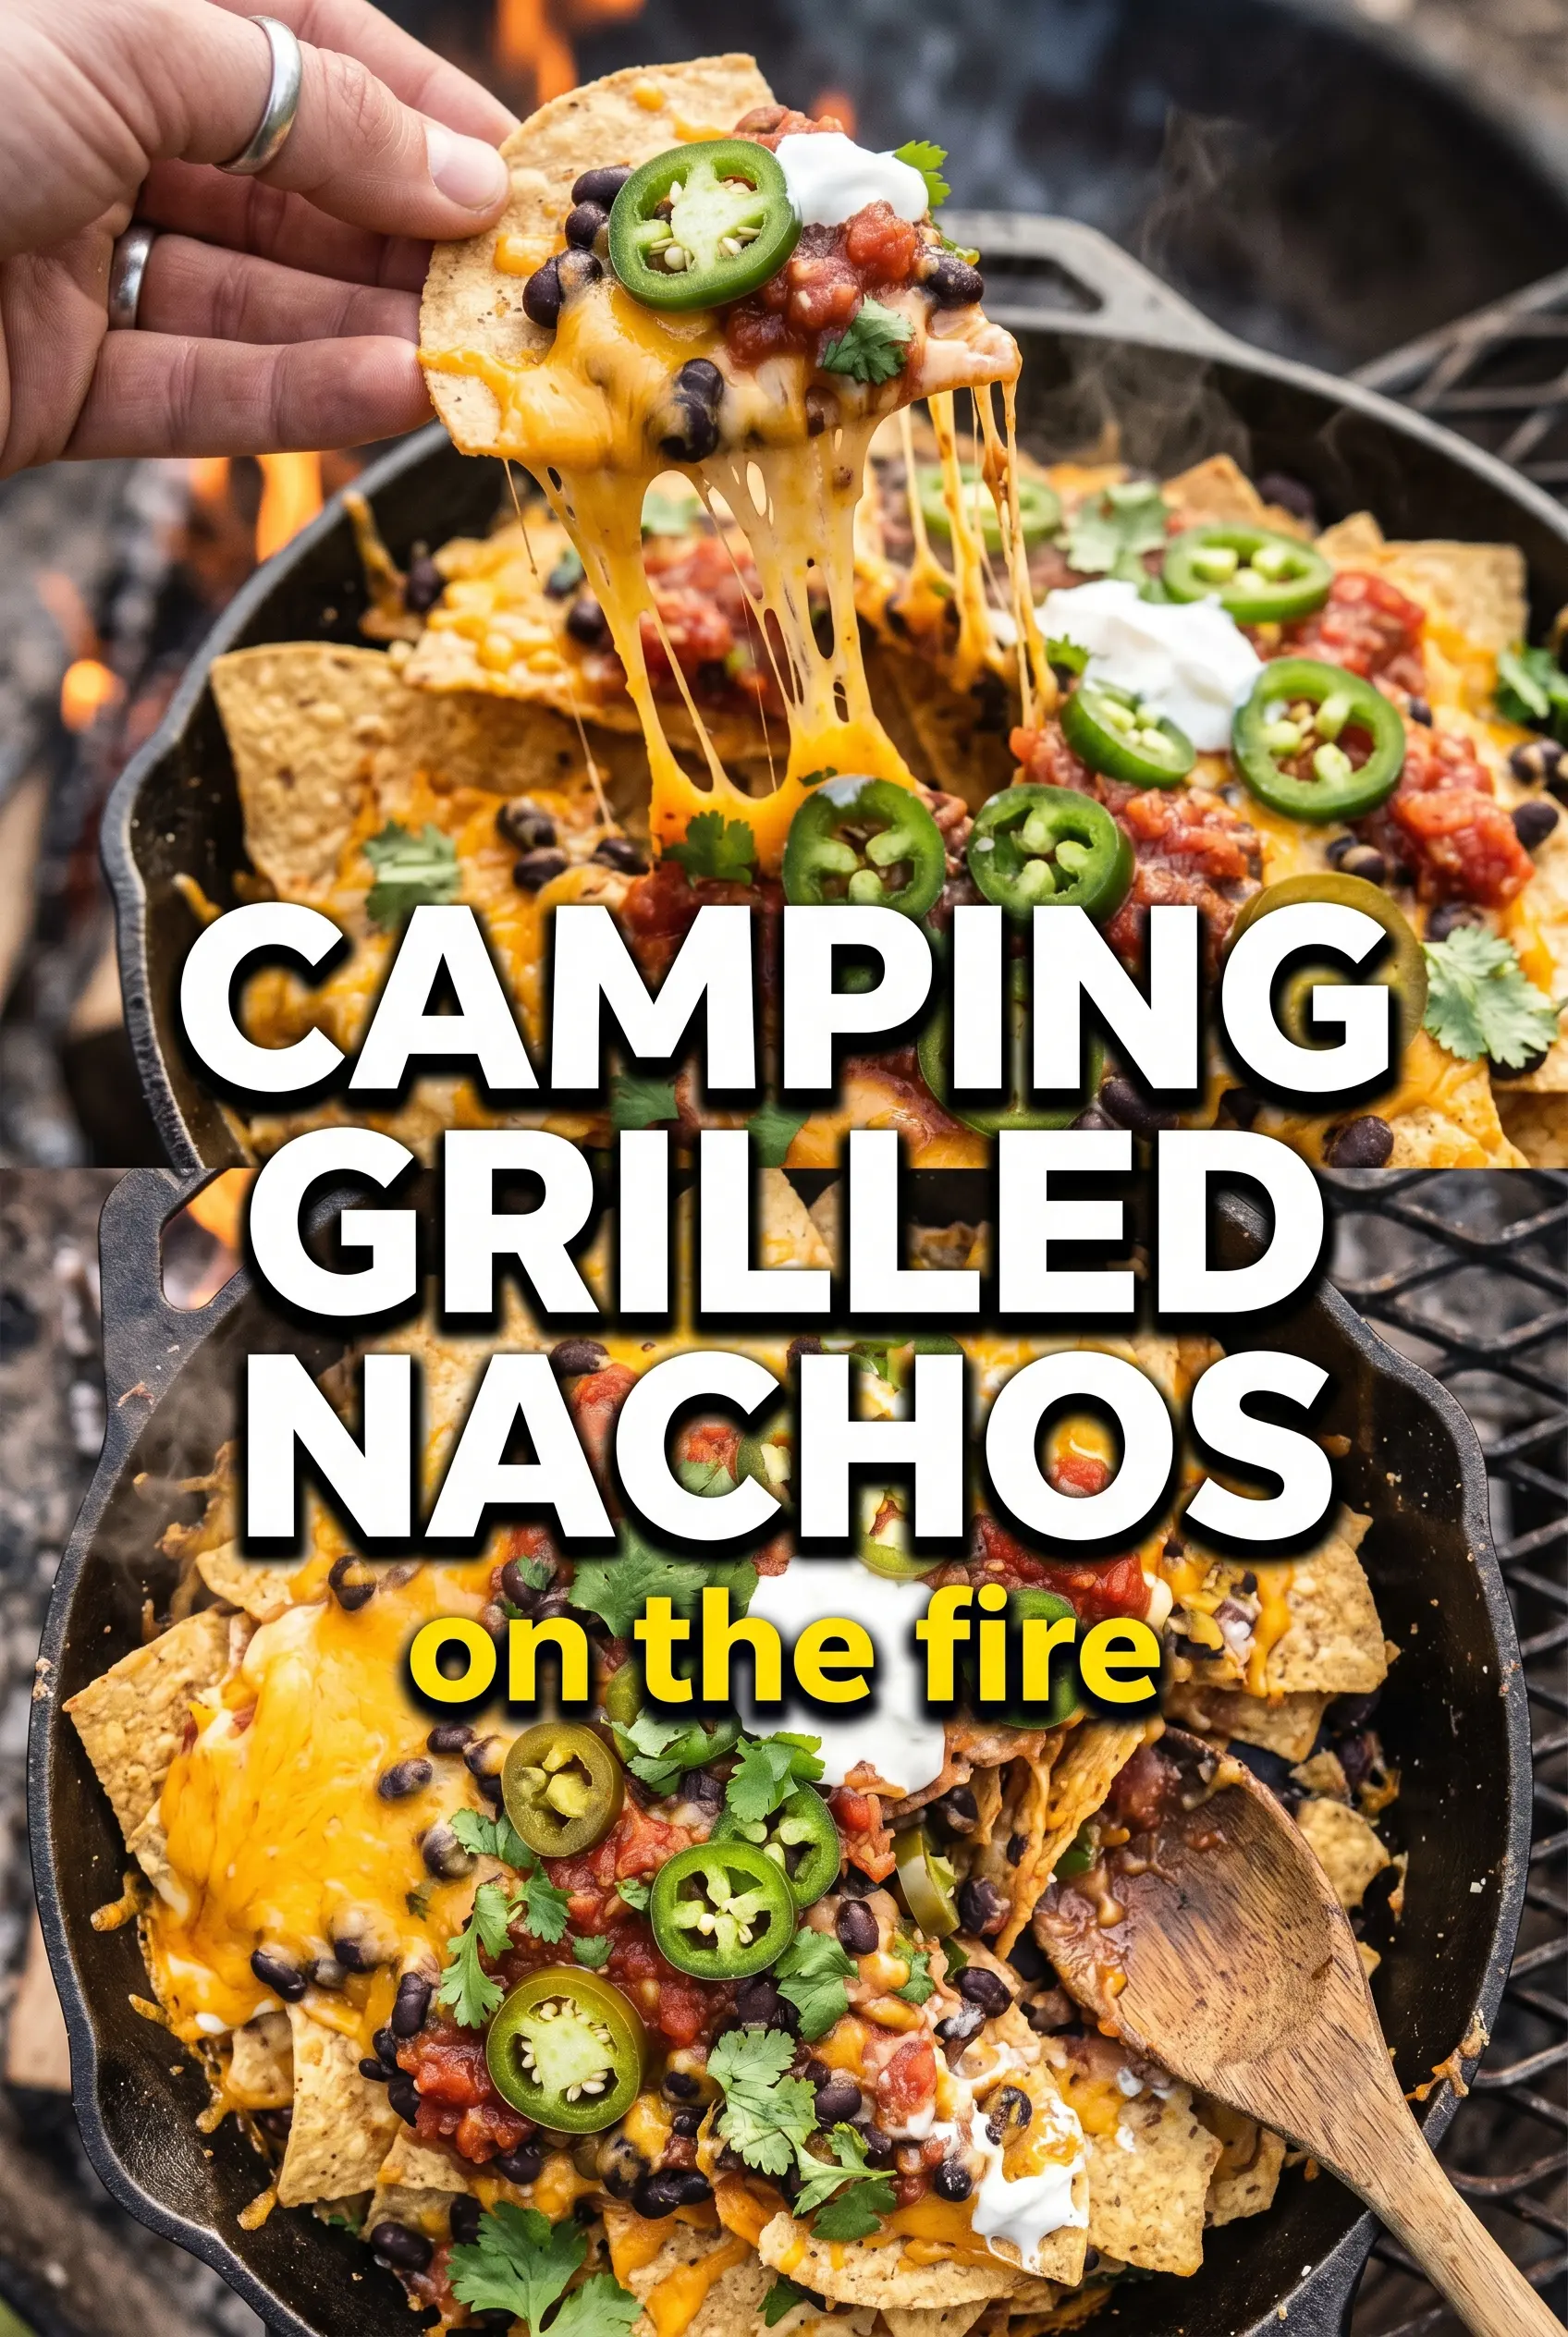
Camping grilled nachos hit the table fast, feed a crowd without fuss, and still feel like a treat after a long day outside. The chips underneath stay sturdy enough to hold the toppings, while the top layer turns molten and a little crisp at the edges. That mix of crunchy, cheesy, smoky, and fresh is what keeps people hovering around the pan with a fork in hand.
The trick is layering. A thin base of chips keeps the bottom from getting soggy, and the beef and beans get tucked between cheese layers so everything melts together instead of sliding off in one heavy pile. I also like using a disposable aluminum pan because it conducts heat well over a campfire grate and makes cleanup easy when you’re cooking outdoors.
Below, you’ll find the small details that make these nachos hold together over open heat, plus a few smart swaps if you want to lighten them up or make them work with what you packed.
The cheese melted right through the chips without turning the bottom to mush, and the lime at the end kept the whole pan from feeling heavy. My kids stood around the fire and ate half of it before I even sat down.
Save these campfire grilled nachos for the nights when you want a bubbling pan of cheese, smoky beef, and zero stovetop cleanup.
The Layering Trick That Keeps Campfire Nachos from Collapsing
Most campfire nachos fail for the same reason: everything gets piled into the pan at once, the chips at the bottom steam, and the toppings slide into a greasy heap. The fix is to build in layers and keep the cheese between the chips, beans, and beef. That gives the cheese something to hold on to as it melts, so the nachos stay scoopable instead of turning into a soft mound.
Medium campfire heat matters here. If the pan sits too close to the flames, the cheese burns before the center has a chance to melt. If the heat is too low, the chips warm through without ever getting that bubbling top that makes nachos worth stopping for. You want steady heat and a pan that’s hot enough to melt the cheese in about 8 to 10 minutes.
What Each Ingredient Is Actually Doing in the Pan
- Tortilla chips — Thick, sturdy chips hold up best over heat. Thin chips break down fast once the cheese starts melting, so this is not the place for delicate restaurant-style chips.
- Mexican cheese blend — A shredded blend melts smoothly and gives you both stretch and browning. Pre-shredded is fine here because the campfire heat is doing the heavy lifting, though freshly shredded cheese melts a little cleaner.
- Black beans — They add bulk and a little earthy bite without making the nachos heavy. Drain them well so extra liquid doesn’t pool in the pan and soften the chips.
- Cooked ground beef — This gives the nachos the smoky, savory backbone. It should already be browned and seasoned before it goes into the pan, since the campfire is just melting everything together, not cooking raw meat.
- Salsa, sour cream, jalapeño, cilantro, and lime — These finish the dish after the pan comes off the heat. If you add them too early, the salsa loosens the top and the sour cream turns runny; the cold toppings belong at the end for contrast and freshness.
Building the Pan Over the Fire Without Softening the Chips
Starting with the Base Layer
Line the disposable aluminum pan with half the chips first, then scatter over half the beans, beef, and cheese. The goal is even coverage, not perfect precision. A few bare spots are fine, but large piles of toppings in one place create soggy pockets and uneven melting.
Finishing the Layers
Repeat with the remaining chips, cheese, beans, and beef so the top has enough cheese to melt into a unified surface. Keep the chips mostly level instead of mounding them in the center, or the middle will heat too slowly while the edges overcook. The pan should look full, but not packed down.
Melting Over Medium Campfire Heat
Set the pan on the grill grate over medium heat and leave it alone for 8 to 10 minutes. You’re looking for the cheese to go fully glossy, then bubble around the edges and in a few spots across the top. If the bottom starts browning too fast, lift the pan a little higher from the flame or shift it to a cooler part of the grate.
Finishing with Cold Toppings
Pull the pan off the heat before adding salsa, sour cream, jalapeños, and cilantro. This keeps the fresh toppings bright and stops the sour cream from melting into the cheese. A squeeze of lime right at the end wakes up the whole pan and cuts through the richness.
Three Ways to Make These Work for Different Campsites
Make Them Vegetarian
Skip the ground beef and double the black beans, or swap in seasoned crumbled tofu or a meatless crumble if that’s what you packed. The texture stays sturdy and satisfying, but the flavor leans a little lighter, so the salsa and lime become even more important at the end.
Make Them Gluten-Free Without Changing the Method
These are naturally gluten-free as long as your chips, salsa, and seasoning blend are certified gluten-free. The method doesn’t change at all, which is the best kind of camp recipe: one pan, no special handling, and no extra mess.
Use Chicken Instead of Beef
Cooked shredded chicken works well if you want something a little leaner. It won’t bring the same rich, browned flavor as beef, so I’d season it a little more aggressively before it goes into the pan.
Storage and Reheating
- Refrigerator: Store leftovers in an airtight container for up to 2 days. The chips will soften, but the flavor still holds up.
- Freezer: I don’t recommend freezing assembled nachos. The chips lose their texture completely once thawed.
- Reheating: Reheat only the beef, beans, and cheese portion in a skillet or oven, then add fresh chips if you want crunch back. Microwaving the whole pan turns the chips soft fast.
Answers to the Questions Worth Asking
Camping Grilled Nachos
Ingredients
Equipment
Method
- Line a large disposable aluminum pan with half the tortilla chips to form an even base.
- Layer the first half with half the cheese, black beans, and cooked ground beef.
- Repeat the layers with the remaining tortilla chips, the rest of the cheese, the rest of the black beans, and the remaining ground beef.
- Place the aluminum pan on the grill grate over medium campfire heat.
- Cook for 8-10 minutes until the cheese is melted and bubbly, with visible bubbling across the top.
- Remove the pan from the heat once bubbling slows.
- Top immediately with salsa, sour cream, jalapeños, and cilantro for bright, fresh contrast.
- Serve right away with lime wedges on the side for squeezing over the nachos.


