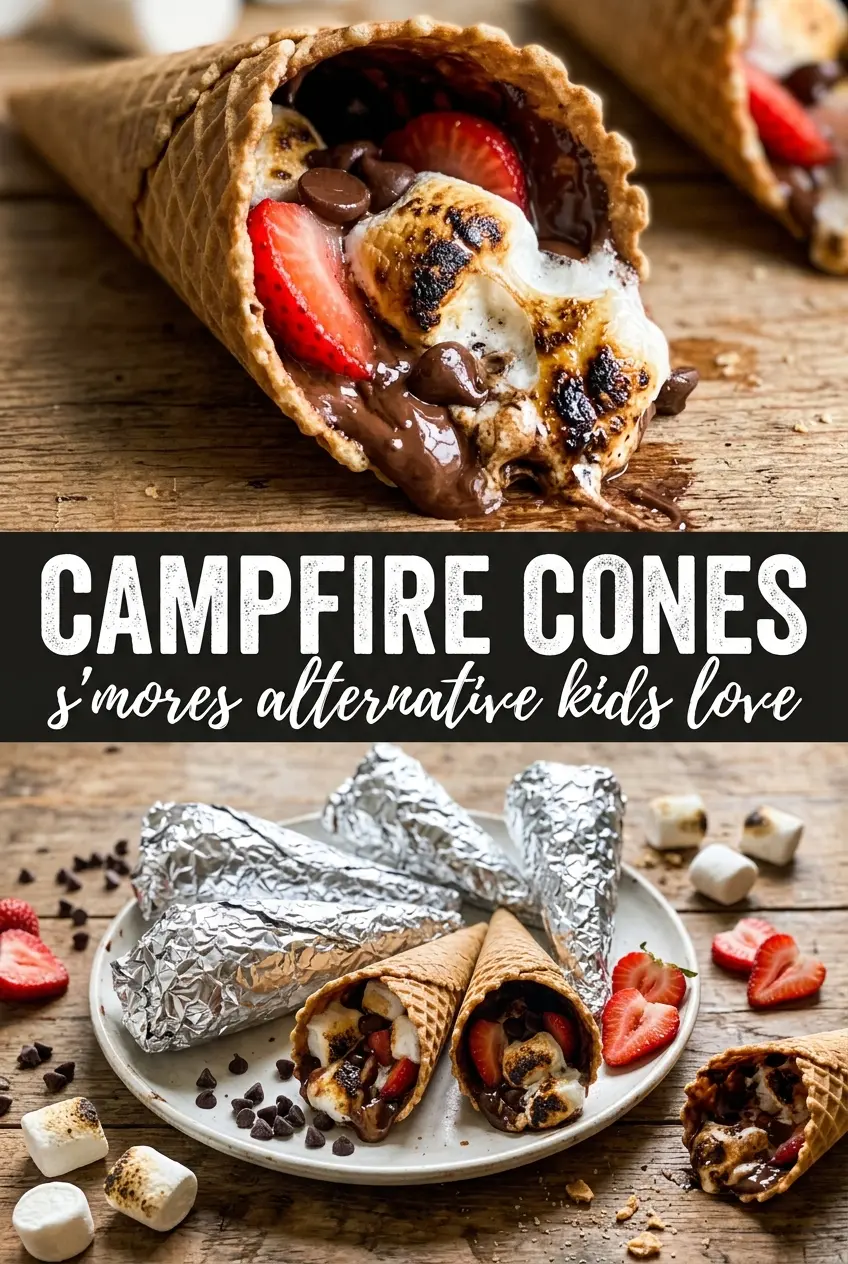
Campfire cones turn into a warm, gooey little dessert with crisp edges, melted chocolate, and just enough fruit to keep each bite from feeling one-note. The cone softens inside from the heat, the marshmallows puff and collapse into the chocolate, and the whole thing eats like a hand-held s’more with a little more texture and a lot less fuss.
What makes this version work is the layering. The marshmallows and chocolate need to sit where the heat can reach them first, while the banana and strawberries add juicy sweetness without making the cone soggy too fast. Wrapping each cone tightly in foil traps the steam, which melts everything evenly instead of scorching the outside before the center has a chance to warm through.
Below you’ll find the little timing details that matter most, plus a few ways to swap the fruit depending on what you’ve got on hand. The method stays simple, but the order of the filling and the way you heat them makes all the difference.
I wrapped these in foil and the chocolate melted into the marshmallows perfectly. The banana slices turned soft without disappearing, and the cones held up long enough for everyone to eat them with a spoon.
Love these gooey campfire cones? Save them for your next campfire night or backyard dessert when you want melted chocolate, fruit, and marshmallows in one foil-wrapped treat.
The Trick to Melting the Filling Without Burning the Cone
The biggest mistake with campfire cones is blasting them over high heat and expecting the middle to catch up before the waffle cone scorches. Foil helps, but it doesn’t replace a moderate fire. Set the wrapped cones over medium heat and rotate them a few times so the chocolate melts evenly and the cone softens just enough to eat without crumbling in your hands.
Another thing that matters here is how full you pack them. Overstuffing sounds like a good idea until the filling pushes out the top or leaks through the cone as it warms. A layered fill works better than mixing everything together because the marshmallows and chocolate create the melt, while the fruit and graham pieces add pockets of texture instead of turning muddy.
What Each Layer Is Doing in the Cone

- Waffle cones — These hold up better than sugar cones and give you a sturdier shell once the heat starts softening everything inside. Cheap cones are fine here; just look for ones that aren’t cracked before you fill them.
- Mini marshmallows — They melt fast and help bind the chocolate into that stretchy, spoonable center. Big marshmallows work in a pinch, but you’ll need to tear them into smaller pieces so they soften at the same rate.
- Chocolate chips — Chips stay in place better than chopped chocolate when you’re building the cones. Semi-sweet is the easiest middle ground, though milk chocolate gives a sweeter result and melts a little faster.
- Bananas and strawberries — These bring freshness and keep the dessert from tasting flat. Slice the banana thin and dice the strawberries small so they warm through without flooding the cone with juice.
- Graham cracker pieces — They add the crunchy, toasty part that makes the whole thing feel like a s’more. Break them just before assembling so they stay crisp instead of going stale in the open air.
- Aluminum foil — This is what keeps the cones from burning before the filling melts. Wrap each one tightly so steam stays inside; loose foil lets heat escape and gives you uneven results.
Building the Fill So It Melts Evenly in the Fire
Start with a Base That Can Handle the Heat
Set the waffle cone upright and begin with a small layer of marshmallows and chocolate chips. That gives you the melt right at the bottom, where the heat can reach it best, and it also helps catch any fruit juices before they soak into the cone. If you dump the fruit in first, the cone softens too quickly and starts to leak before the center has turned gooey.
Layer the Fruit in Small Pockets
Add the banana slices and diced strawberries in thin layers instead of big clumps. Thin layers warm through faster and keep the cone balanced, while thick piles of fruit can steam the inside too aggressively. The fruit should soften, not collapse into a wet filling. A few spoonfuls is enough; the marshmallows and chocolate are still the main event.
Wrap Tight and Rotate Often
Close the foil completely around each cone, pressing the seams shut so the packet traps heat. Place them on a campfire grate over medium heat and turn them every minute or so. You want the foil hot to the touch and the filling fully melted, not the cone blackened at the edges. Pull them off as soon as the chocolate is soft and the marshmallows have melted into the filling.
Let the Fill Set for a Minute Before Opening
Give the cones two minutes to cool after they come off the fire. That short rest keeps the filling from running out the second you peel back the foil, and it also saves your fingers from a stingingly hot center. Unwrap carefully, then eat with a spoon if the cone is too soft to hold cleanly.
How to Adjust Campfire Cones for Different Crowds and Diets
Dairy-Free Campfire Cones
Use dairy-free chocolate chips and check that your waffle cones don’t contain milk ingredients. The texture stays nearly the same, but dairy-free chips can melt a little softer, so keep the foil packets moving and don’t overheat them.
Make Them More Like Classic S’mores
Swap the strawberries for a few extra graham cracker pieces and keep the banana if you want a richer, more dessert-like filling. This version tastes less fruity and leans harder into the toasted marshmallow and chocolate combination people expect from a campfire treat.
Feed a Bigger Group
Assemble the cones ahead of time and keep them wrapped until the fire is ready. This works well for a crowd because the filling goes into the cones fast, and the only thing that matters at the end is keeping the heat even while they melt.
Storage and Reheating
- Refrigerator: Unassembled ingredients keep well separately for 1 to 2 days. Filled cones don’t store well because the cone softens and the fruit releases moisture.
- Freezer: I don’t recommend freezing assembled campfire cones. The texture turns watery after thawing and the waffle cone loses its crispness.
- Reheating: These are best made fresh over the fire. If you need to warm an assembled cone a little longer, keep it wrapped in foil over low indirect heat, since direct high heat will burn the cone before the center melts.
Answers to the Questions Worth Asking
Campfire Cones
Ingredients
Equipment
Method
- Fill each waffle cone with layers of mini marshmallows, chocolate chips, banana slices, strawberries, and graham cracker pieces.
- Wrap each filled cone completely in aluminum foil so the filling stays contained while heating.
- Place the wrapped cones on a campfire grate over medium heat for 4-5 minutes, rotating occasionally until the chocolate looks glossy and the marshmallows have melted.
- Remove the cones from the fire and let them cool for 2 minutes so the foil-handling is easier and the filling thickens slightly.
- Carefully unwrap the foil and enjoy immediately with a spoon.


