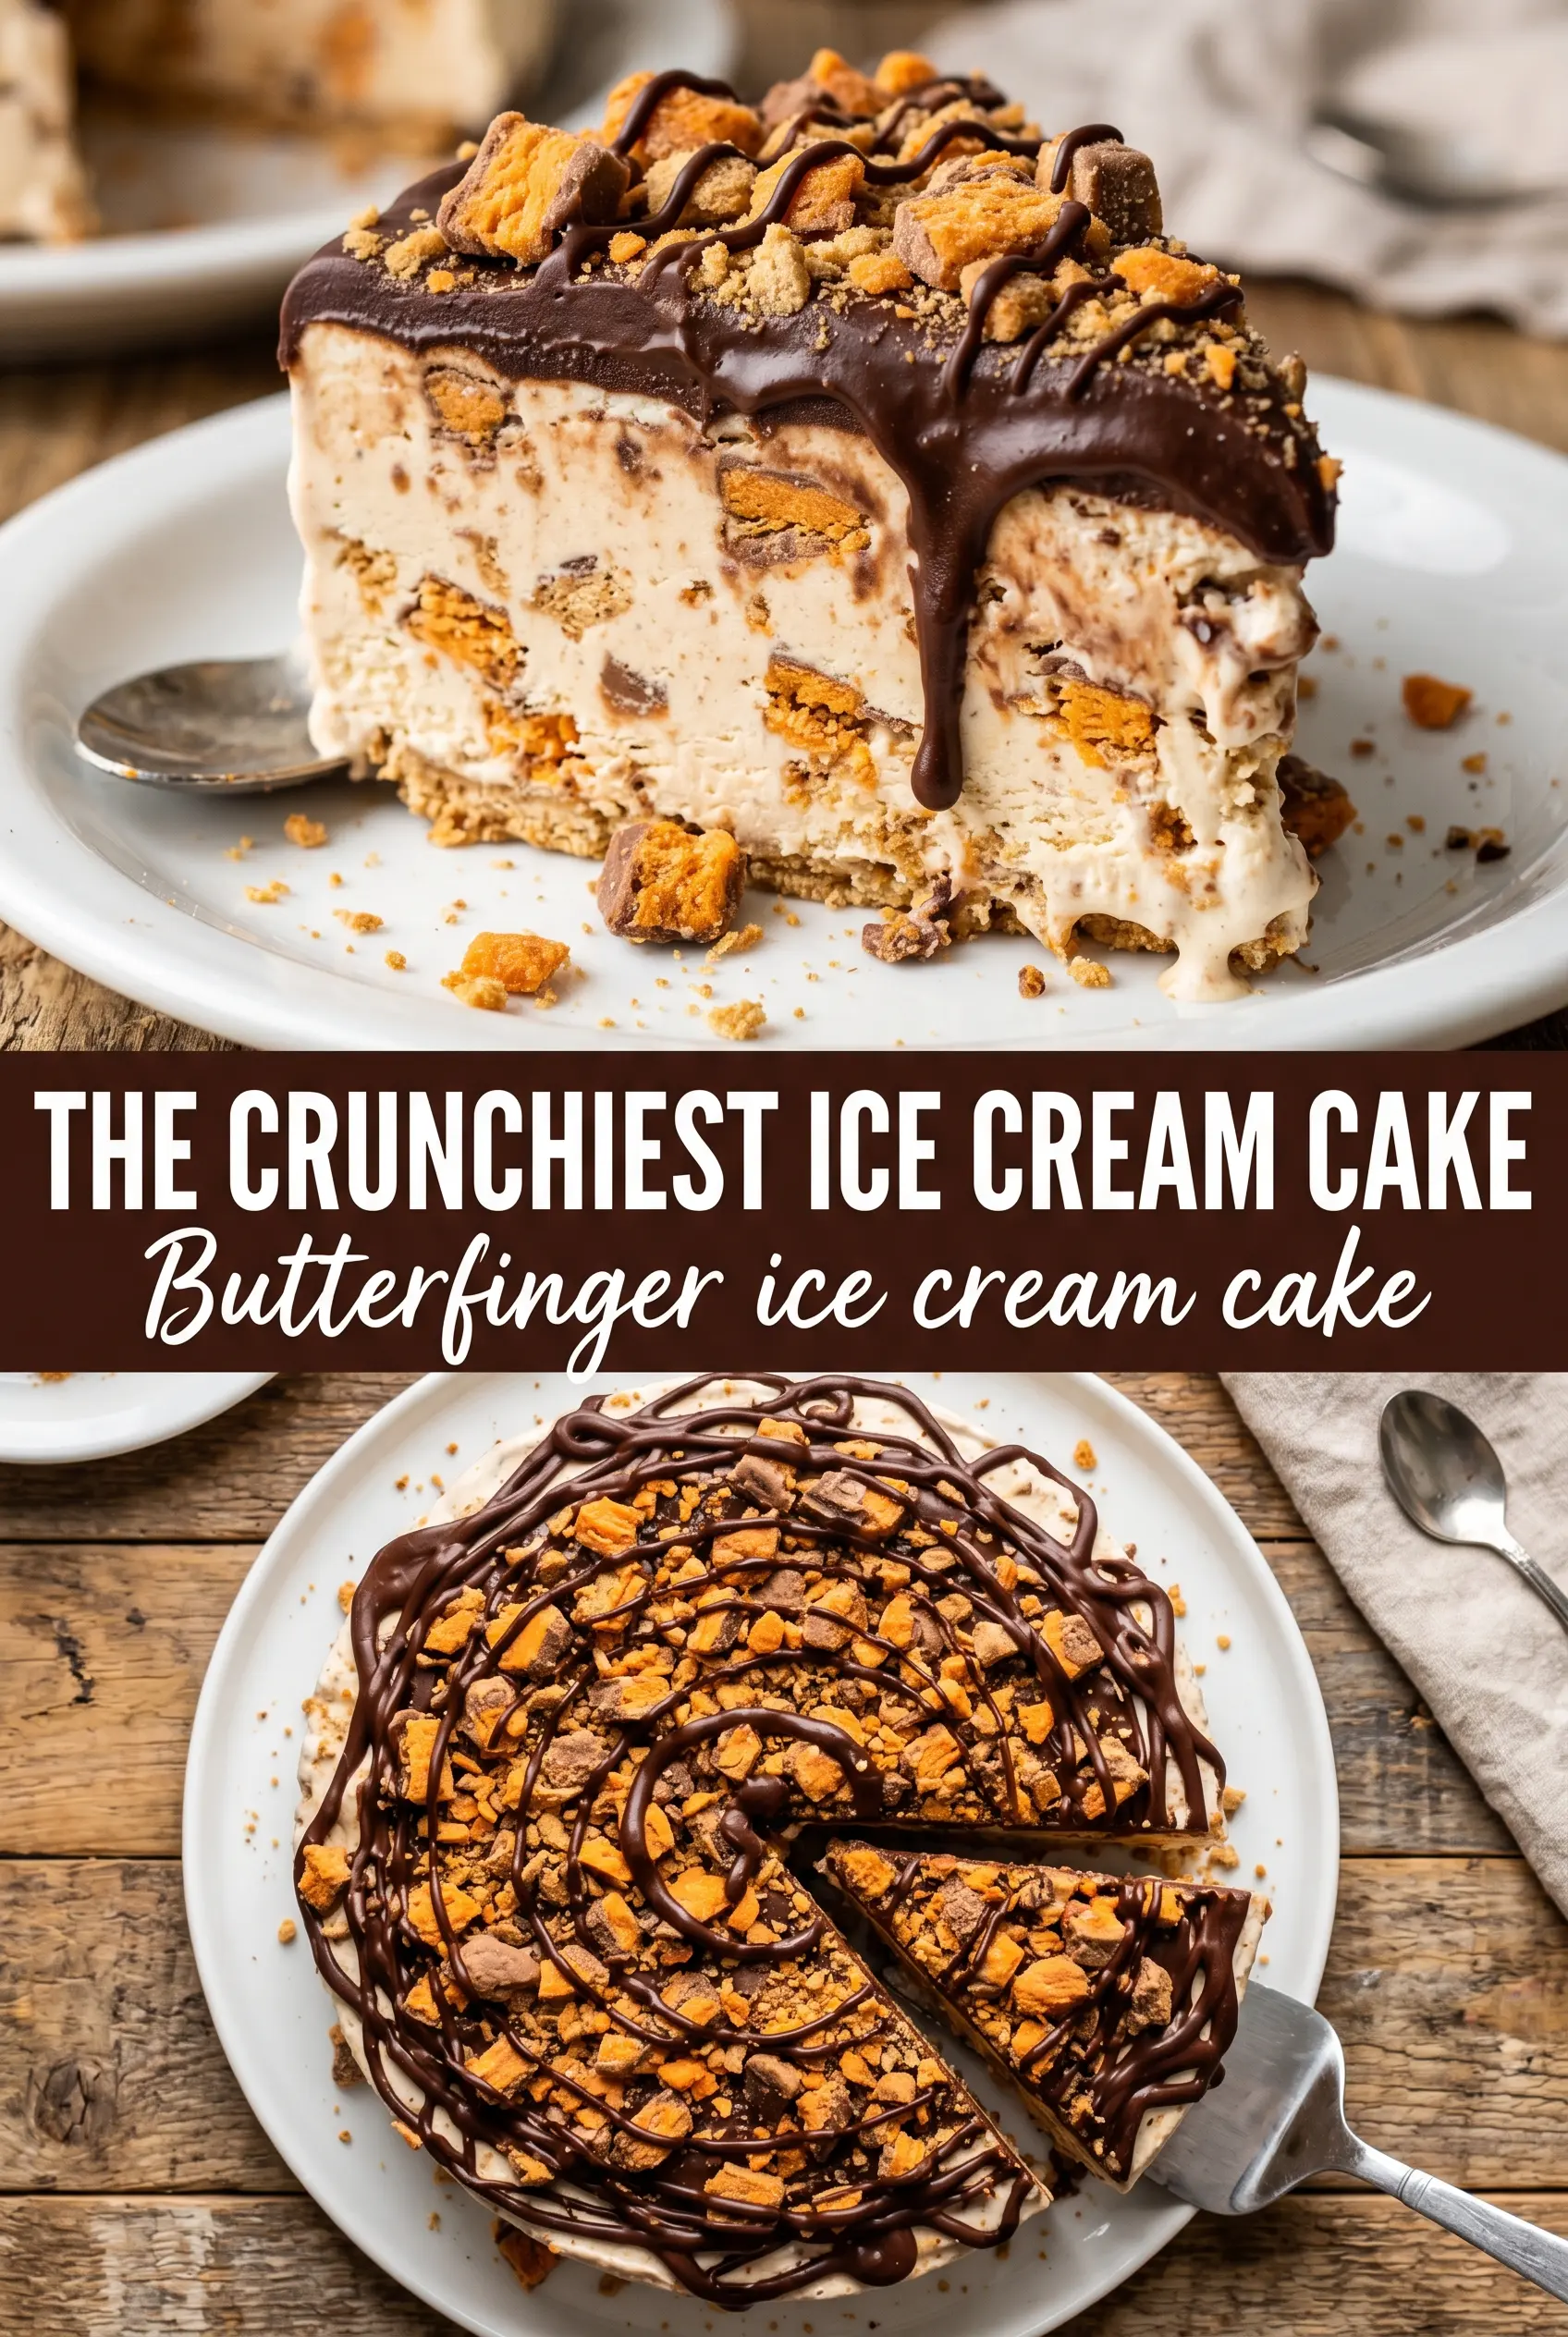
Butterfinger ice cream cake is the kind of dessert that disappears in neat, cold slices and then gets people hovering near the freezer for “just one more sliver.” The chocolate cookie crust stays firm enough to support the layers, while the vanilla ice cream turns into a creamy base for crunchy candy bits, peanut butter ribbons, and a glossy cap of chocolate ganache. Every bite hits that mix of cold, crisp, and rich that makes frozen cakes feel a little more special than a plain scoop.
What makes this version work is balance. The ice cream gets softened just enough to fold in the crushed Butterfingers without turning soupy, and the peanut butter is warmed so it drizzles instead of tearing through the ice cream. A short freeze on the crust keeps the base from crumbling when you spread the filling, and the final freeze gives the ganache time to set cleanly before you slice.
Below you’ll find the one timing trick that keeps the layers distinct, plus a few smart swaps if you need to work around what you have on hand. The details matter here, but none of them are fussy.
The ice cream layer stayed smooth instead of icy, and the peanut butter swirls gave every slice that candy-bar flavor without making it greasy. I froze it overnight and the pieces came out clean and pretty.
Love the creamy Butterfinger crunch and peanut butter ribbons? Save this Butterfinger ice cream cake for the next time you need a no-bake dessert that slices beautifully.
Why the Layers Hold Instead of Melting Into Each Other
The biggest mistake with an ice cream cake is rushing the assembly. If the ice cream gets too soft, the Butterfinger pieces sink, the peanut butter streaks disappear, and the cake freezes into one dense block instead of distinct layers. The goal is softened, not melted. You want the ice cream spreadable with a spatula, but still cold enough to hold the candy mix-ins in place.
The second place people lose the texture is the crust. A chilled cookie-and-butter base sets fast and gives you a sturdy bottom that slices cleanly. Skip that short freeze and the filling can slide, especially once you add the warm peanut butter. That little pause in the freezer is what keeps the whole cake neat.
What Each Ingredient Is Actually Doing in This Cake

- Chocolate wafer cookies or Oreos — These form a firm, chocolatey crust that stands up to freezing. Oreos give you a slightly sweeter, sturdier base, while plain chocolate wafers keep the crust a little less rich. Crush them finely so the crust packs tight and doesn’t shed crumbs when sliced.
- Butter — Melted butter is what turns the cookie crumbs into a sliceable crust. If you use less, the base turns sandy and falls apart. If you only have salted butter, use it; the salt helps the candy flavor pop.
- Vanilla ice cream — This is the blank canvas that carries everything else. Choose a good, full-fat vanilla if you can, because lower-fat ice cream tends to freeze harder and taste icier after the long chill. Soften it just enough to fold cleanly; if it’s liquid at the edges, stop and let it firm up for a few minutes.
- Butterfinger bars — These bring the signature crunch and butterscotch-peanut flavor. Crush three bars into the ice cream and save the rest for the top so you get texture in the filling and a clear candy finish on each slice.
- Peanut butter — Warm peanut butter drizzles and swirls without tearing through the ice cream. Natural peanut butter works, but it’s looser and can separate a bit more after freezing, so stir it well before warming. Creamy peanut butter gives the cleanest ribbons.
- Chocolate ganache — The ganache sets into a glossy top layer that balances the sweetness underneath. It should be pourable but not hot; if it’s too warm, it melts the top layer and blurs the finish.
- Whipped topping — This is the decoration that gives the cake that classic ice cream shop look. Pipe or dollop it after the ganache has started to set, or it can slide into the chocolate.
How to Build the Cake So the Slices Come Out Clean
Pressing the Crust Until It Feels Compact
Mix the cookie crumbs and melted butter until every crumb looks coated, then press the mixture firmly into a 9-inch springform pan. Use the bottom of a measuring cup to pack it evenly, especially around the edge where loose crumbs love to break away later. Freeze it for 15 minutes so the butter firms up before the ice cream goes on. If the crust feels soft or greasy, it needs a few more minutes in the freezer.
Folding the Butterfinger Into Soft Ice Cream
Let the vanilla ice cream soften on the counter just until it yields to a spoon, then fold in three crushed Butterfinger bars. Stir gently with a spatula so you keep some larger crunchy pieces instead of turning everything into dust. Spread the mixture over the chilled crust and smooth the top. If the ice cream starts to slump or puddle, it was left out too long and won’t freeze back with the same light texture.
Swirling in the Peanut Butter Without Scraping the Base
Warm the peanut butter until it’s fluid and drizzles in a ribbon, then pour it over the ice cream layer. Use the tip of a knife or the back of a spoon to make a few gentle swirls. Don’t overwork it, or the peanut butter disappears into the filling instead of sitting in distinct ribbons. Freeze the cake for 4 hours until the center is firm to the touch.
Finishing With Ganache and the Last Freeze
Pour the chocolate ganache over the top once the filling is fully set, then spread it quickly in an even layer. Add the remaining crushed Butterfingers and whipped topping before the ganache hardens completely so they stick in place. Give the finished cake 2 more hours in the freezer before slicing. If you cut too soon, the layers drag and the top cracks instead of releasing cleanly.
How to Adjust It for Different Freezers, Diets, and Candy Preferences
Dairy-Free Version
Use a rich dairy-free vanilla ice cream and a dairy-free chocolate ganache. The cake still freezes and slices well, but the texture will be a touch softer once it sits out, so keep it chilled until the last minute. Check the candy bars and whipped topping for dairy ingredients if you need the whole dessert fully dairy-free.
Gluten-Free Crust
Swap in gluten-free sandwich cookies or certified gluten-free chocolate wafers for the crust. The structure stays the same, but gluten-free cookies can be a little drier, so measure the butter carefully and press the crust firmly. That extra compression helps it hold together after freezing.
Extra Peanut Butter, Less Candy Crunch
If you want a stronger peanut butter presence, add a little more warm peanut butter in thinner ribbons over the ice cream. Just don’t overload it, or the filling freezes with hard pockets that overpower the creaminess. Keep some of the Butterfinger on top for contrast, because the cake needs that crisp candy bite to stay interesting.
Storage and Reheating
- Refrigerator: Don’t store this in the fridge. The cake softens fast and loses its clean slice.
- Freezer: Freeze tightly covered for up to 2 weeks for the best texture. After that, the crust can pick up freezer flavor and the candy loses some crunch.
- Reheating: Not applicable. For serving, let the cake sit at room temperature for 8 to 12 minutes so the knife slides through the crust without cracking the top.
Answers to the Questions Worth Asking
Butterfinger Ice Cream Cake
Ingredients
Equipment
Method
- Combine the crushed chocolate wafer cookies and melted butter, then press the mixture firmly into a 9-inch springform pan for an even base. Freeze for 15 minutes to set.
- Fold 3 crushed Butterfinger bars into the softened vanilla ice cream until evenly streaked and lightly orange-speckled. Spread the mixture over the frozen crust in a smooth, thick layer.
- Warm the peanut butter, then drizzle it over the ice cream. Swirl gently with a spoon so ribbon-like streaks form without fully mixing.
- Freeze for 4 hours, until the cake is firm enough to hold its shape for topping.
- Pour the chocolate ganache over the top, spreading to the edges so the layer stays glossy. Sprinkle the remaining crushed Butterfinger bars on top, then add whipped topping for decoration.
- Freeze for 2 more hours before slicing and serving so the crumb stays crisp and the interior remains dense.


