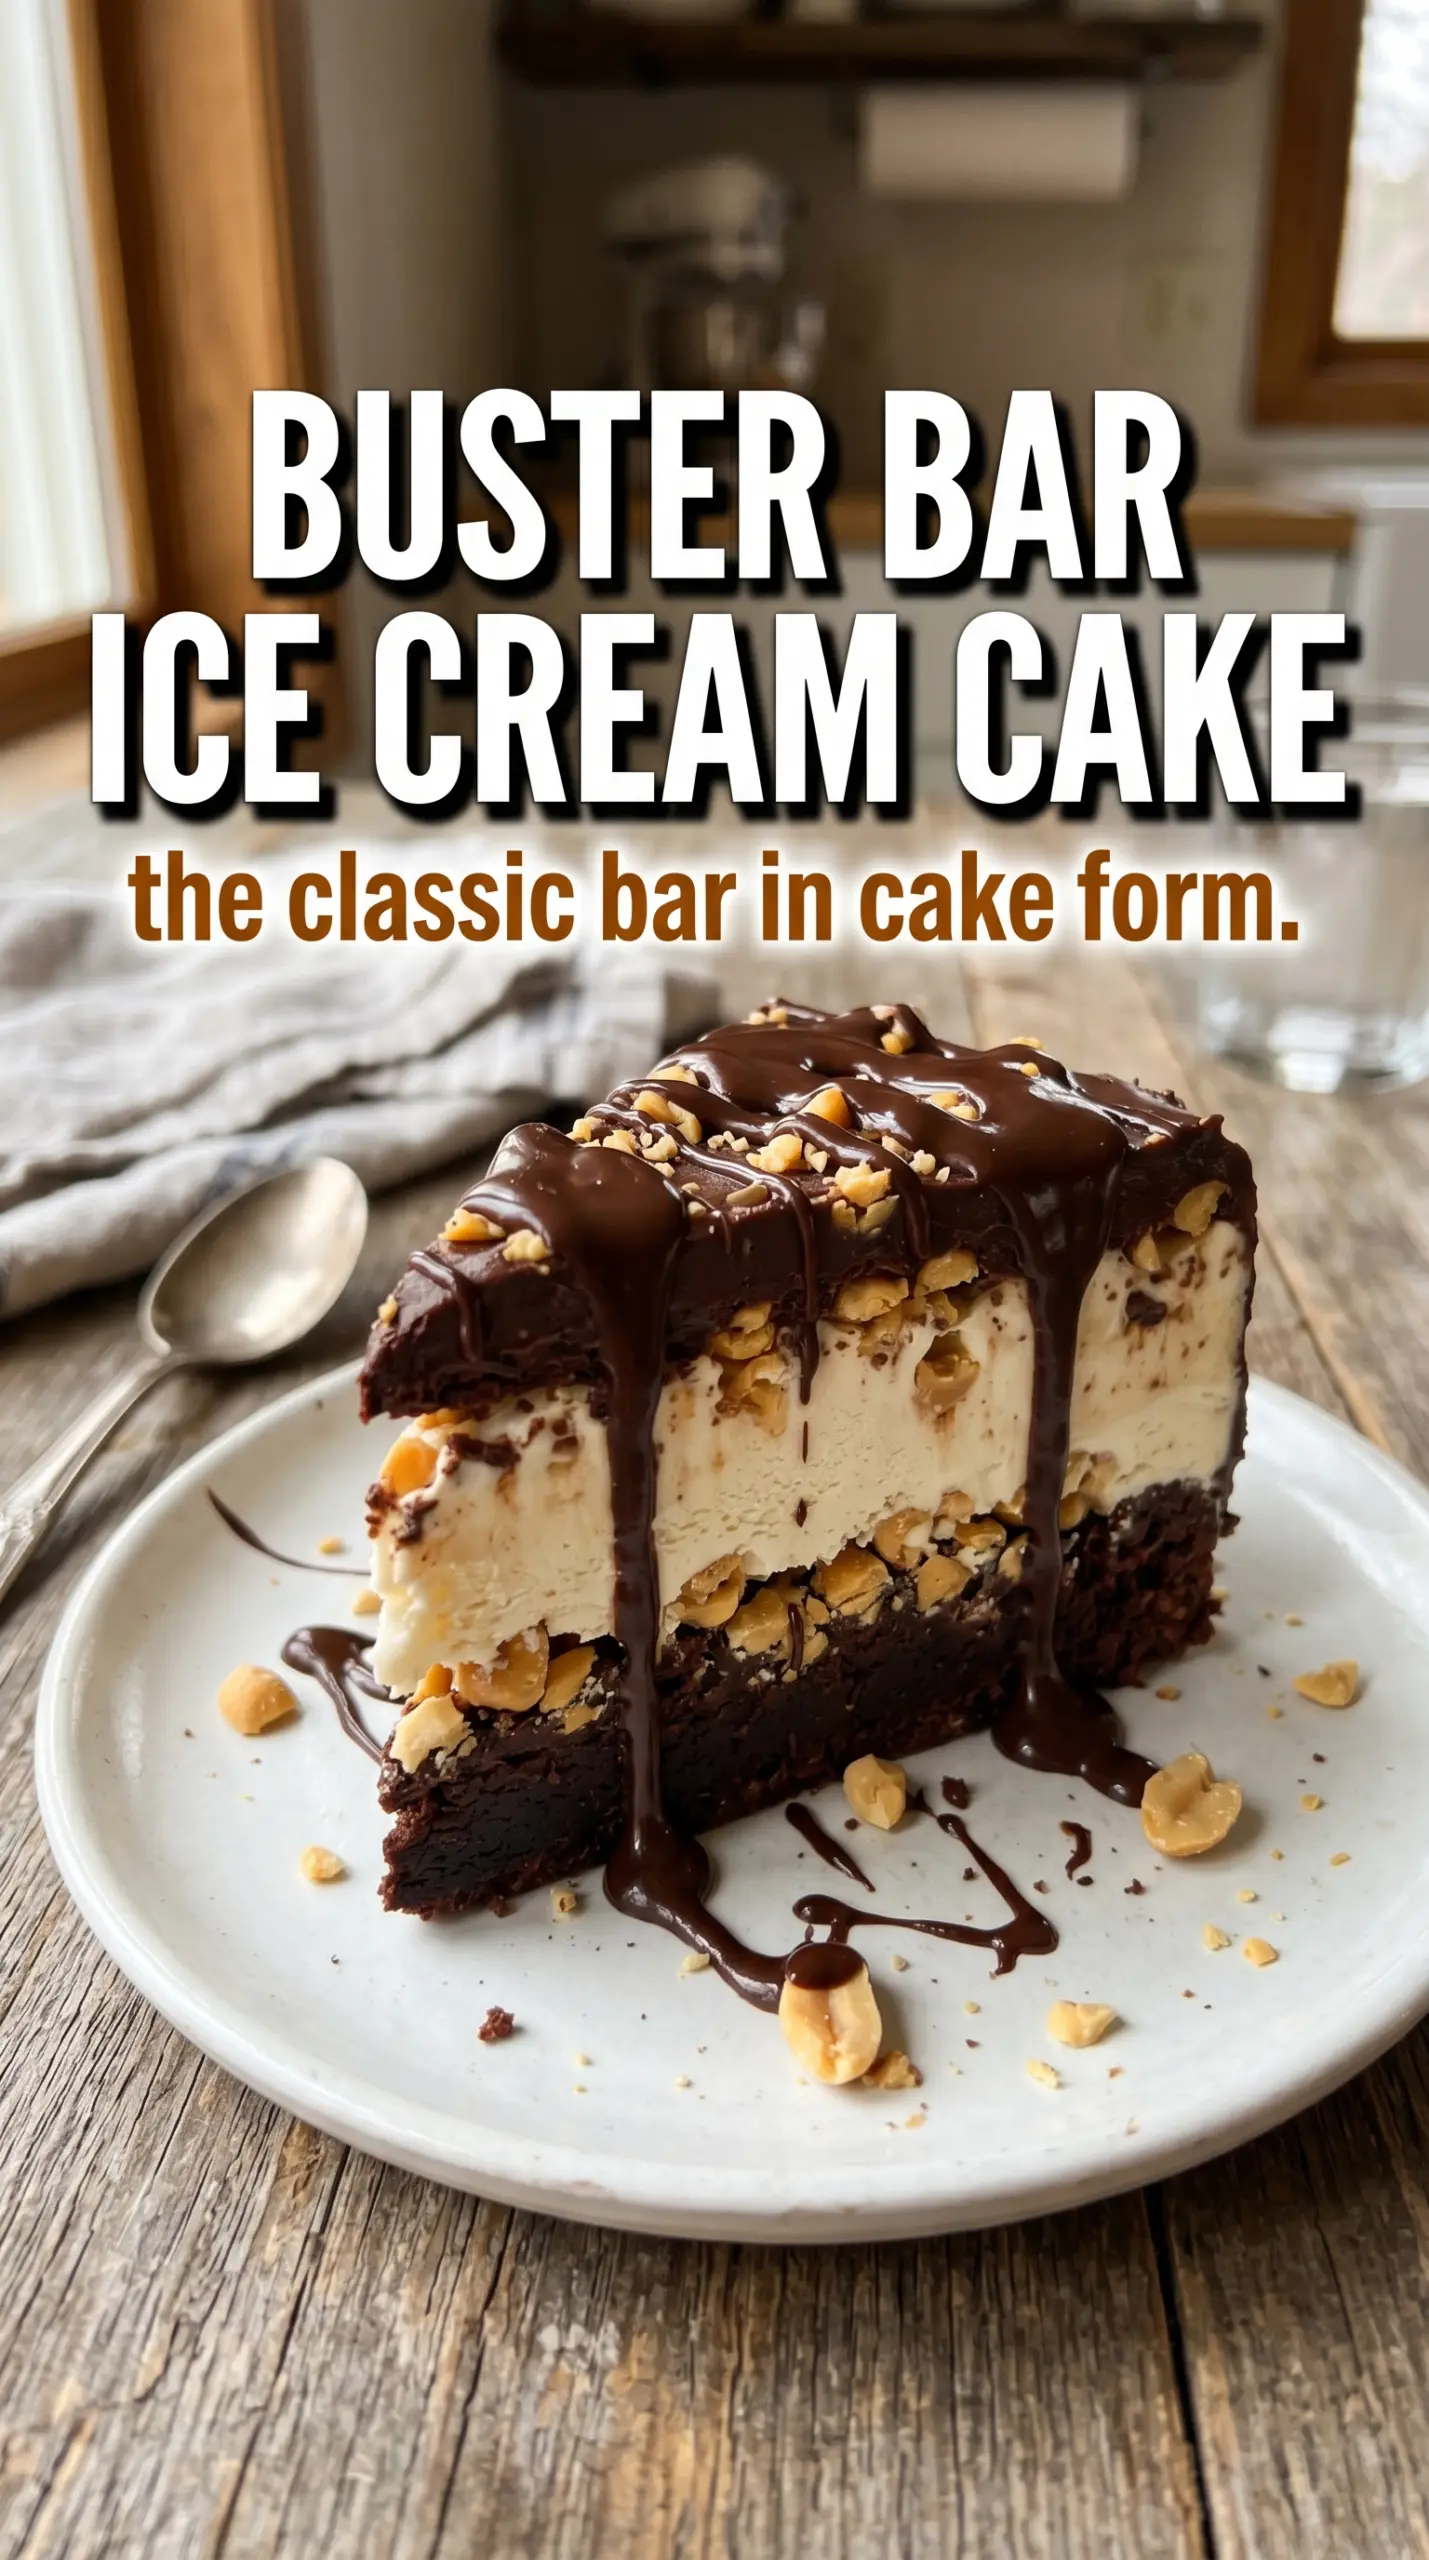
Vanilla ice cream, hot fudge, and salted peanuts land in the same slice here, and the whole thing eats like a frozen version of a candy bar with an Oreo base that stays firm enough to cut cleanly. The best part is the contrast: cold, creamy ice cream under a thick fudge-peanut layer that snaps just a little when your knife goes through it. It’s the kind of dessert that disappears fast at a party because every bite hits creamy, crunchy, salty, and chocolatey all at once.
This version works because each layer gets time to freeze before the next one goes on. That’s what keeps the ice cream from turning slushy and the fudge from sinking into the crust. Warming the fudge just enough to pour, then stirring in some of the peanuts while it’s still fluid, gives you that true Buster Bar texture instead of a hard shell that cracks off in one piece.
Below, I’ve laid out the small details that matter most: how soft the ice cream should be, why the peanuts go into the fudge instead of just on top, and what to do if you want to make it ahead for a crowd.
The fudge layer set up perfectly and the peanuts stayed crunchy instead of getting soggy. I made it the night before a birthday party and it sliced into clean squares after a few minutes on the counter.
Like this Buster Bar Ice Cream Cake? Save it to Pinterest for the nights when you want that Oreo, fudge, and peanut crunch in a make-ahead frozen dessert.
The Freezer Timing That Keeps the Layers Clean
With an ice cream cake like this, the mistake is usually rushing the layers. If the crust isn’t chilled first, the softened ice cream starts slipping around and smears the Oreo base instead of sitting on top of it. If the fudge goes on before the ice cream is firm, it sinks and disappears into the middle.
The freeze intervals here aren’t filler. They’re what give you those sharp, distinct layers when you slice the cake. The crust needs just enough time to set, the ice cream needs long enough to firm up before the fudge goes on, and the final freeze gives the top a clean finish instead of a sticky mess on the knife.
- Oreo cookies — You want the whole cookie, cream filling and all. That filling helps bind the crust, so you don’t need extra sugar. A food processor gives you the most even crumb, but a zip-top bag and rolling pin work fine if you crush them until they look like damp sand.
- Unsalted butter — This is what turns the crumbs into a crust that slices instead of crumbling apart. Melted butter from the fridge is fine; just pour it evenly and mix until every crumb looks coated before pressing it into the pan.
- Vanilla ice cream — Quality matters here because it’s the biggest flavor in the cake. Use a plain, full-fat vanilla if you can. Let it soften until it’s spreadable but not soupy; if it’s too soft, you’ll end up with melted edges and a cake that freezes unevenly.
- Hot fudge sauce — This needs to be pourable, not boiling. Warm it just until it loosens, because overheated fudge can seize when it hits the cold ice cream. A jarred sauce works well, but it should taste rich on its own since there’s no baking to mellow it out.
- Salted peanuts — These are the Buster Bar signature. Roughly chopping them keeps the texture varied and makes the fudge layer easier to slice. If all you have are unsalted peanuts, add a pinch of salt to the fudge so the topping doesn’t taste flat.
- Whipped topping — It gives the top that classic cloudlike finish and freezes more neatly than freshly whipped cream. Homemade whipped cream can work, but it softens faster and won’t hold the same shape after a day or two in the freezer.
What Each Ingredient Is Actually Doing in This Ice Cream Cake
- Crust or base layer (cookies, brownies, or cake) — This provides structure and texture contrast. A sturdy base keeps the whole cake from crumbling when served.
- Ice cream (the main event) — Choose quality ice cream or frozen yogurt. Soft-serve or premium ice cream works better than hard-packed store brands.
- Cake layer (optional but recommended) — A thin cake layer adds substance and keeps the cake from being all frozen texture. Make it thin so it doesn’t overpower the ice cream.
- Sauce or syrup layer (fudge, caramel, or fruit) — This adds flavor depth and prevents the cake from tasting one-dimensional. Freeze between layers so sauces stay distinct.
- Toppings (chocolate chips, cookies, candy, or nuts) — These add texture and visual appeal. Mix-ins stay crispy longer if frozen separately first.
- Frosting or whipped cream (optional topping) — This adds richness to the outside. Keep it simple or it overwhelms the cake.
- Freezing time (the patience that pays off) — Each layer needs time to set so they stay distinct when sliced. Rushing this step means layers muddy together.
- Storage and serving technique (thaw 5 minutes before slicing) — A brief thaw makes slicing clean and easy. Serve slices immediately for best texture.
Building the Ice Cream Cake in the Right Order
Press the Crust First
Mix the crushed Oreos and melted butter until every crumb is darkened and slightly glossy, then press the mixture firmly into the bottom of a 9×13-inch pan or 10-inch springform pan. Use the bottom of a measuring cup to pack it down; a loose crust falls apart when you slice the cake. Freeze it for 15 minutes so the butter sets and the base stops shifting.
Spread the Ice Cream While It’s Soft, Not Runny
Scoop the softened vanilla ice cream over the chilled crust and work it into an even layer with an offset spatula or the back of a spoon. The ice cream should be soft enough to spread without tearing the crust, but still thick and cold enough to hold shape. If it’s melted around the edges, stop and let it sit in the freezer a few minutes before smoothing it out.
Make the Fudge-Peanut Layer
Warm the hot fudge sauce until it pours easily, then stir in 1 cup of the chopped salted peanuts. Pour that mixture over the frozen ice cream and spread it gently to the edges. The ice cream has to be firm here, or the fudge will drag through the center instead of sitting in a neat layer. Freeze the cake again for 2 hours until the topping feels set when you touch it lightly.
Finish with the Topping and Final Freeze
Spread the whipped topping over the firm fudge layer, then scatter the remaining peanuts across the top. Don’t press the peanuts down hard; you want them sitting on the surface for texture and a clean look. Freeze the finished cake for at least 1 hour before serving, and give it 5 to 10 minutes on the counter before slicing so the knife goes through without cracking the top.
Three Ways to Make This Buster Bar Cake Fit Your Freezer
Gluten-Free Version
Swap in gluten-free chocolate sandwich cookies for the Oreo crust. The texture stays close, but some gluten-free cookies crumble a little more, so press the crust firmly and freeze it well before adding the ice cream. Check the fudge and whipped topping labels too, since some brands include gluten-containing additives.
Dairy-Free Ice Cream Cake
Use dairy-free vanilla ice cream, a vegan butter substitute for the crust, and a dairy-free hot fudge sauce. The cake still works, but plant-based ice cream often softens faster, so keep the freezer time on the longer side and slice it after a short rest at room temperature. Whipped coconut topping also holds nicely on the final layer.
Make It More Like the Original DQ Bar
If you want a stronger fast-food-style finish, add a thin layer of chocolate syrup under the whipped topping or reserve a few extra peanuts for the very top. That gives you a more candy-bar-like bite and a little more crunch on the first forkful. Keep the layer thin so the cake still slices cleanly.
Storage and Reheating
- Refrigerator: Not recommended. This is meant to stay frozen, and the ice cream layer turns soft and slumps quickly in the fridge.
- Freezer: Keep covered for up to 1 week for the best texture. After that, the crust stays fine, but the peanuts can lose some crunch and pick up freezer flavor.
- Reheating: No reheating needed. For clean slices, let the cake sit at room temperature for 5 to 10 minutes before cutting, and wipe the knife between cuts so the fudge layer doesn’t drag.
Questions I Get Asked About This Buster Bar Ice Cream Cake
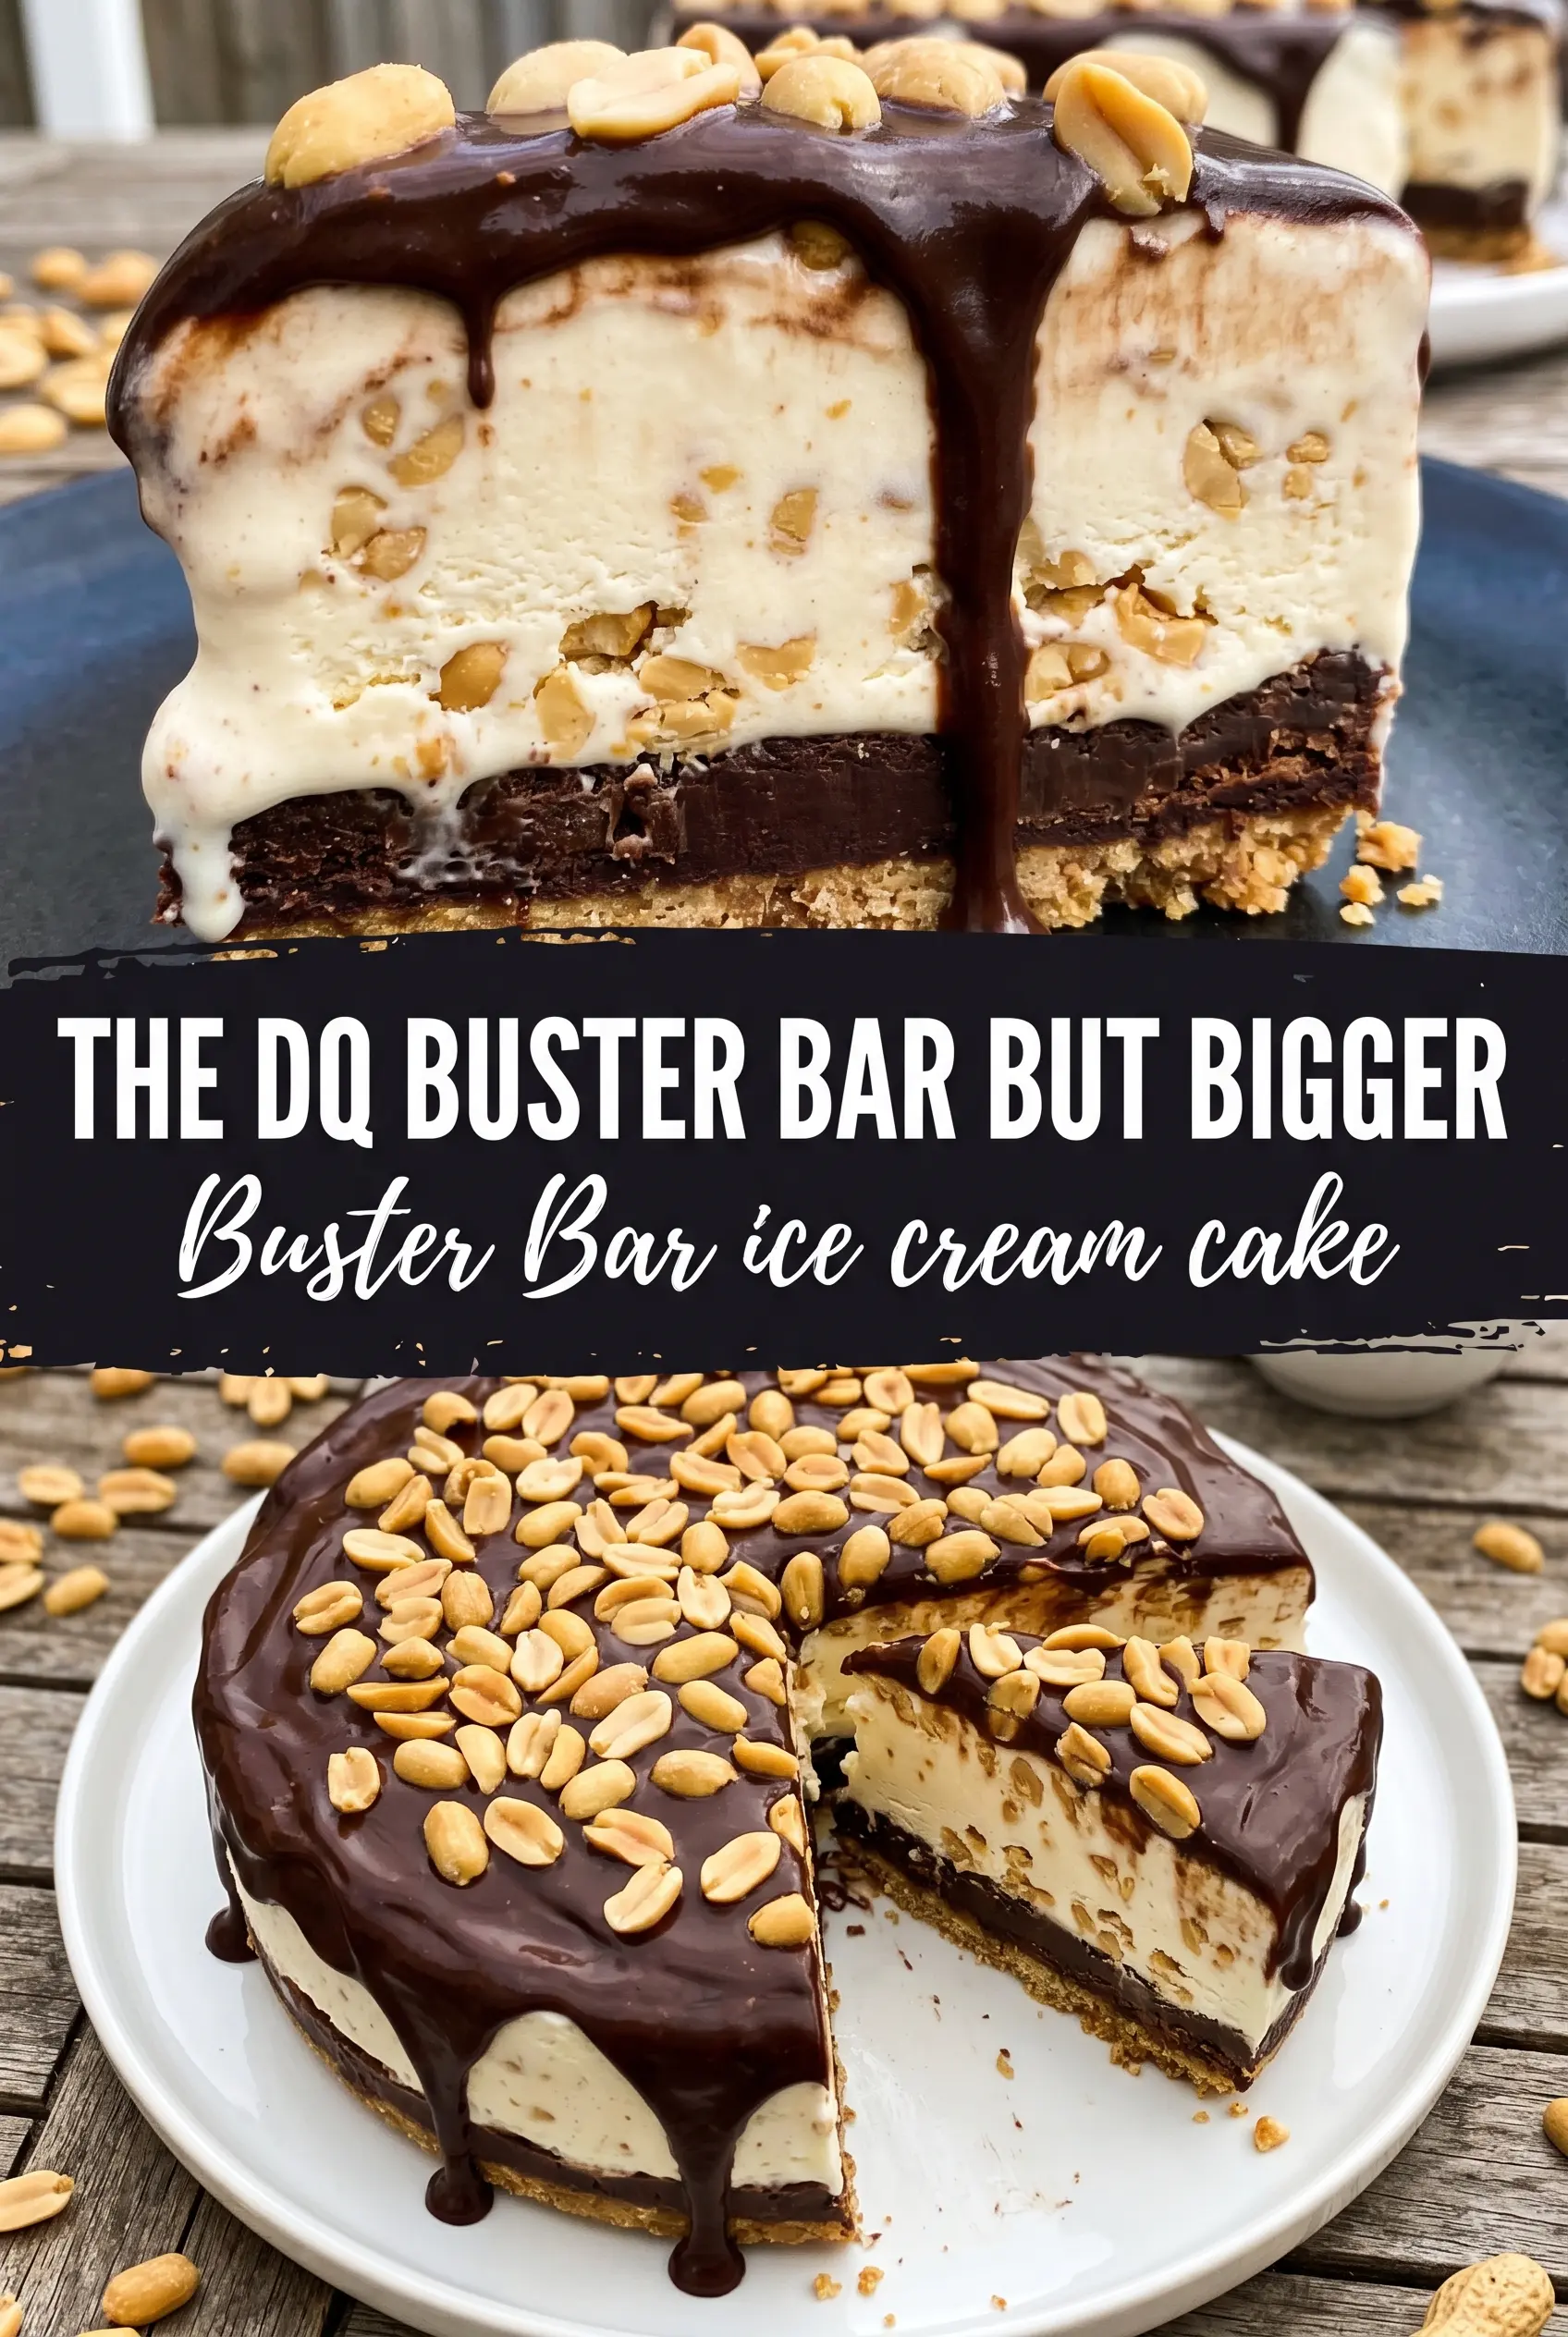
Buster Bar Ice Cream Cake
Ingredients
Equipment
Method
- Press the crushed Oreo cookies and melted butter into a 9x13 pan or a 10-inch springform, packing the crumbs into an even layer. Freeze for 15 minutes so the crust sets before layering.
- Spread the softened vanilla ice cream over the chilled crust and smooth the top. Freeze for 3 hours until firm enough to hold the fudge layer.
- Warm the hot fudge sauce just until pourable, then stir in 1 cup of the salted peanuts. Keep the mixture hot enough to flow but not boiling, about 1–2 minutes.
- Pour the fudge-peanut mixture over the frozen ice cream and spread evenly to the edges. Freeze for 2 hours until the fudge layer is firm.
- Top with whipped topping and scatter the remaining peanuts over the surface. Freeze for 1 hour before serving for clean slices.


