Two dense brownie squares with a thick layer of vanilla or coffee ice cream in the middle turn into the kind of frozen dessert people remember after the last bite. The brownie stays fudgy instead of cakey, the ice cream firms up into a clean, creamy center, and each square eats like a miniature handheld cake-and-ice-cream situation without the mess of a full slice.
The key is baking the brownie thin and just until set, then letting it cool completely before freezing. That keeps the structure tight enough to cut and sandwich without cracking, but still soft enough to bite cleanly once frozen. The chocolate in the brownie gives the whole thing a deeper, less sugary edge, which matters when the filling is cold and sweet.
Below, I’ll show you how to get the brownie layer flat, how to keep the ice cream from squishing out the sides, and the small freezing trick that makes cutting these much easier.
The brownies froze up firm enough to cut cleanly, and the coffee ice cream in the middle made these taste like a fancy dessert shop version. Mine were gone before they even finished setting.
These brownie ice cream sandwiches freeze into clean, handheld squares with a fudgy edge and a thick creamy center.
The Thin Brownie Layer That Keeps the Sandwich from Breaking
The common mistake here is baking the brownie like you would a thick pan of brownies. That gives you something too tall and fragile once frozen. You want a thin, even layer that bakes up just to set, so it can bend a little when you fold the sandwich and still cut cleanly after the ice cream firms up.
Spread the batter all the way to the corners of the parchment-lined pan. Uneven thickness is what causes one side to freeze hard while the other side crumbles. Pull the pan when the center looks set but still a little soft; the brownies finish as they cool, and that leftover moisture is what keeps the texture fudgy instead of dry.
What Each Ingredient Is Actually Doing in This Ice Cream Sandwich
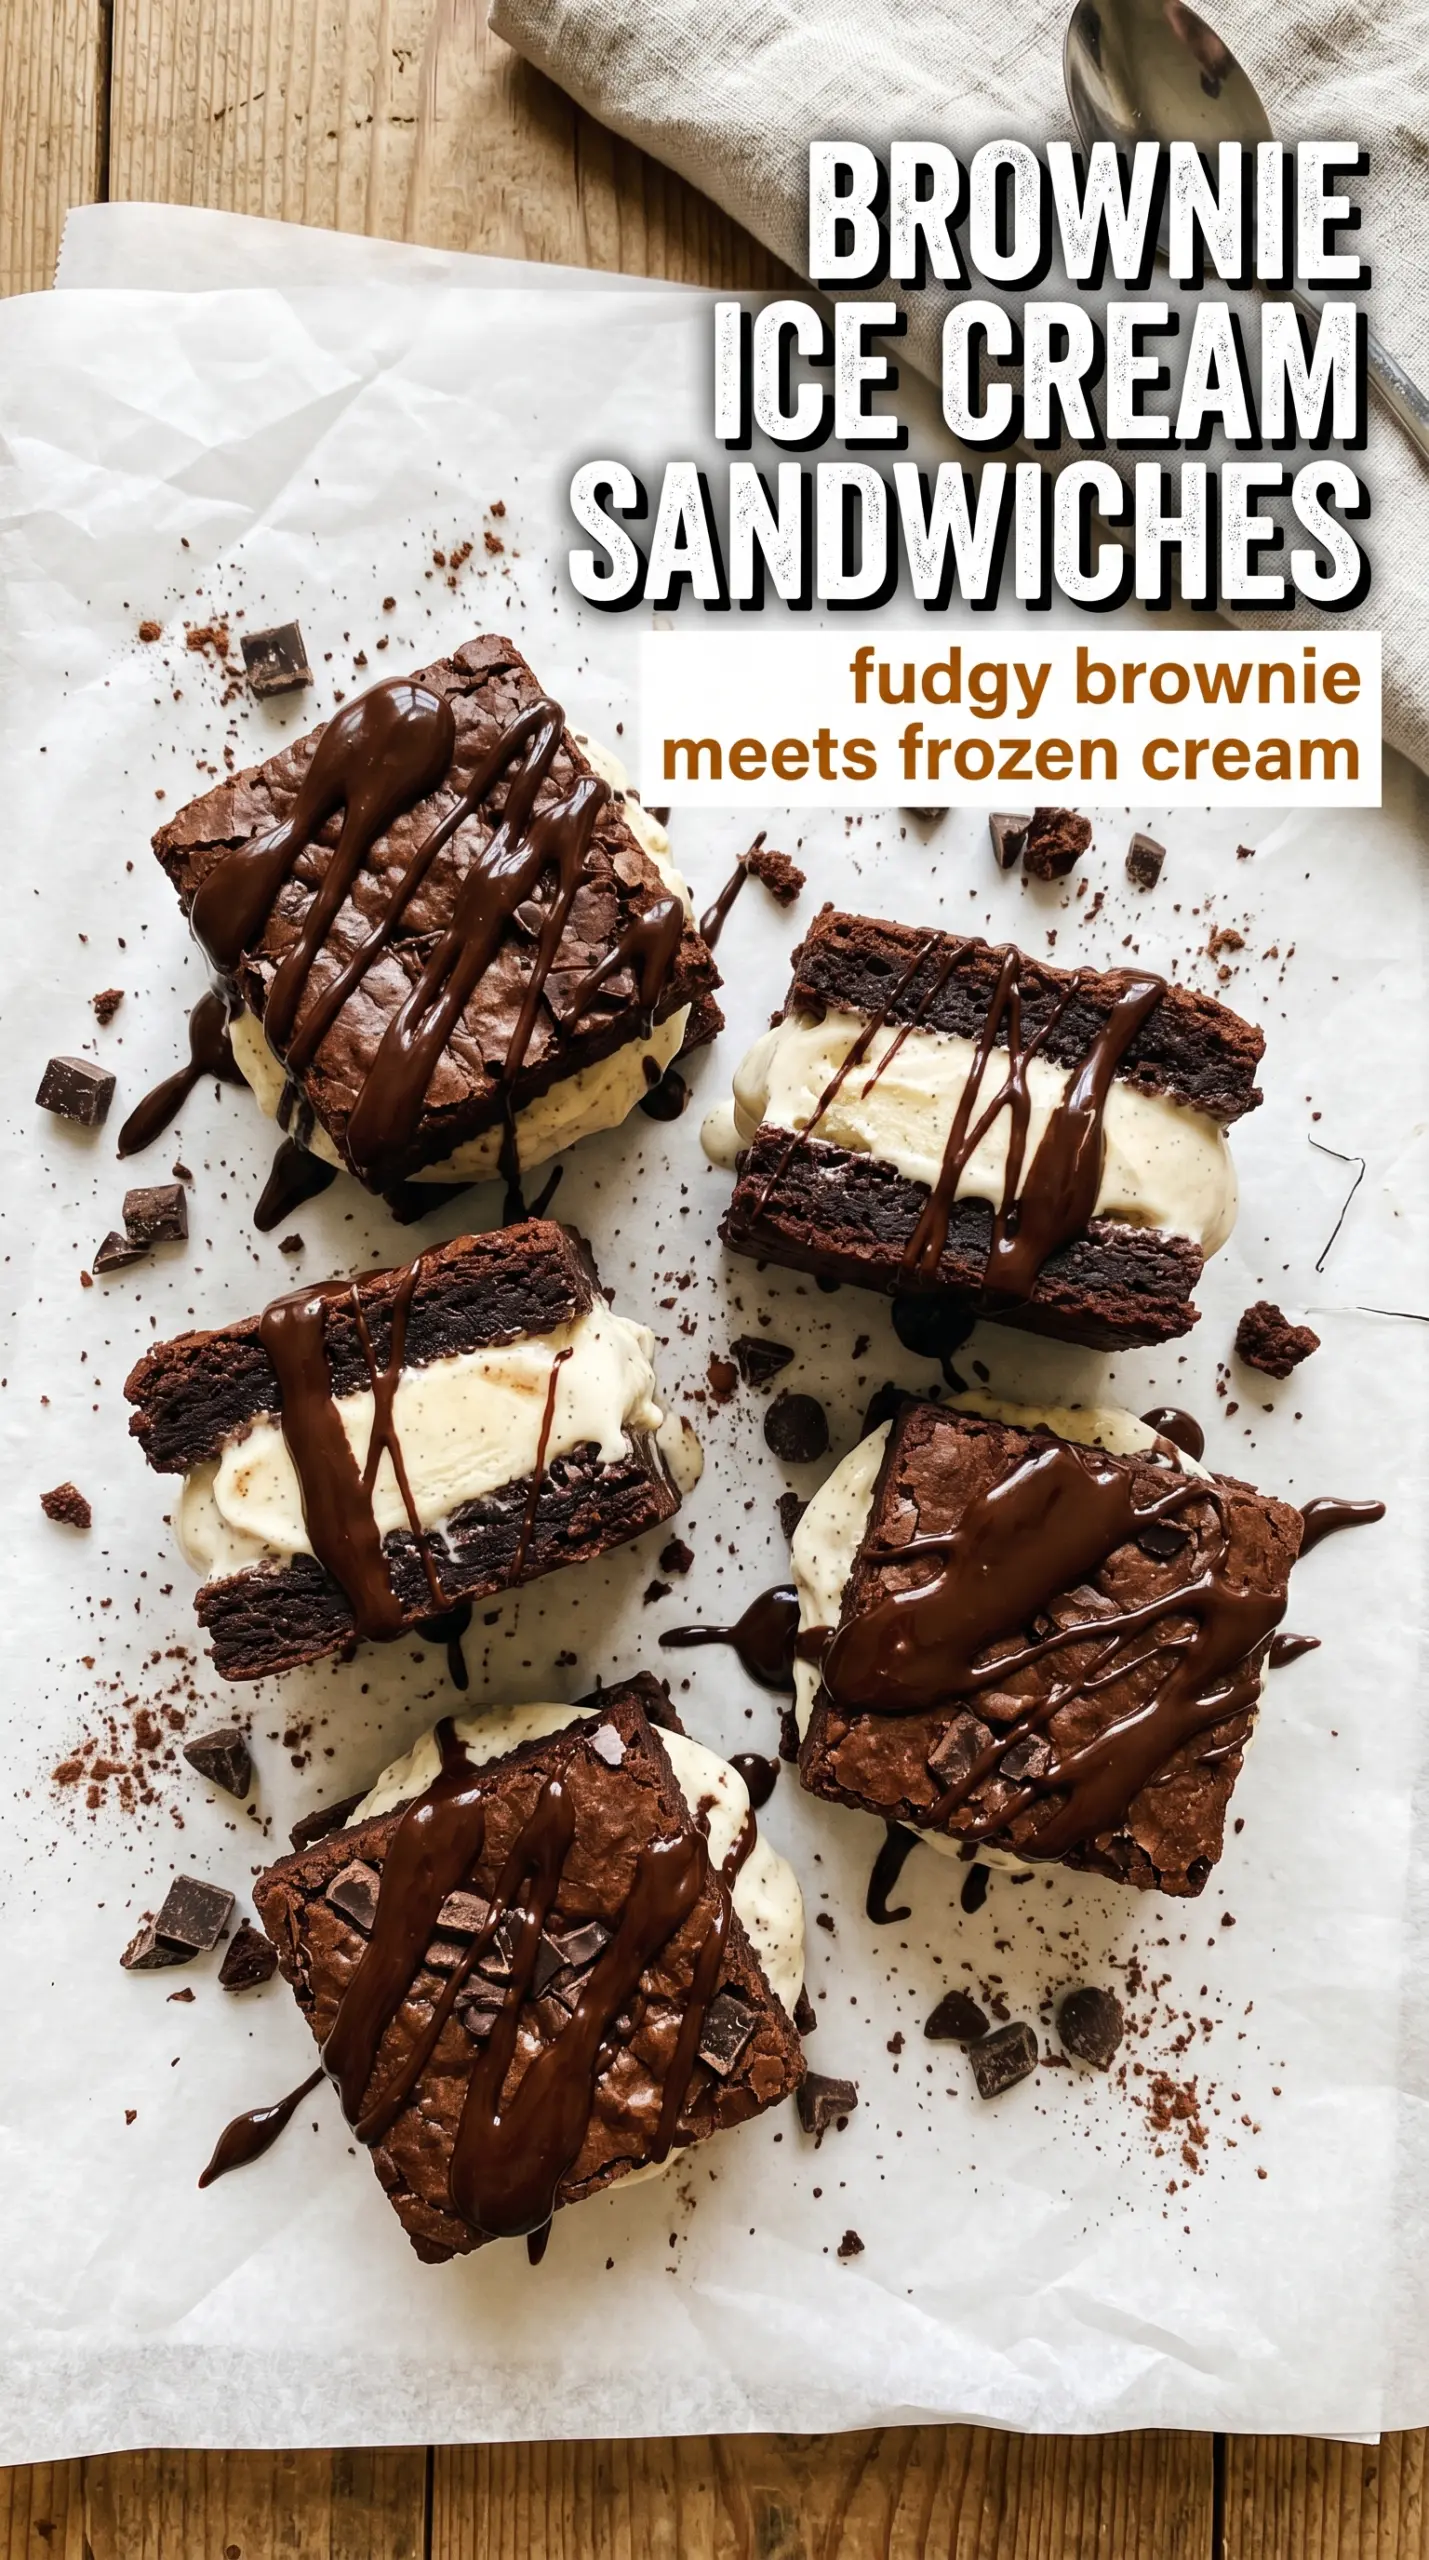
- Cookie or bread base (the structural holder) — This needs to be sturdy enough to hold ice cream without crumbling, but tender enough to bite through. Freshness matters.
- Ice cream or frozen yogurt (the filling) — This should be slightly soft so it adheres to the cookies without melting off. Temperature matters here.
- Texture of the cookies (crispy vs. soft) — Crispy cookies stay crunchy; soft cookies meld with the ice cream. Choose based on the texture experience you want.
- Coating (optional chocolate, sprinkles, or nuts) — This adds visual appeal and texture. Dip in melted chocolate while ice cream is still cold so it sets immediately.
- Sandwich technique (speed matters) — Assemble sandwiches quickly so the ice cream doesn’t melt. Work in batches and keep ice cream scoops in the freezer.
- Freezing before serving (the set-up) — Let assembled sandwiches freeze for 30 minutes so they hold together when eaten. This also prevents ice cream from squishing out.
- Flavor pairing (cookies and ice cream together) — The cookie flavor should complement the ice cream, not compete. Think chocolate with vanilla or peanut butter with chocolate.
- Storage in the freezer (wrapped well) — Wrap individually so they don’t absorb freezer odors. They last 2-3 weeks when wrapped tightly.
What the Chocolate and Ice Cream Are Doing Here
- Dark chocolate — This gives the brownie a deeper, less sweet base that stands up to the ice cream. Semi-sweet chocolate works in a pinch, but the result will taste sweeter and a little flatter.
- Cocoa powder — The cocoa tightens the chocolate flavor and helps the brownie stay dense. Use natural unsweetened cocoa here; Dutch-process will work, but the flavor comes out smoother and less sharp.
- Vanilla or coffee ice cream — This is the filling, so the texture matters more than almost anything else. Slightly softened ice cream spreads without tearing the brownie, but if it gets too warm it turns soupy and freezes with icy seams.
- Butter — Melted butter helps the brownies stay rich and chewy after freezing. Don’t swap in oil unless you have to; oil makes the brownie softer but less flavorful and more delicate when cold.
Building the Sandwich Before the Ice Cream Melts
Melting the Chocolate Base
Melt the butter and chopped dark chocolate together until smooth, then let the mixture cool for about 5 minutes before adding the eggs. If it’s too hot, the eggs can scramble or the batter can turn glossy and loose. You’re looking for warm, not steaming, so the sugar dissolves easily without cooking anything prematurely.
Baking the Brownie Sheet
Whisk in the sugar, eggs, and vanilla until the batter looks thick and cohesive, then stir in the dry ingredients just until no streaks of flour remain. Spread it into a thin, even layer in the pan and bake until the surface looks set and the center no longer sloshes when the pan is gently moved. If you overbake here, the edges get dry and crack when you try to fold or cut the sandwiches later.
Freezing and Filling
Cool the brownie sheet completely, then freeze it for 30 minutes before adding the ice cream. That quick chill firms the surface so the ice cream doesn’t start melting the second it touches the brownie. Spread the softened ice cream over half the sheet, fold the other half over, and press lightly so the filling reaches the edges without squeezing out in big ridges.
Cutting Clean Squares
Freeze the assembled slab for 2 hours, or until it feels firm all the way through. Use a warm knife, wiping it between cuts, and the squares will separate with fewer jagged edges and less cracking. If the knife drags, the sandwich isn’t cold enough yet; give it another 15 to 20 minutes in the freezer and try again.
How to Adapt These Brownie Ice Cream Sandwiches for Different Needs
Dairy-Free Version
Use a plant-based butter and a dairy-free chocolate that melts smoothly, then fill with a coconut- or oat-based ice cream. The brownie will still freeze well, but the filling may soften faster at room temperature, so keep the sandwiches wrapped and in the freezer until serving.
Coffee Ice Cream Swap
Coffee ice cream makes the chocolate taste darker and less sweet, almost like a mocha dessert. It’s a great choice if you want something a little more grown-up, but it can read as stronger once frozen, so use vanilla if you want the chocolate to stay front and center.
Gluten-Free Version
A good 1:1 gluten-free flour blend works here because the brownie is meant to be dense, not airy. The only real difference is that the batter may need a minute or two less to bake, so watch for the set center instead of relying only on the timer.
Make-Ahead and Storage
Storage and Reheating
- Refrigerator: Not ideal. These soften fast and lose the clean frozen texture.
- Freezer: Wrap individual sandwiches tightly in parchment, then store in an airtight container for up to 2 weeks. After that, the brownie still holds, but the ice cream can pick up freezer flavor.
- Reheating: Don’t reheat these. Let them sit at room temperature for 3 to 5 minutes before eating so the brownie loses its hard edge without melting the filling.
Answers to the Questions Worth Asking
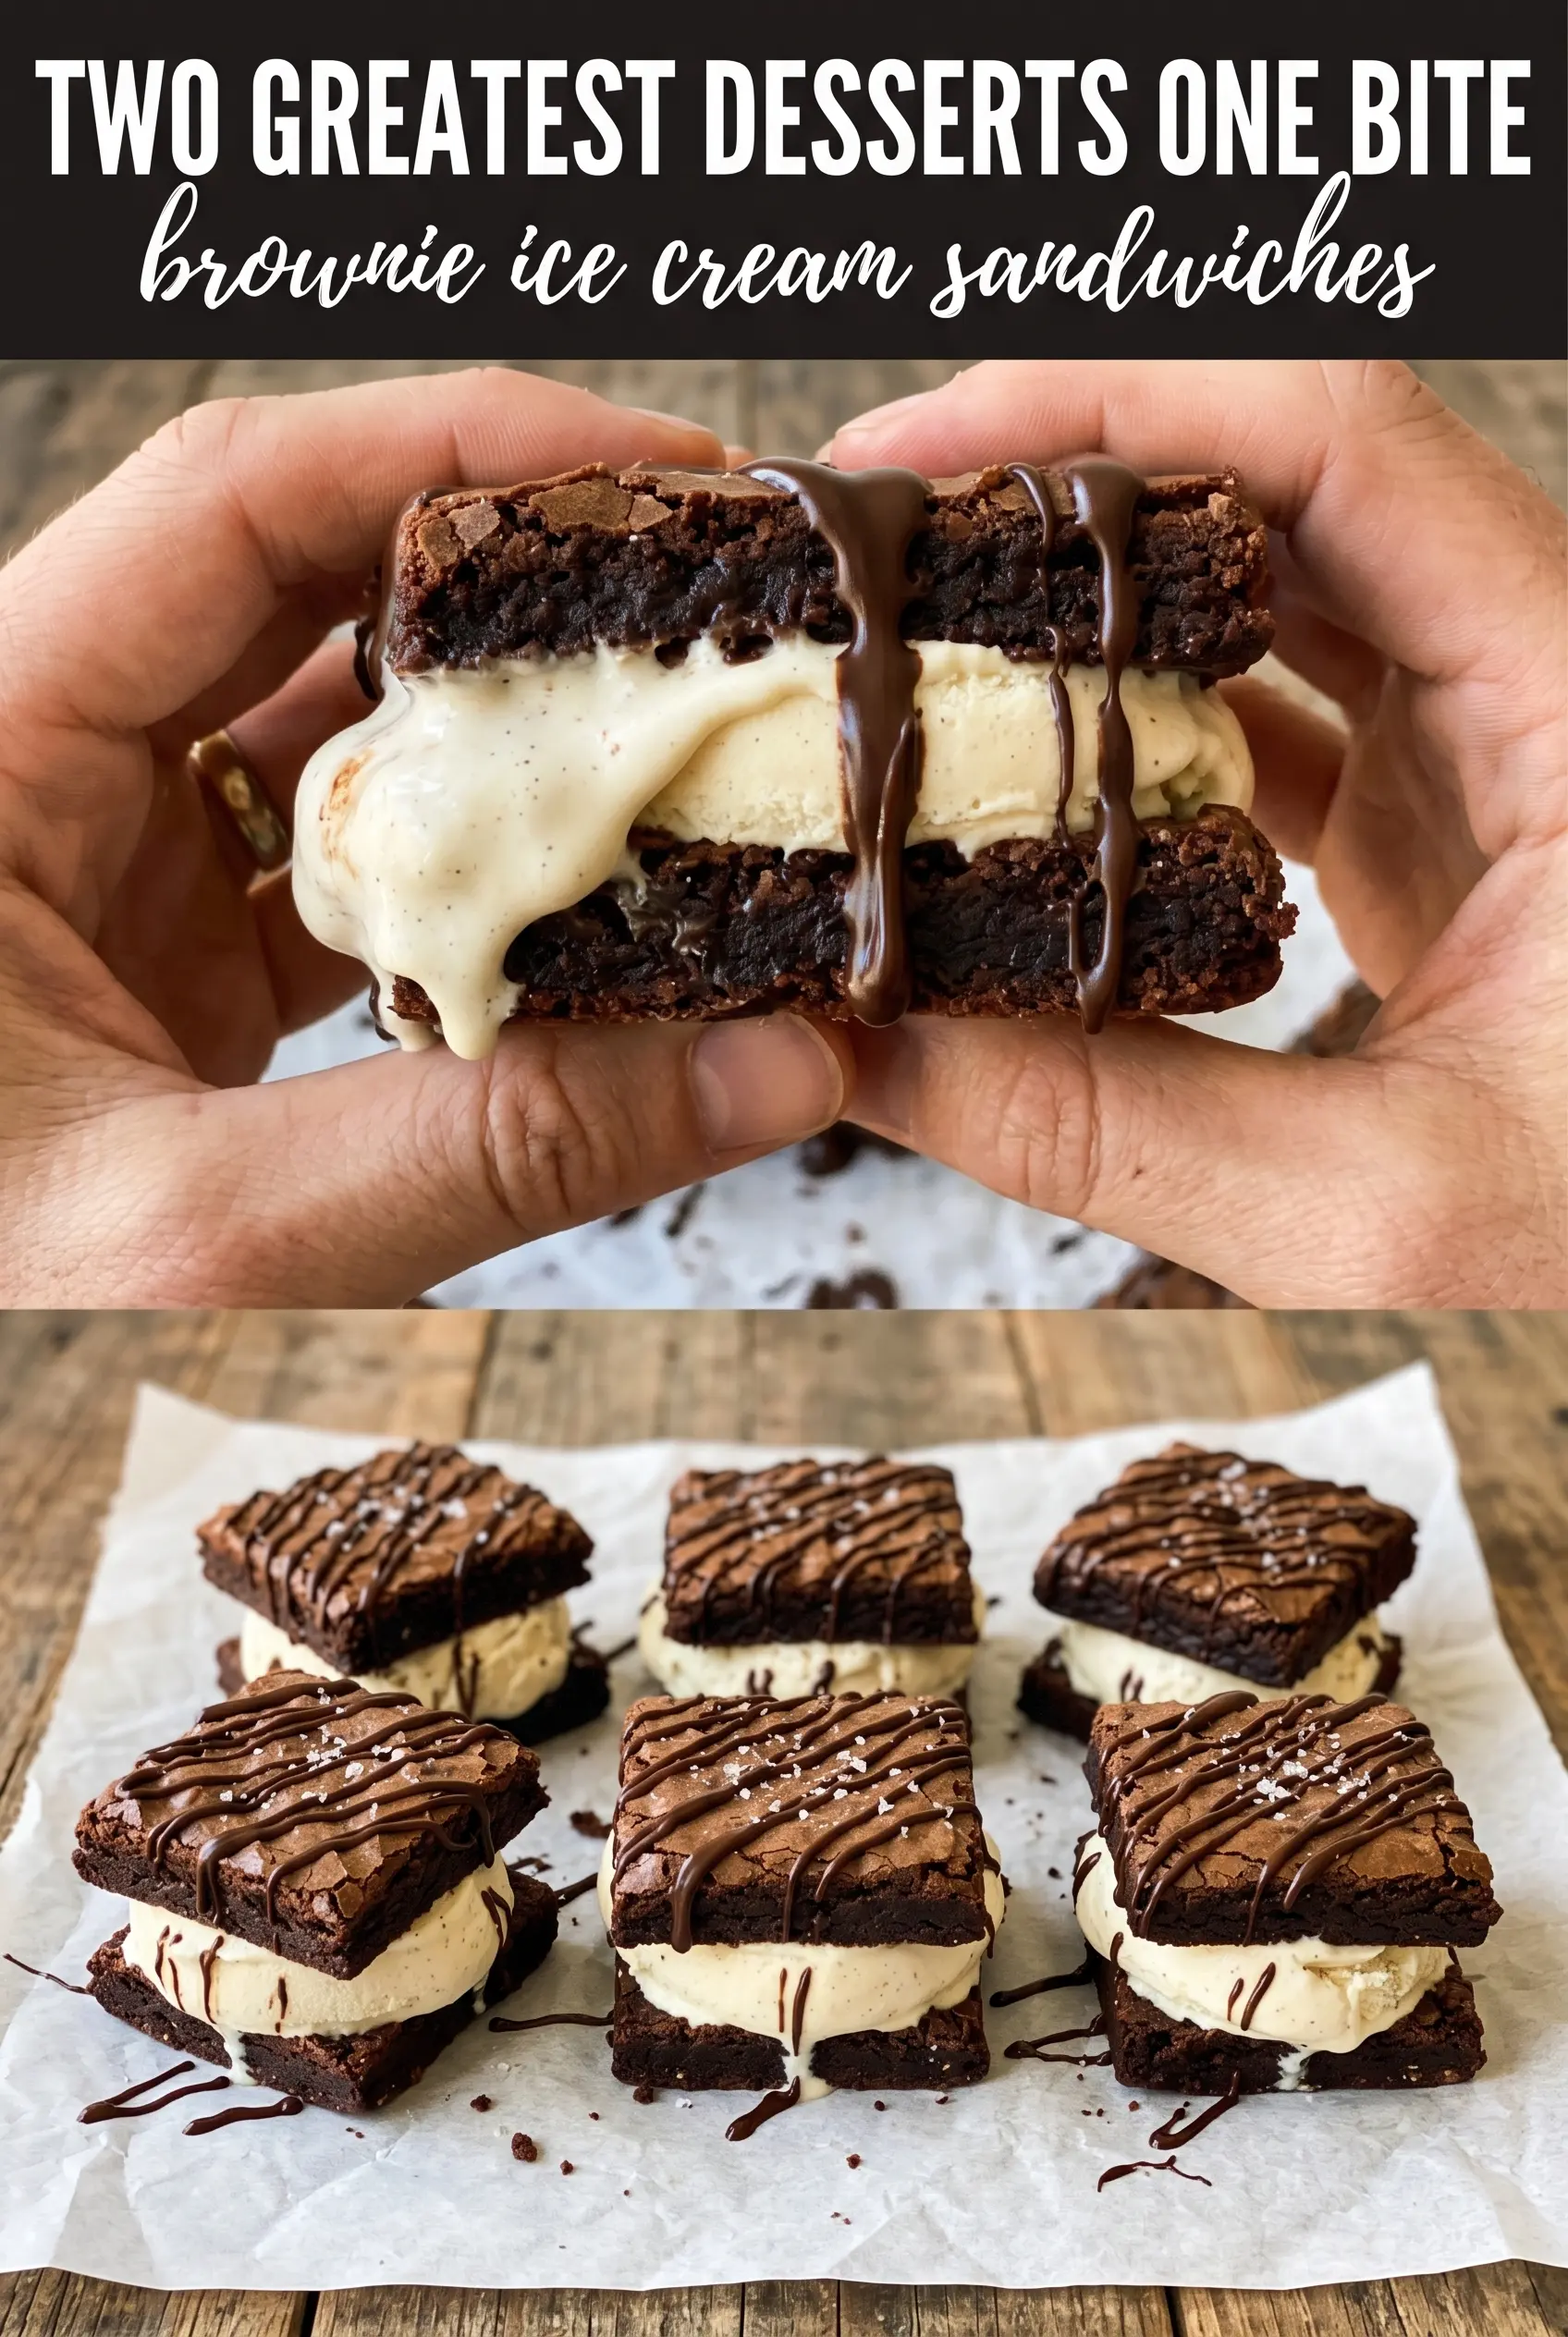
Brownie Ice Cream Sandwiches
Ingredients
Equipment
Method
- Preheat the oven to 350F. Line a 9x13 pan with parchment so the brownie releases cleanly.
- Melt the butter with the chopped dark chocolate until smooth, then cool for 5 minutes. Visual cue: the mixture should look glossy and fully combined.
- Whisk in the sugar, eggs, and vanilla until smooth. Continue until no egg streaks remain.
- Stir in the flour, cocoa, and salt until just combined. Visual cue: stop as soon as no dry pockets of flour show.
- Spread the batter into the parchment-lined 9x13 pan in a thin, even layer. Bake at 350F for 18-22 minutes until just set with a slightly tender center.
- Cool completely at room temperature. Visual cue: the brownie should feel cool to the touch all the way through.
- Freeze the brownie sheet for 30 minutes. Visual cue: it should firm up enough to handle without tearing.
- Spread the softened ice cream over half of the brownie sheet. Visual cue: cover evenly with a thick layer.
- Fold the other half of the brownie sheet over the ice cream to sandwich it. Press gently to help the layers adhere.
- Freeze for 2 hours until firm. Visual cue: the slab should slice cleanly with no soft smear.
- Cut into squares using a warm knife and serve or wrap individually. Visual cue: warm blade helps the edges look neat rather than ragged.


